
A hot cocoa bar works because guests make their own drinks, and you stay out of the kitchen.
The trick is to plan the layout so the hot part stays safe, the toppings stay fresh and the setup fits your space.
Here are 22 ideas, from a single tray to a rolling cart and a slow cooker for a crowd, with the details that keep it running.
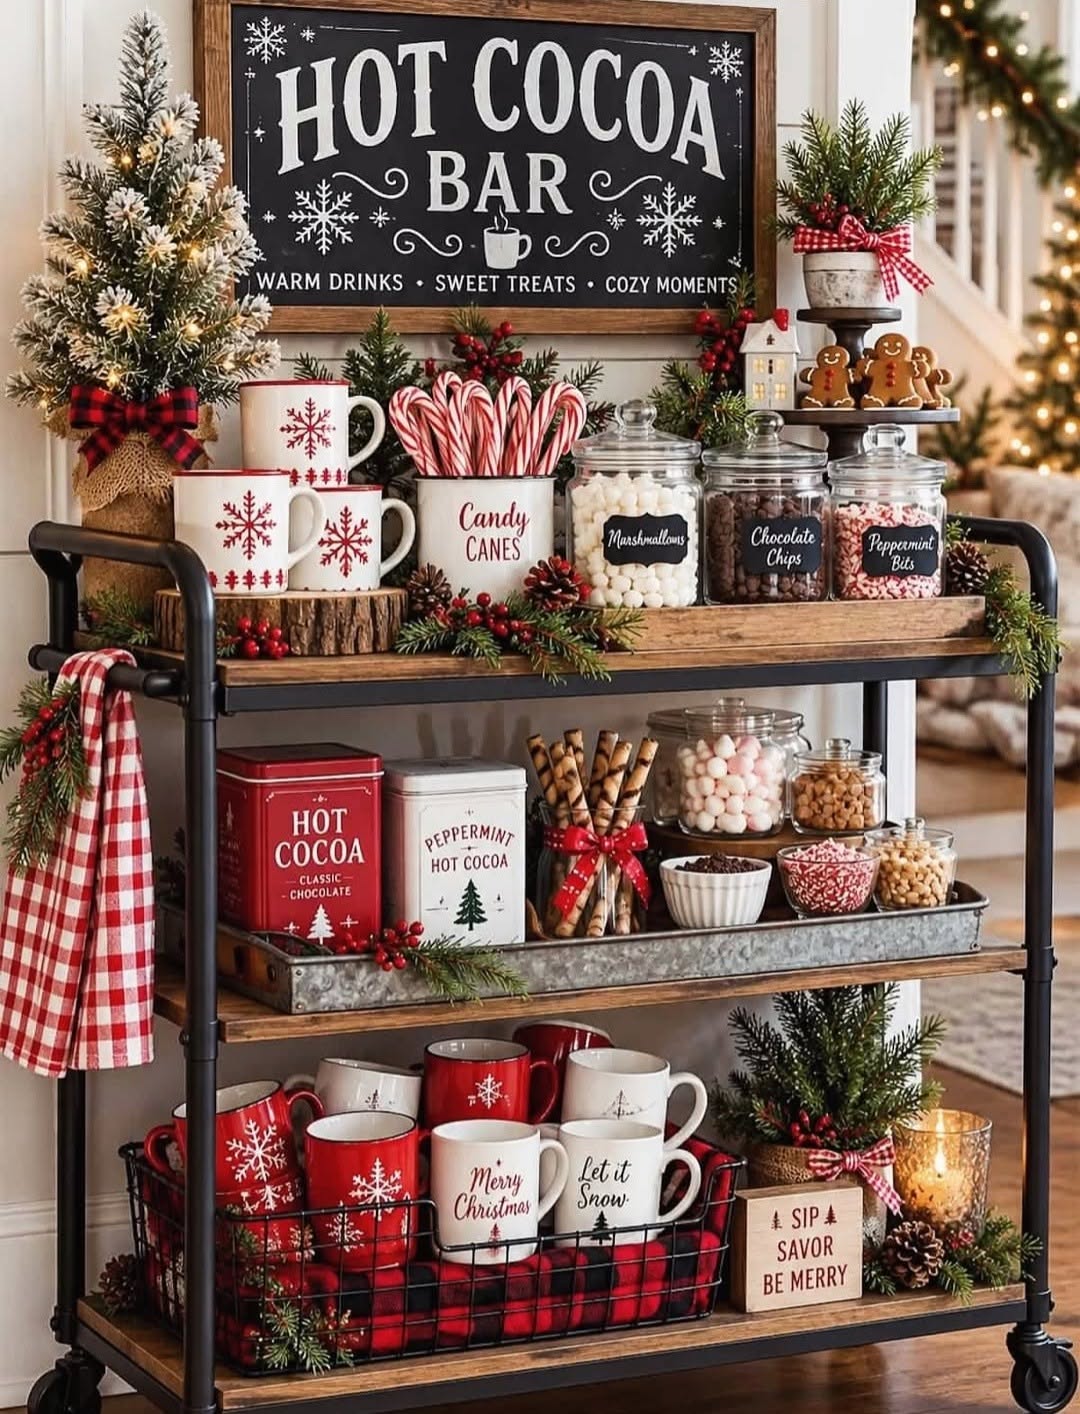
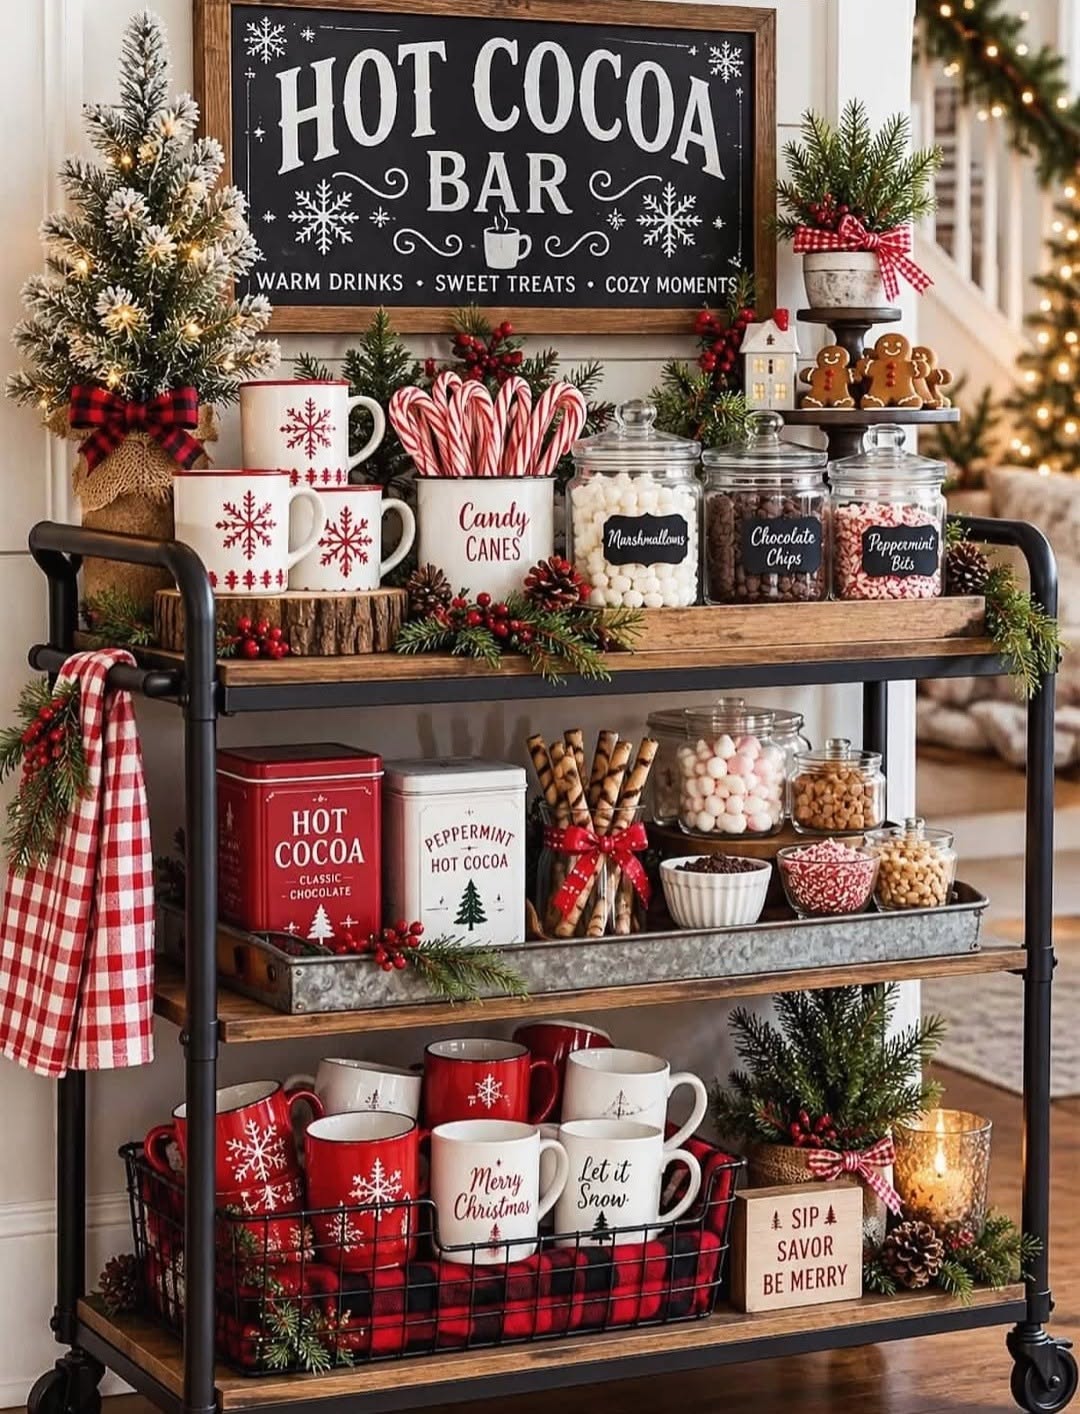
Five Rules for a Cocoa Bar That Runs Itself
Keep hot drinks away from the edge. A dispenser or pot belongs at the back.
Label everything. Small tags save you from answering the same question.
Use lids for toppings. Marshmallows and sprinkles stay fresh for hours.
Offer a dairy-free option. A carton of oat milk is enough.
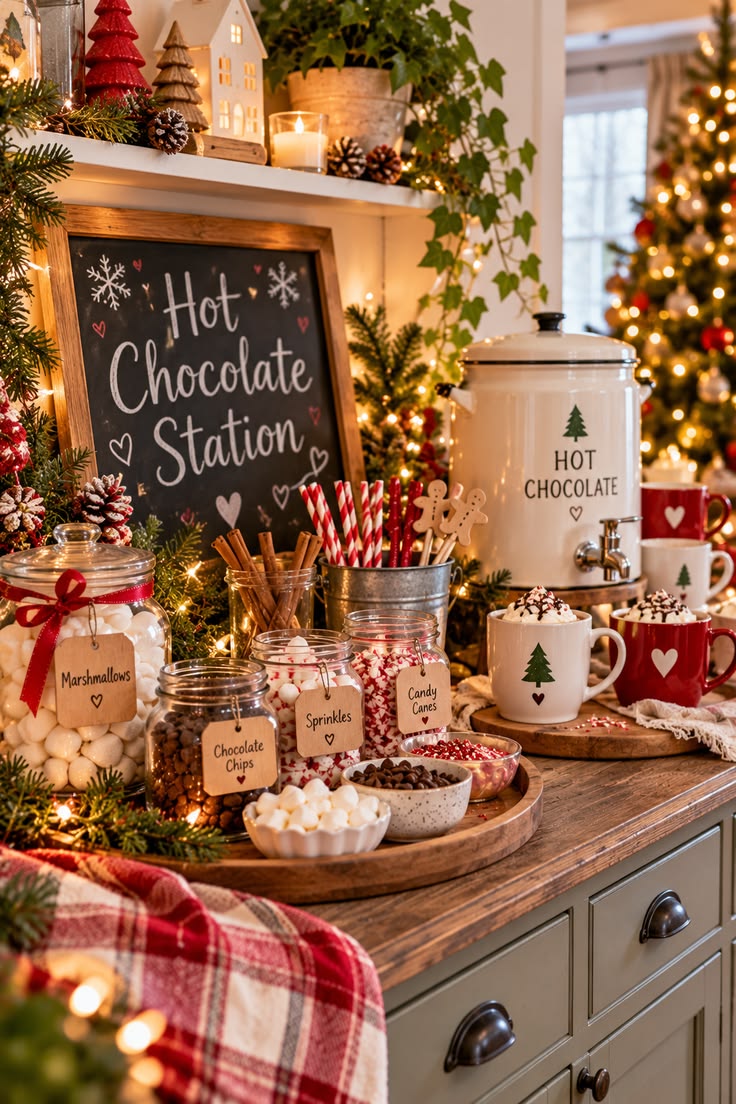
Put out a trash bowl. Wrappers and stir sticks need somewhere to go.
1. Use a Rolling Cart with Three Levels
A cart gives you three shelves and lets you move the party.
This black and wood cart is styled with a dispenser on top and mugs and toppings below.
Put the dispenser at the back of the top shelf where it cannot be pulled over, and keep refills on the bottom.
Lock the wheels once it is in place, and park it where people will not brush past a hot urn.
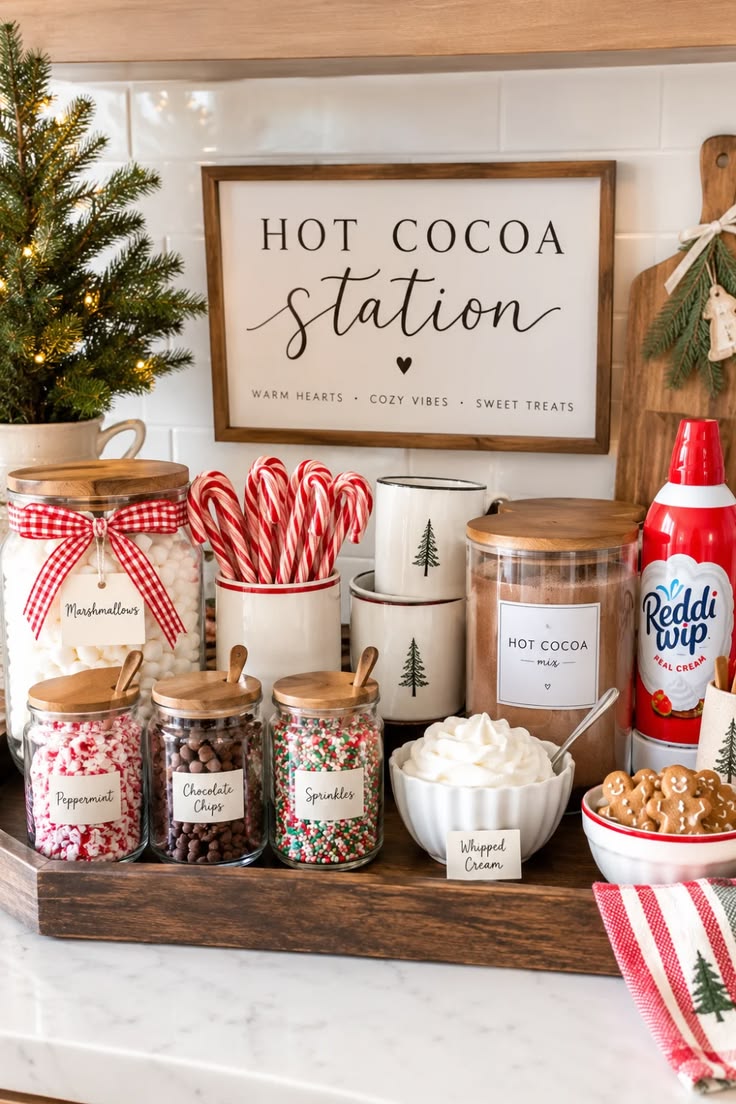
2. Build the Whole Bar on One Tray
A single tray makes a cocoa bar portable. Jars, mugs, a bowl of whipped cream and candy canes sit together on this wooden tray.
A tray about 16 by 24 inches holds a full set and lifts off the counter when you need the space back.
Tie a kraft tag to each jar so guests do not have to ask what's in it. Keep dairy out no longer than two hours.
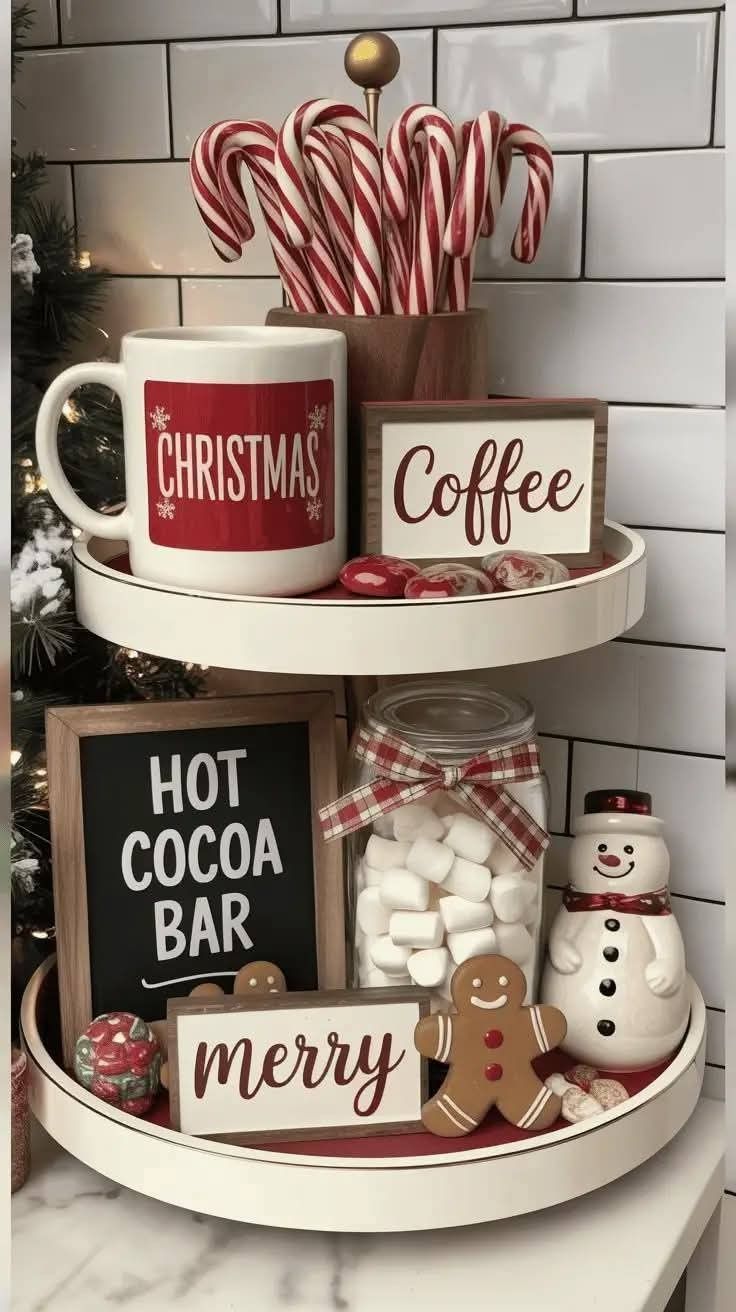
3. Add Height with a Tiered Tray
A tiered tray is the cheapest way to add height to a small counter.
Mugs and candy canes sit on top of this stand, with a bar sign on the lowest rim.
- Put heavy jars low and light items high so a bump cannot send it over.
- Wipe the trays before starting. Sticky candy leaves rings that are hard to remove.
4. Stand a Crate on Its Side for Mugs
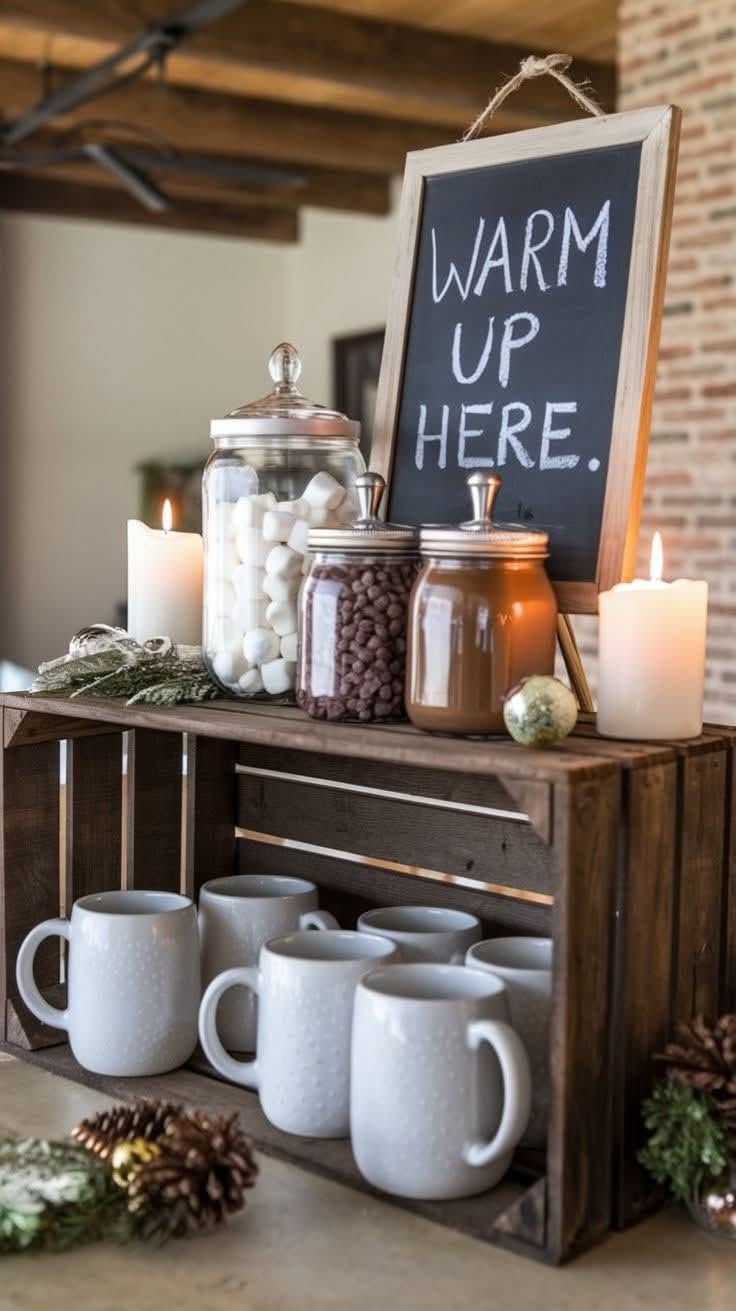
A crate is mug storage and a display shelf in one.
Mugs sit inside this wooden crate, with jars and a small chalkboard on top.
Sand any rough edges so mugs do not snag. Set jars on a board or parchment if the wood is raw, because sticky lids stain it.
5. Let Novelty Mugs Do the Decorating
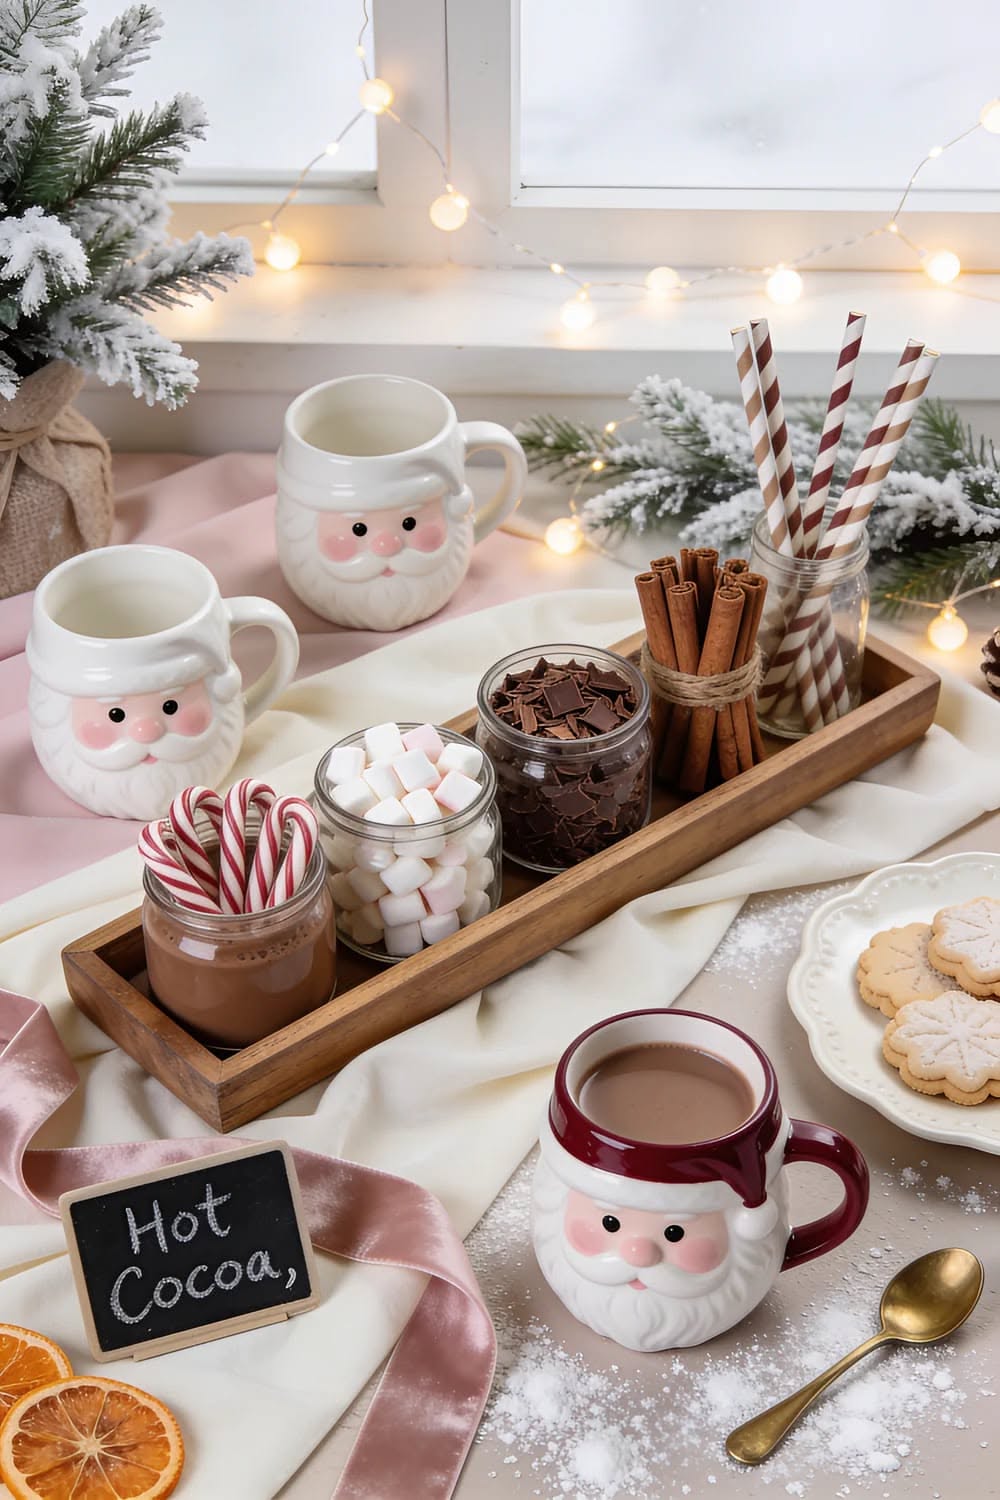
When the mugs are fun, everything else should stay quiet.
Santa mugs here sit beside a narrow wooden tray of marshmallows, shaved chocolate and cinnamon sticks.
Quick tip: Choose one mug style and three small containers.
Cinnamon sticks hold up as stirrers much longer than a candy cane, which melts away within minutes.
6. Fill the Big Jars All the Way
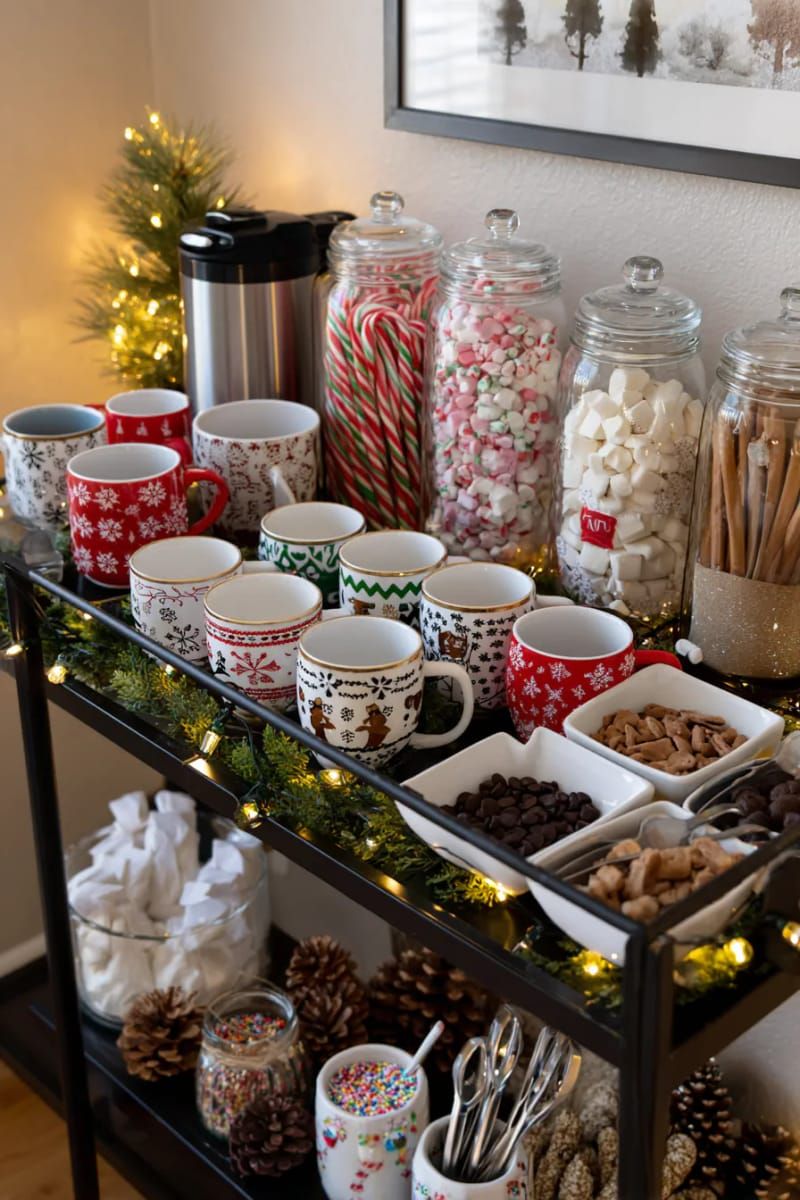
Clear jars make toppings the decoration, but only when they're full. A metal cart here holds glass jars, mugs and a strand of fairy lights.
Keep a refill bag nearby, because a half-empty jar looks sad.
Give every jar its own scoop or tongs, and let a battery strand light the lower shelf.
7. Keep Marshmallows Soft in Lidded Jars
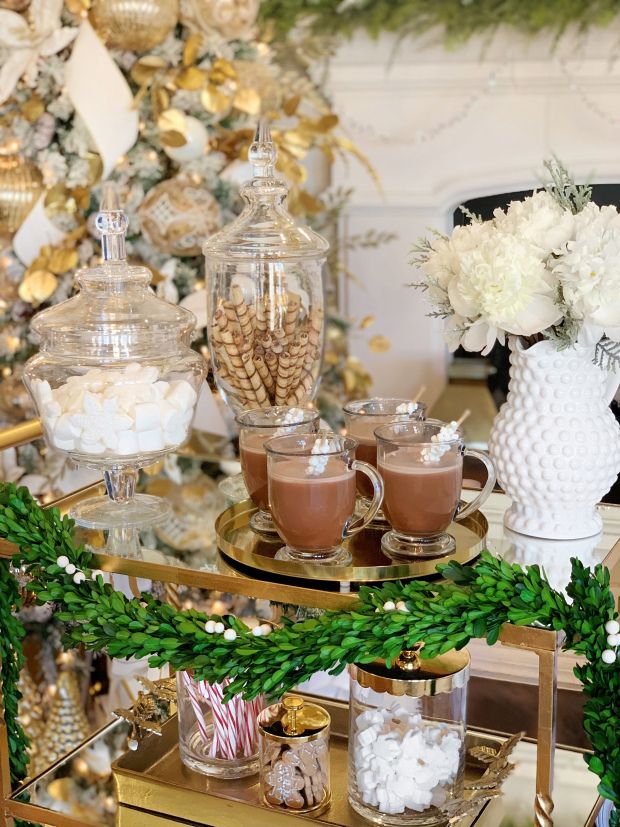
Lidded jars keep marshmallows soft for a party that runs all afternoon.
This gold bar cart holds glass apothecary jars and clear mugs of cocoa. An open bowl dries marshmallows out in about an hour.
Set out only four or five mugs at a time and soften the metal with a low garland on the bottom shelf.
8. Choose a Spigot Dispenser over a Pot
A dispenser holds the heat and serves in seconds.
This station pairs a spigot dispenser with a chalkboard sign for toppings.
- Guests pour for themselves without spills.
- Use a chalk marker instead of stick chalk so the sign does not smudge, and put a tray under the spigot.
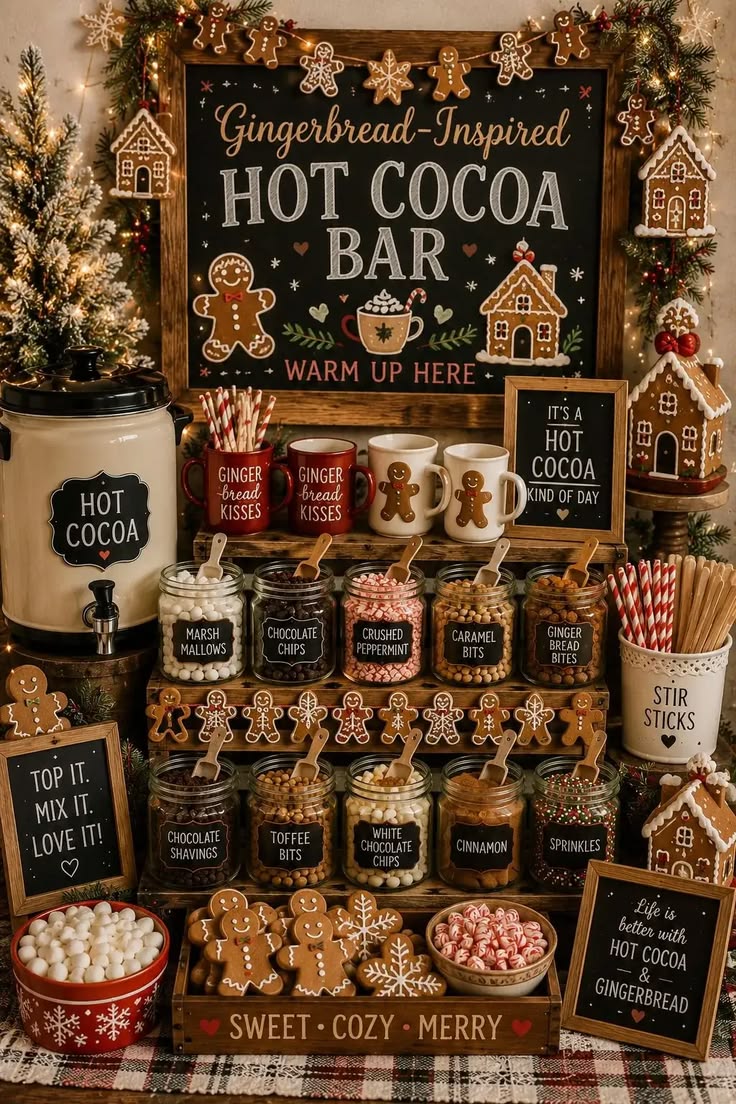
9. Repeat One Theme Across Every Item
A theme works when every item points the same way. This gingerbread bar has cookies, cinnamon, toffee bits and ginger-spiced cocoa, with a chalkboard sign and jars.
- Bake the cookies two days ahead and store them airtight so they stay crisp enough to dunk.
- Hang a gingerbread-man garland above the table for height.
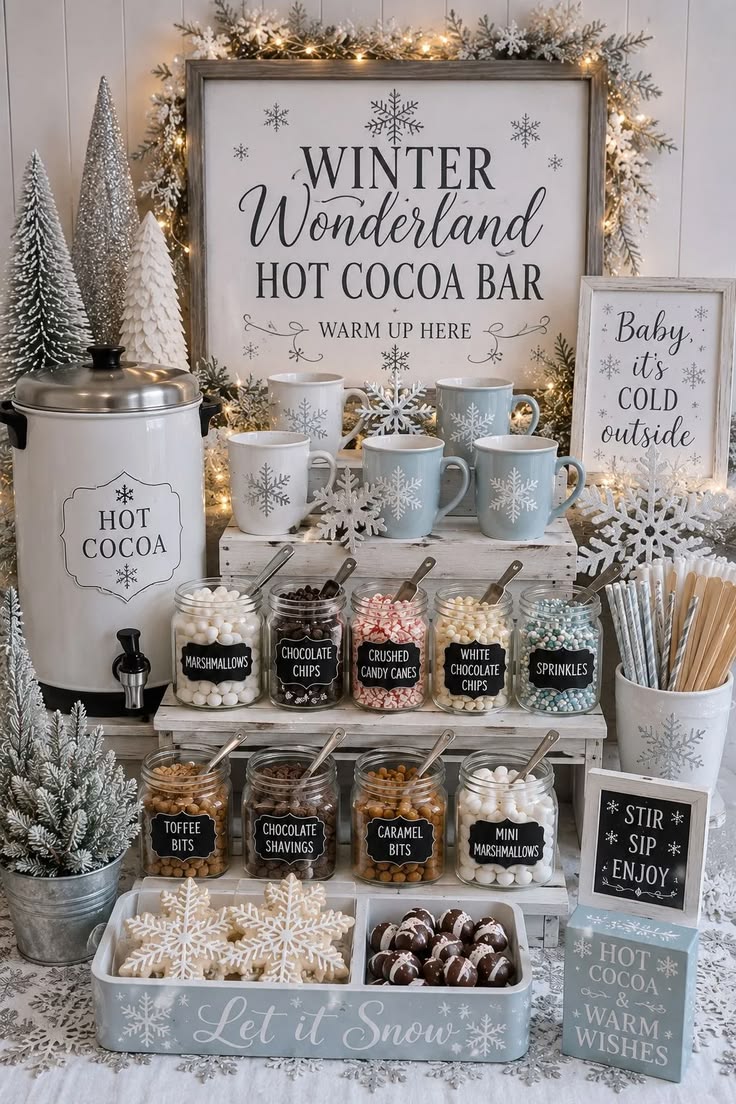
10. Stay in White, Silver and Pale Blue
A tight palette makes a bar look like fresh snow. White mugs, flocked trees and snowflake tags on clear jars carry this winter bar.
Peppermint bark and white chocolate chips keep the toppings in the same colors. Scatter fake snow only away from the food, since it is not edible.
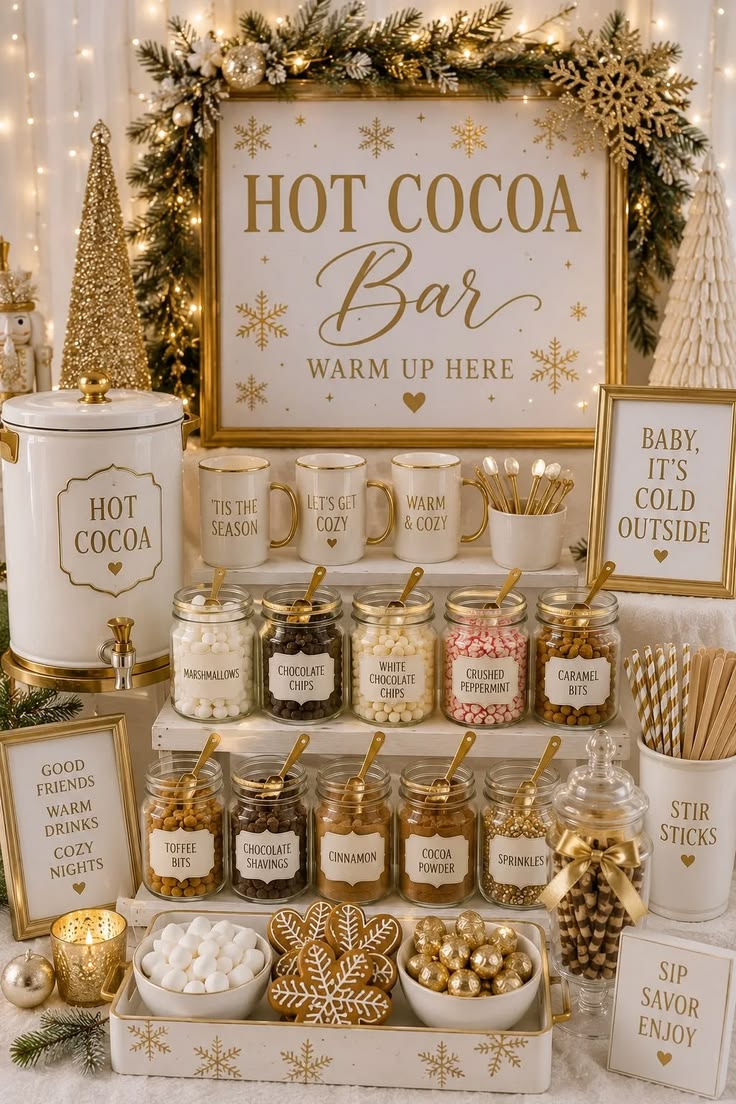
11. Use Gold Sparingly
Gold reads as formal, so a little goes a long way.
This bar uses gold spoons, gold-rimmed mugs and one gold sign against a cream background.
Keep everything else cream.
String lights at 2700K make the gold glow instead of glare.
12. Build a Peppermint Bar for Almost Nothing
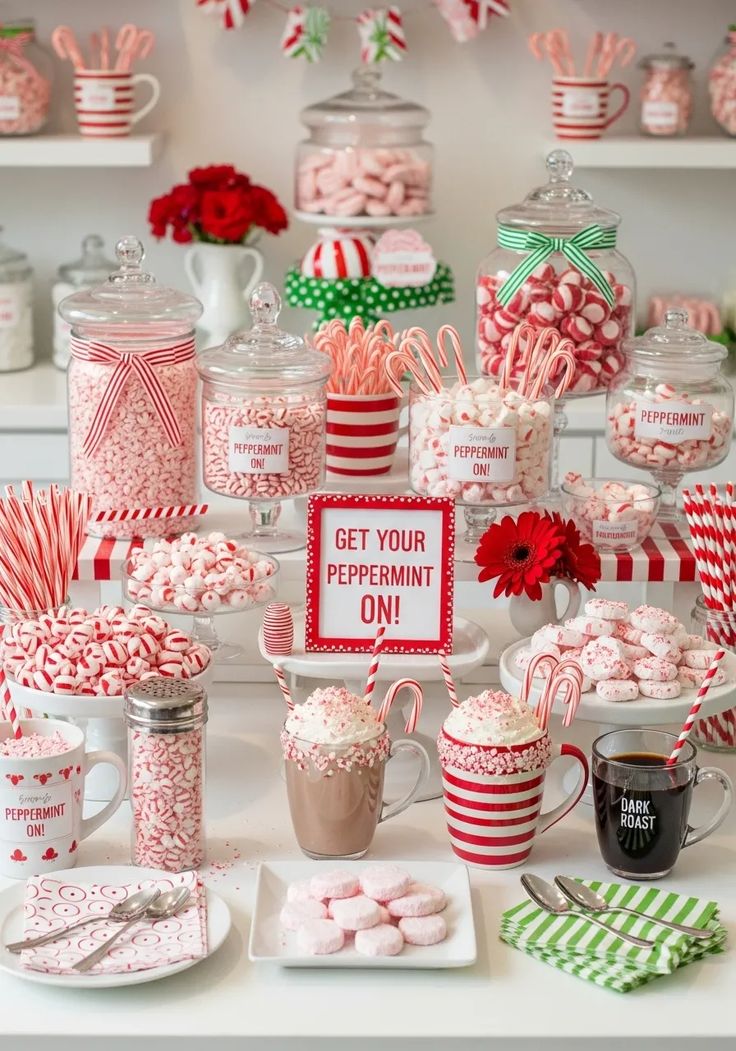
Red and white stripes are an easy theme to build. Paper straws, peppermint sticks and striped napkins do the work on this bar.
Crush candy canes in a zip bag with a rolling pin and serve them from a shaker.
They stay loose in a humid kitchen, where a bowl of crushed candy turns into one sticky lump.
13. Hang the Mugs to Free the Table
Hanging mugs gives you back table space.
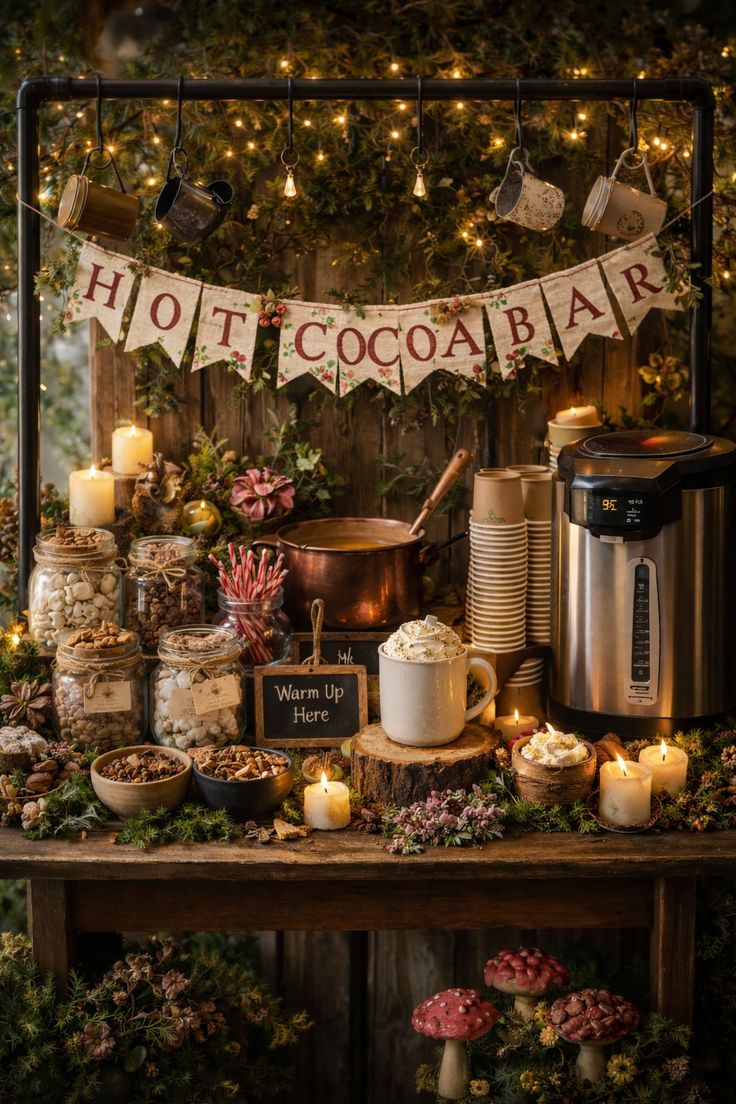
This woodland bar hangs mugs from a rack, with a banner and pinecones around it.
- A pipe frame or rack with hooks keeps mugs overhead.
- Use battery tea lights near dry greenery and paper cups, never open flames.
14. Write the Recipe on a Chalkboard
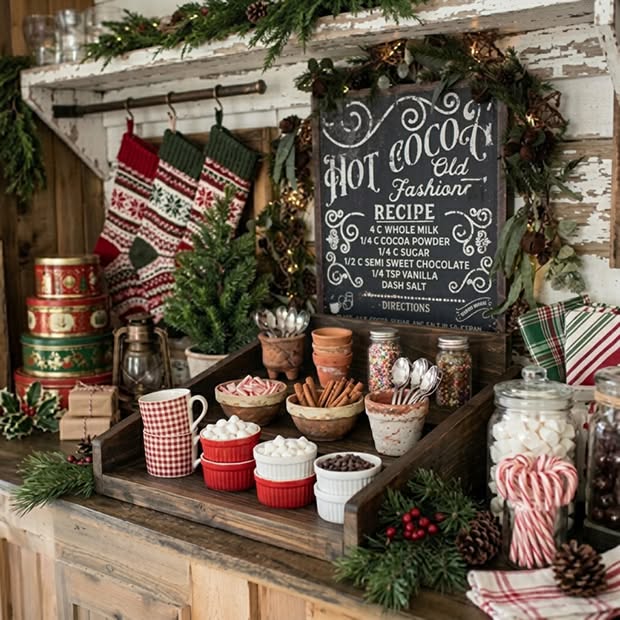
A hand-lettered recipe sign makes a bar feel like a family tradition.
This vintage bar shows the recipe on a chalkboard, with knit stockings above.
Guests can copy it for home. Hang the stockings from a rail well clear of candles or the hot urn, and keep small bowls on a wooden tray so they do not slide.
15. Serve a Crowd from a Slow Cooker
A slow cooker is the simplest way to serve 15 or more.
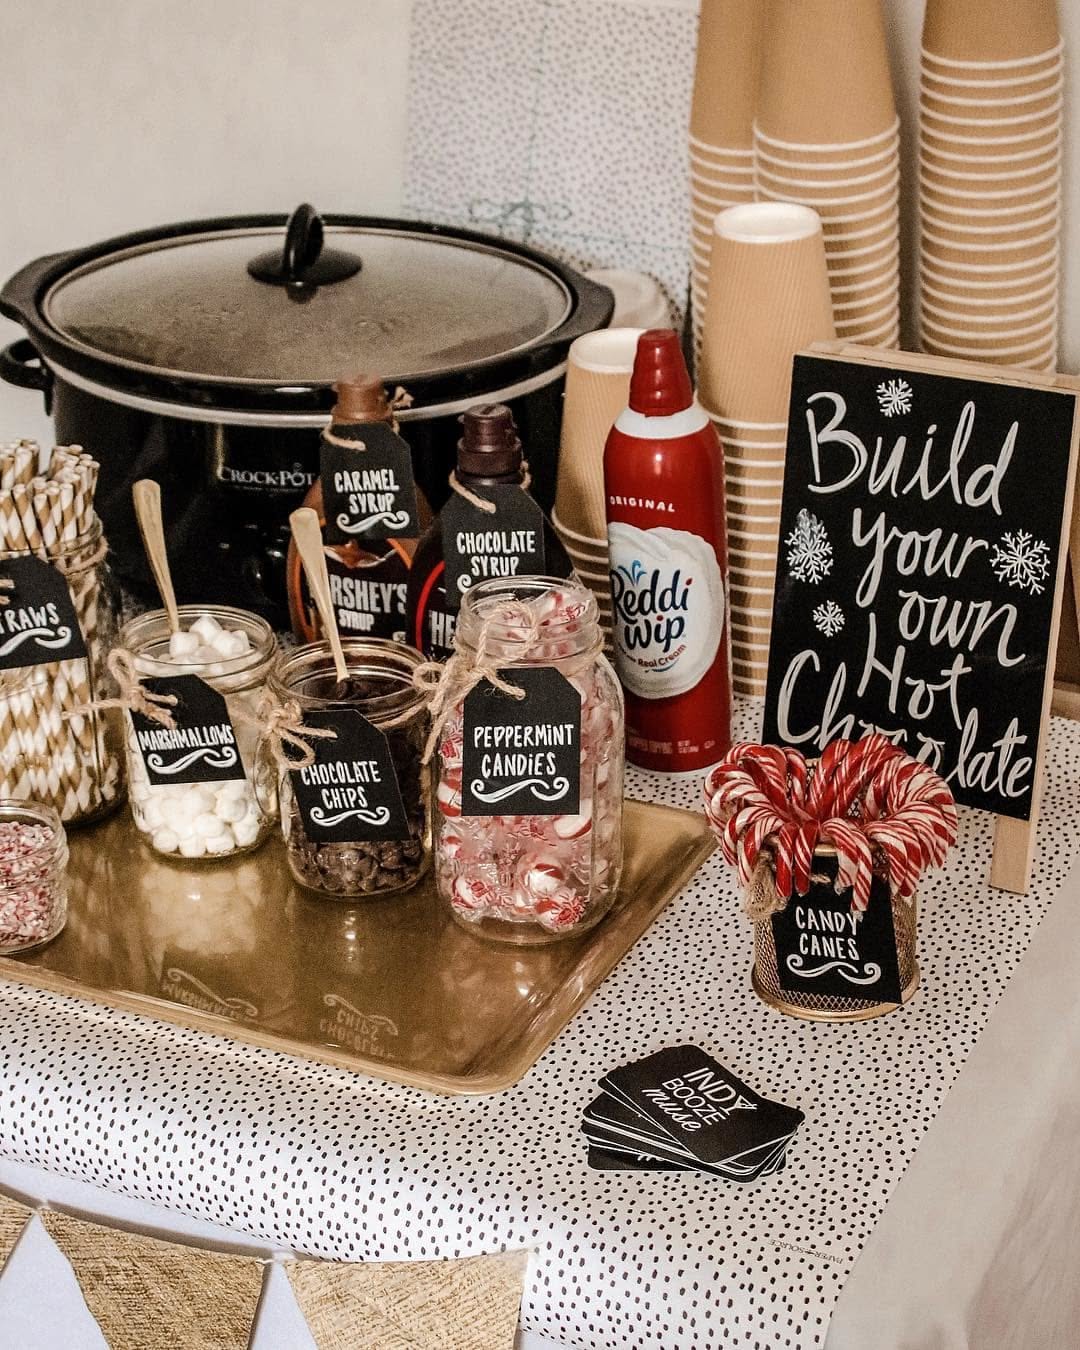
This station has a slow cooker of hot chocolate and a build-your-own sign.
Quick tip: Make the batch on the stove, pour it in and set it on warm. A 6-quart model serves about 20 mugs.
Stir every 30 minutes, because cocoa settles and milk skins over. Keep a ladle on a plate and napkins nearby.
16. Start with a Bold Tablecloth
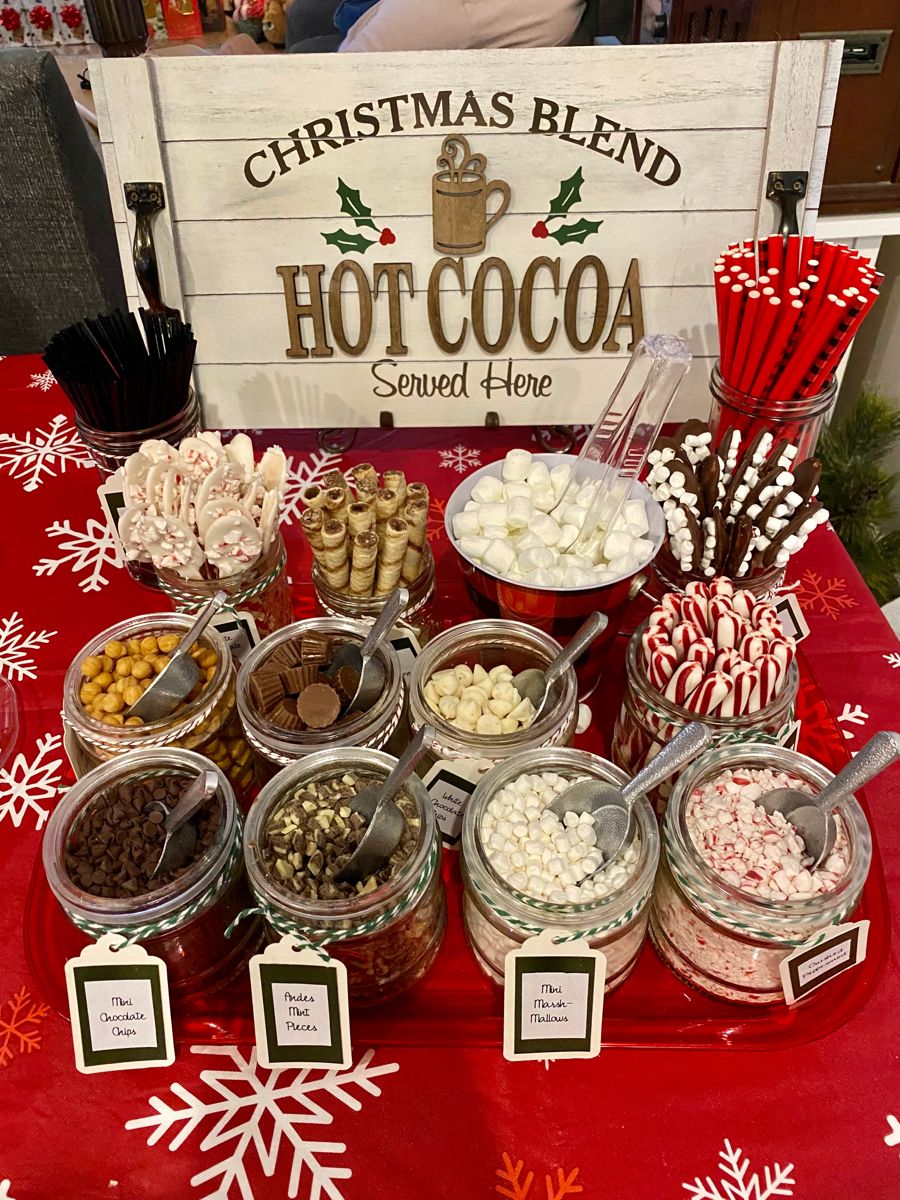
A bold cloth is the fastest bar decoration. A red snowflake tablecloth turns this table into a party before anything is set out.
Add wafer cookies, pretzel sticks and chocolate-dipped spoons for dipping.
Cover the cloth with clear vinyl if children will be pouring.
17. Build a Hot Chocolate Board
Skip the jars and build a board instead.
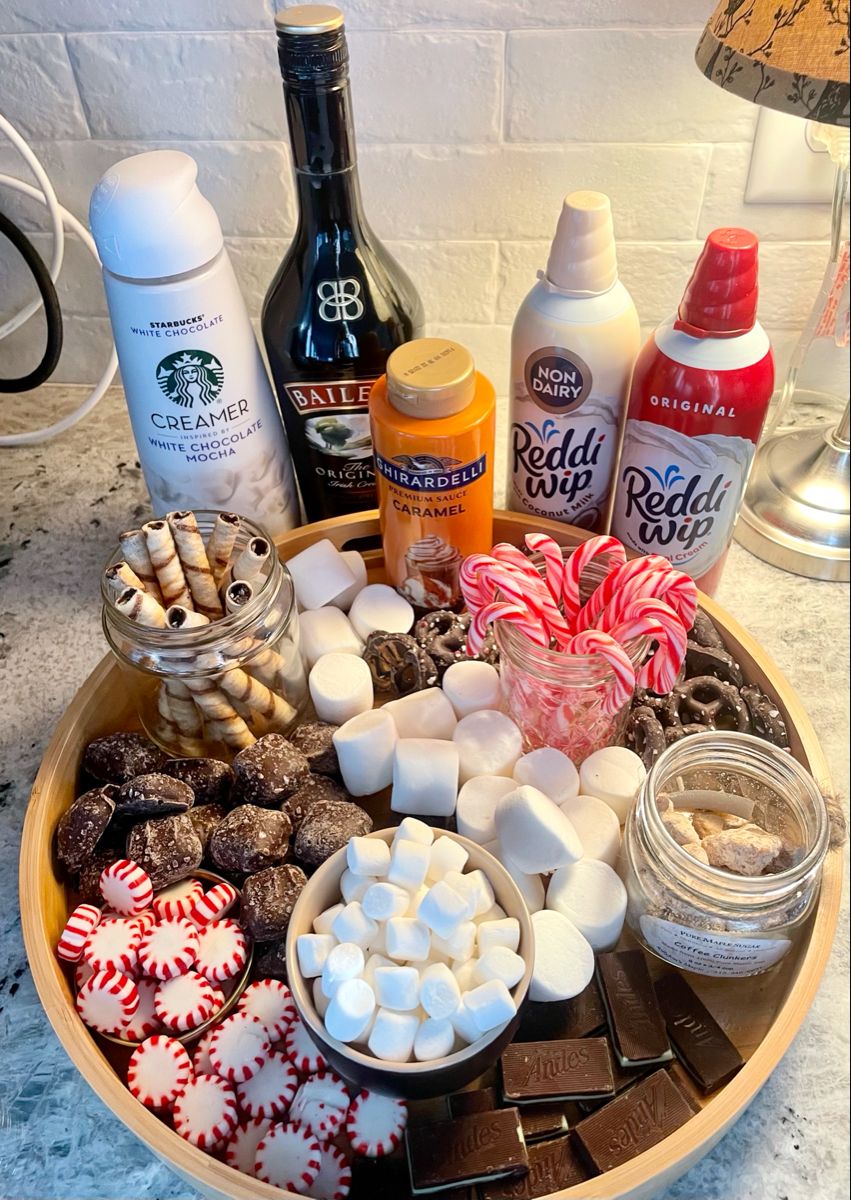
Marshmallows, peppermints, cookies, chocolate squares and pretzels are clustered on this round board, with candy canes filling the gaps. A round tray about 18 inches wide is plenty.
Keep any liqueur or flavored creamers on a labeled tray so children do not pour them by mistake.
18. Put Toppings in Small Square Bowls
Small bowls let guests see their choices.
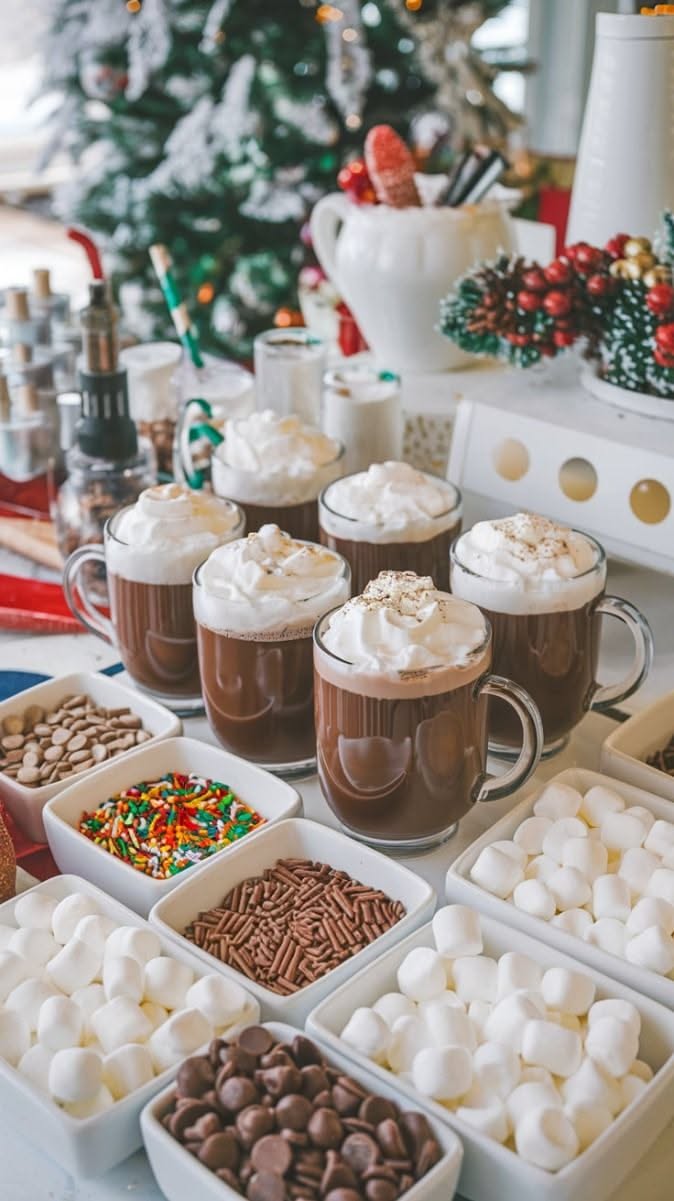
White bowls of sprinkles, chocolate chips, mini marshmallows and shaved chocolate sit beside mugs of cocoa here.
- They look tidy and refill quickly.
- Place the bowls within arm's reach of the mugs so nobody carries a full cup across the table.
19. Portion Marshmallows into Ramekins
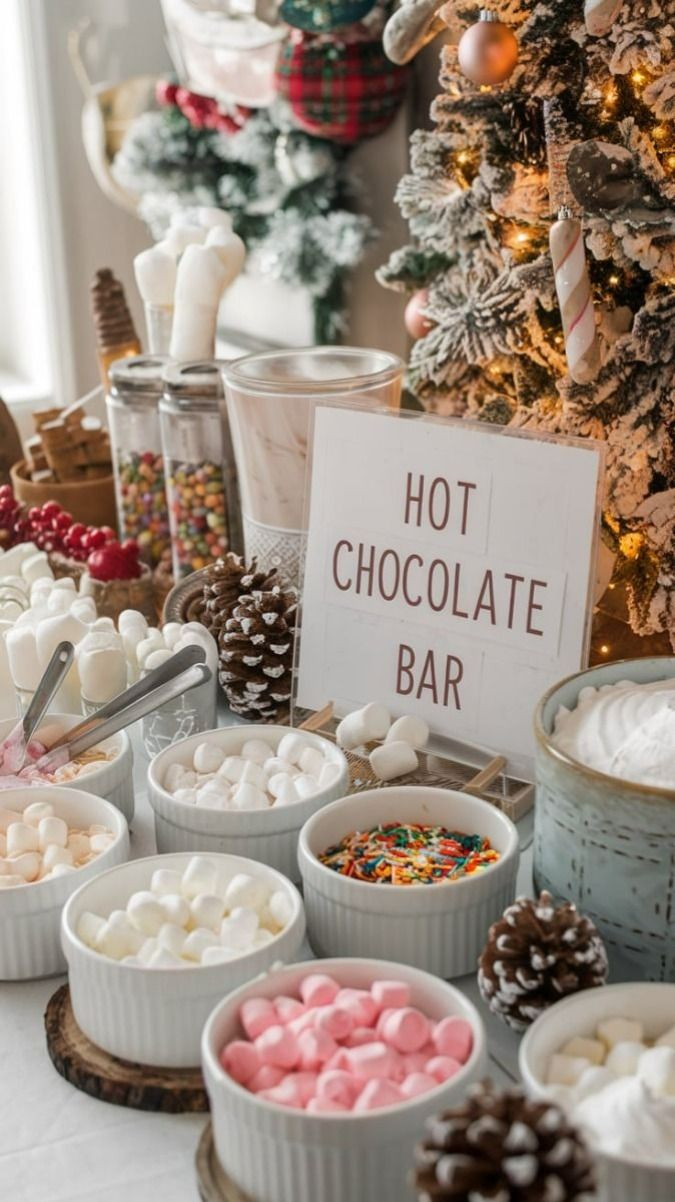
Ramekins portion out toppings so nothing goes soggy. Marshmallows and sprinkles sit in small dishes here, with pinecones and a sign.
- Six-ounce ramekins hold enough for a small party and can be topped up from a bag.
- Raise one bowl on a wood slice, and bake wild pinecones at 200°F for 45 minutes before bringing them near food.
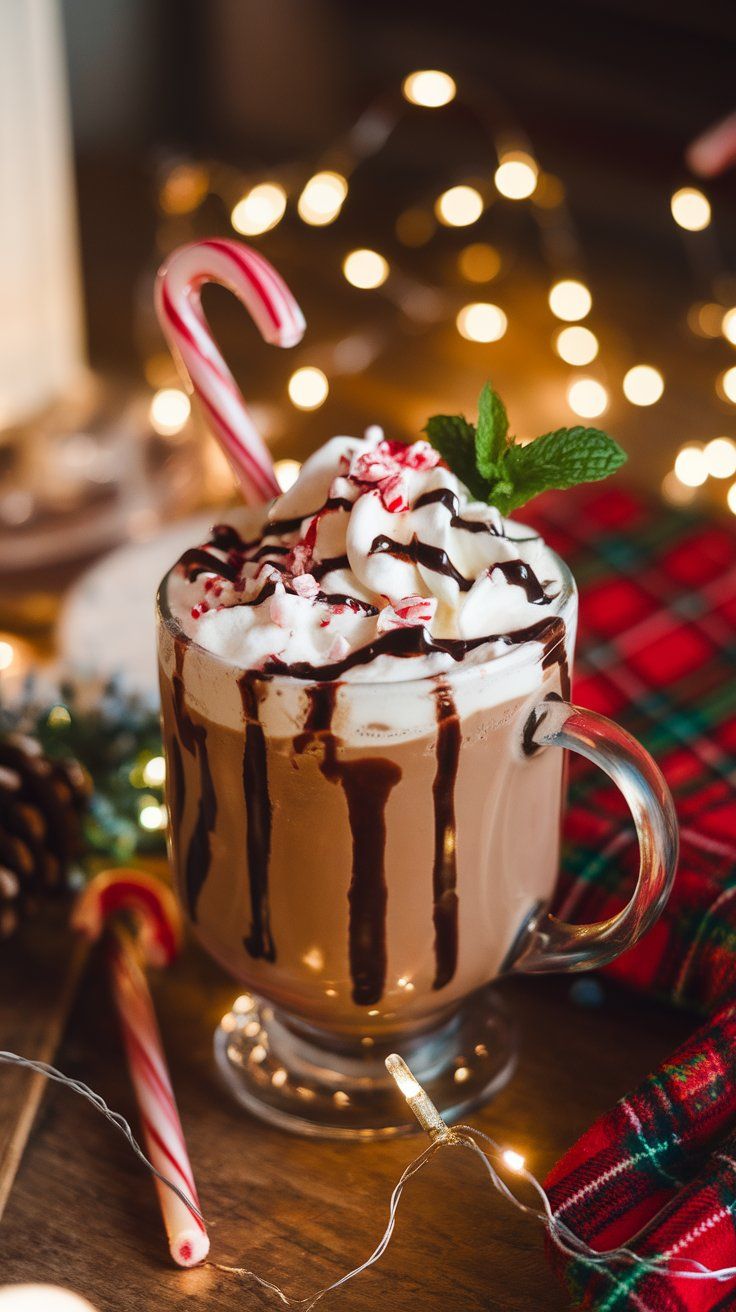
20. Garnish One Mug Like a Cafe Drink
One good garnish changes a mug. This peppermint mocha has whipped cream, a drizzle of chocolate, crushed peppermint and a candy cane.
Drizzle the sauce inside the glass first, then pour the cocoa for streaks. Peppermint extract is strong, so a quarter teaspoon per mug is plenty.
21. Theme a Skinny Tree around Cocoa
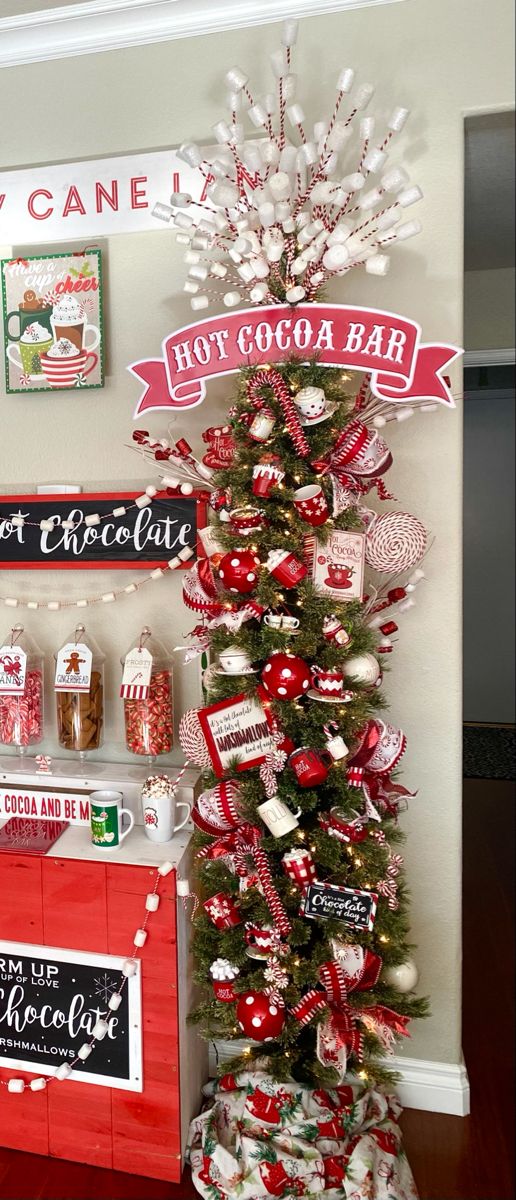
If you lack table space, decorate the tree.
Candy cane ornaments, peppermint ribbon and a cocoa banner turn this slim tree into the focal point of the bar.
Use plastic candy ornaments, not real ones.
Real candy melts near lights and attracts ants.
22. Add Height with Stands and Nutcrackers
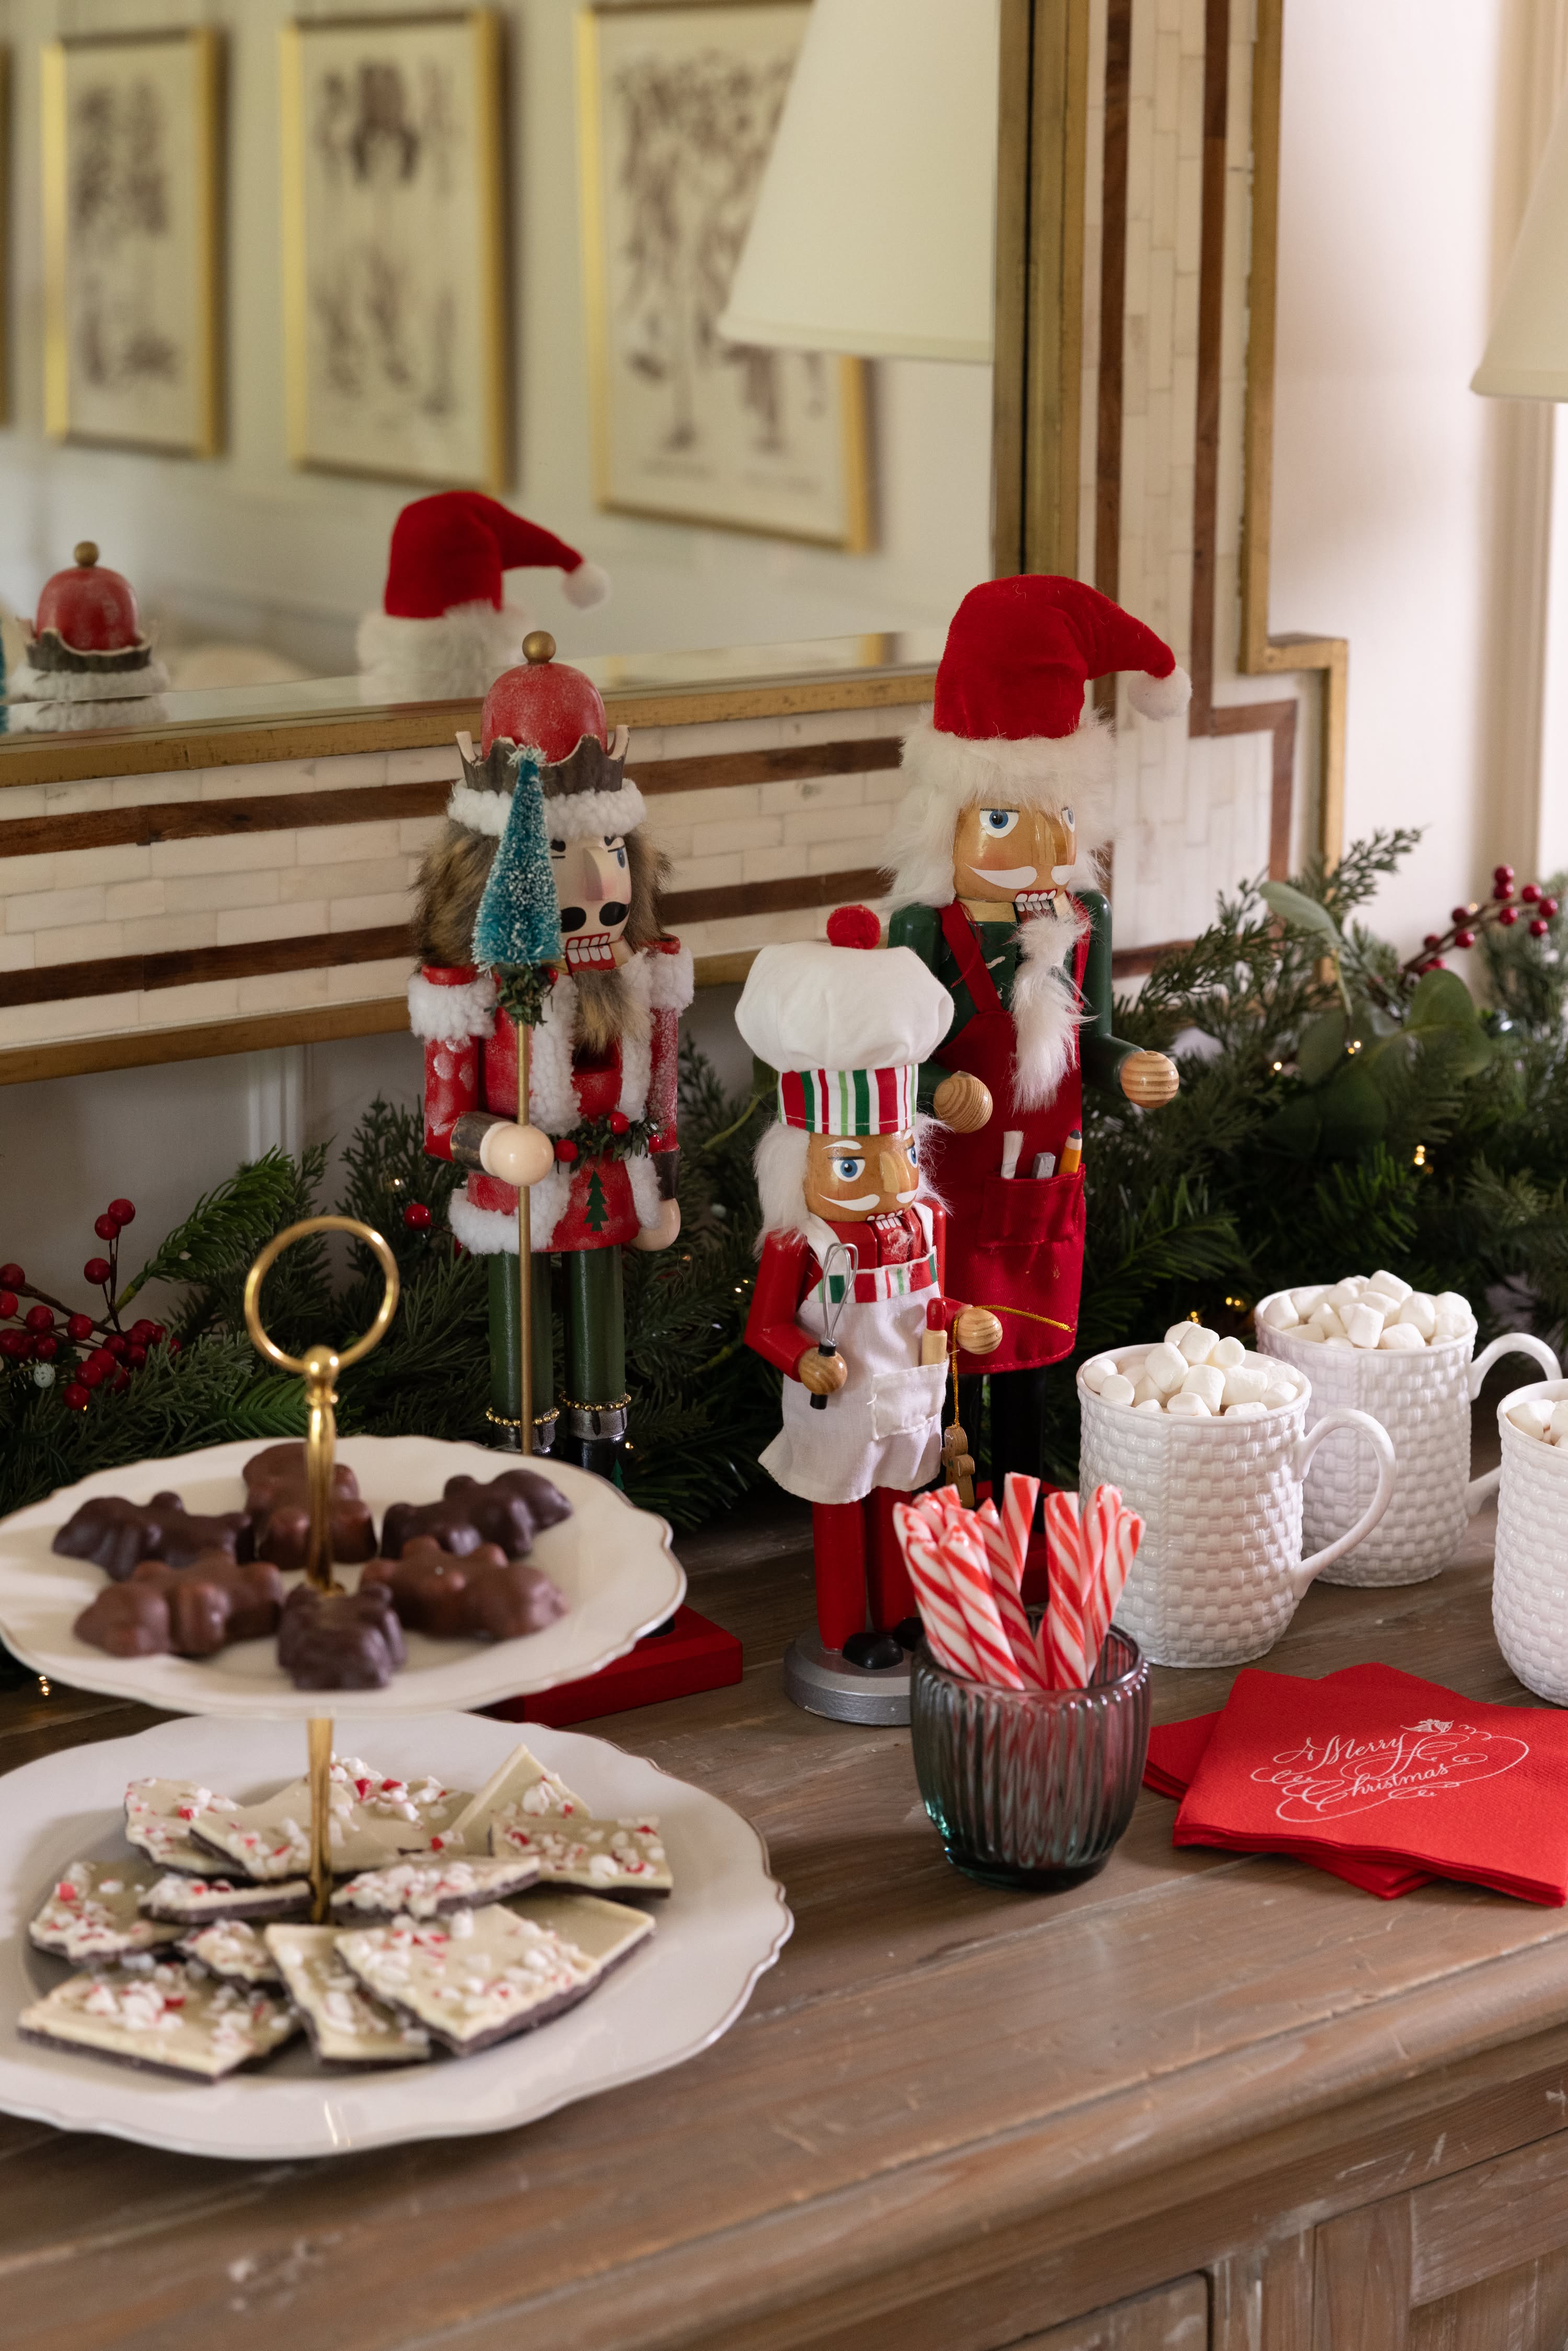
Stands add height without using more table. A two-tier dessert stand holds chocolates beside the mugs here, with nutcrackers at the back.
Choose treats that hold at room temperature, such as peppermint bark, chocolate pretzels and shortbread.
That way you are not refilling a melted tray.
Common Cocoa Bar Mistakes (and Fixes)
Letting dairy sit out. Keep it cold and bring it out for no more than two hours.
Putting the pot where kids pass. Place it at the back or on a cart you can park out of the way.
Forgetting napkins. Keep a stack and a small tray for drips.
Running out of mugs. Plan one mug per guest, plus a few spares.
Choose a layout, prep the toppings the night before and test the dispenser once. After that, the bar mostly runs itself, and you get to sit down with a mug.