
A mudroom has one job: catch everything the family drags through the door before it reaches the rest of the house.
Wet boots, backpacks, dog leashes and half a dozen coats all need a home, and the home needs to survive daily use.
These 58 ideas run from a single peg rail to full built-ins, with the measurements and materials I would use to make each one work. First, the rules.
Five Rules for a Mudroom That Survives Real Life
Give every person a hook. One hook per person, spaced six to eight inches apart. Shared hooks turn into piles.
Put a bench by the door. A seat around 15 to 18 inches high makes boots easy to take off, and storage underneath keeps them off the floor.
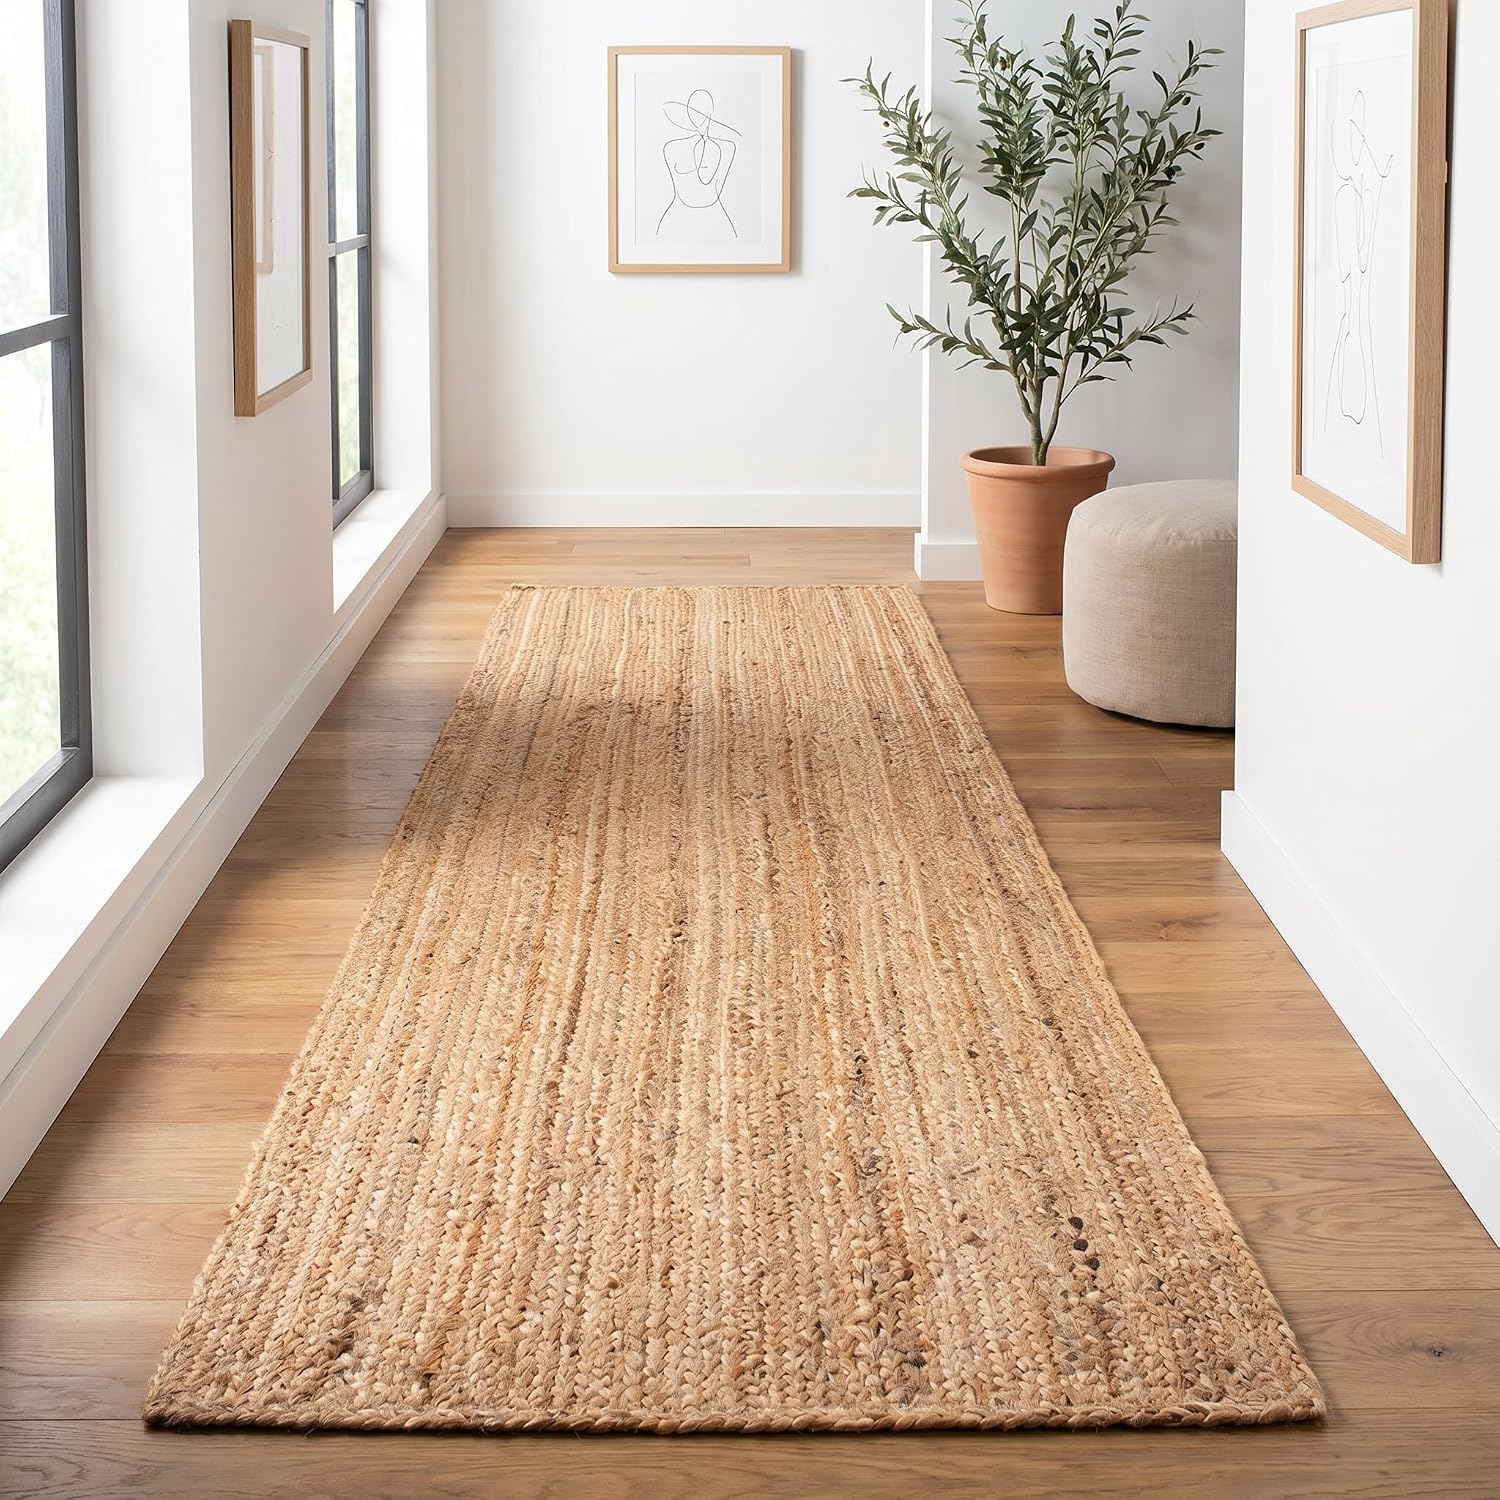
Choose surfaces that wipe clean. Semi-gloss or satin paint, sealed wood and tile or a washable rug will all forgive mud.
Count your shoes first. Measure the pairs you own before you plan cubbies, then add a slot or two for guests.
Mount into studs. A loaded hook rail carries a lot of weight. Screws in drywall alone won't hold it.
1. Skip the Bench and Hang a Peg Rail
No room for a bench? A rail of pegs still turns a hallway into a drop zone.
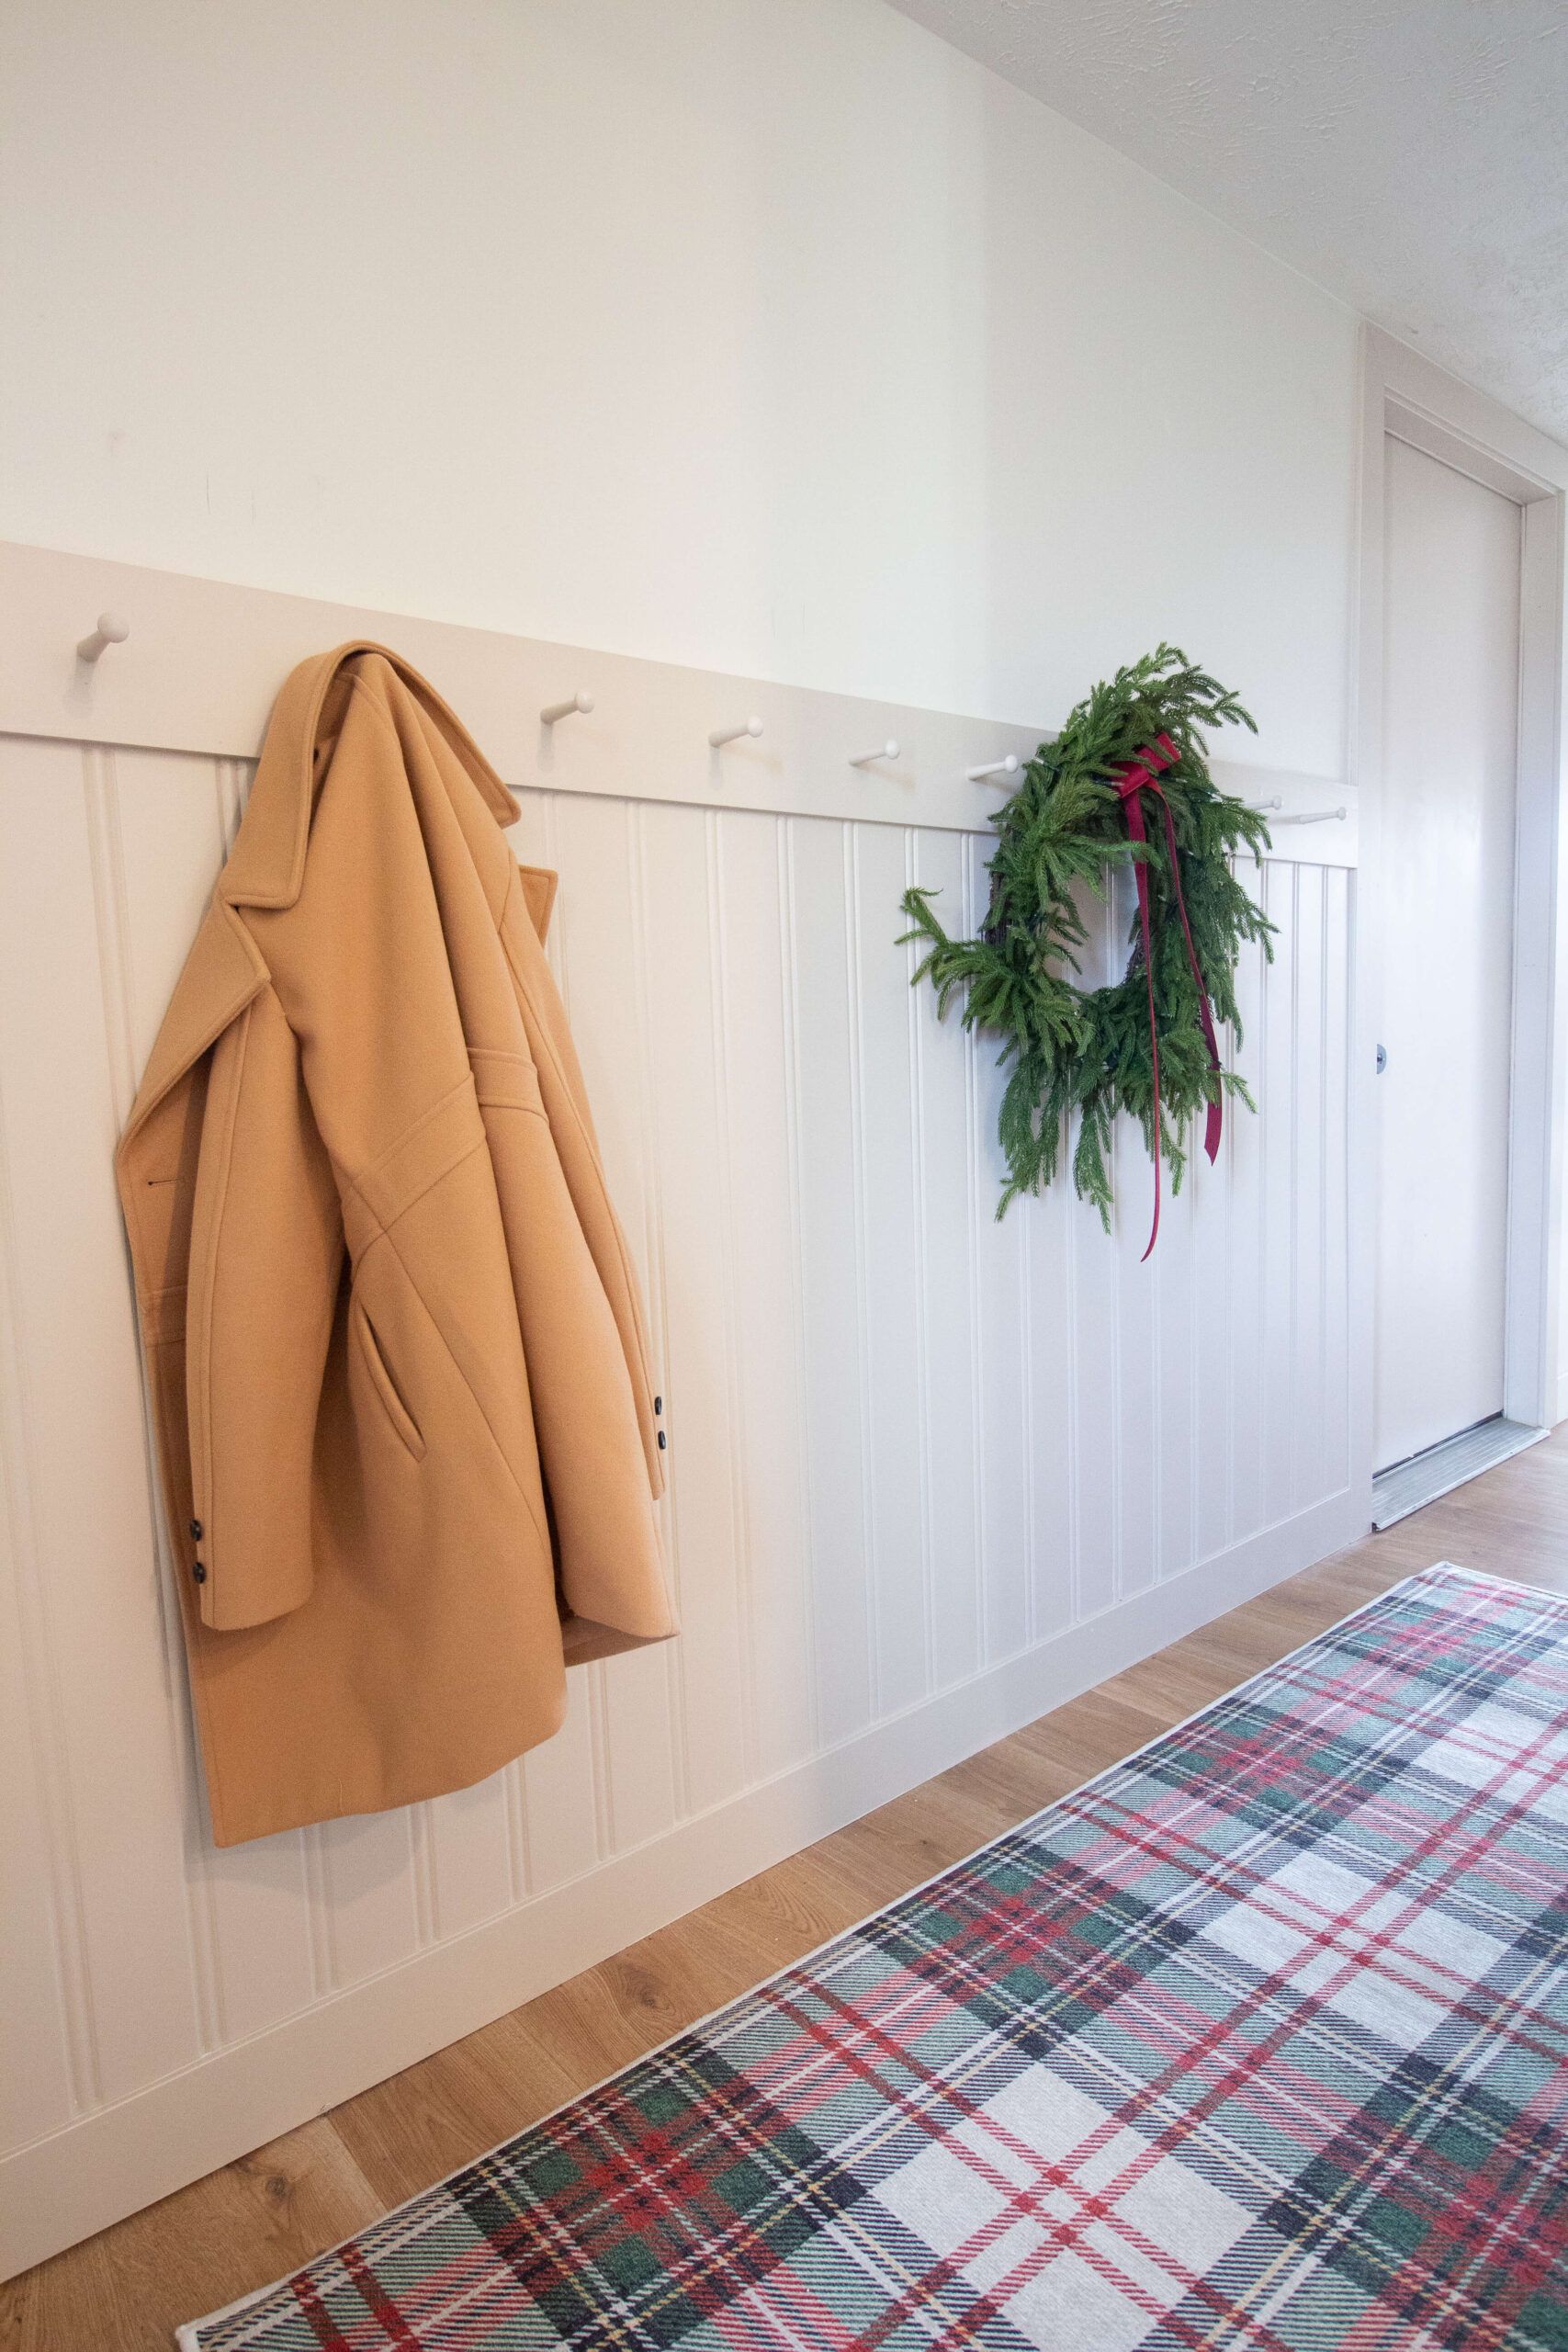
White pegs run along the top of this beadboard, with a camel coat and an evergreen wreath hanging side by side, and a plaid runner below to catch drips.
Mount the rail around 60 inches from the floor for adults, and screw it into studs. A rail held by drywall anchors alone will pull away the first time someone yanks a heavy coat.
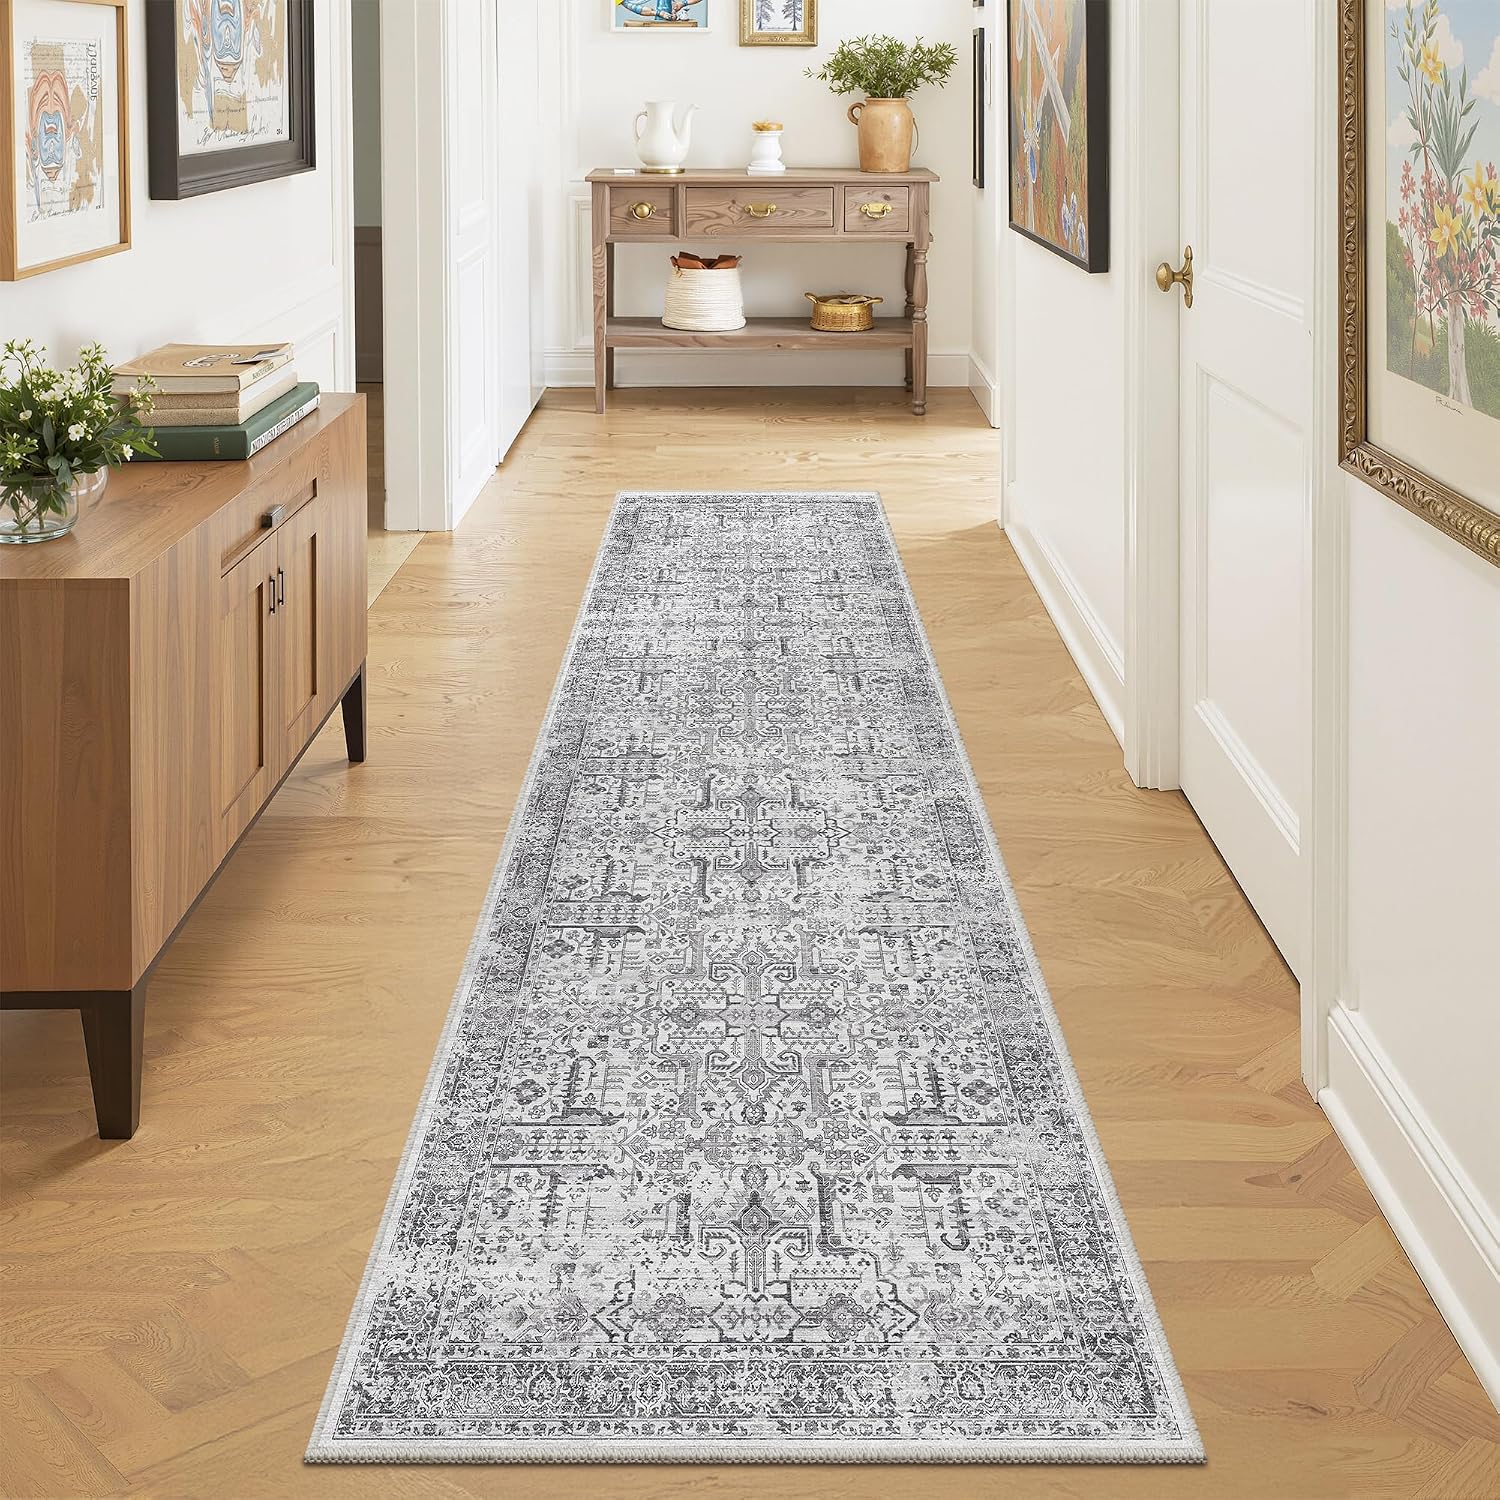
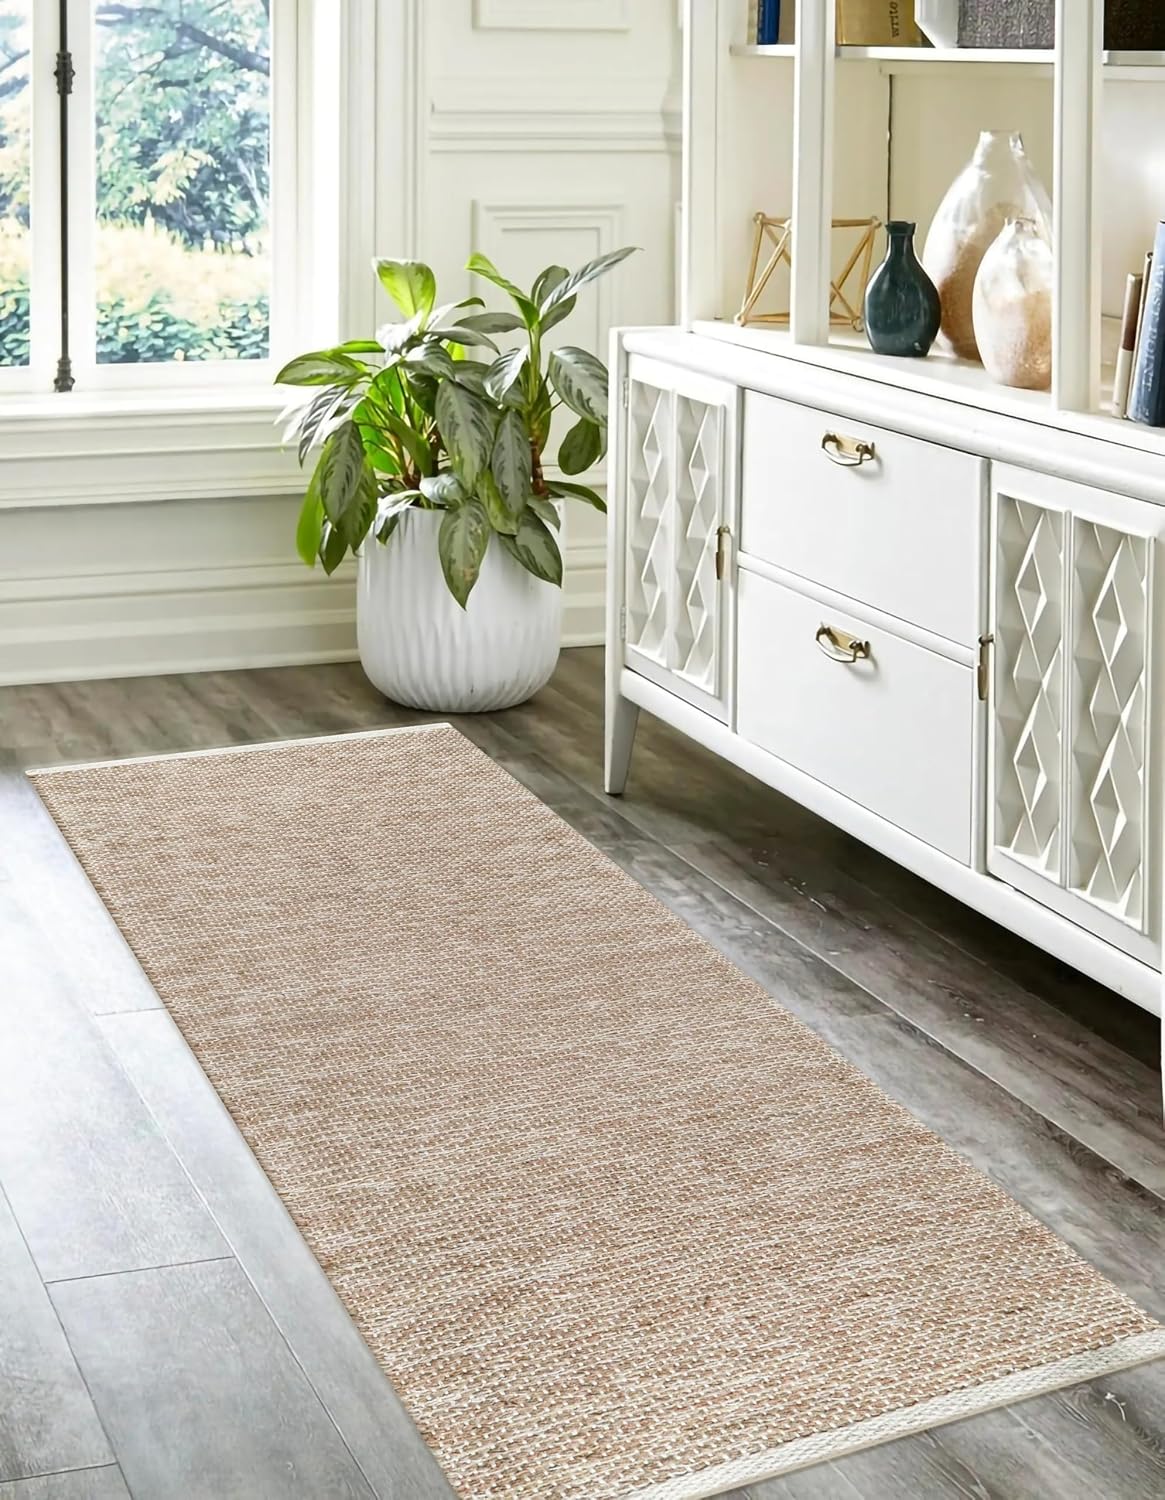
A washable runner is the cheapest floor protection you can buy. Toss it in the machine when the winter mud arrives.

2. Let Pegs Carry More Than You Expect
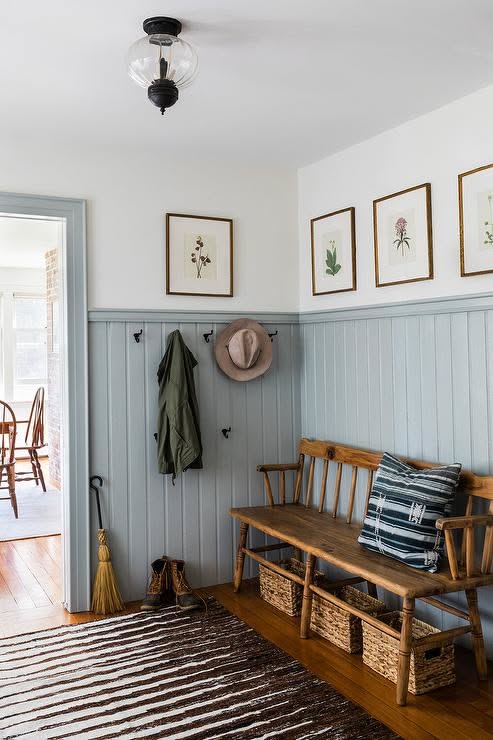
Pegs look delicate, but a good Shaker rail holds a surprising amount. Black pegs sit on blue beadboard wainscot here, under a row of framed botanical prints, with an antique bench and baskets beside it.
Hang one item per peg and the wall stays tidy. Two coats on one peg is how a neat rail turns into a pile.
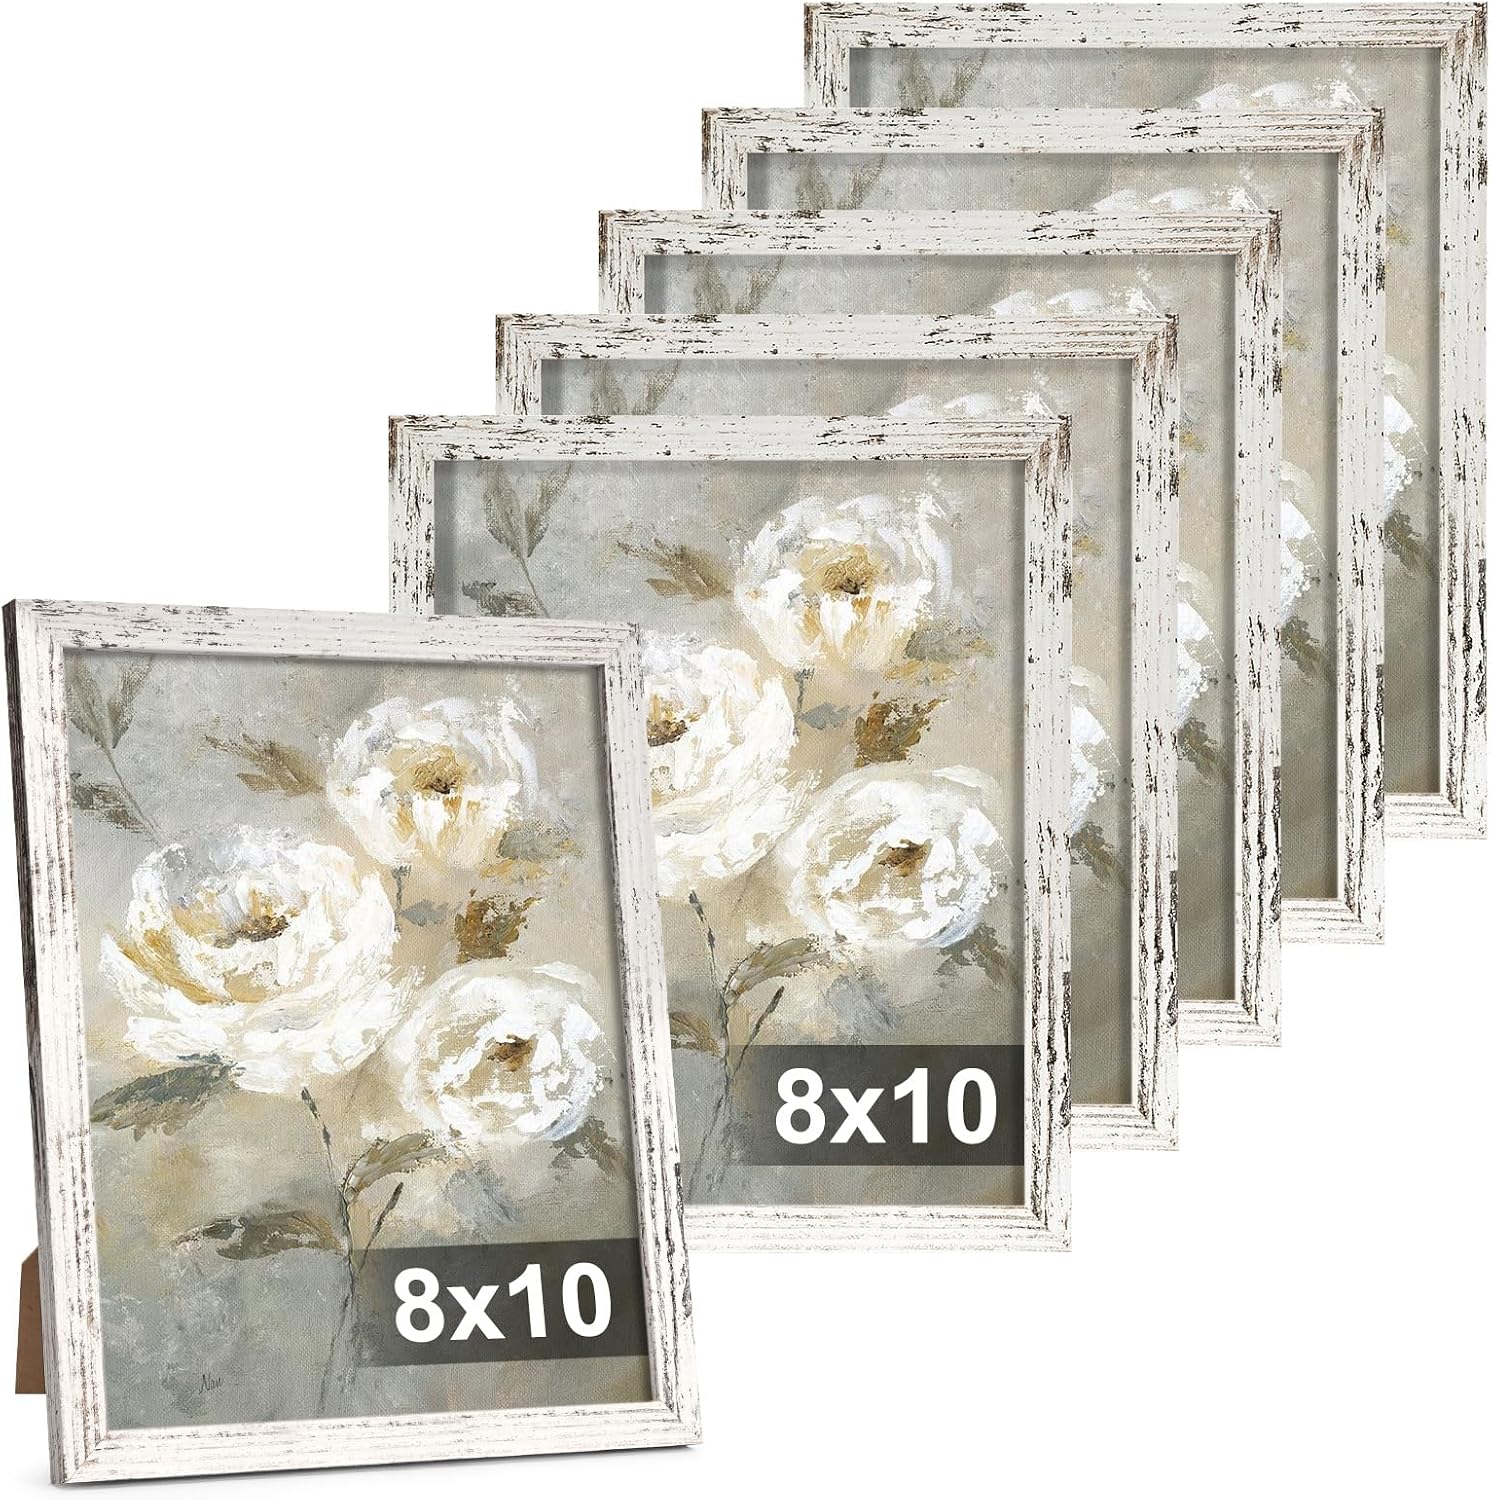
Pair the pegs with frames above them and the entry feels like part of the house, not a dumping ground.

3. Space Your Hooks Six to Eight Inches Apart
Hooks placed too close together are the quiet reason coats end up on the floor.
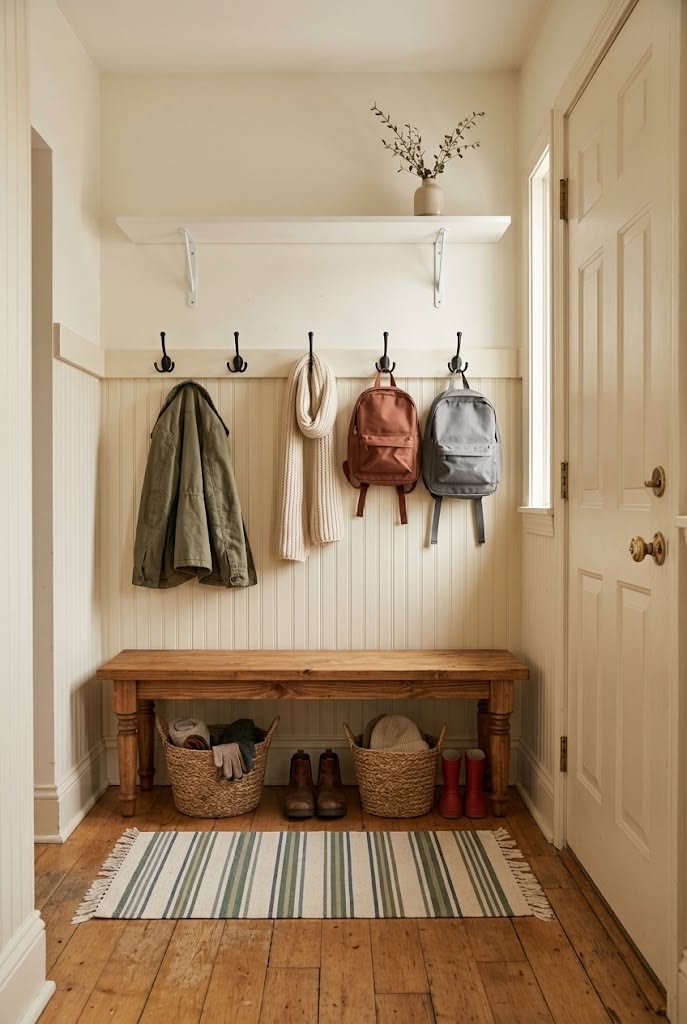
Five black hooks sit under a white bracket shelf here, each carrying one thing: a green parka, a cream scarf, a rust backpack and a gray one.
- Six inches is the minimum for jackets. Go eight if your family wears puffy coats.
- Put the shelf about a foot above the hooks, so there is room to reach a hat or bag without knocking the shelf.
4. Choose One Metal for Every Hook
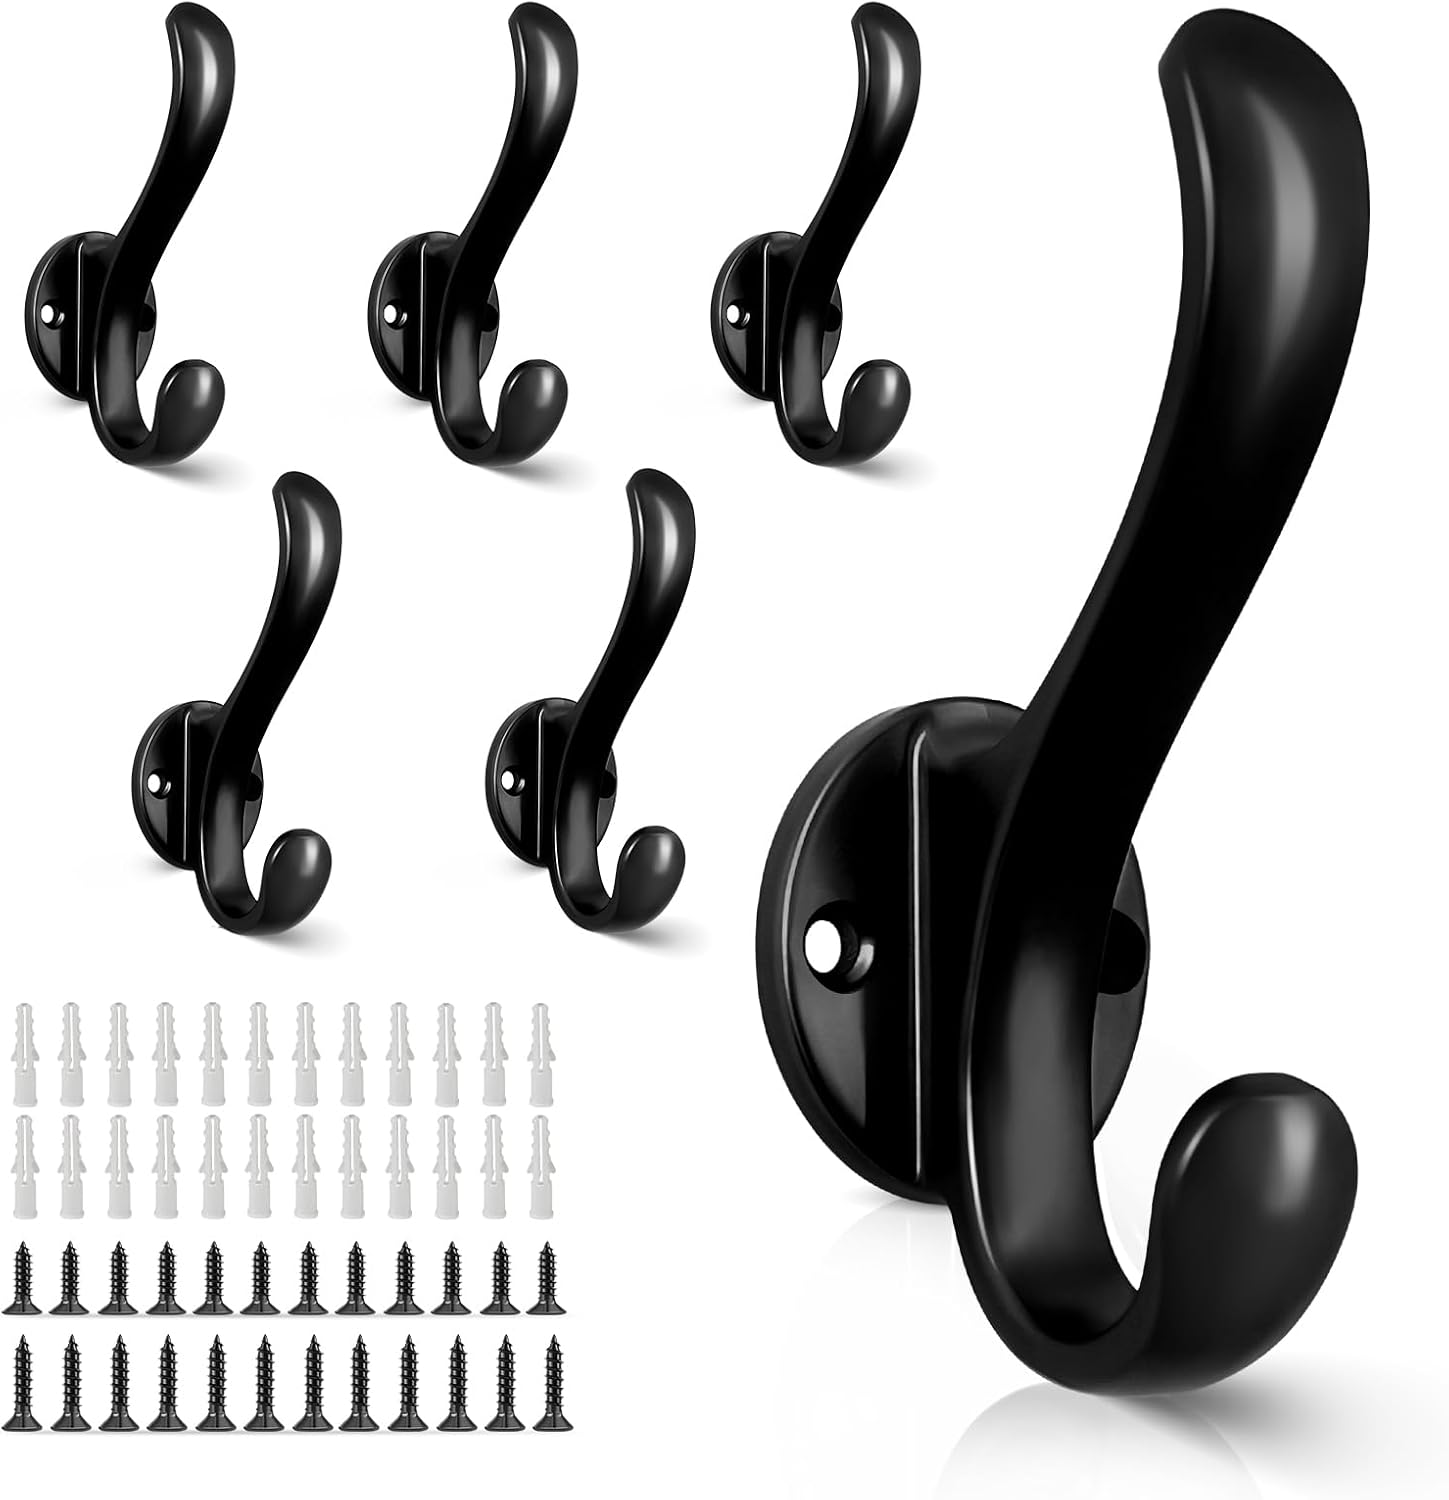
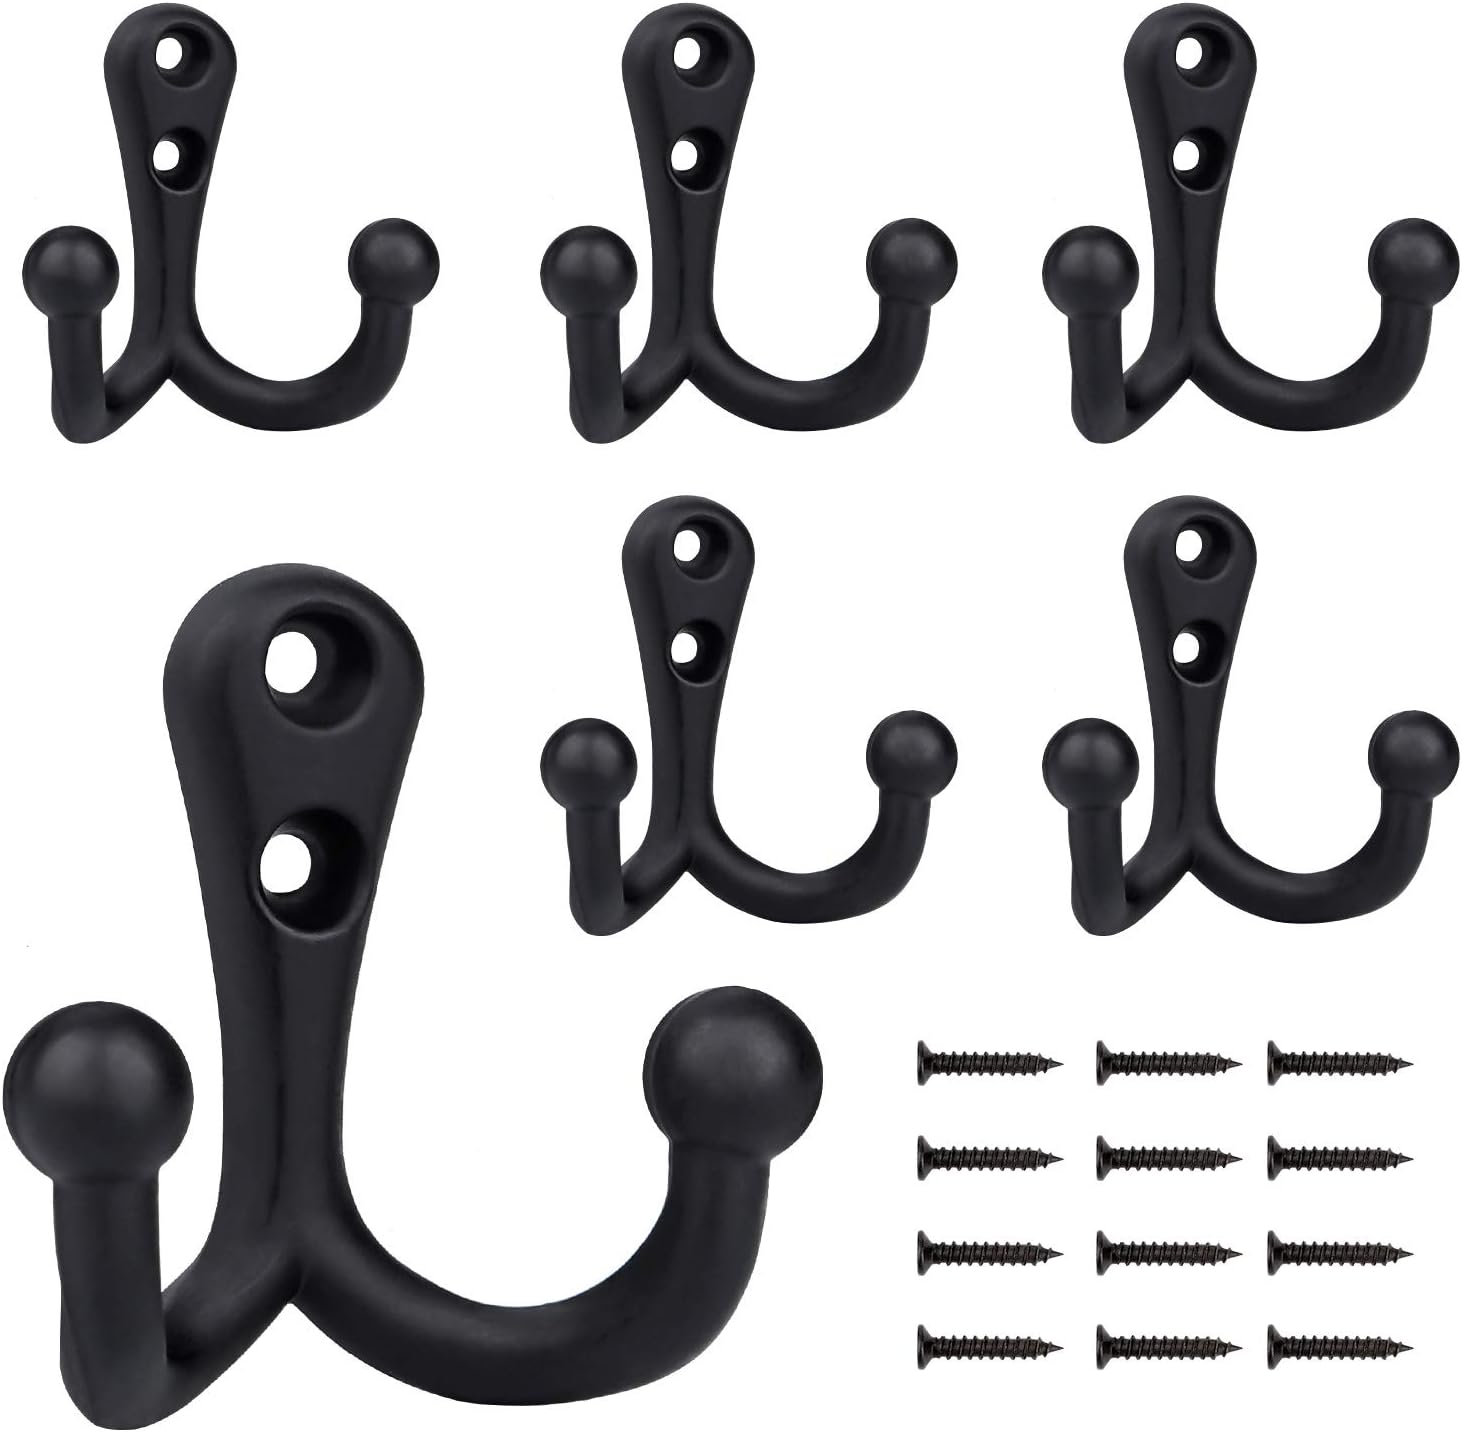
Mixed metals in a small space look like an accident. One finish looks planned.
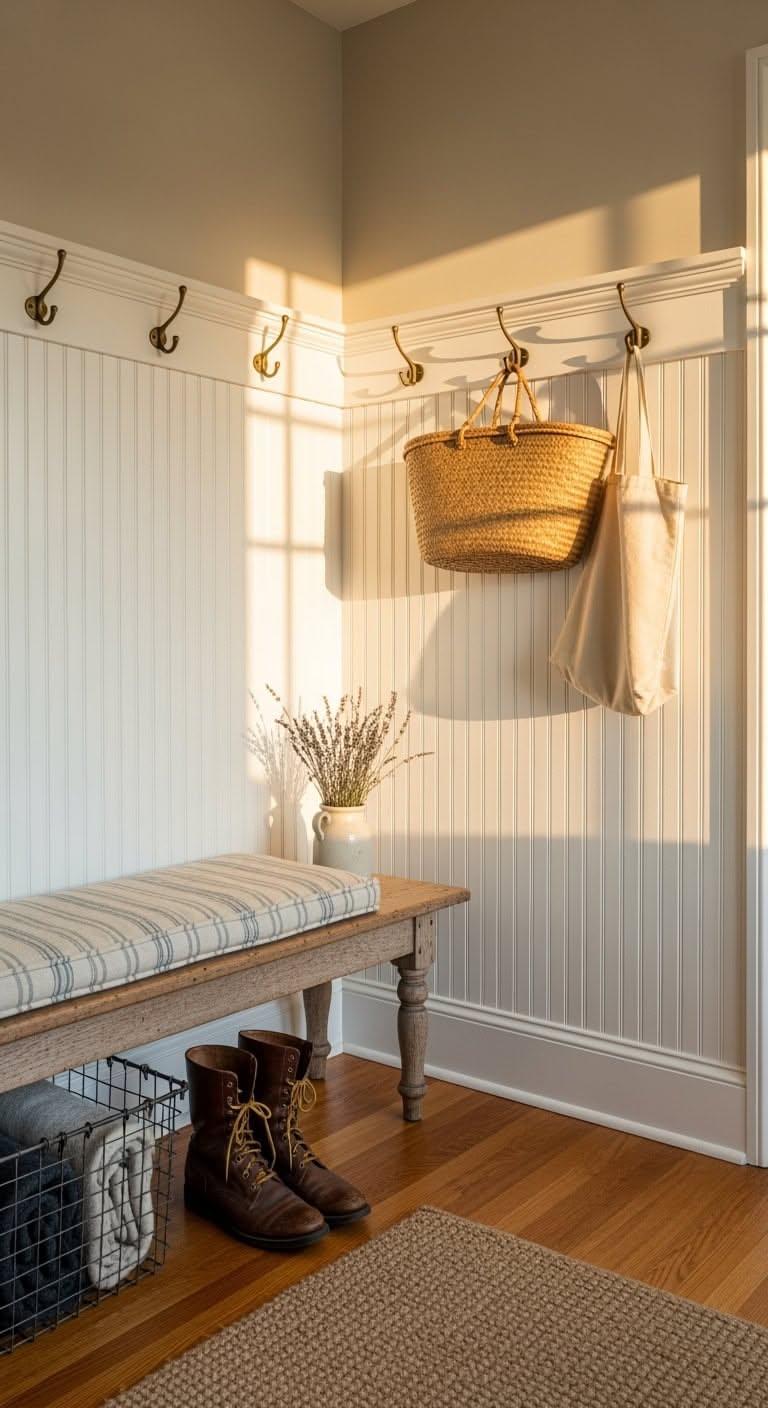
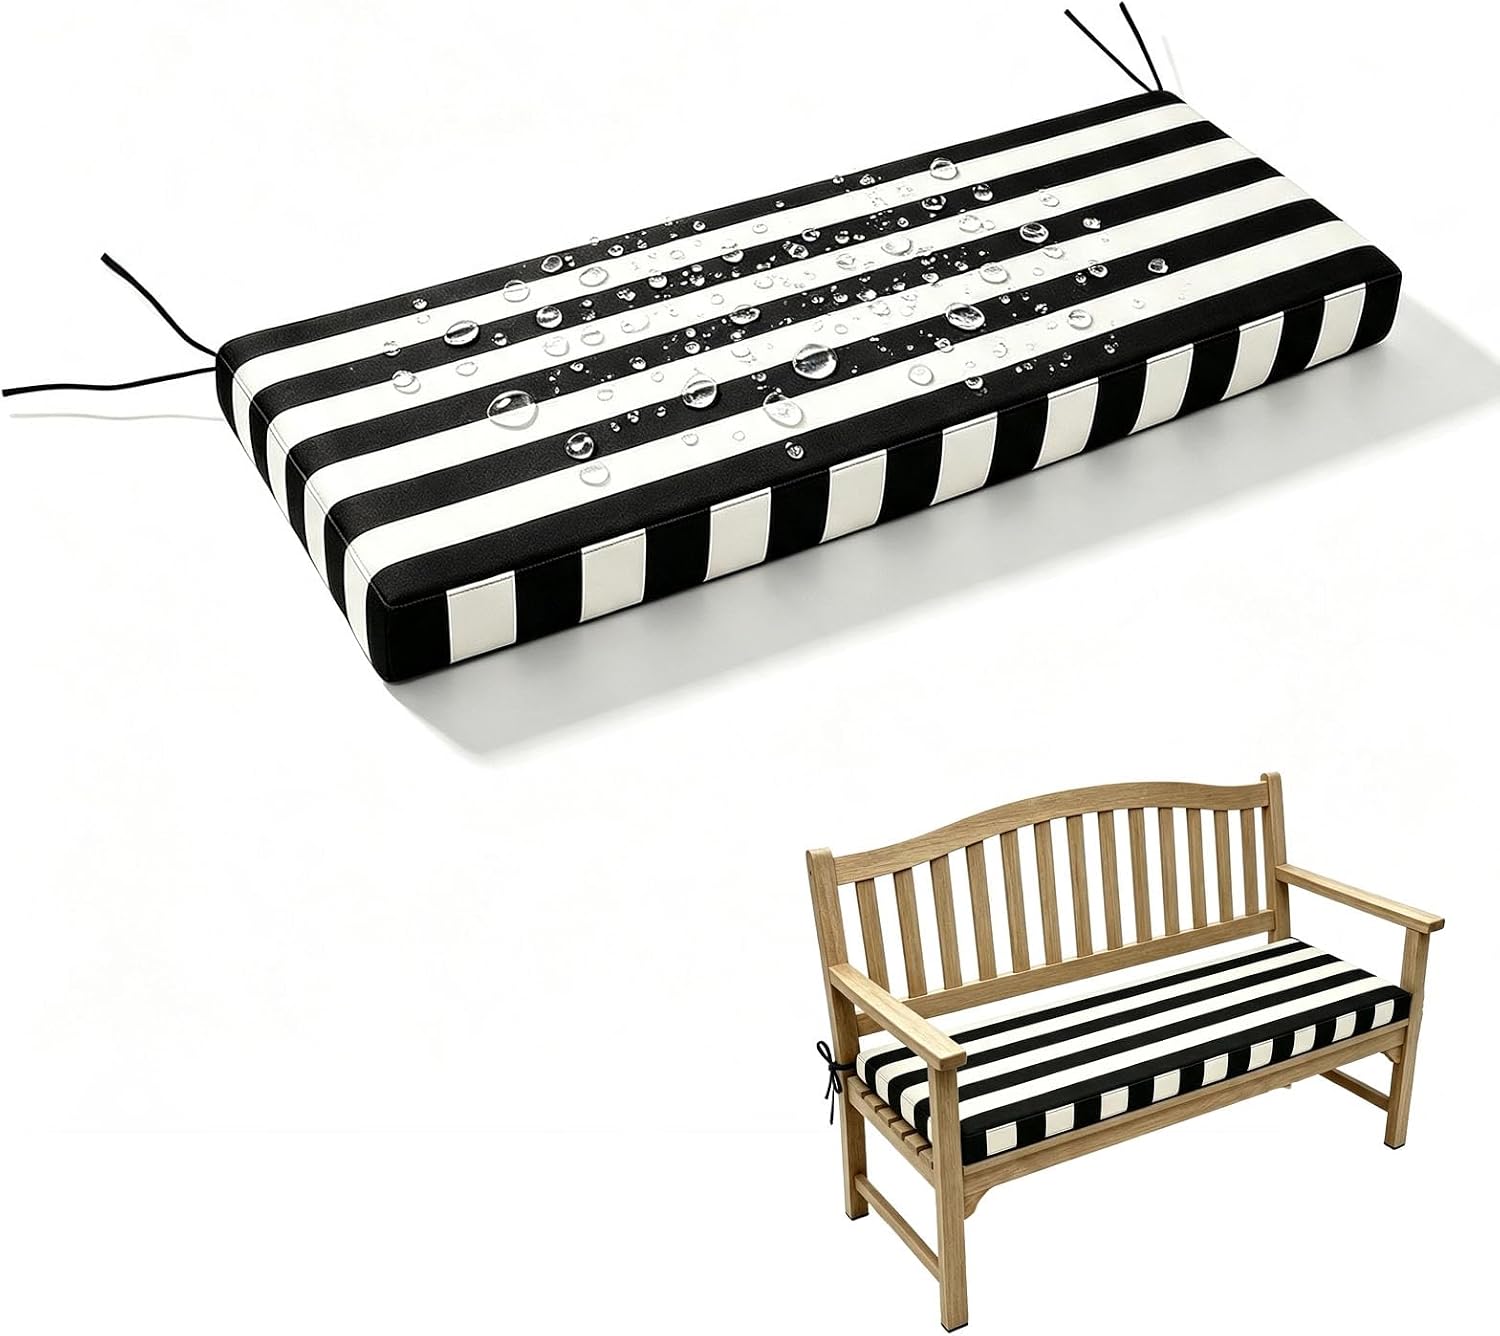
Brass hooks run across cream beadboard here, with a striped cushion on the bench and boots below, and sunlight warming the metal.
Check the finish of your door hardware and light fixtures first, then match the hooks to whichever is most visible. A wire basket under the bench catches boots and lets water drip through, so the floor stays drier.
5. Run One Long Rail Across the Whole Wall
One long rail looks calmer than a handful of short ones.
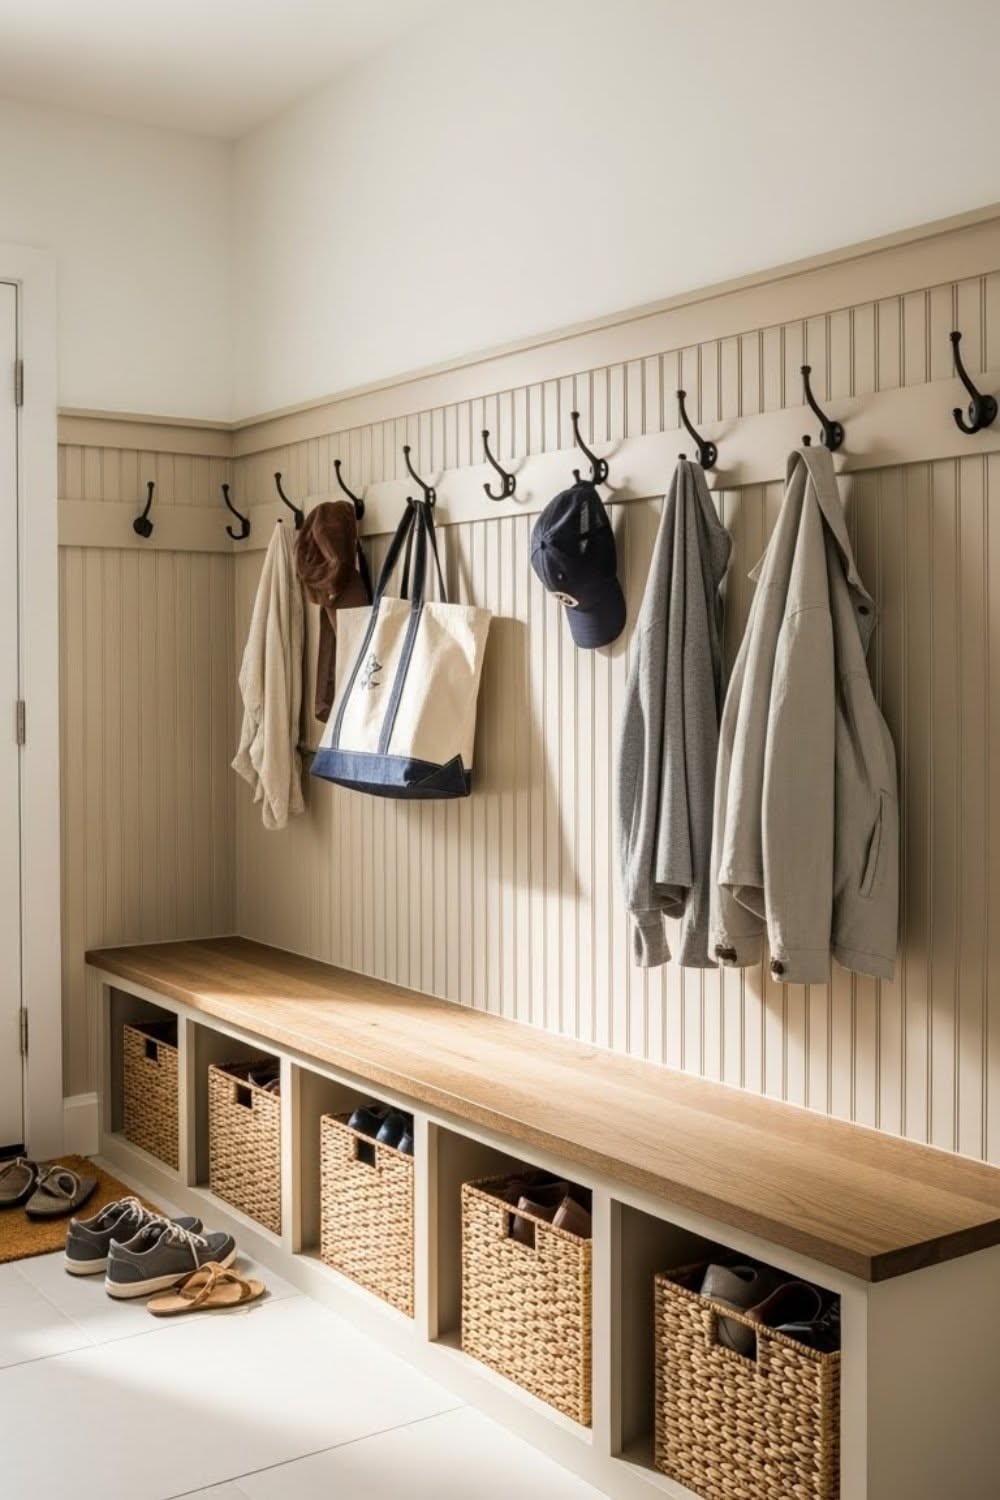
A single dark hook rail stretches the full width of this cream beadboard wall, with coats, a navy tote and a cap hanging evenly and a bench with five baskets below.
Quick tip: A single long board is easier to mount level, and the line of hooks makes the wall read as one piece.
Match the rail's length to the bench below it, and the whole wall looks built-in.

6. Fit a Mudroom Into a Four-Foot Corner
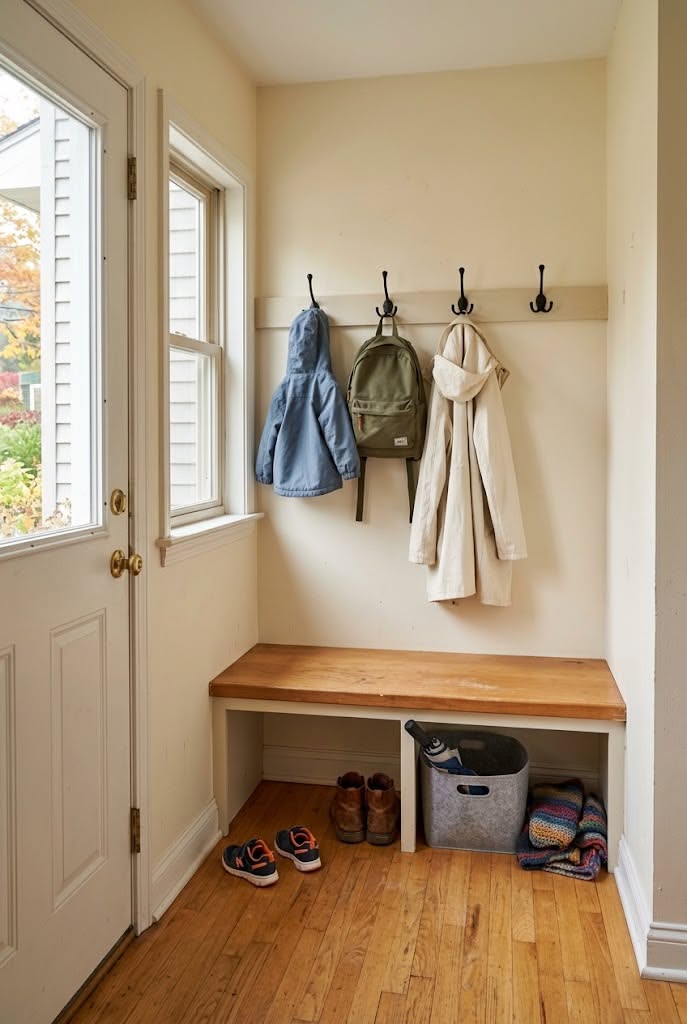
A mudroom can be as small as a coat rack and a place to sit. A corner by the door holds a short hook rail with a blue jacket, a green backpack and a coat, with an open wood bench and a bin of shoes underneath.
Four feet is enough for three or four hooks and a bench seat around 15 inches deep.
Use the space under the bench for a bin per person. It keeps shoes from spilling out into the room.
7. Hang Kids' Hooks at Kid Height
If a child can reach the hook, the backpack gets hung. If not, it lands on the floor.
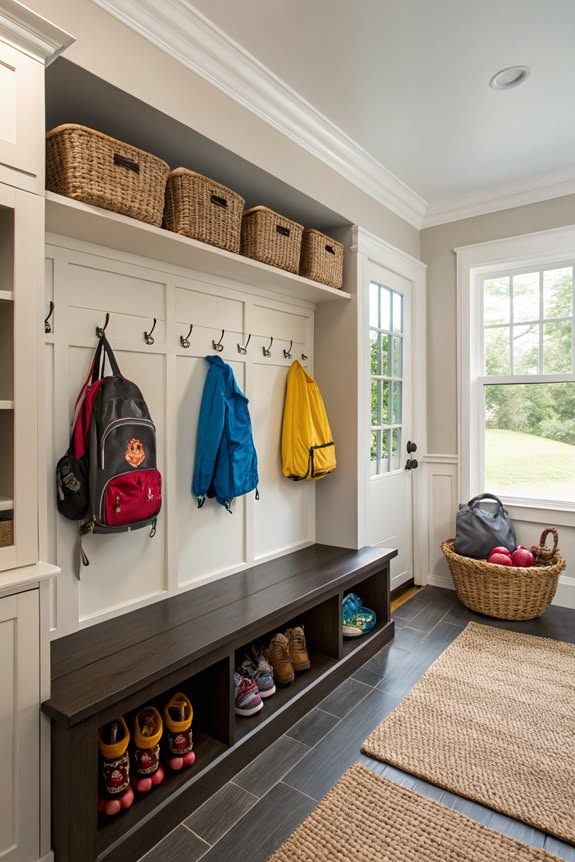
A red backpack and bright jackets hang from low hooks on a board-and-batten wall here, with a dark bench and a row of boots below. Mount kid hooks around 42 to 48 inches for younger children, and raise them as they grow.
Give each child their own hook and their own color, so nobody has to ask whose coat is whose.
8. Frame the Kids' Art Above the Hooks
The wall above the hooks is wasted space until you give it a job.
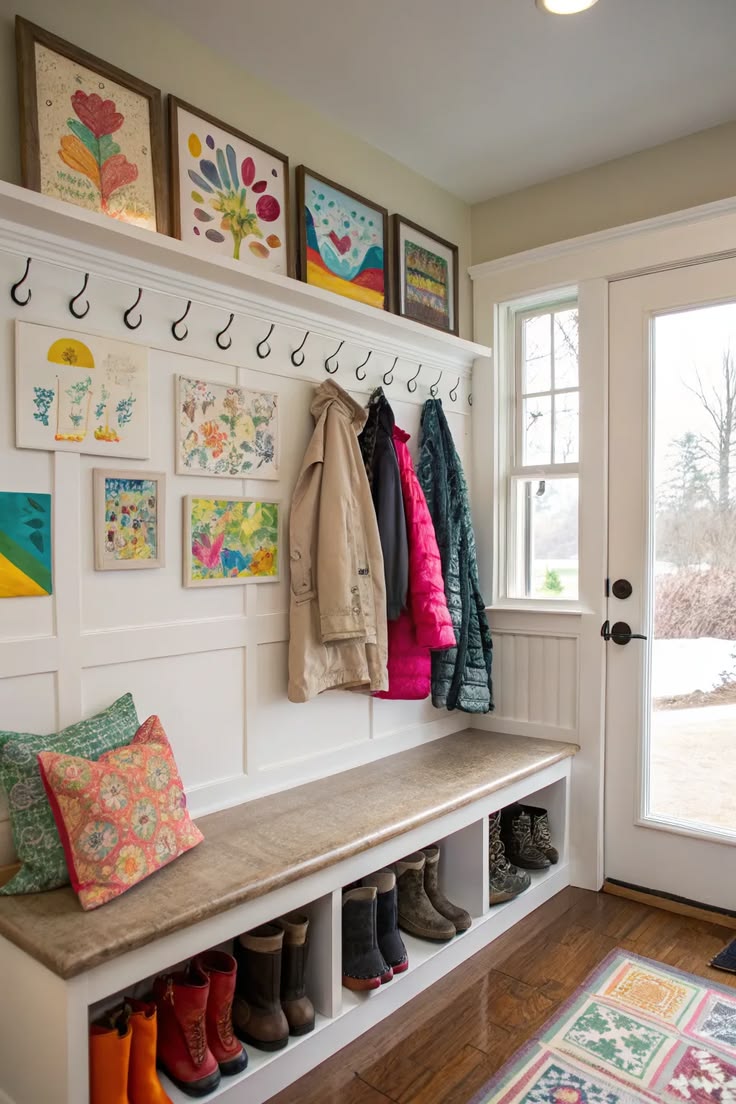
A long hook rail sits under a gallery of framed children's art in bright colors here, with coats below, a cushioned bench and rubber boots underneath.
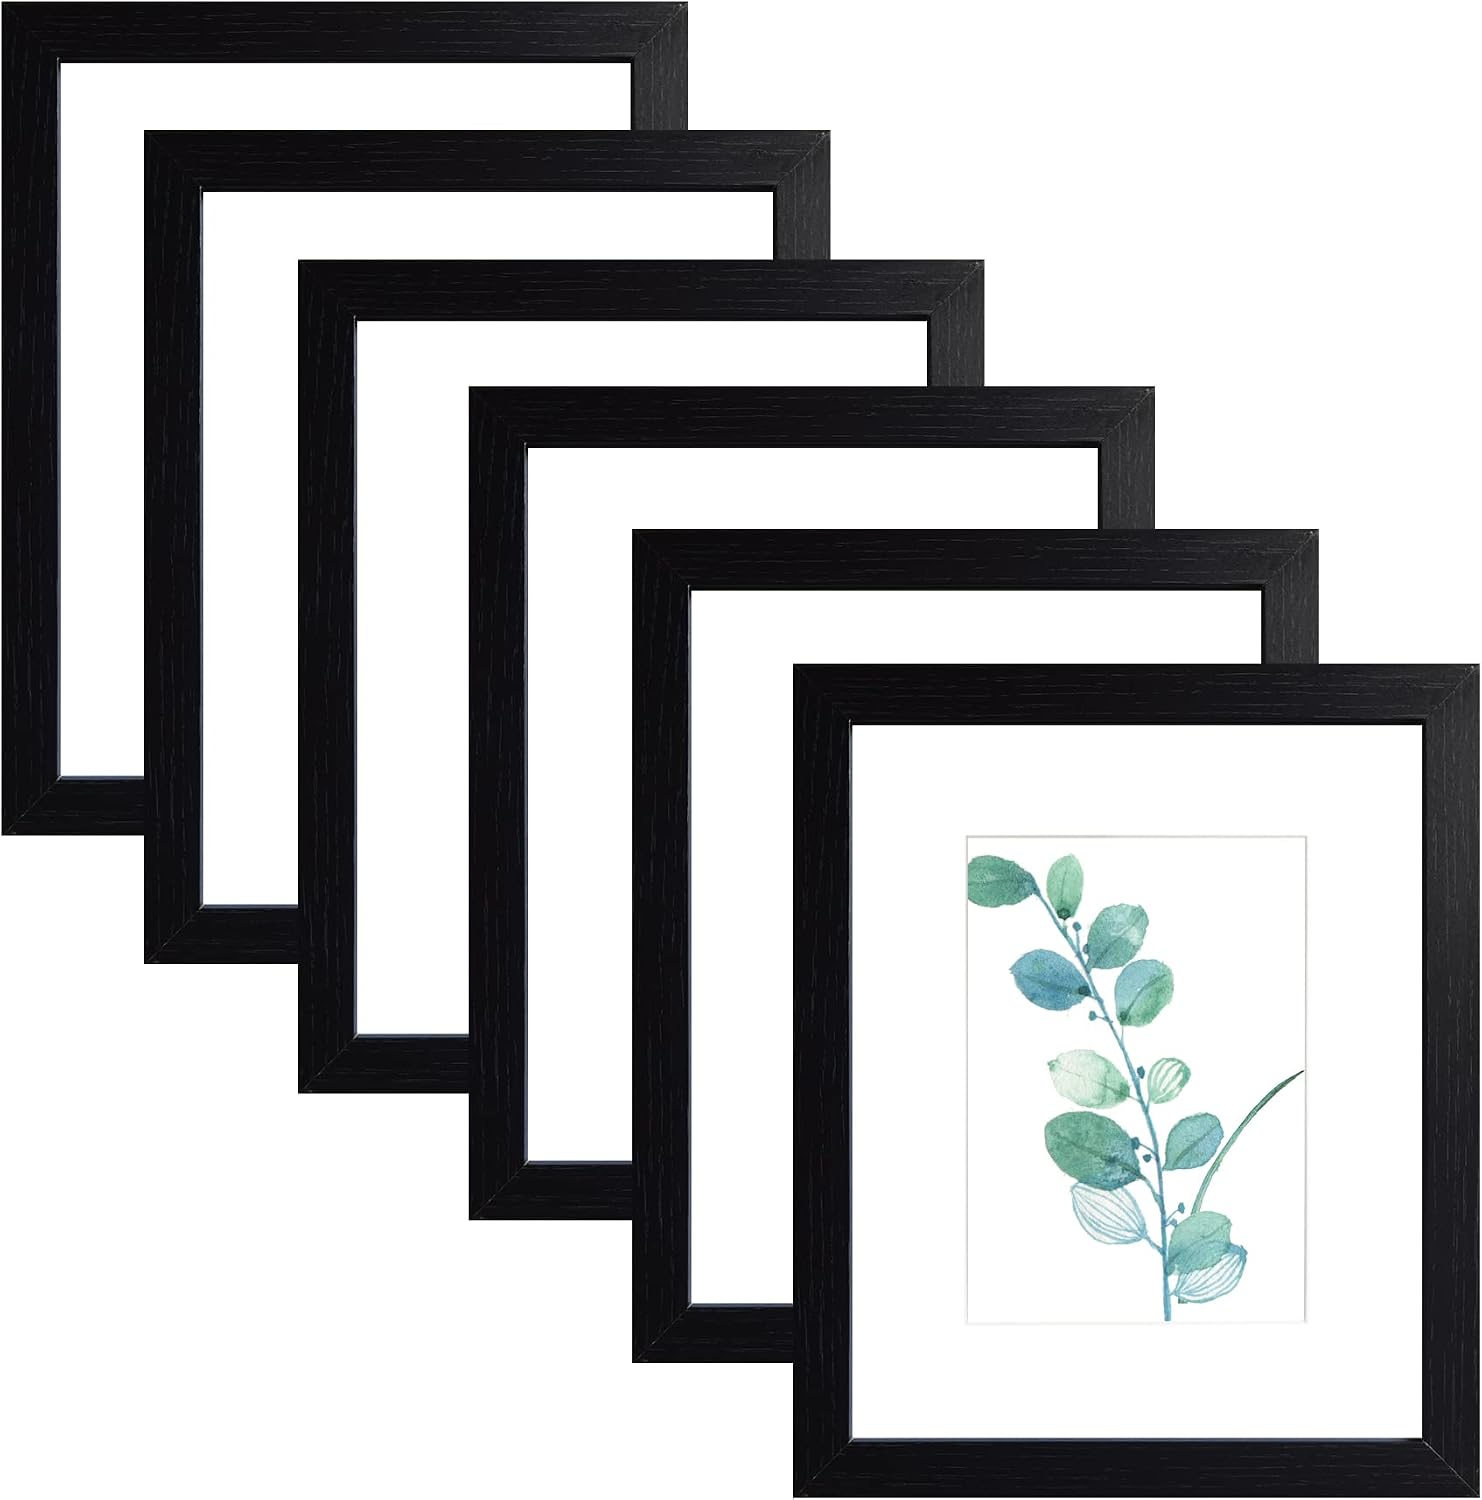
- Use matching frames, so the art feels like a collection and the colors do the talking.
- Swap the art every month. It gives kids something to be proud of on the way out the door.
9. Put a Shelf Over the Hooks
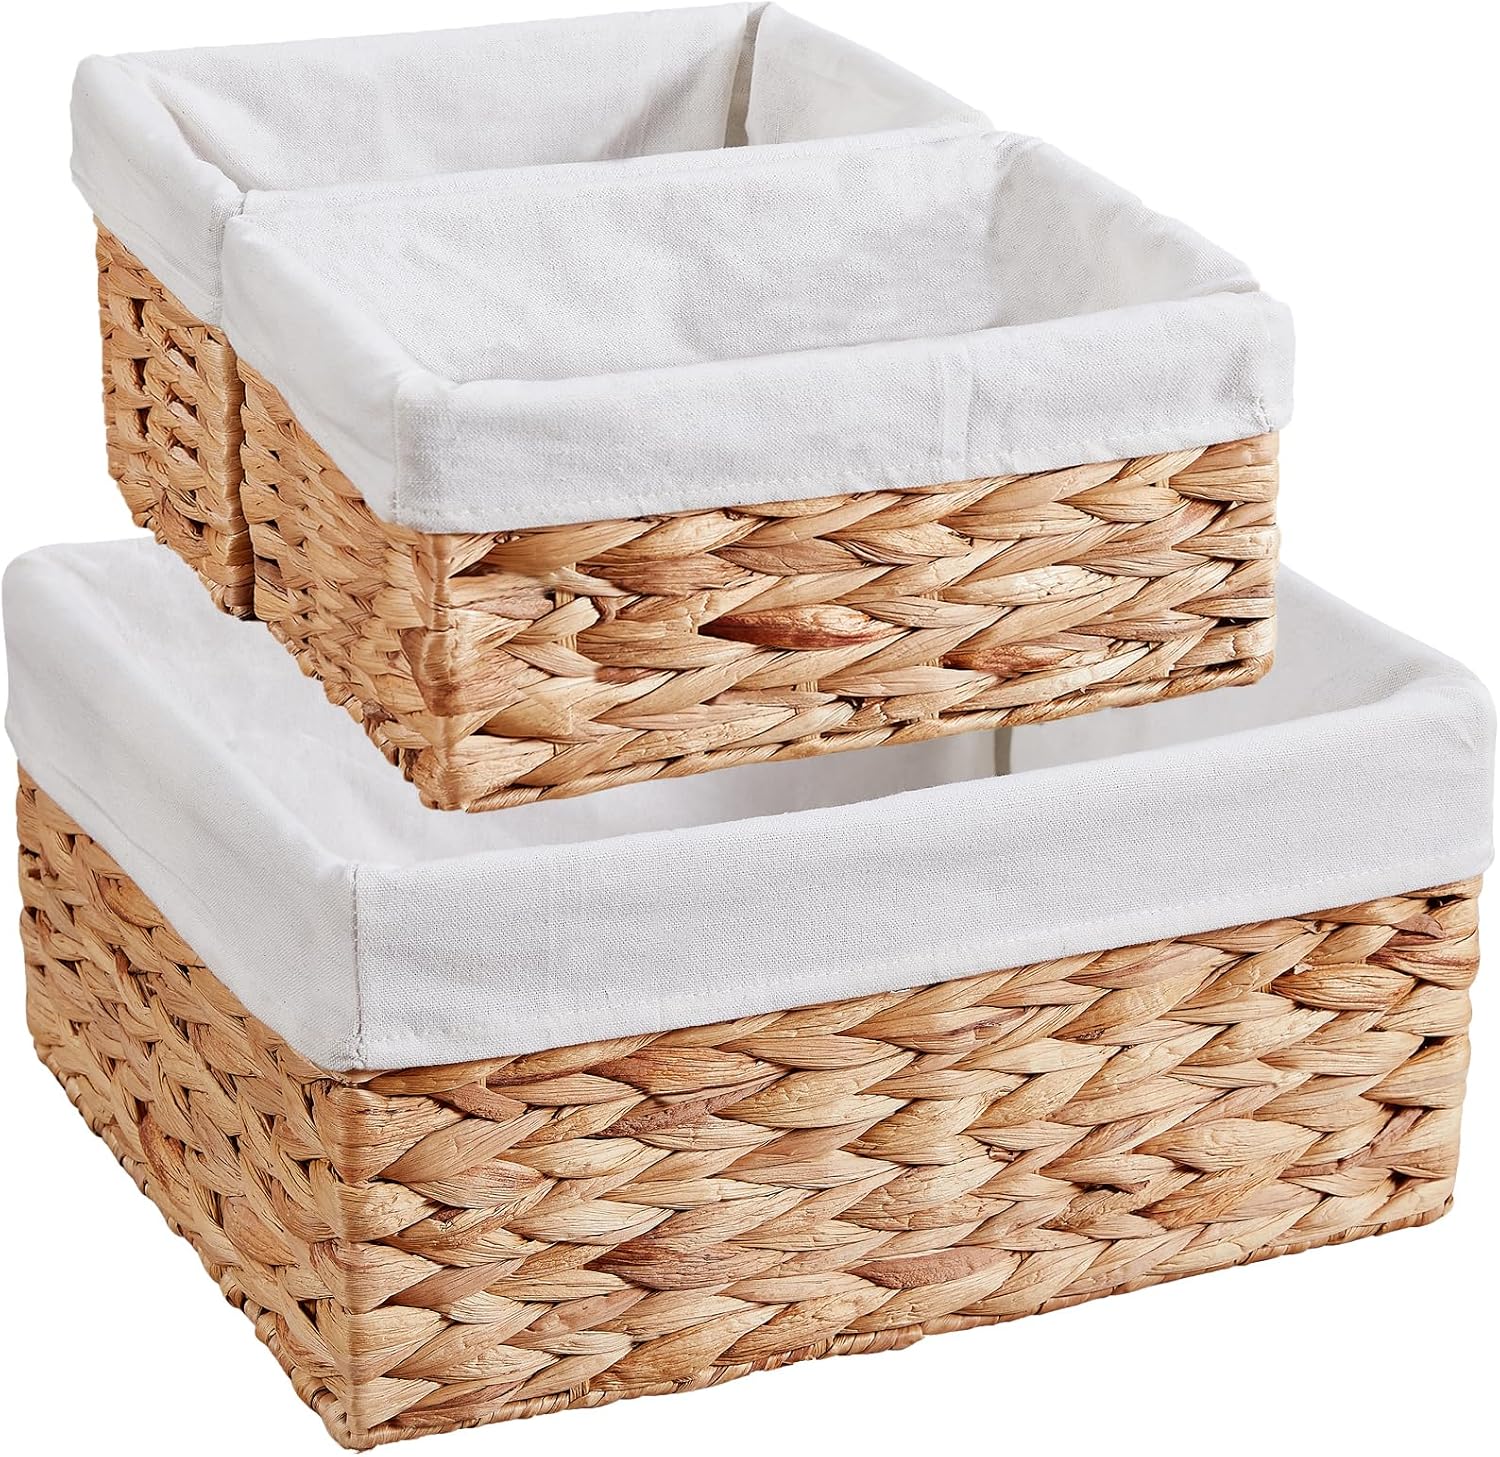
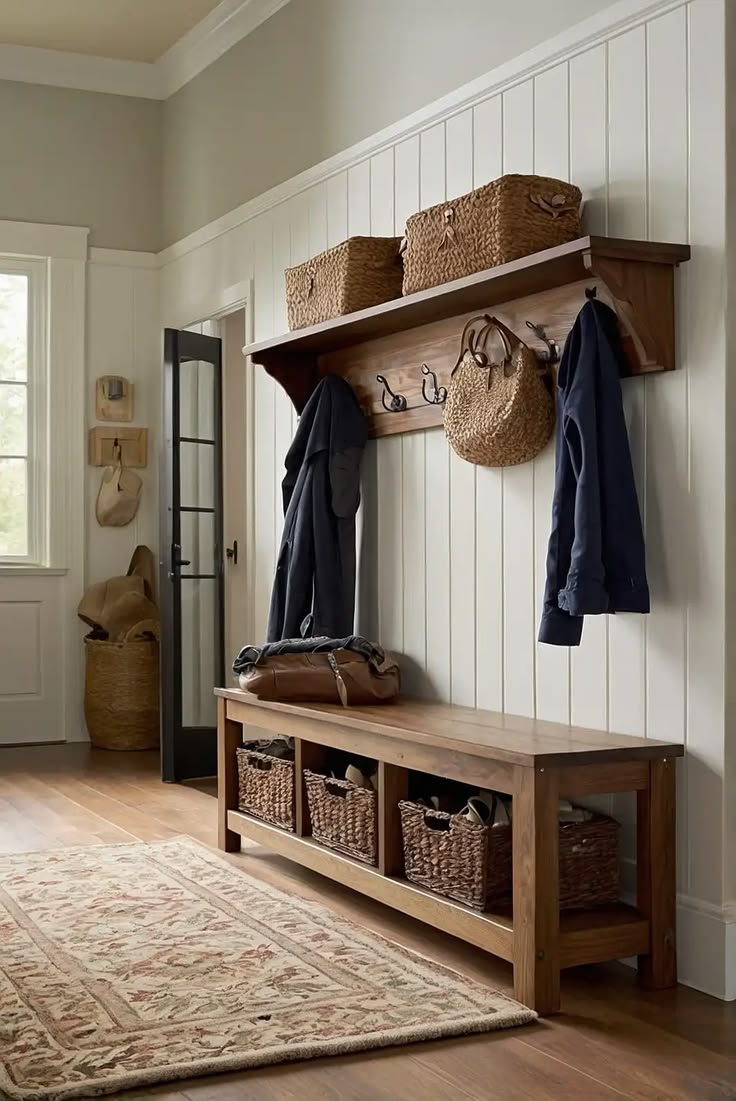
A shelf above the hooks doubles your storage without using any floor. A bracket shelf here holds baskets for hats and gloves, above a row of hooks with a round straw bag, with a wood bench under a bright window.
- Mount it high enough to clear a hung coat, usually 14 to 18 inches above the hooks.
- Use baskets with lids or liners to keep the shelf from looking busy.
10. Build a Thick Shelf for a Custom Look
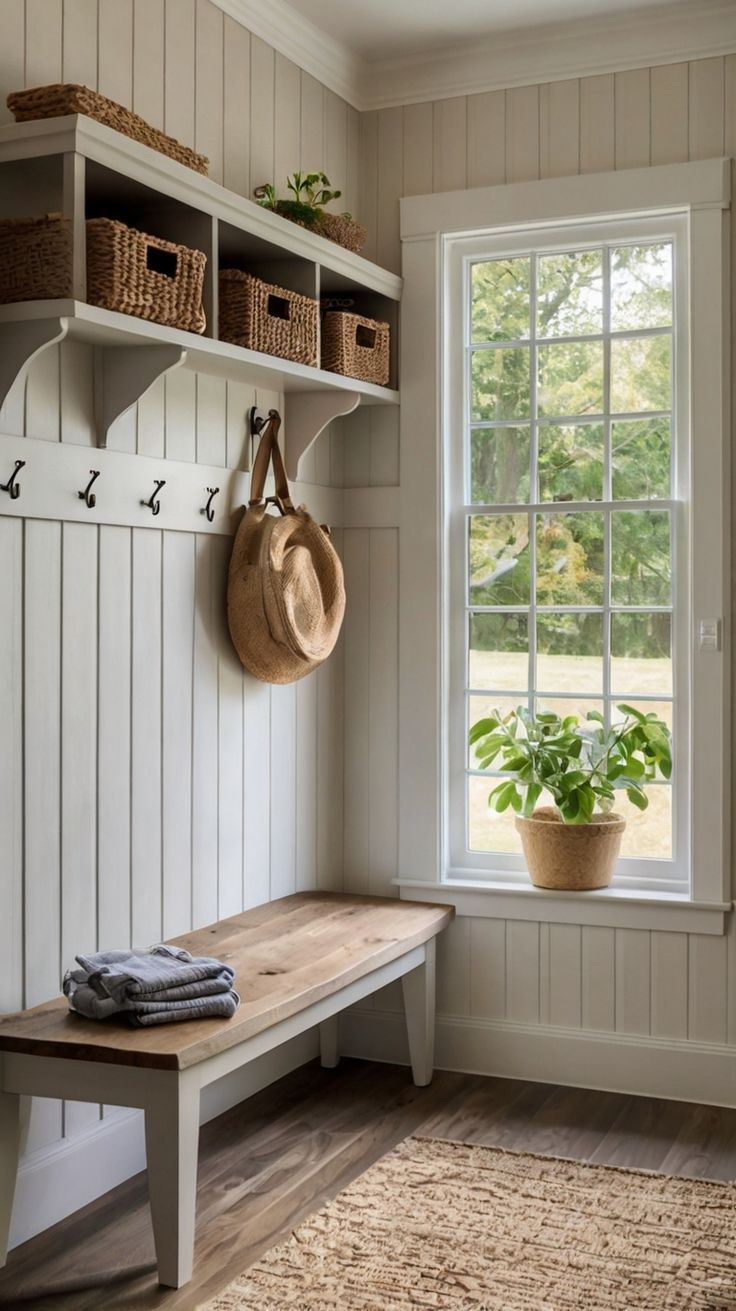
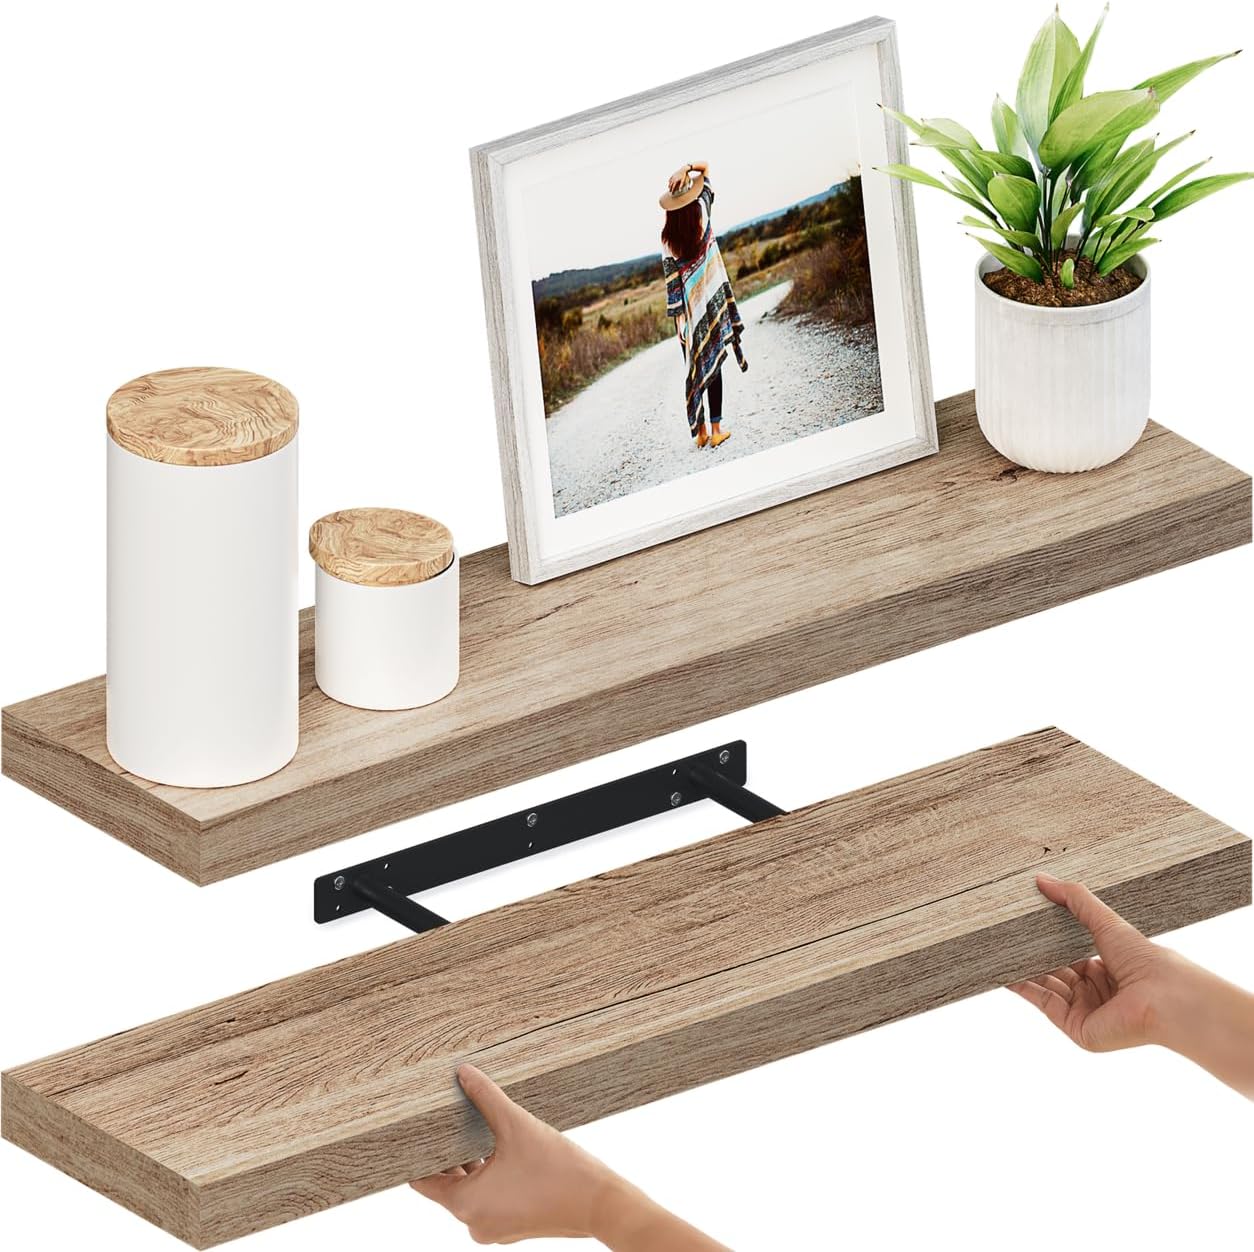
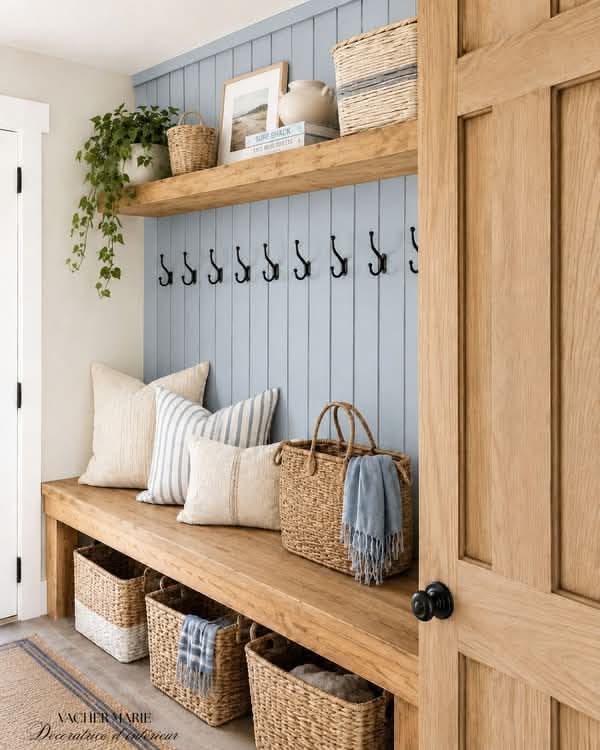
A chunky shelf is what separates built-ins from a store-bought look. A thick wood shelf sits over eight hooks on a wall of blue vertical boards here, with a basket bench and cushions below and a plant on the shelf.
Cut a 2x10 or 2x12 to the width you need, sand it and stain it. It's an afternoon project. Make sure the brackets are rated for the load, and screw into studs, not drywall.
11. Put Heavy Baskets Low and Light Ones High
What goes in a basket decides where it should sit.
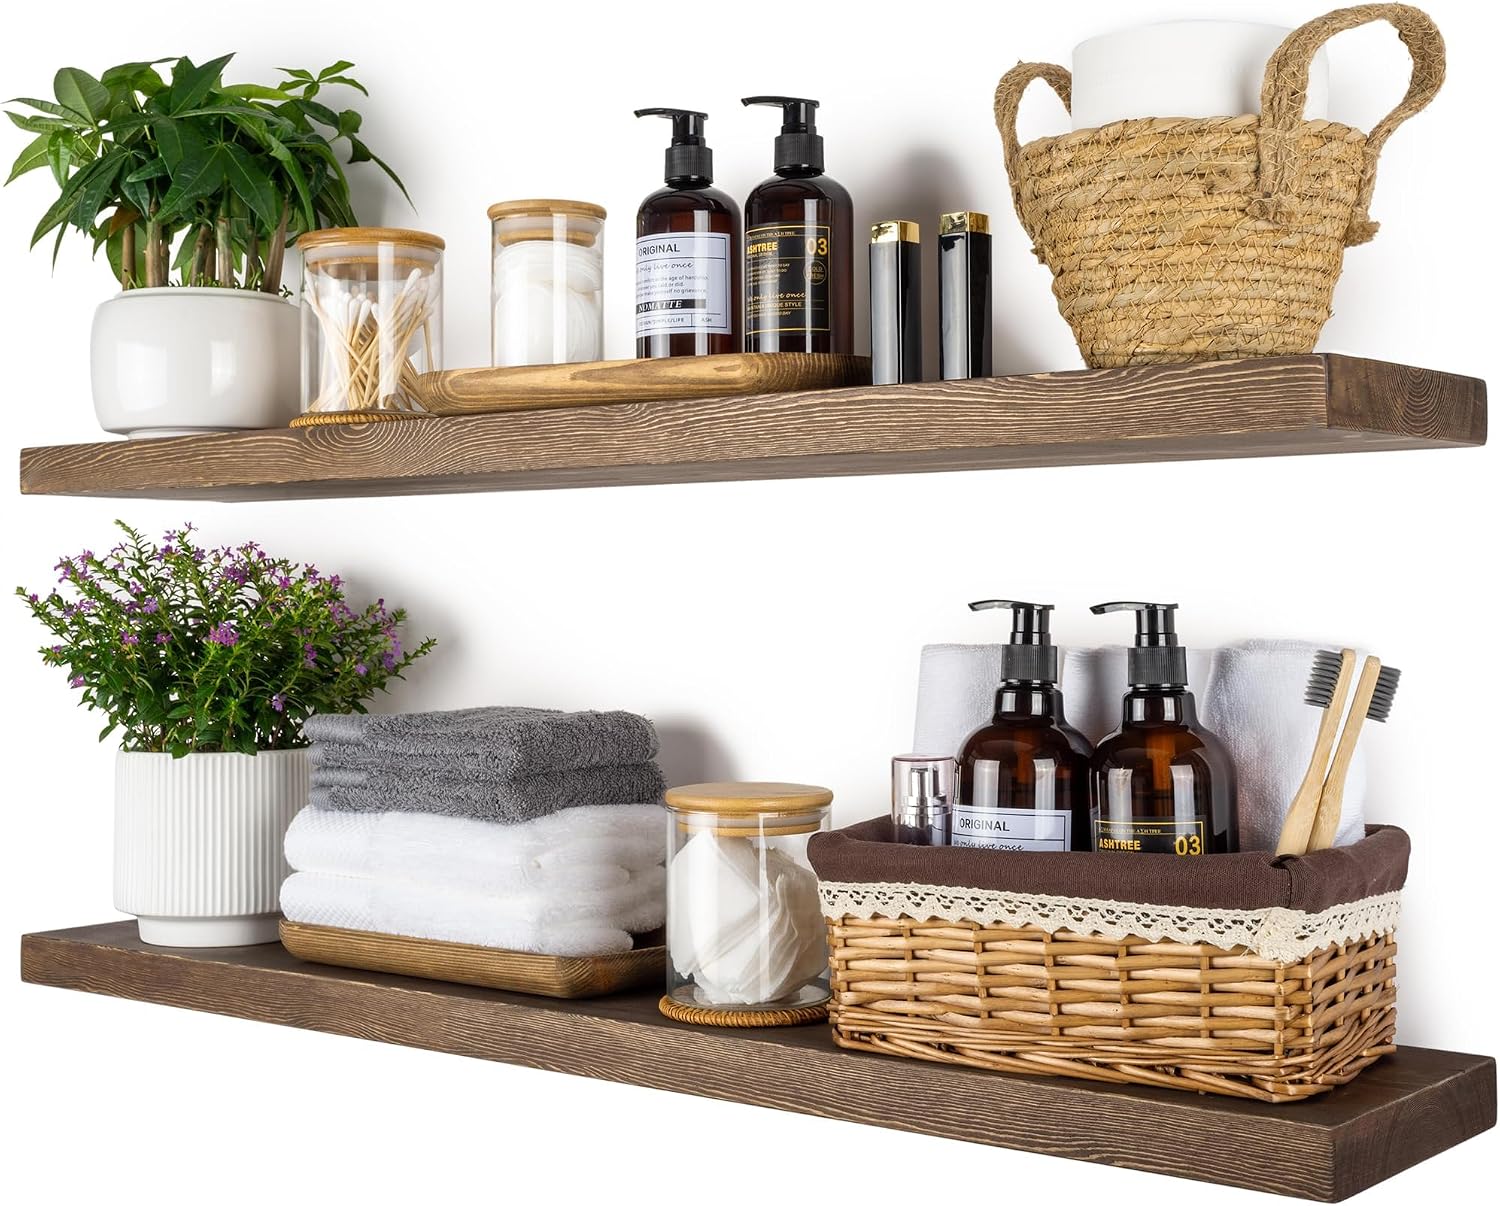
A wood shelf of baskets sits over hooks here on white plank walls, with a wood bench with baskets below.
Keep boots, sports gear and anything heavy on the bottom. Hats, mittens and scarves go up top.
Pick baskets of the same family so the shelf looks tidy even when it is full.
12. Save Floor Space With a Short Wall Bench
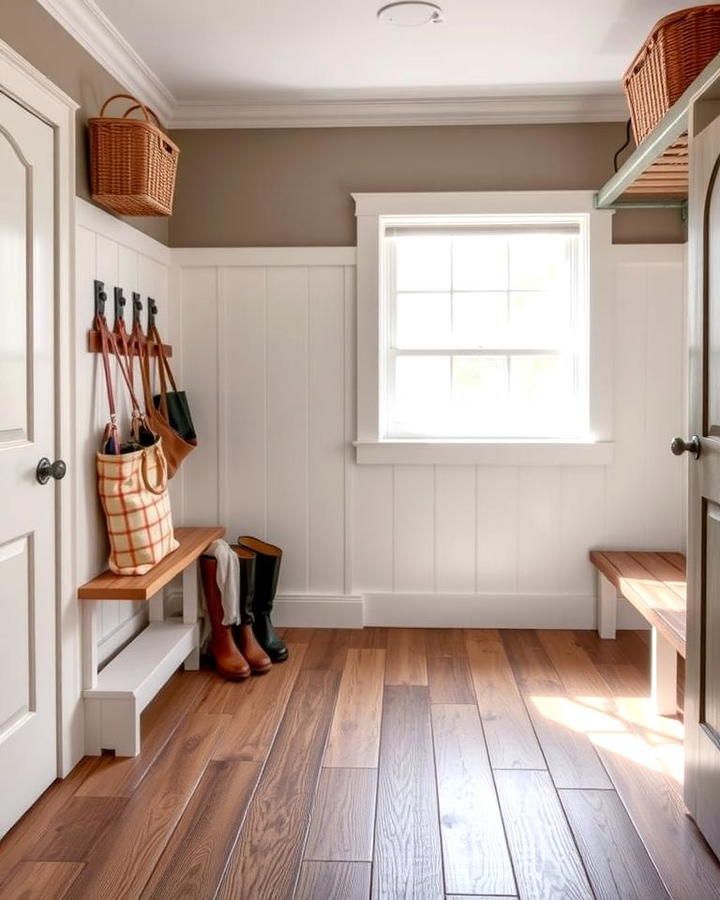
A bench doesn't have to run the length of the room. A short bench is tucked against the wall under a window here, with hooks above it and a pair of boots on the floor.
Choose a bench about 15 inches deep. That's enough to sit on without eating into the walkway.
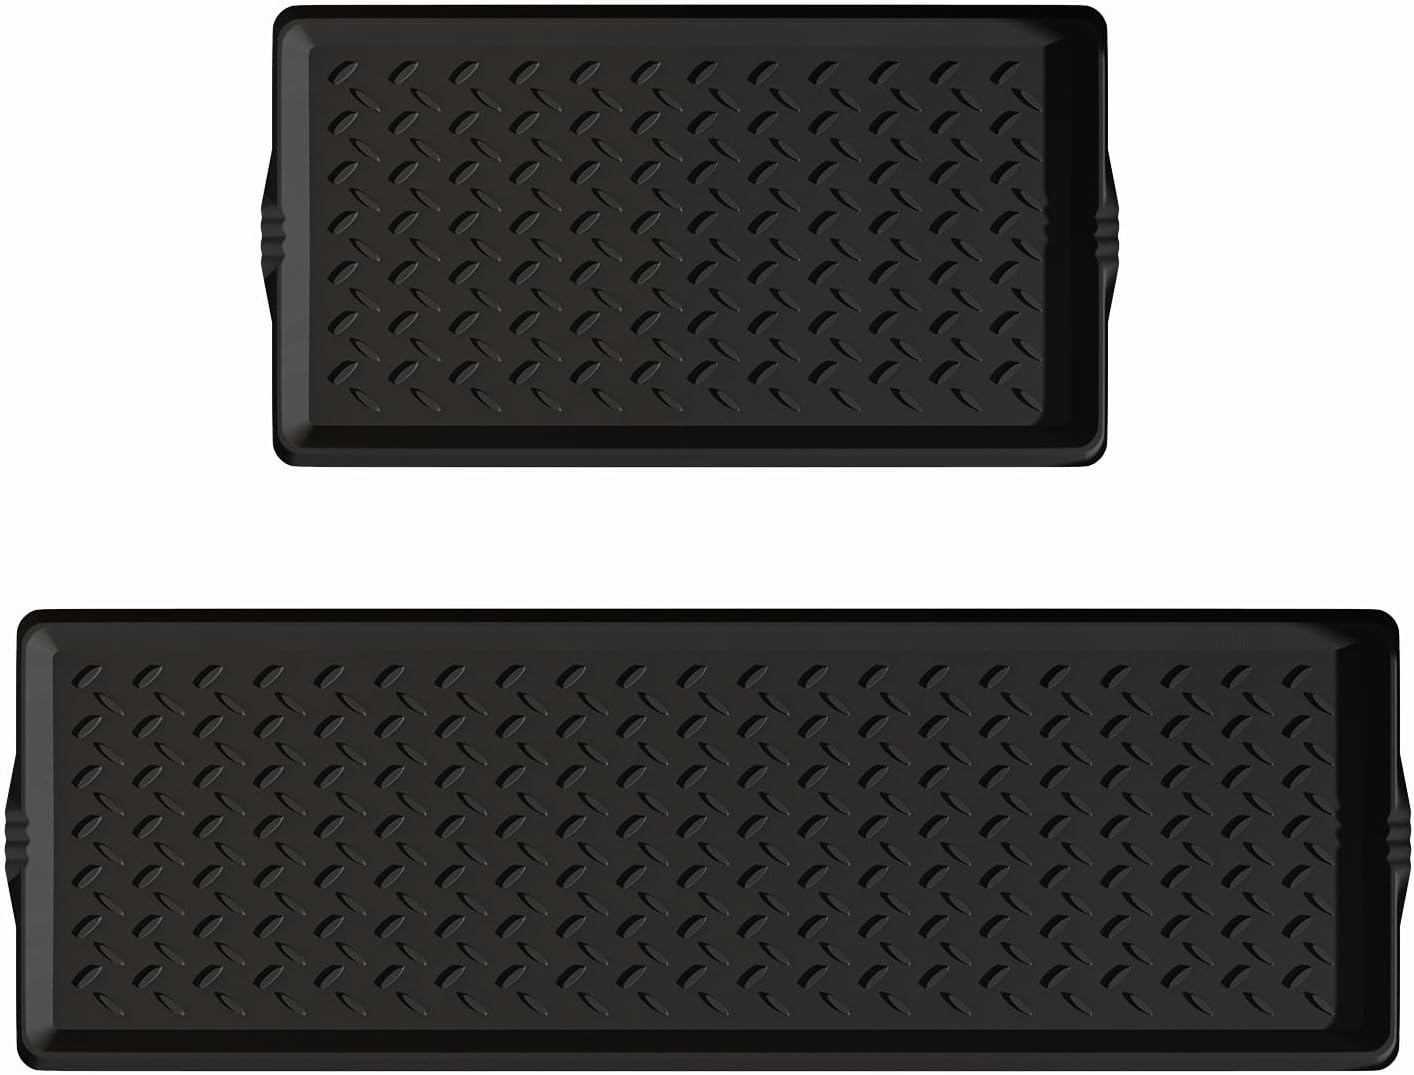
Keep one boot tray by the door so wet shoes have an obvious home.
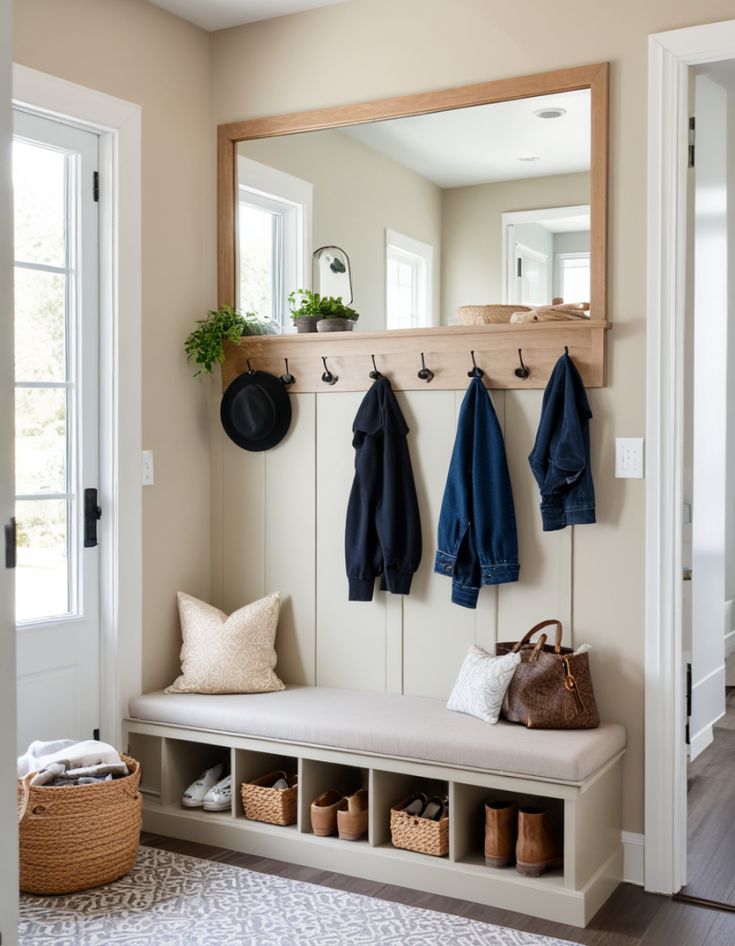
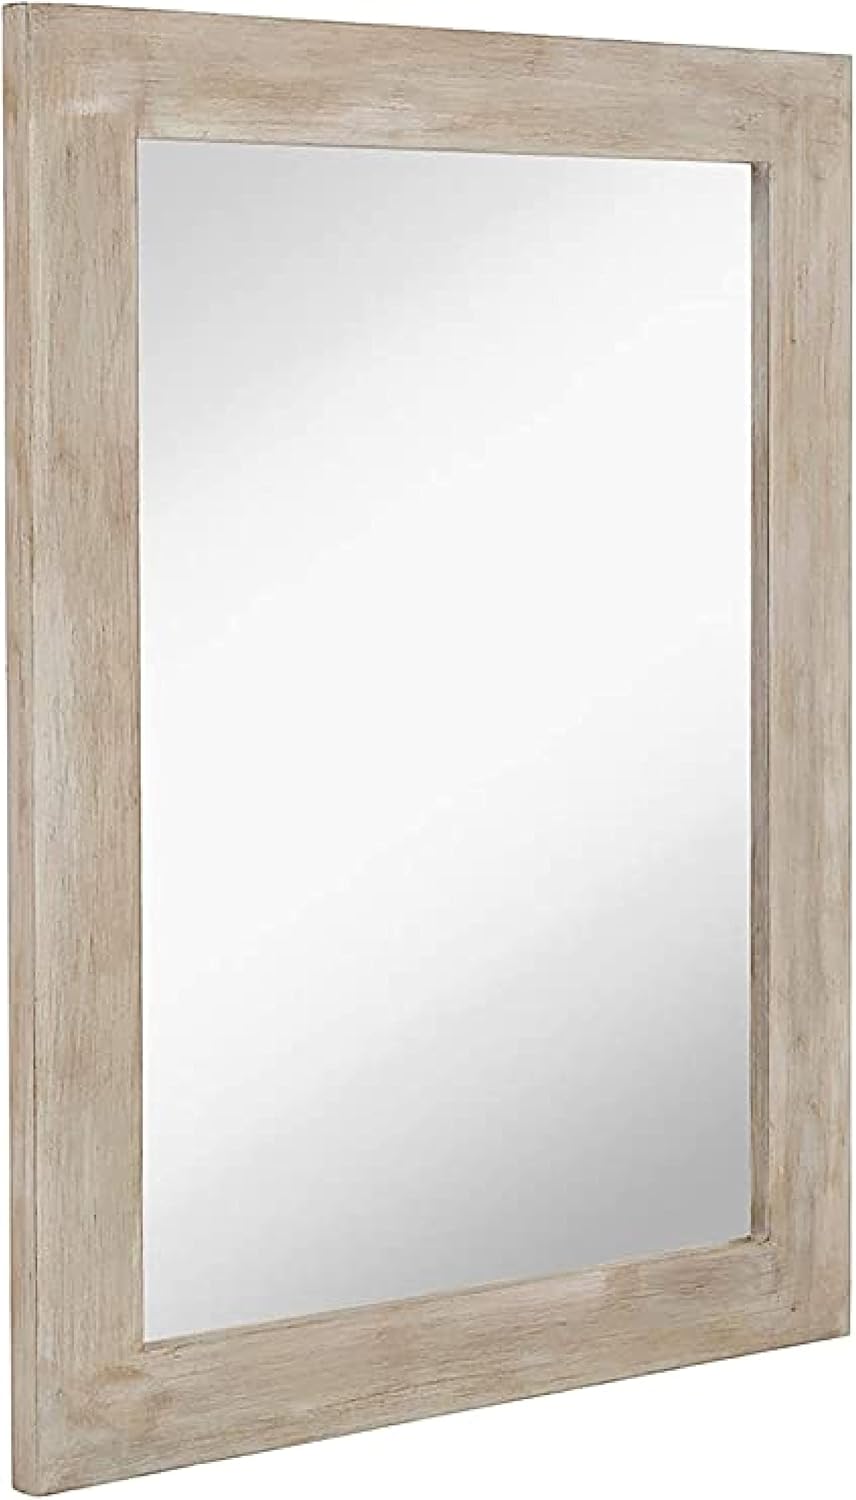
13. Hang a Mirror by the Door
A mirror makes the room look bigger and saves you a trip back upstairs.
A wood-framed mirror hangs above a hook rail here, with navy jackets, a cushioned bench with cubbies and a leather bag.
- Hang it so the middle sits around 60 inches from the floor, which suits most heights.
- A mirror also bounces light around, which helps a small mudroom with one window.
14. Give Every Pair of Shoes a Cubby
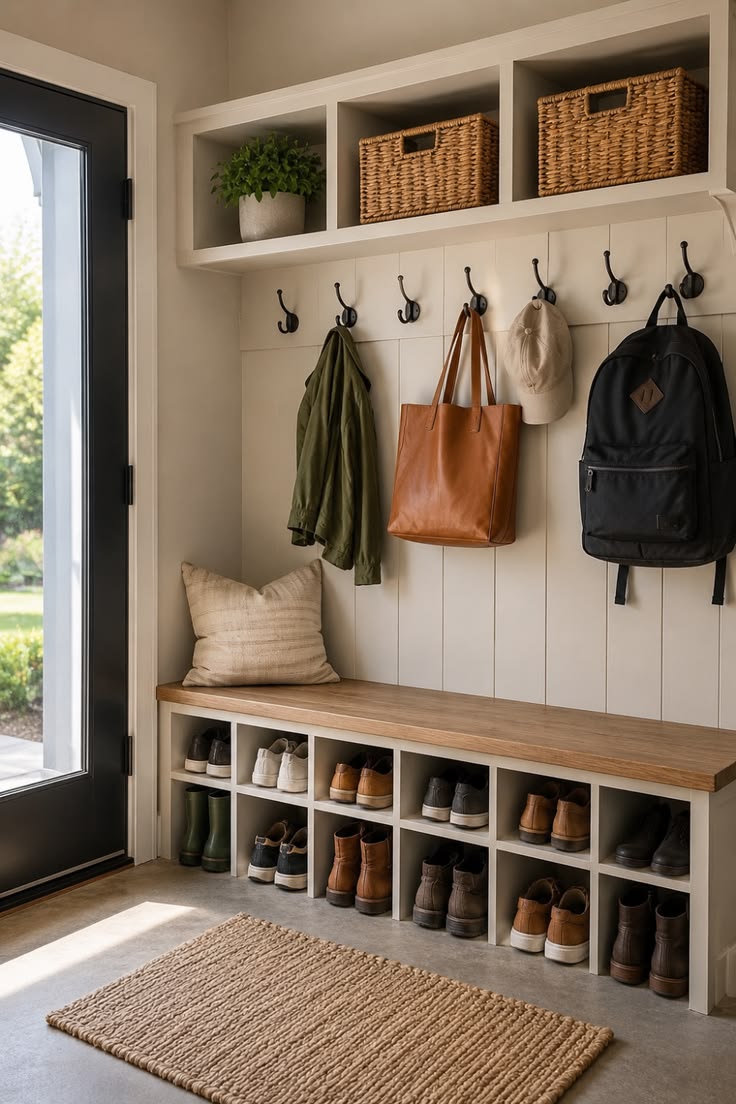
One cubby per pair is the easiest rule for a clean entry.
Eight open slots under a wood bench seat hold boots and shoes here, with black hooks above, a tan leather tote and baskets up high.
Make cubbies about 12 inches wide and 12 inches high for most adult shoes. Taller ones fit boots. Pick one slot per family member and leave extras for guests.
15. Warm a Cold Entry With Stained Wood
A stained wood bench makes a cold room feel lived in.
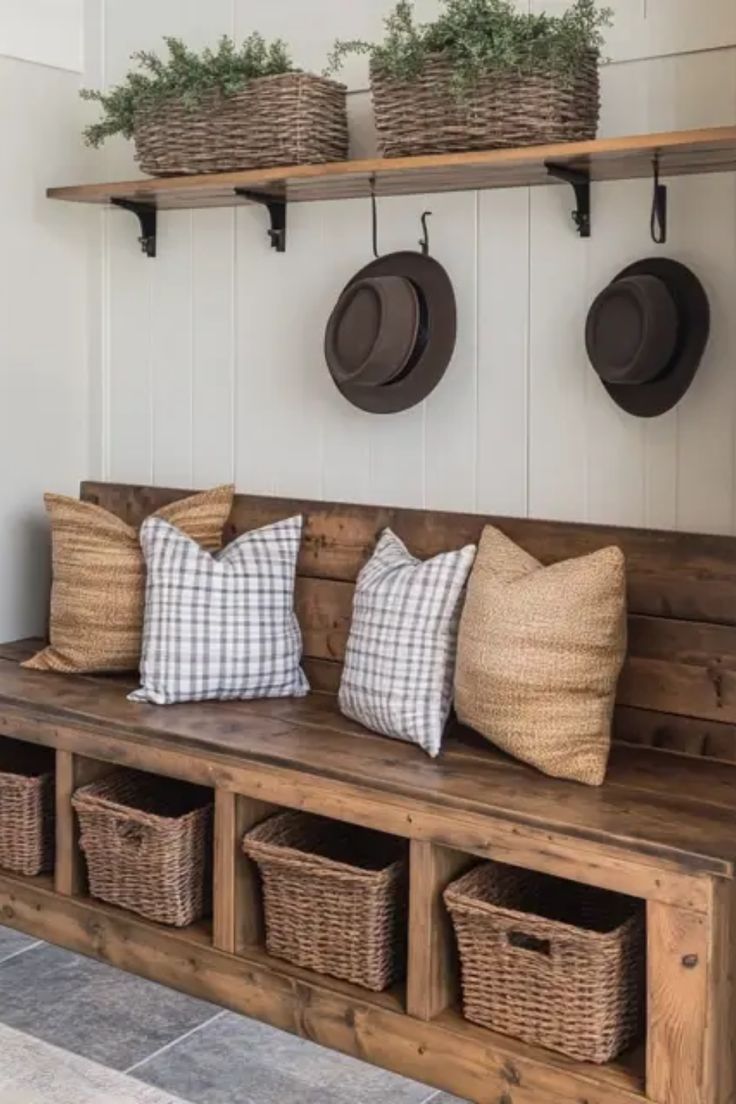
A rustic stained bench sits against a pale wall here, with four woven baskets under it, plaid and linen pillows on top and two felt hats on hooks above.
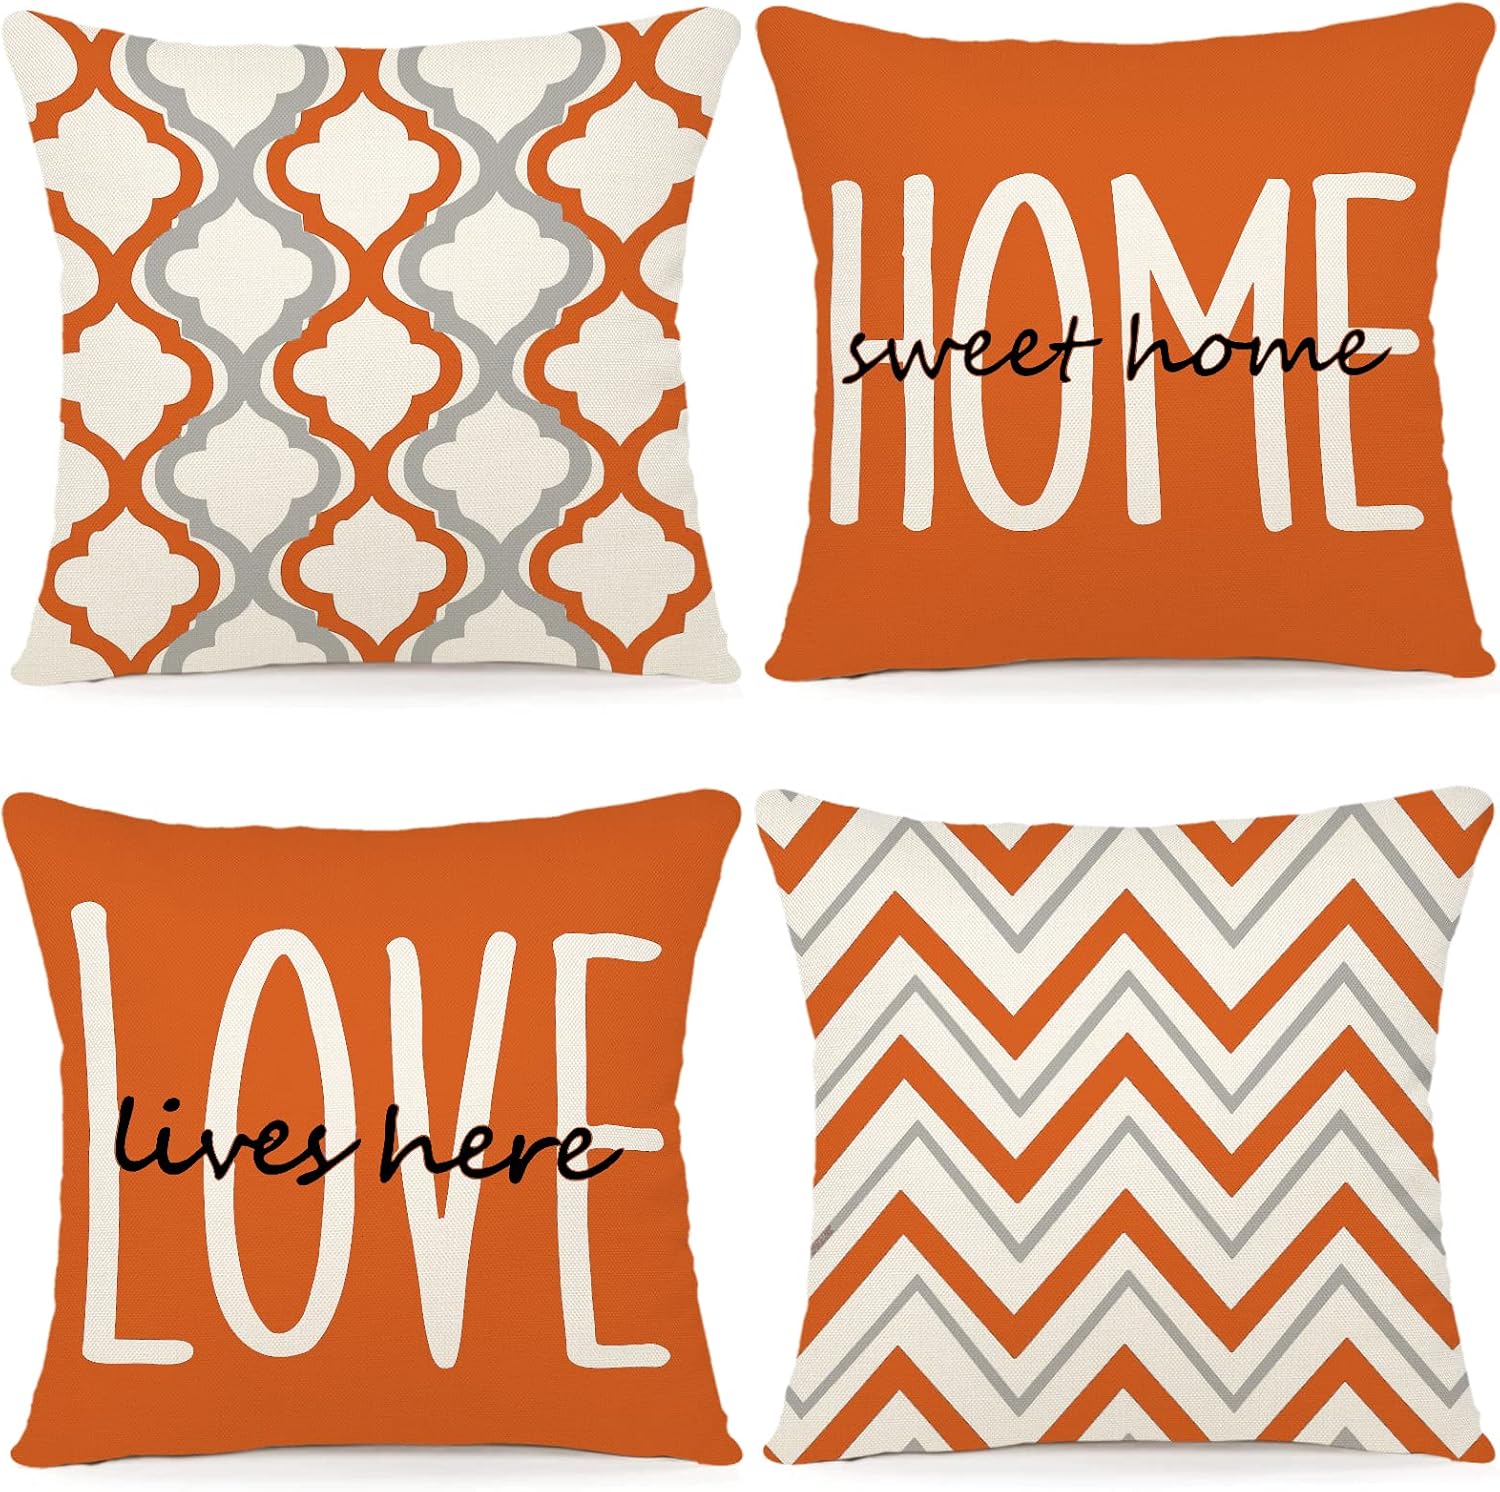
Quick tip: Use pillows in a few patterns that share a color, so the bench looks collected.
Seal the wood with a clear coat, so wet boots won't mark it.
16. Run Boards Vertically to Lift the Ceiling
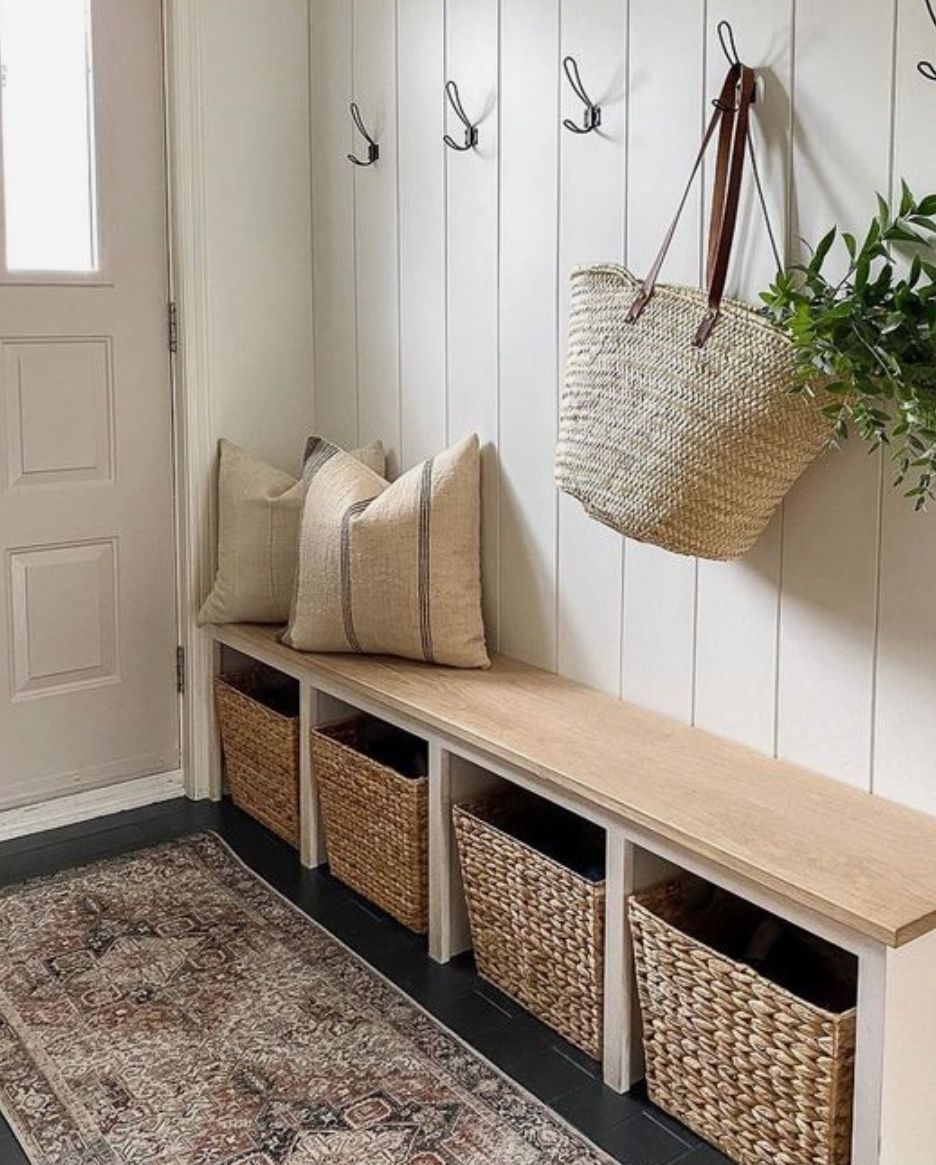
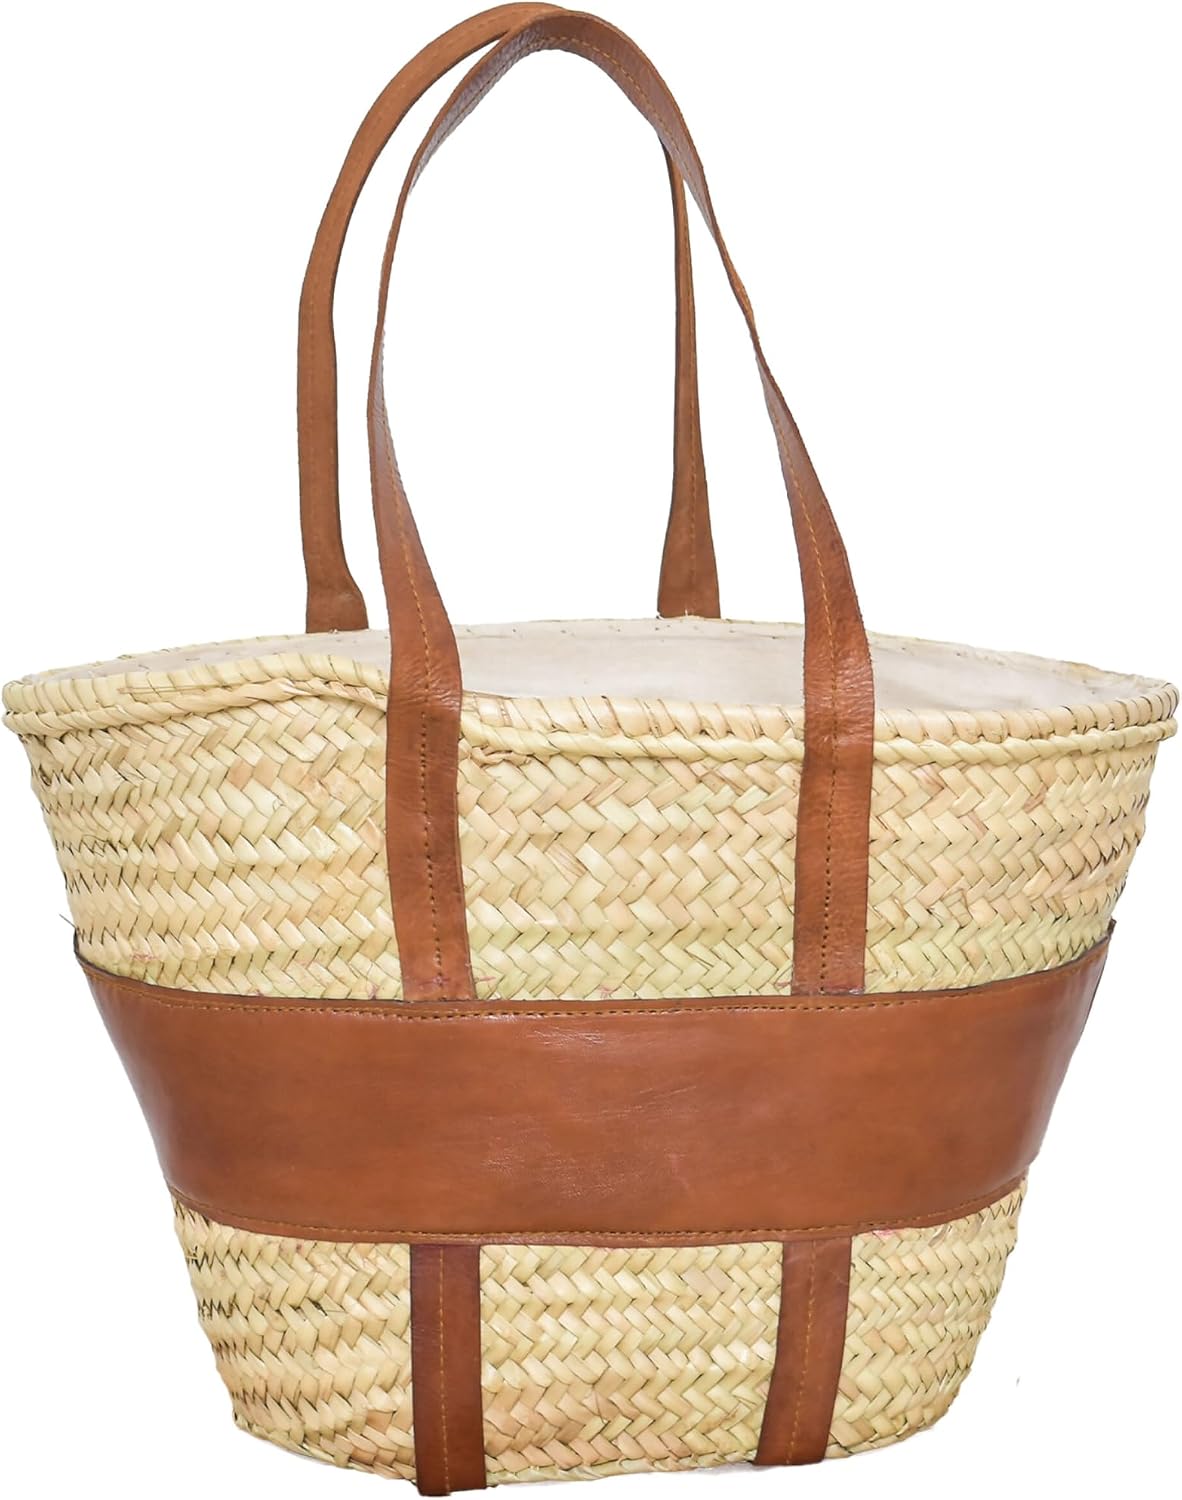
Vertical lines draw the eye up, which makes a low ceiling feel higher. Vertical planks cover this wall, with black hooks, a woven straw tote and a long bench with four baskets underneath.
Paint the boards a light color, and carry it up to the ceiling.
Choose a plank width of around 6 inches. Narrow boards look busy, and wide ones look heavy.
17. Float the Bench to Keep the Floor Clear
A floating bench lets you sweep and mop under it.
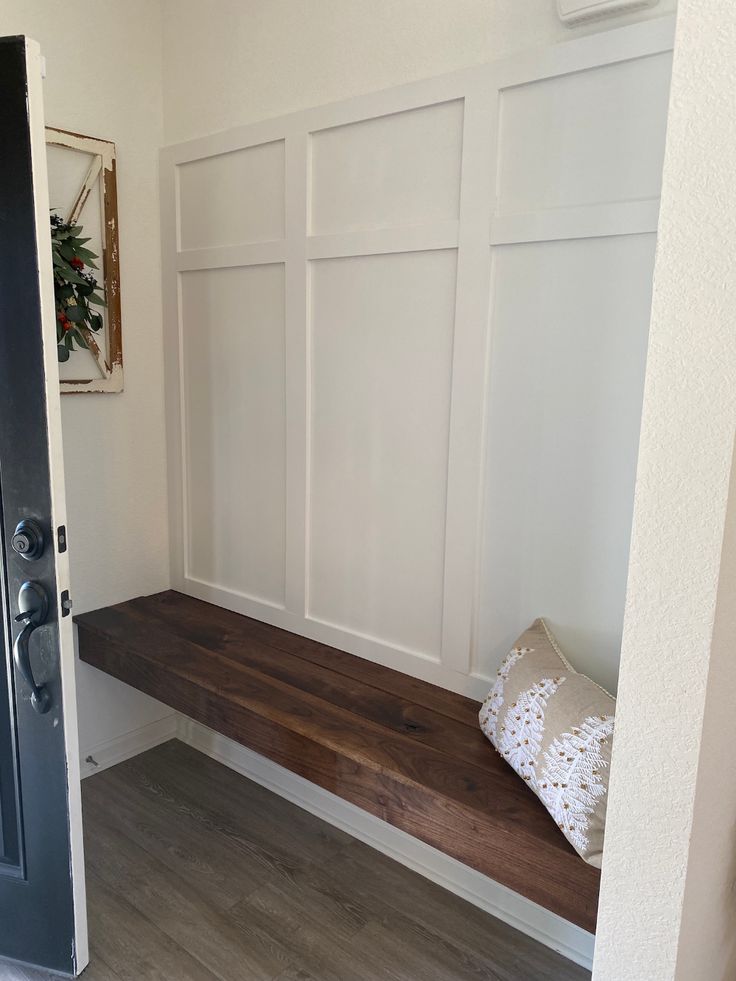
A walnut bench floats under a white board and batten wall here, with a patterned cushion at one end. Screw the bench into studs with heavy-duty brackets, and test it with your full weight.
Leave a gap of at least 12 inches below, so you can park wet boots out of the way.

18. Put Storage on One Side of a Narrow Hall
In a tight hallway, put everything on one wall and leave the other clear.
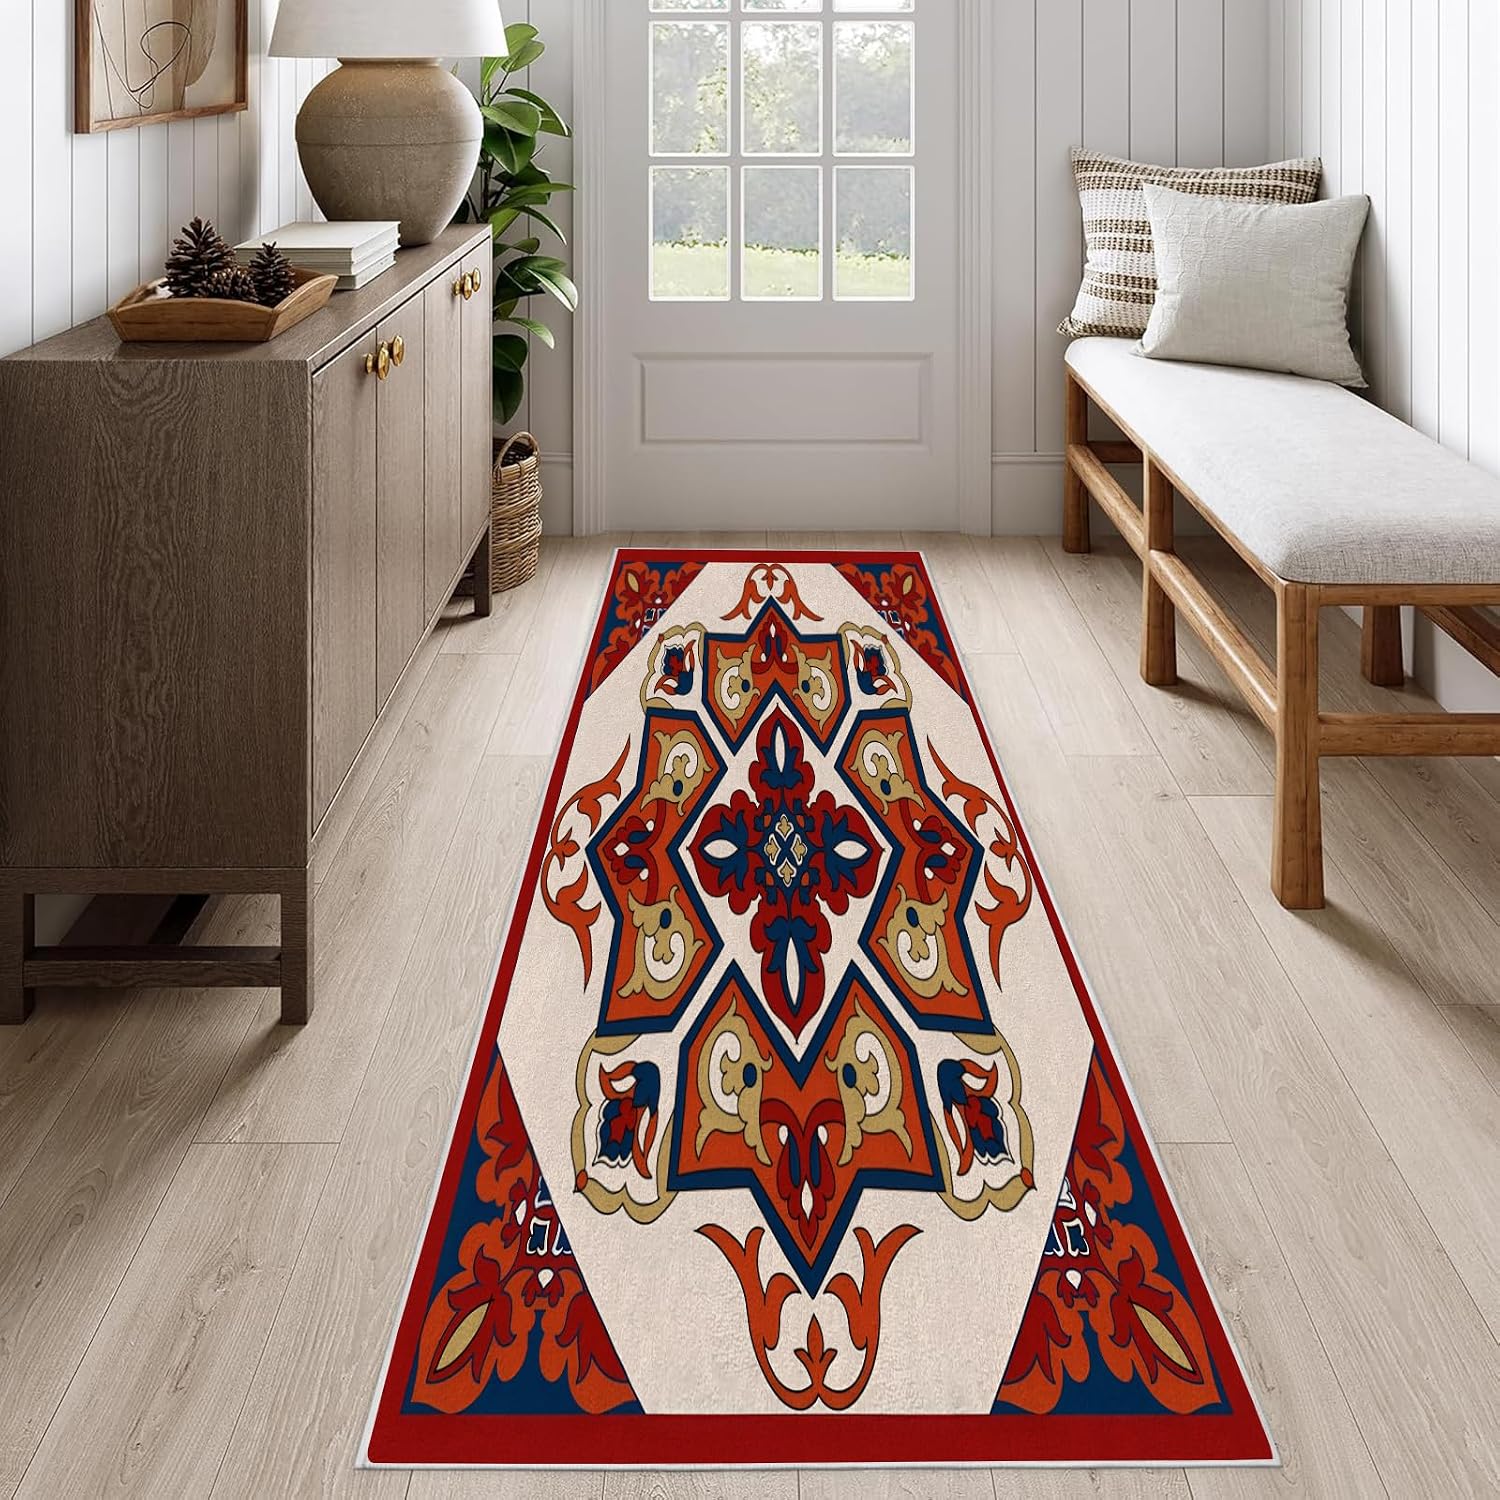
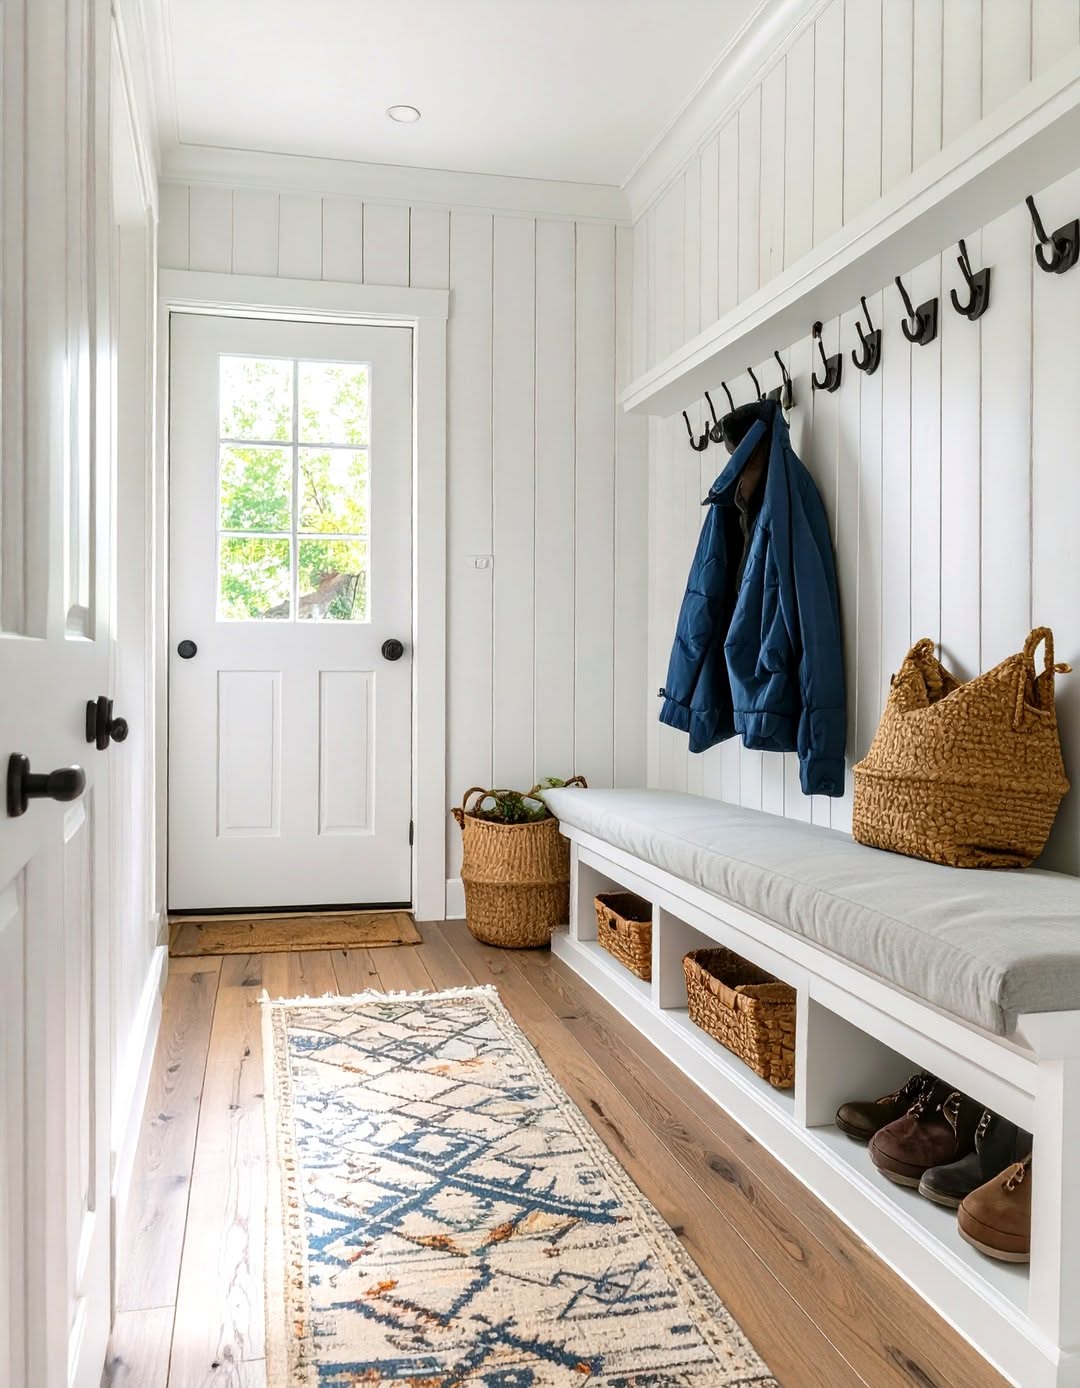
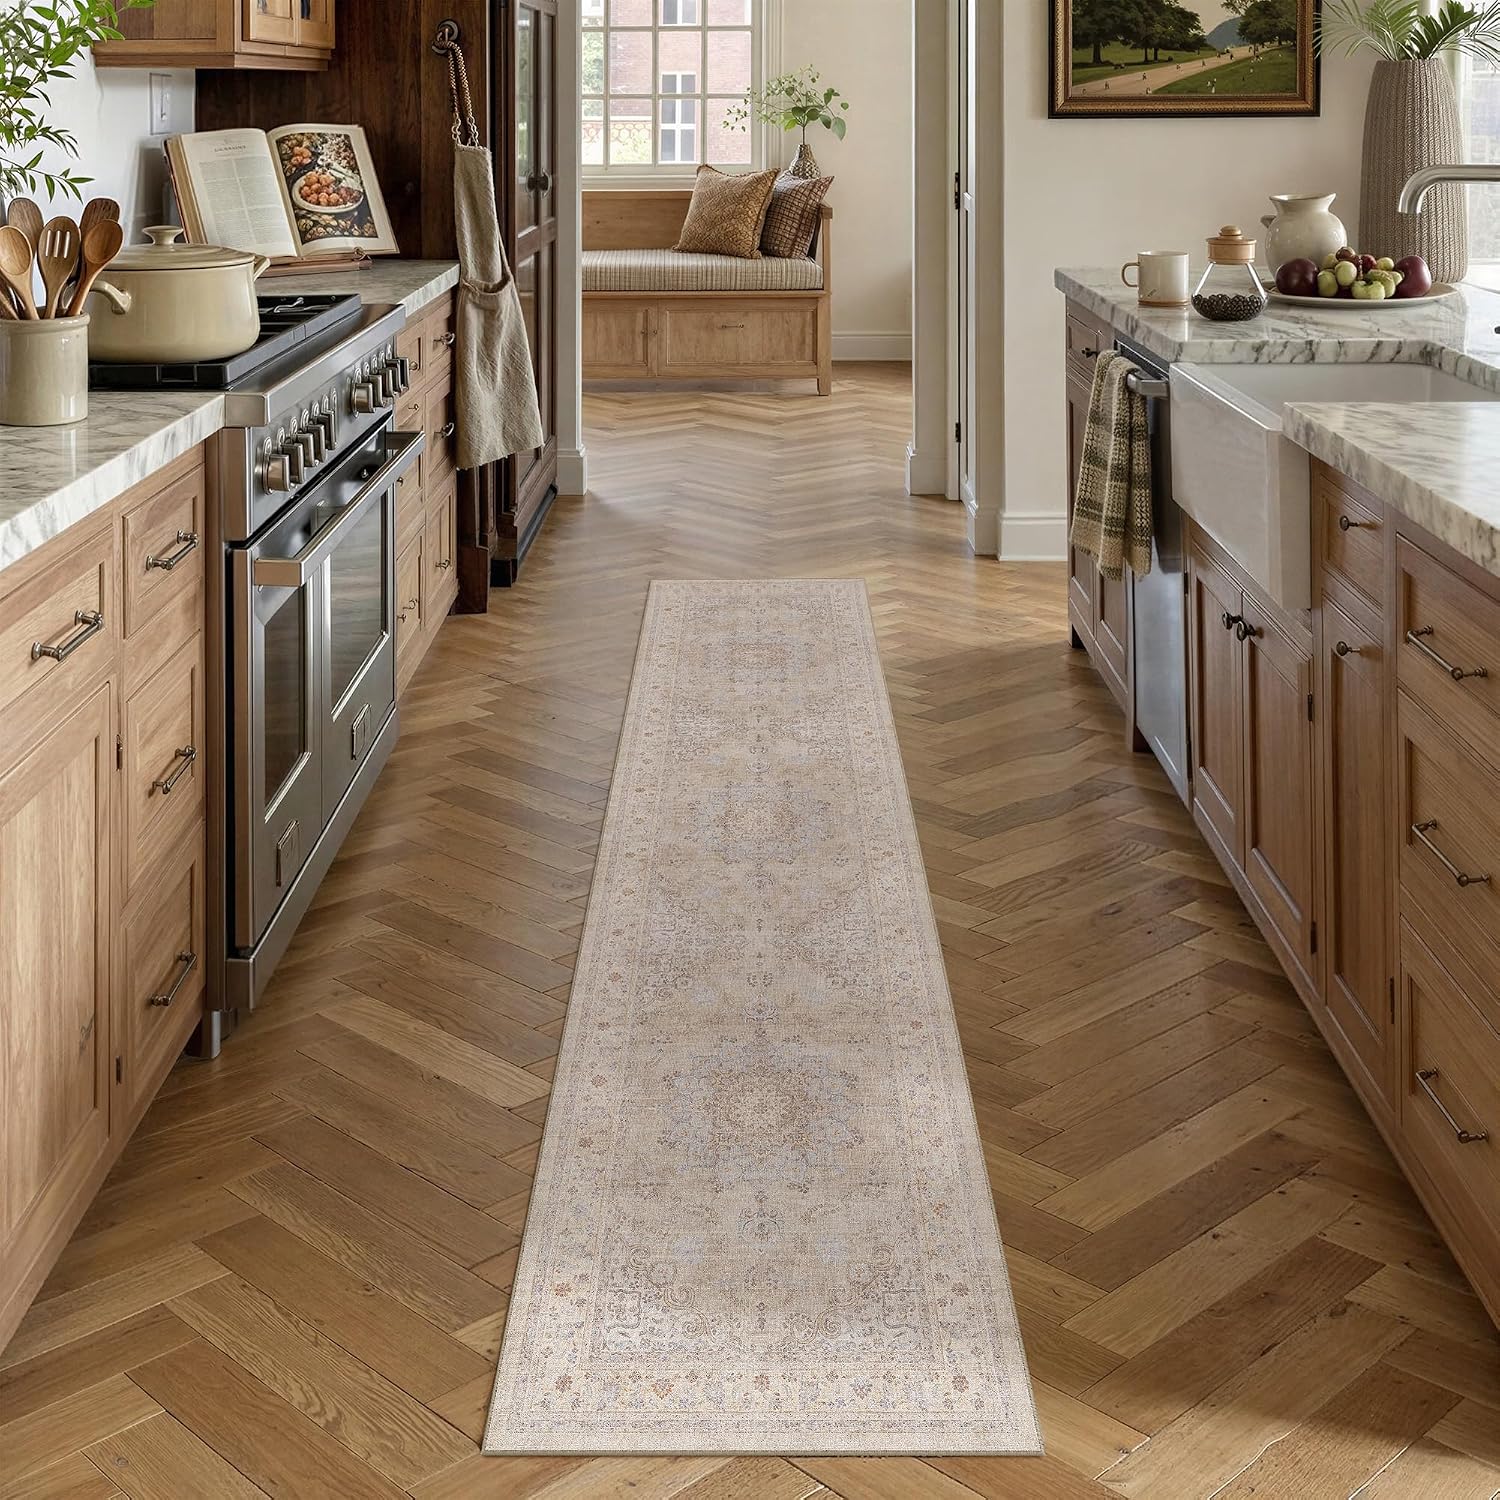
A long hook rail sits above a cushioned bench with open cubbies here, and a blue patterned runner leads to the door.
- Keep the bench depth to 14 or 15 inches, so there is still room to walk by.
- Add a runner to guide the eye and protect the floor.
19. Pair a Cushioned Bench With a Welcome Mat
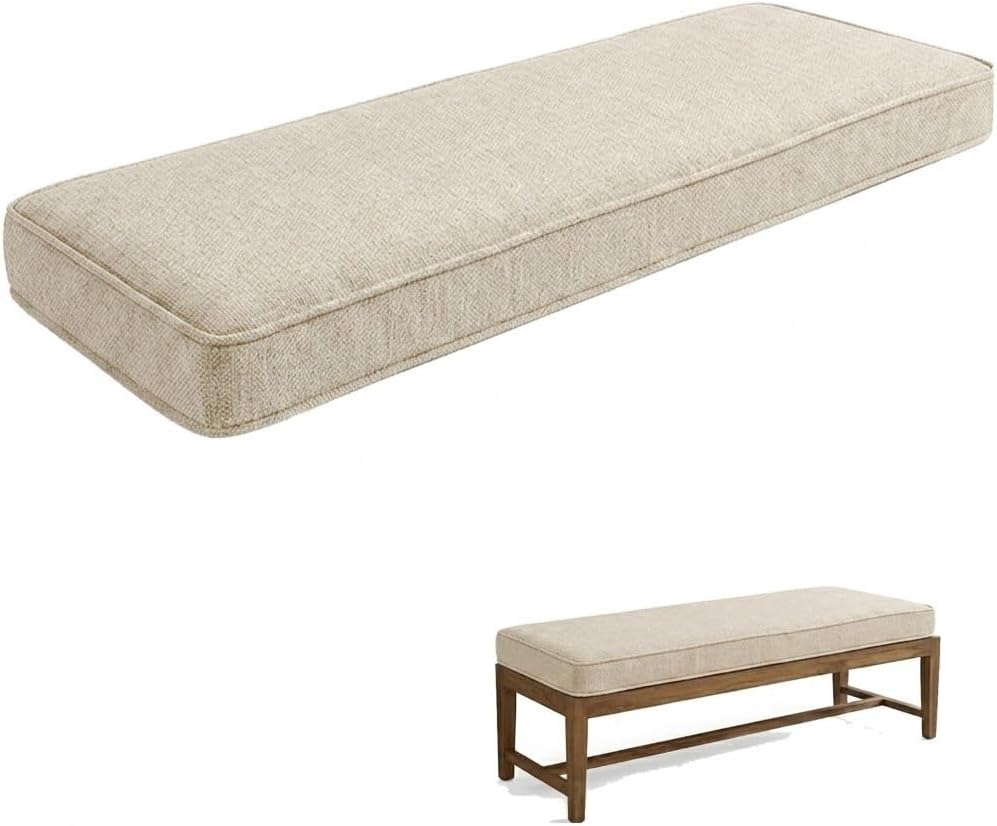
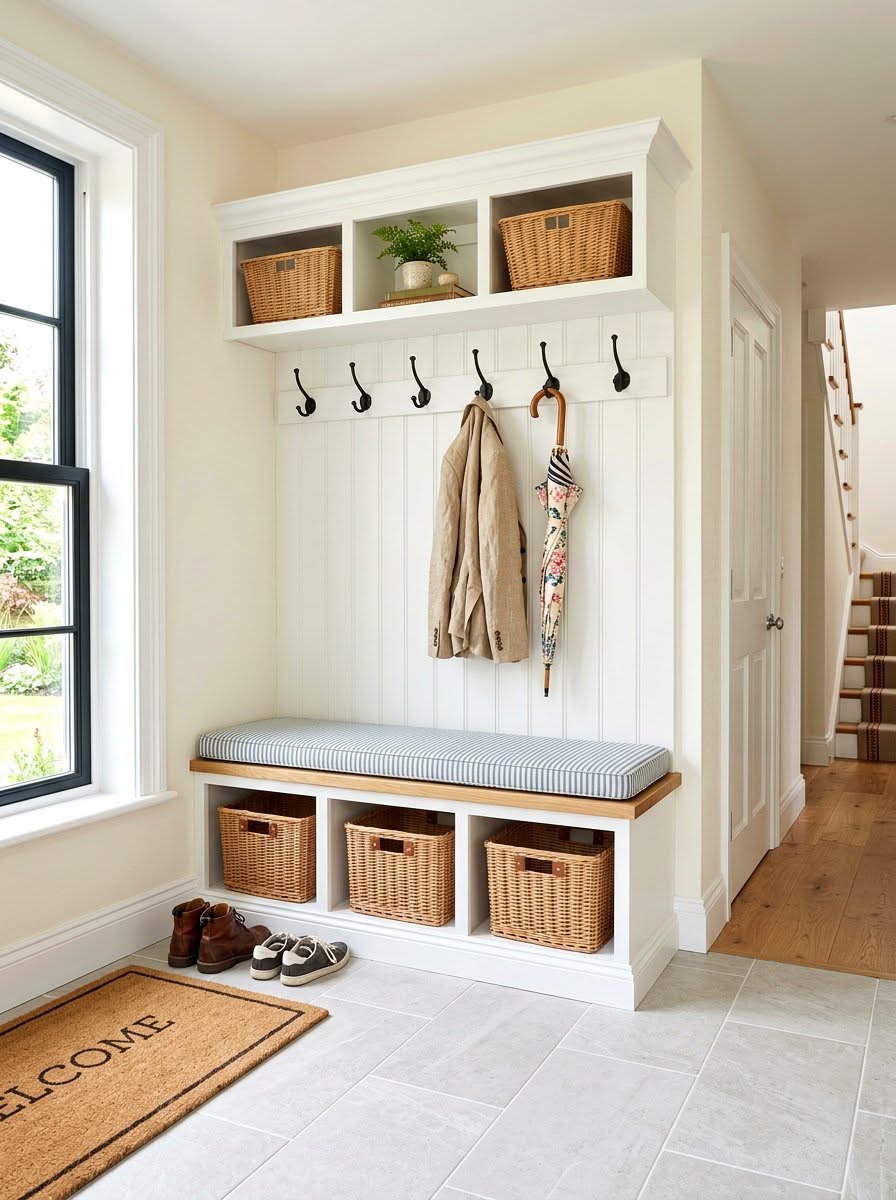
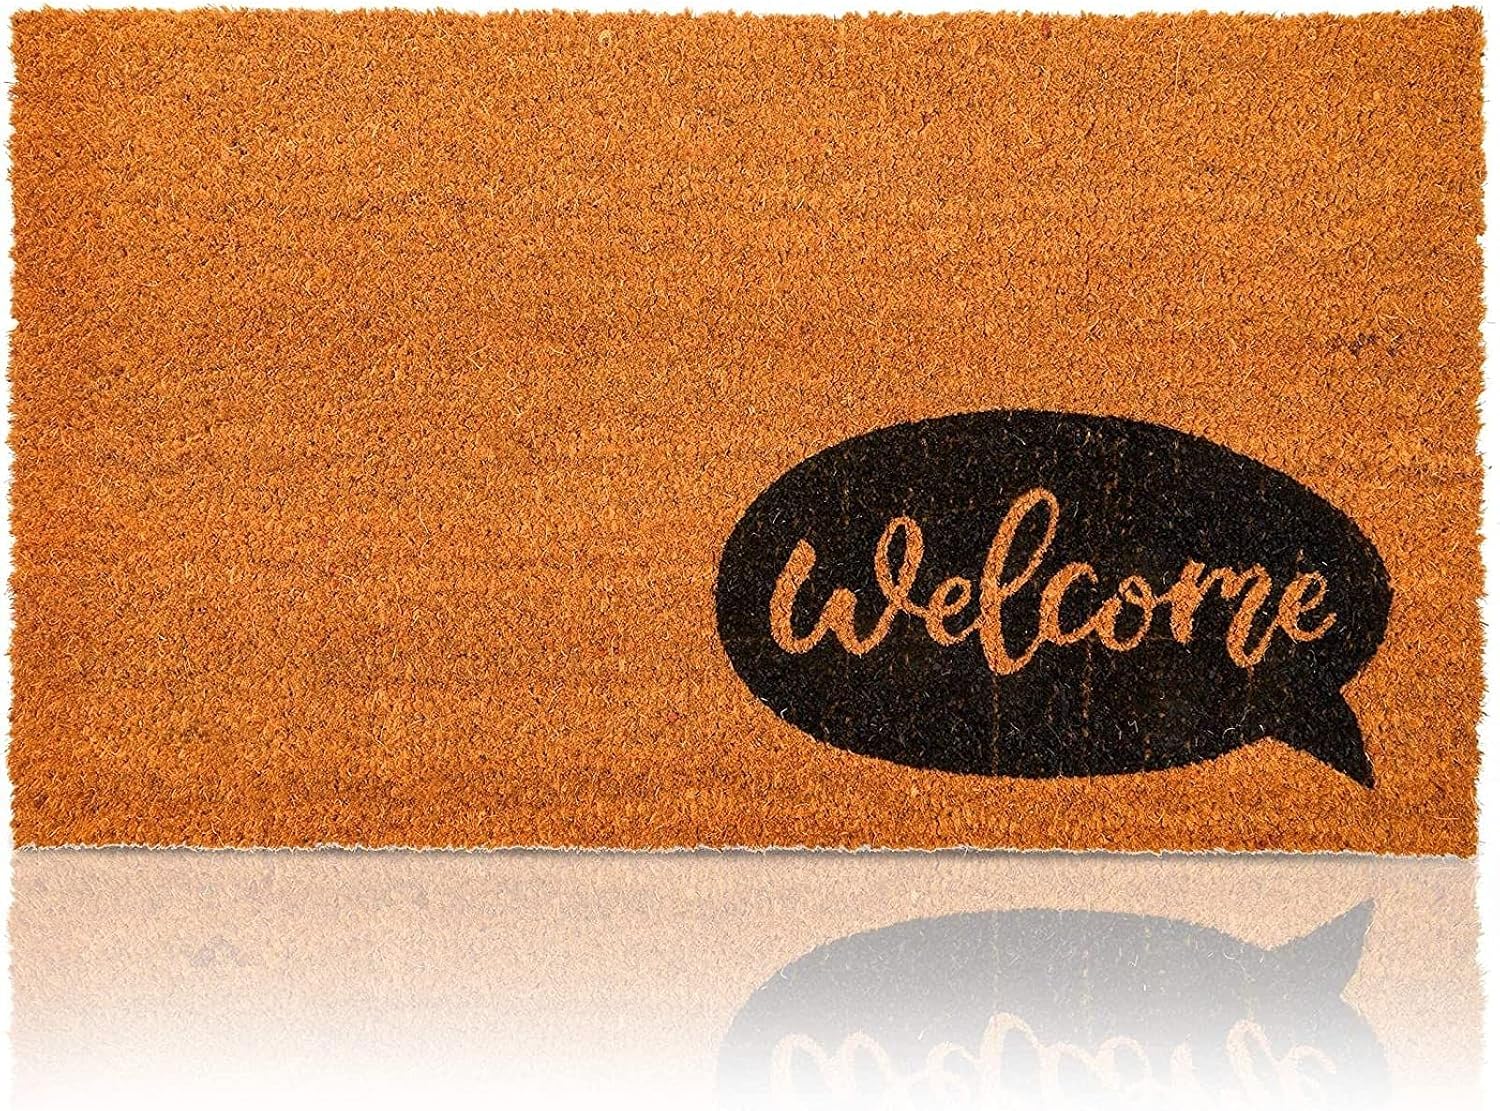
Comfort at the door is a small thing that people notice right away. A striped cushion tops a bench with baskets here, with a cubby shelf and hooks above and a WELCOME mat on tile floor.
- Pick a cushion with a non-slip backing, so it stays put.
- Choose a coir mat. It scrapes mud off the soles before it reaches the floor.
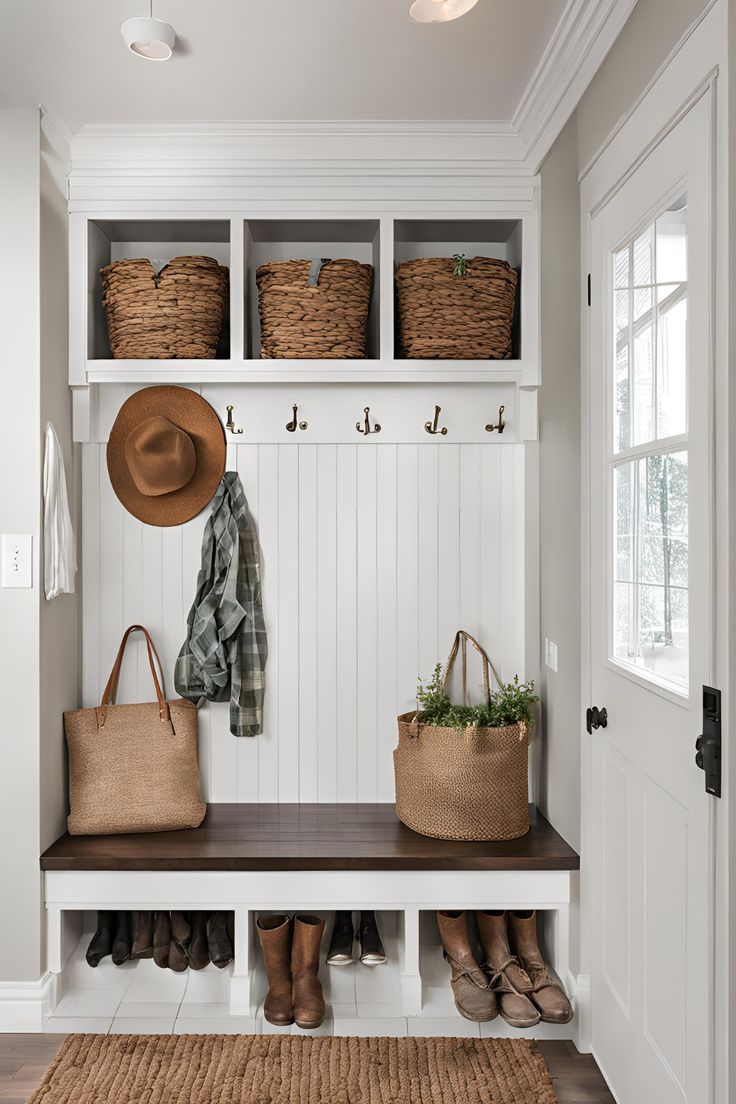
20. Pair a Dark Bench With a Light Wall
Contrast is a good way to ground a pale room. A dark wood bench sits in front of white beadboard here, with three baskets on the shelf above and a felt hat and a plaid jacket on the hooks.
Dark wood hides scuffs, and the white wall keeps the small space bright. Repeat the dark tone in a hook or a frame, so it doesn't sit alone.
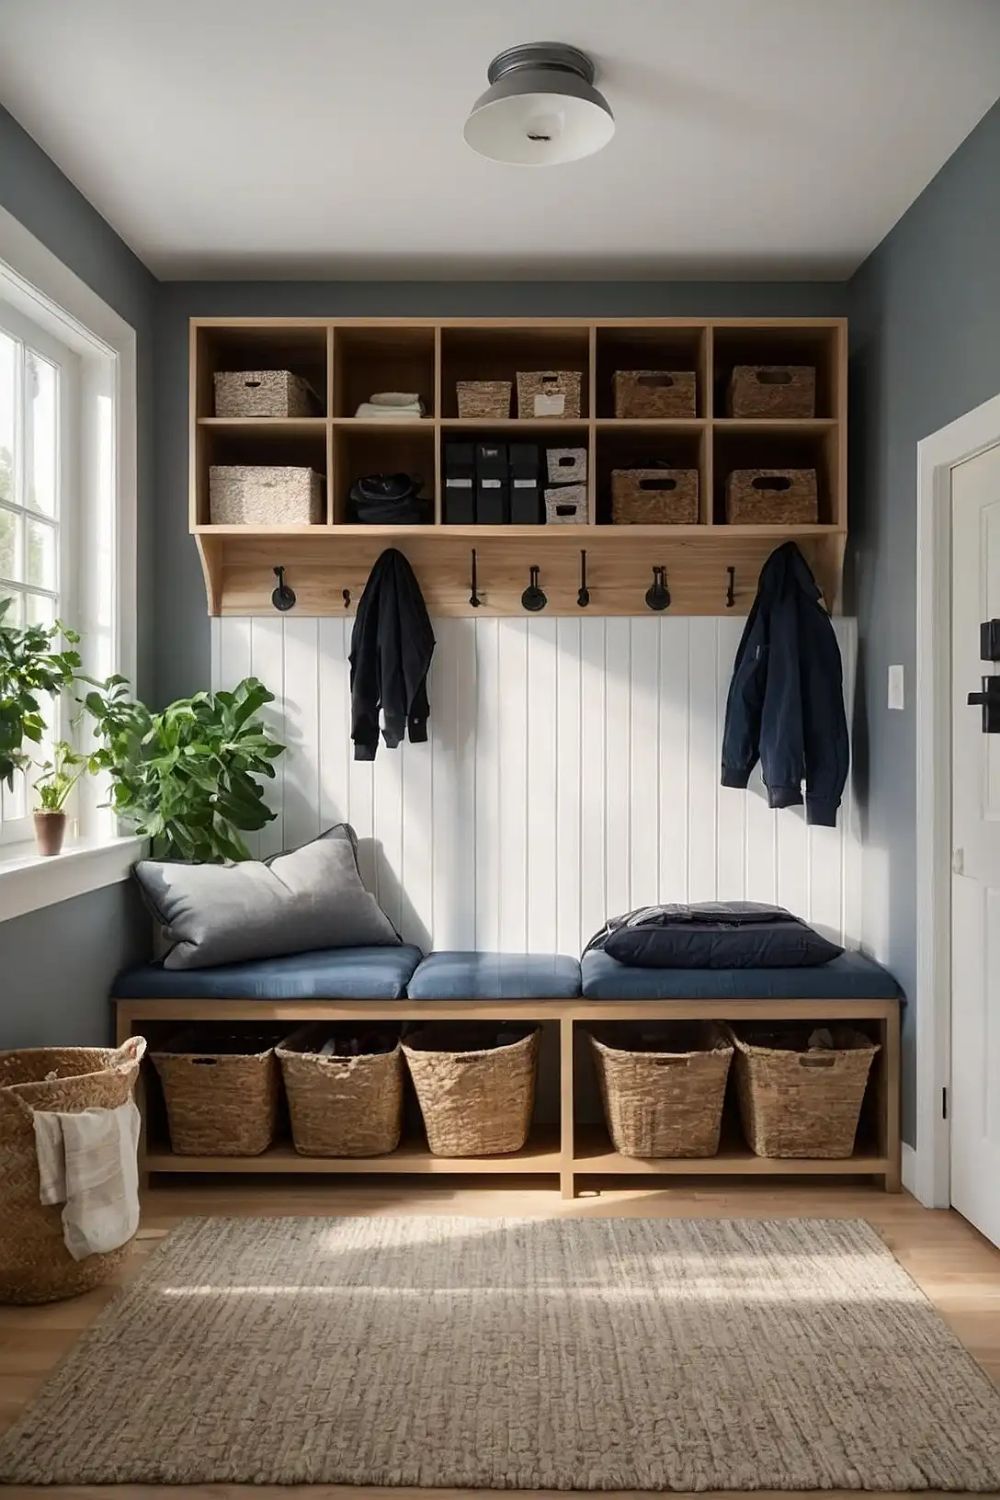
21. Tuck Open Cubbies Over the Hooks
Open cubbies keep the things you need within reach and out of sight.
Open wood cubbies hold baskets and boxes above a row of hooks on a gray-blue wall here, with a navy cushioned bench and five baskets below.
Label or color-code baskets so each person finds theirs.
Keep the top cubbies for things you use rarely, and the lower ones for daily items.
22. Hide the Overflow in a Tall Cabinet
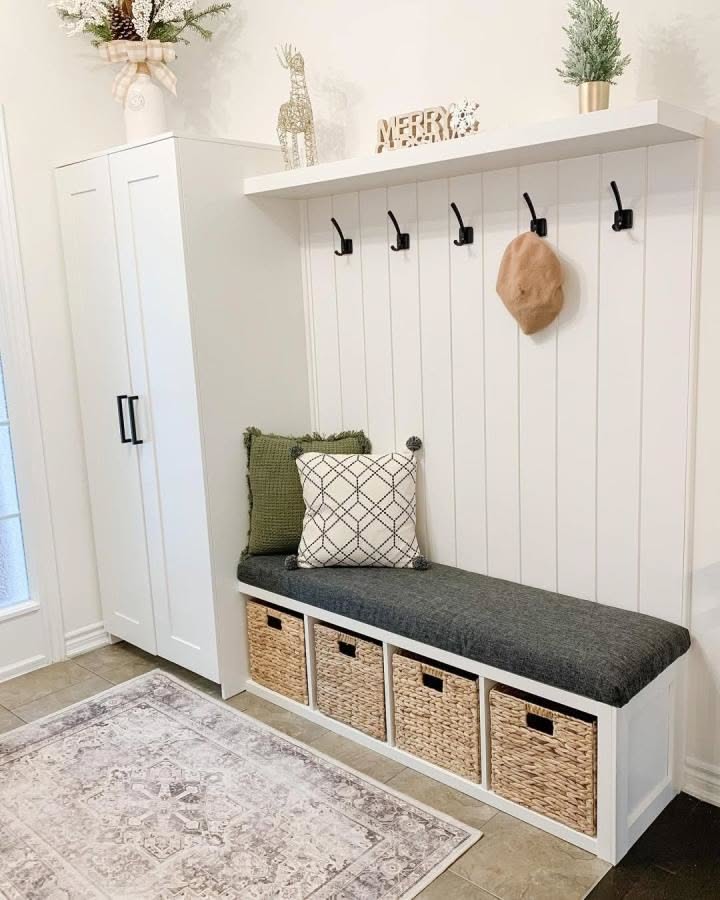
A closed cabinet gives you somewhere to put what you don't want to see. A tall white cabinet stands next to a hook wall here, with a cube storage bench, a gray cushion and baskets, and a shelf with seasonal decor.
Use the cabinet for umbrellas, sports gear and bags, and keep daily items on hooks.
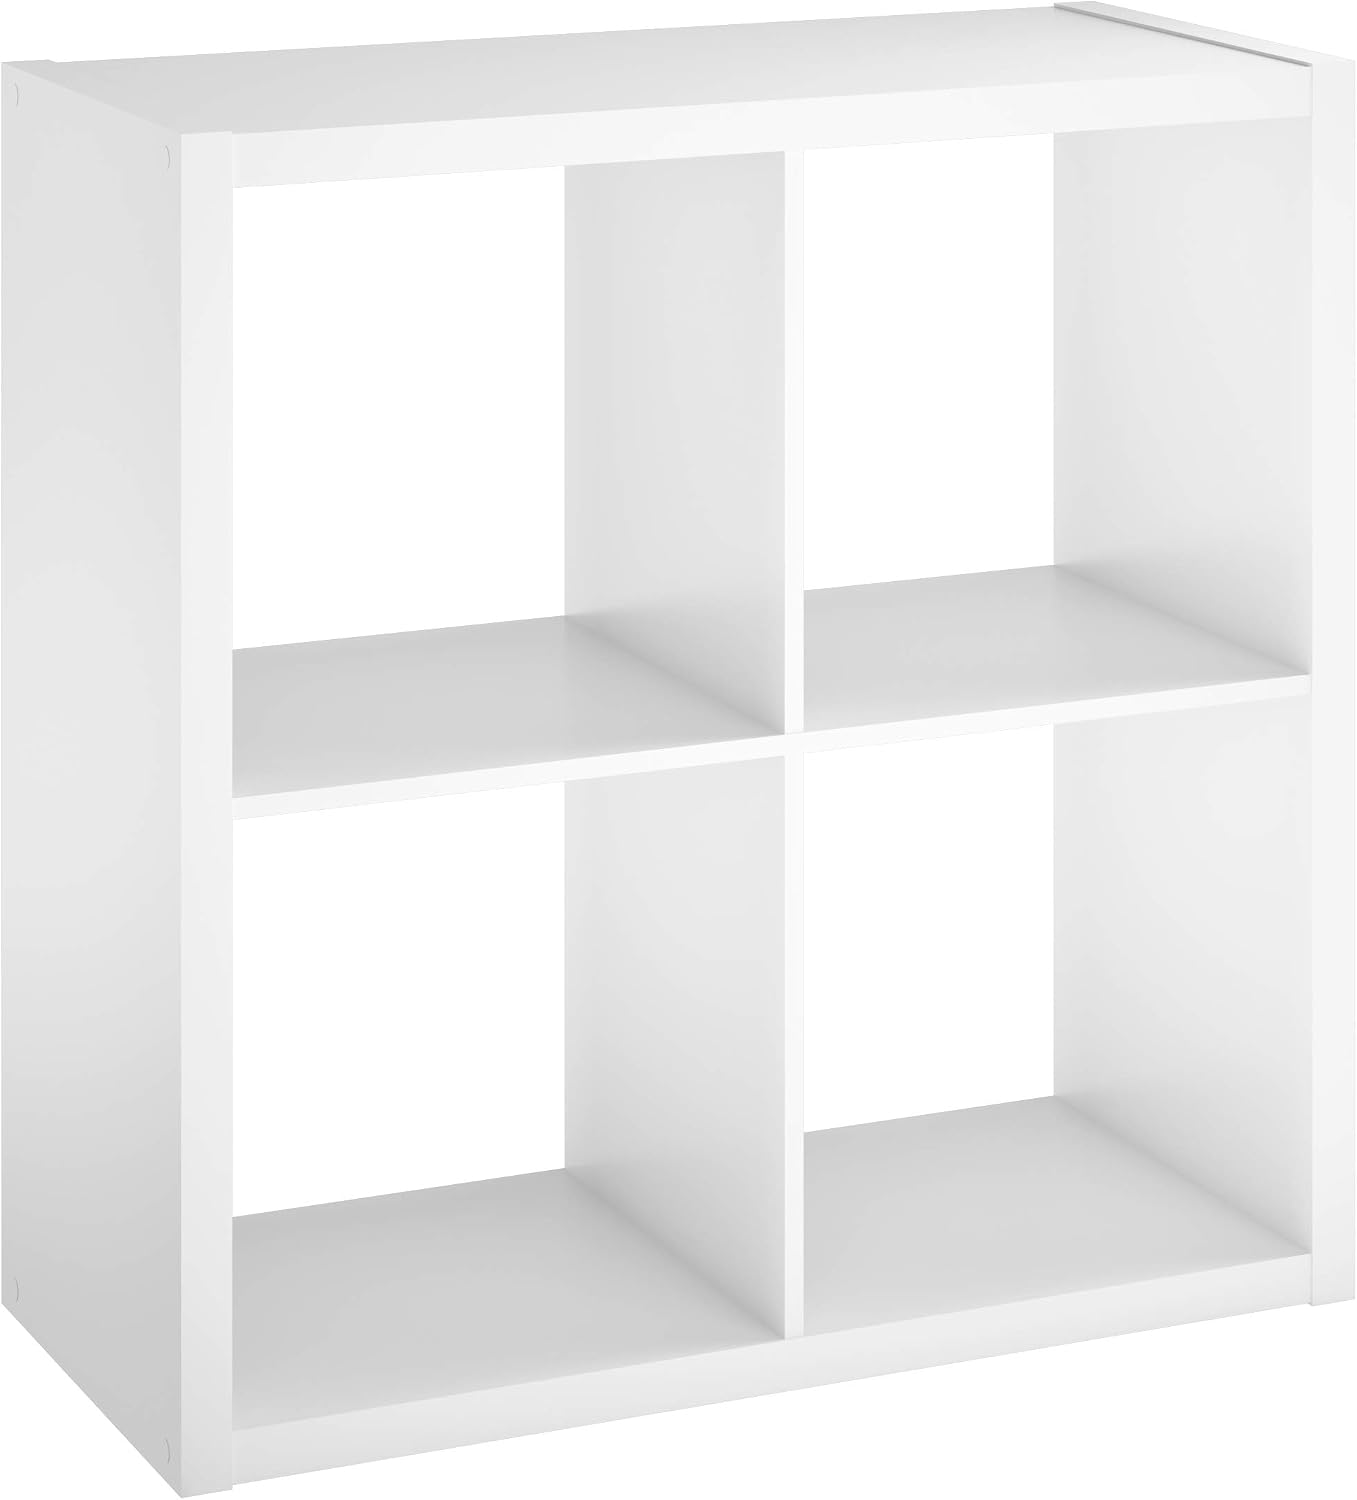
A cube organizer under a cushion makes a quick bench for a few dollars.
23. Anchor a Light Room With Dark Wood Up High
A dark shelf overhead gives a white room some weight.
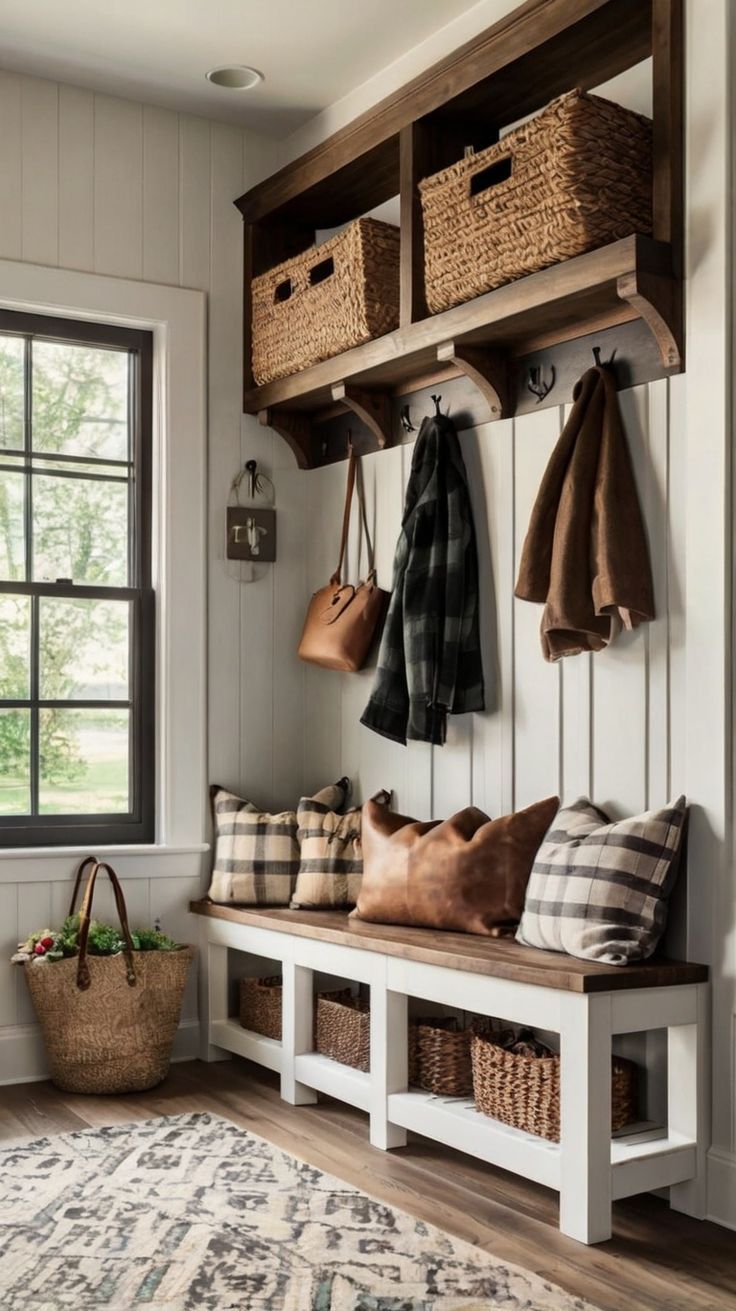
A dark wood shelf holds baskets above hooks here, with a white bench below, plaid and leather pillows and a bag on the floor.
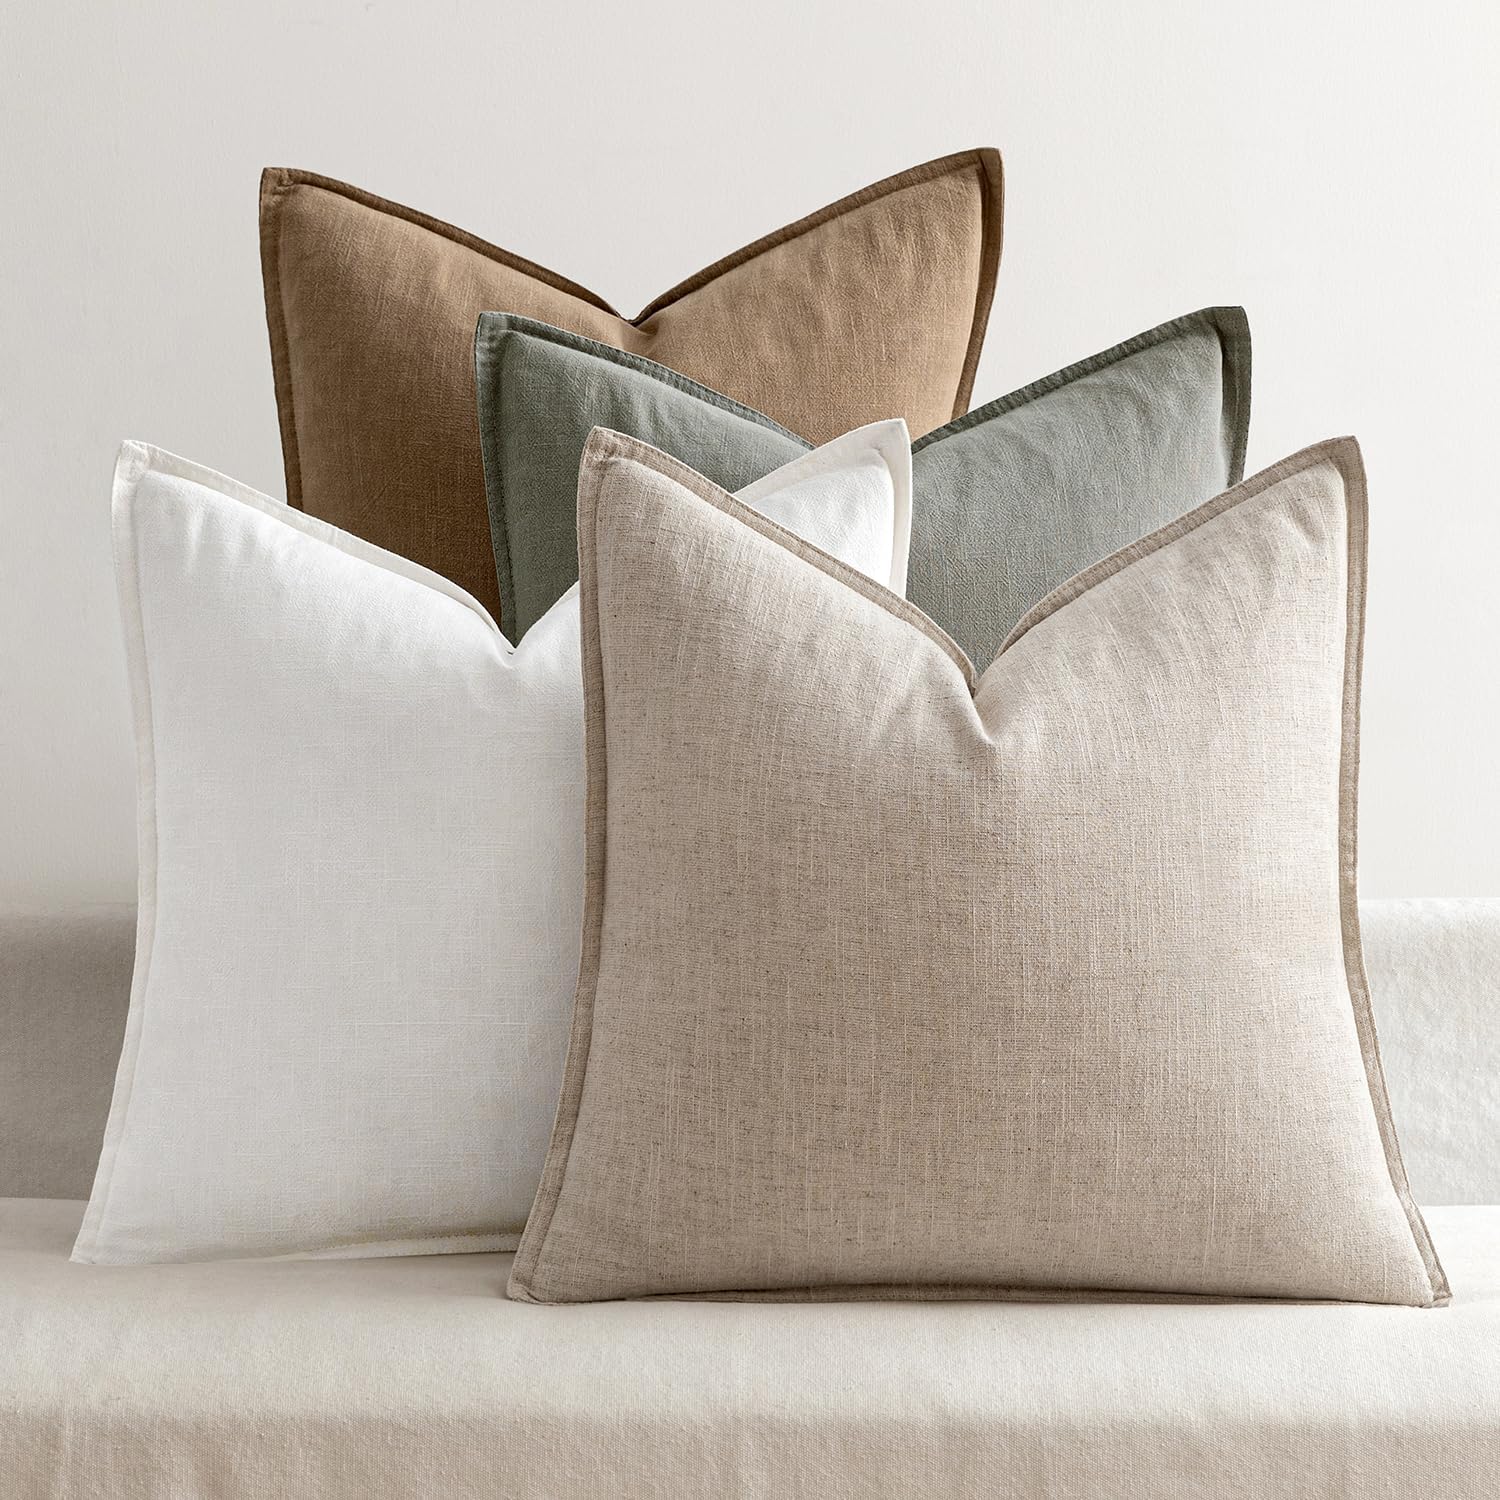
- Match the shelf's tone to the pillows below it, so the color travels.
- Keep the shelf stocked with real baskets and not just decor. Otherwise it's just another surface to dust.
24. Design the Cubby Around the Shoes You Own
A good cubby fits what you actually wear, not what a catalog suggests.
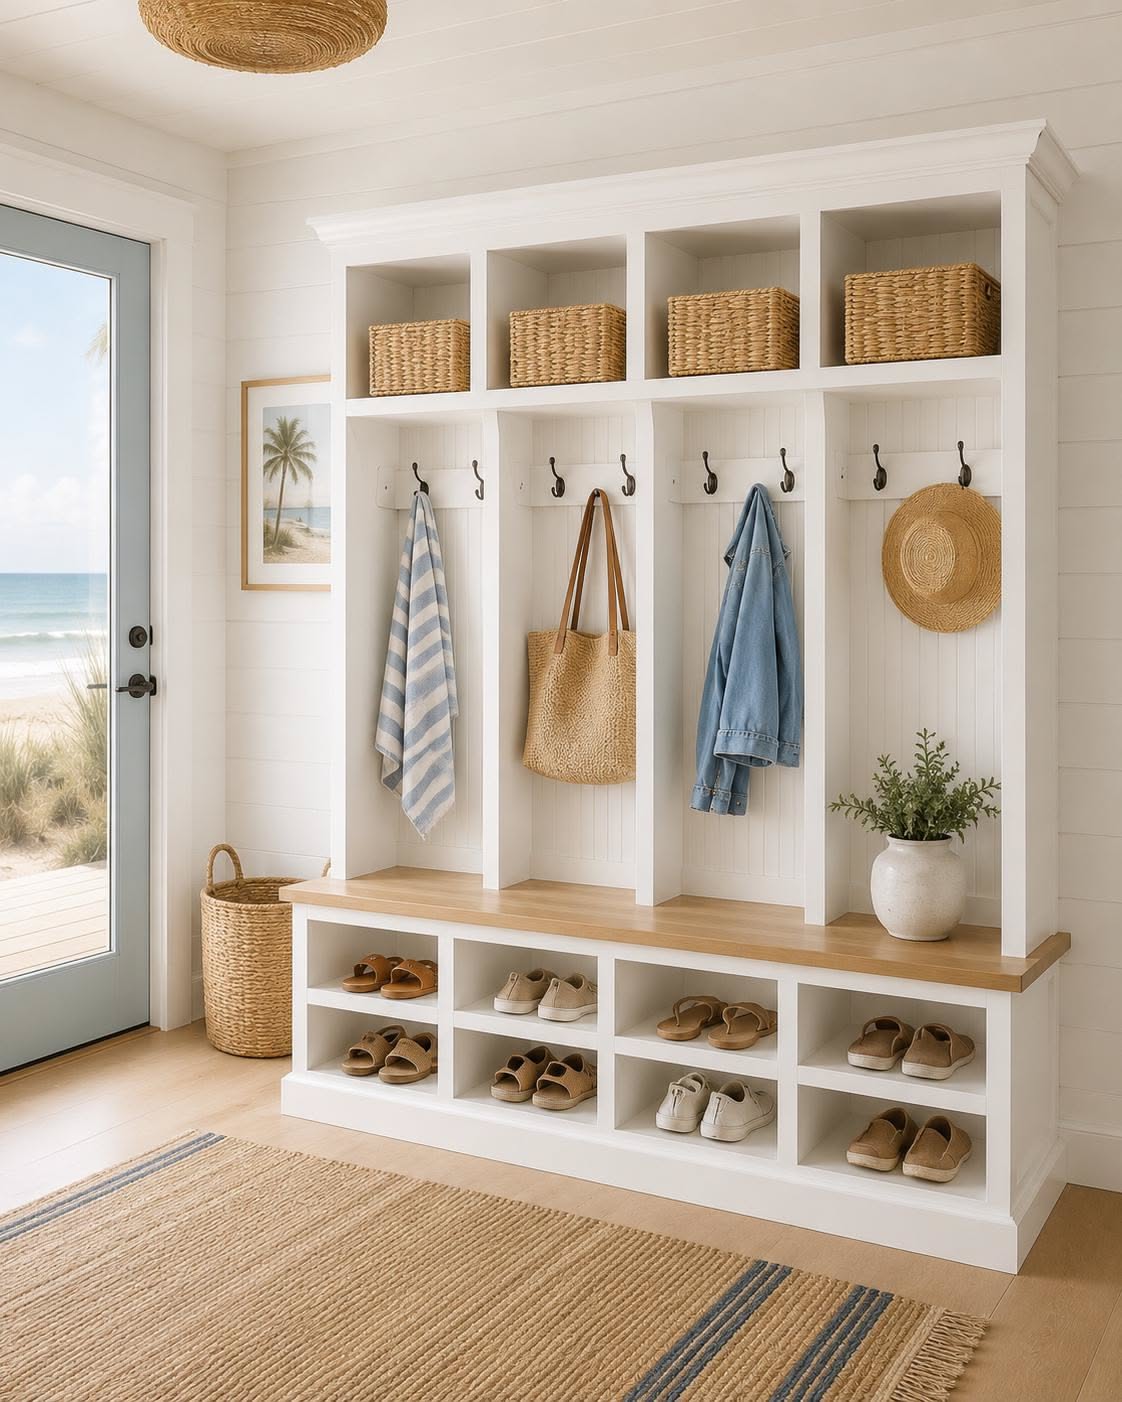
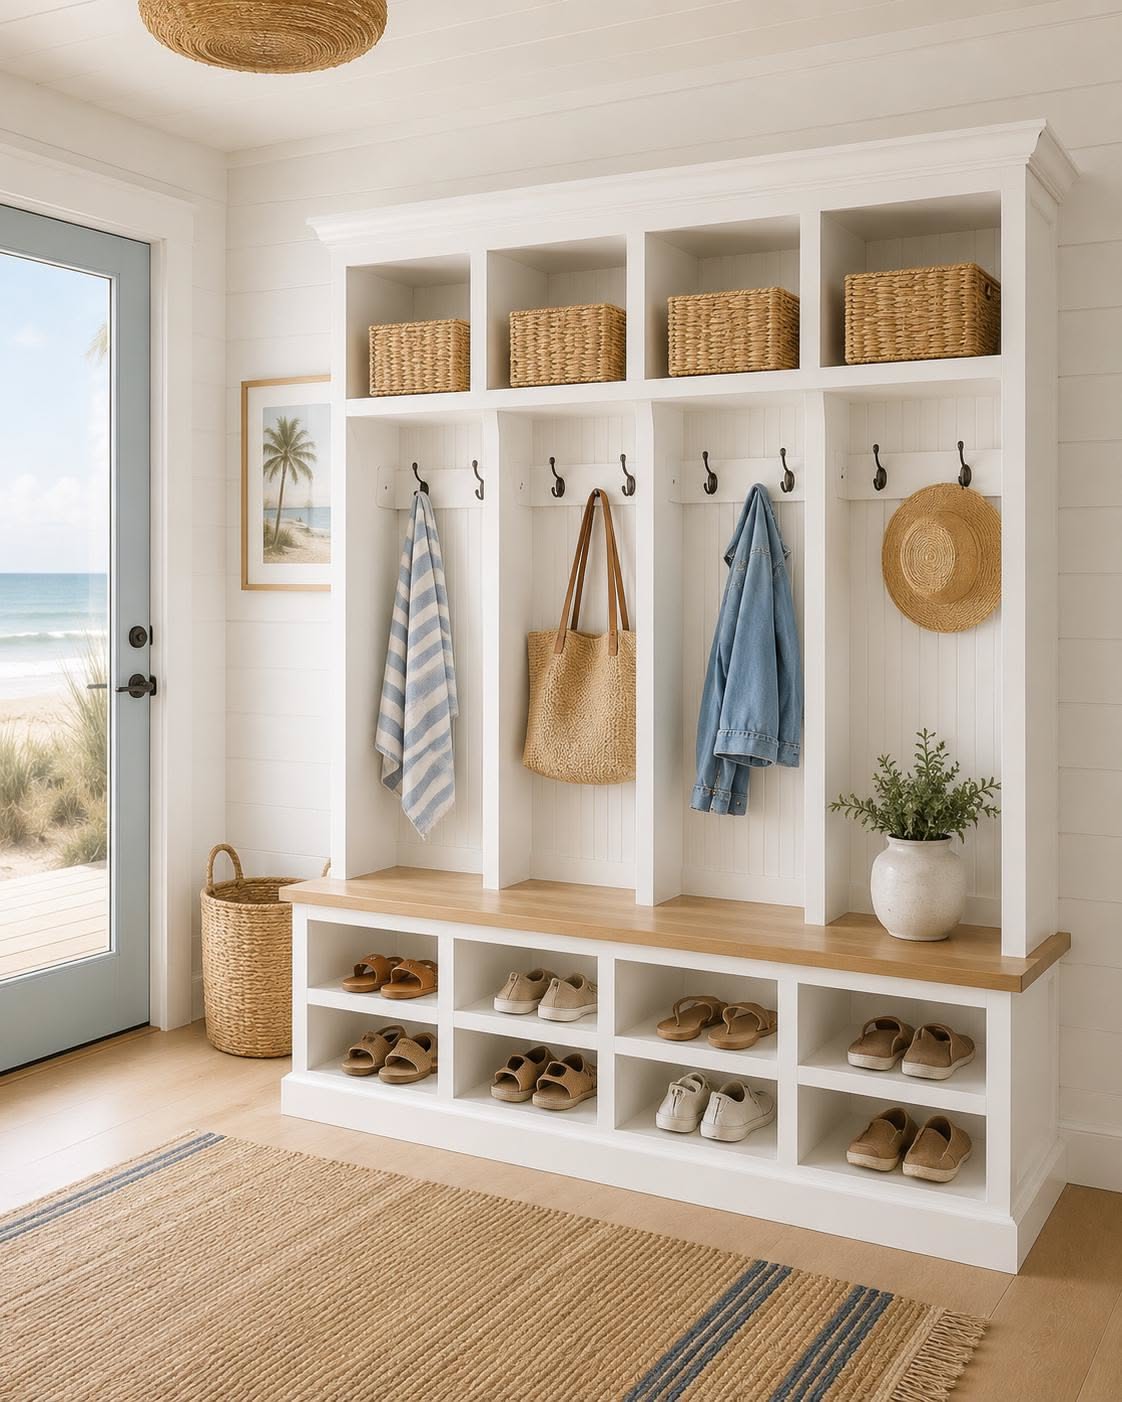
A white locker unit here has basket cubbies on top, hooks in the middle and open slots at the bottom for sandals, beside a beach door.
Line up your shoes on the floor and measure the tallest pair before you build. Add a bench seat in between, so you can sit to put your shoes on.
25. Put Decor on Top and Gear on Hooks
Treat the top of a locker as a display and the hooks as the workhorse.
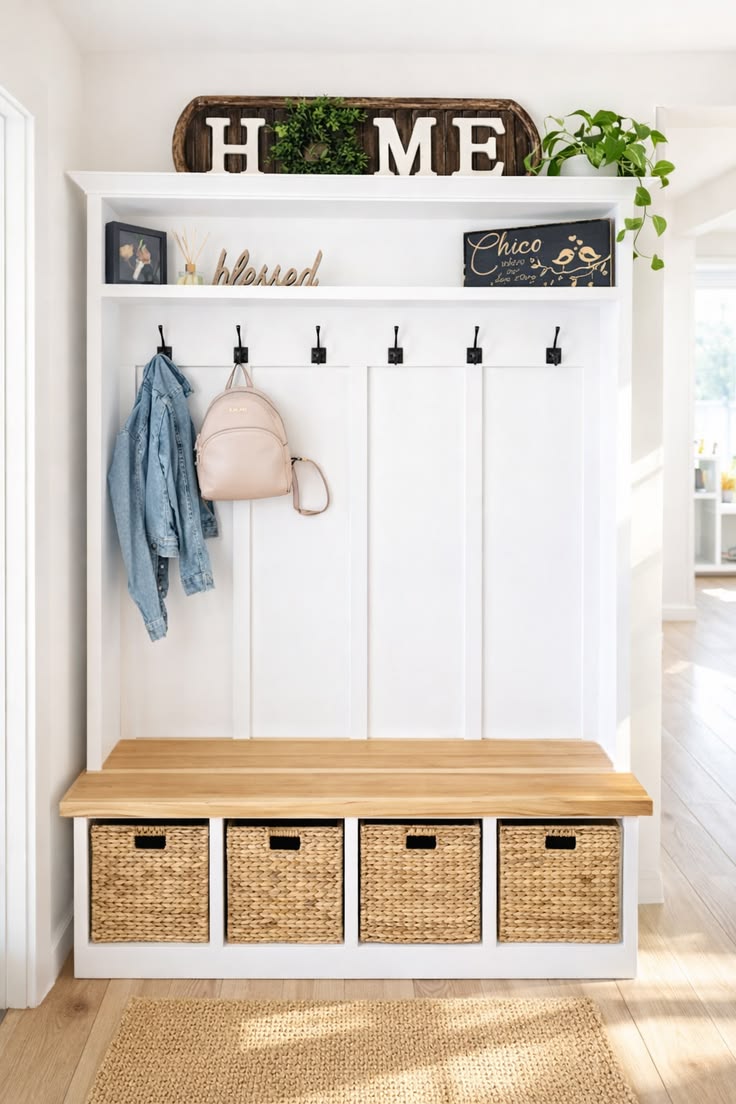
HOME letters and a plant sit on top of a white locker here, with six hooks below, a denim jacket and a pink bag, and a butcher block bench over baskets.
Quick tip: Keep decor to two or three items. More than that and the unit looks cluttered.
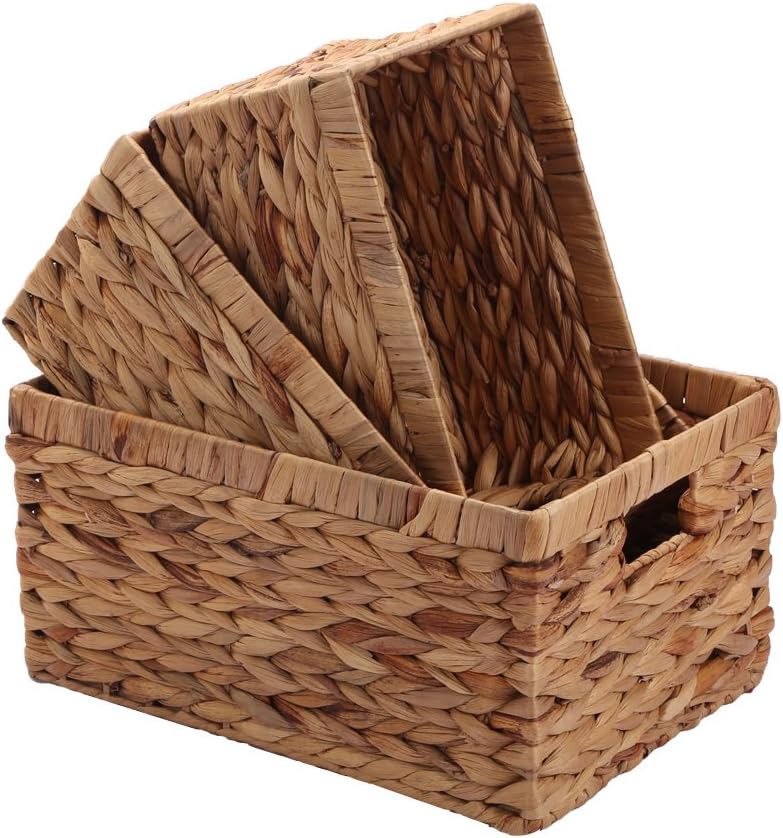
Choose baskets that fit snugly under the bench, so they slide in and out easily.
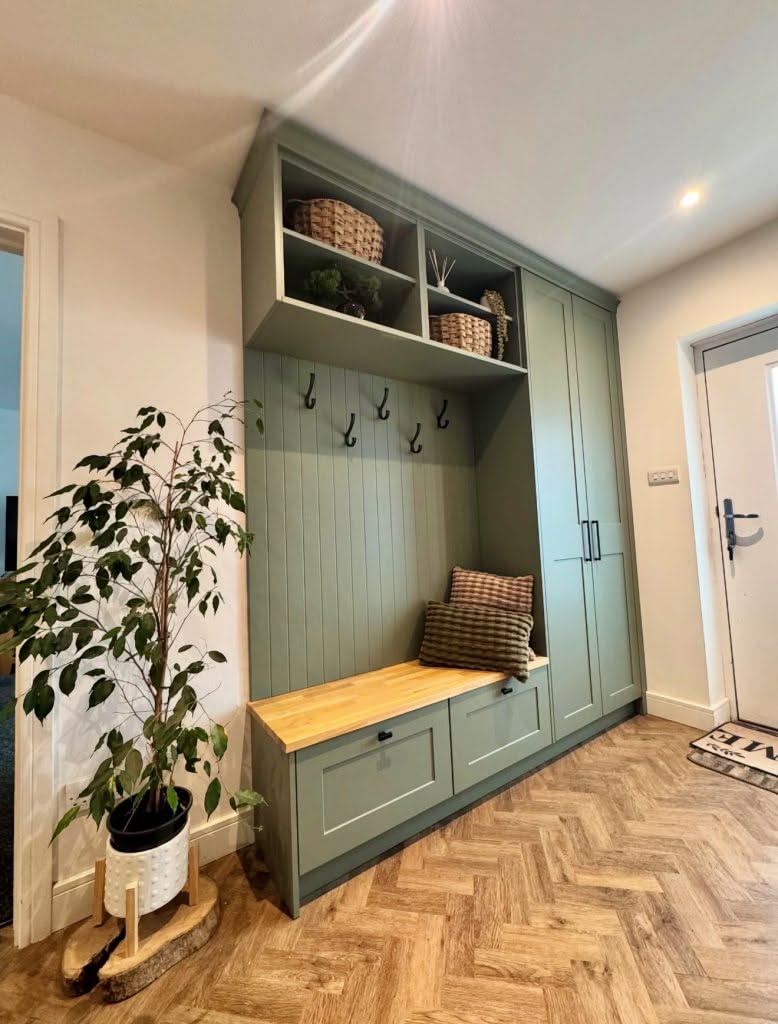
26. Choose Drawers Over Open Cubbies to Hide Mess
A drawer closes on mess in a second. A cubby can't. A sage green built-in has a wood bench seat over two drawers and tall cabinet doors here, with a leafy plant beside it.
Use drawers for gloves, hats and small bags, and cabinets for bulkier gear.
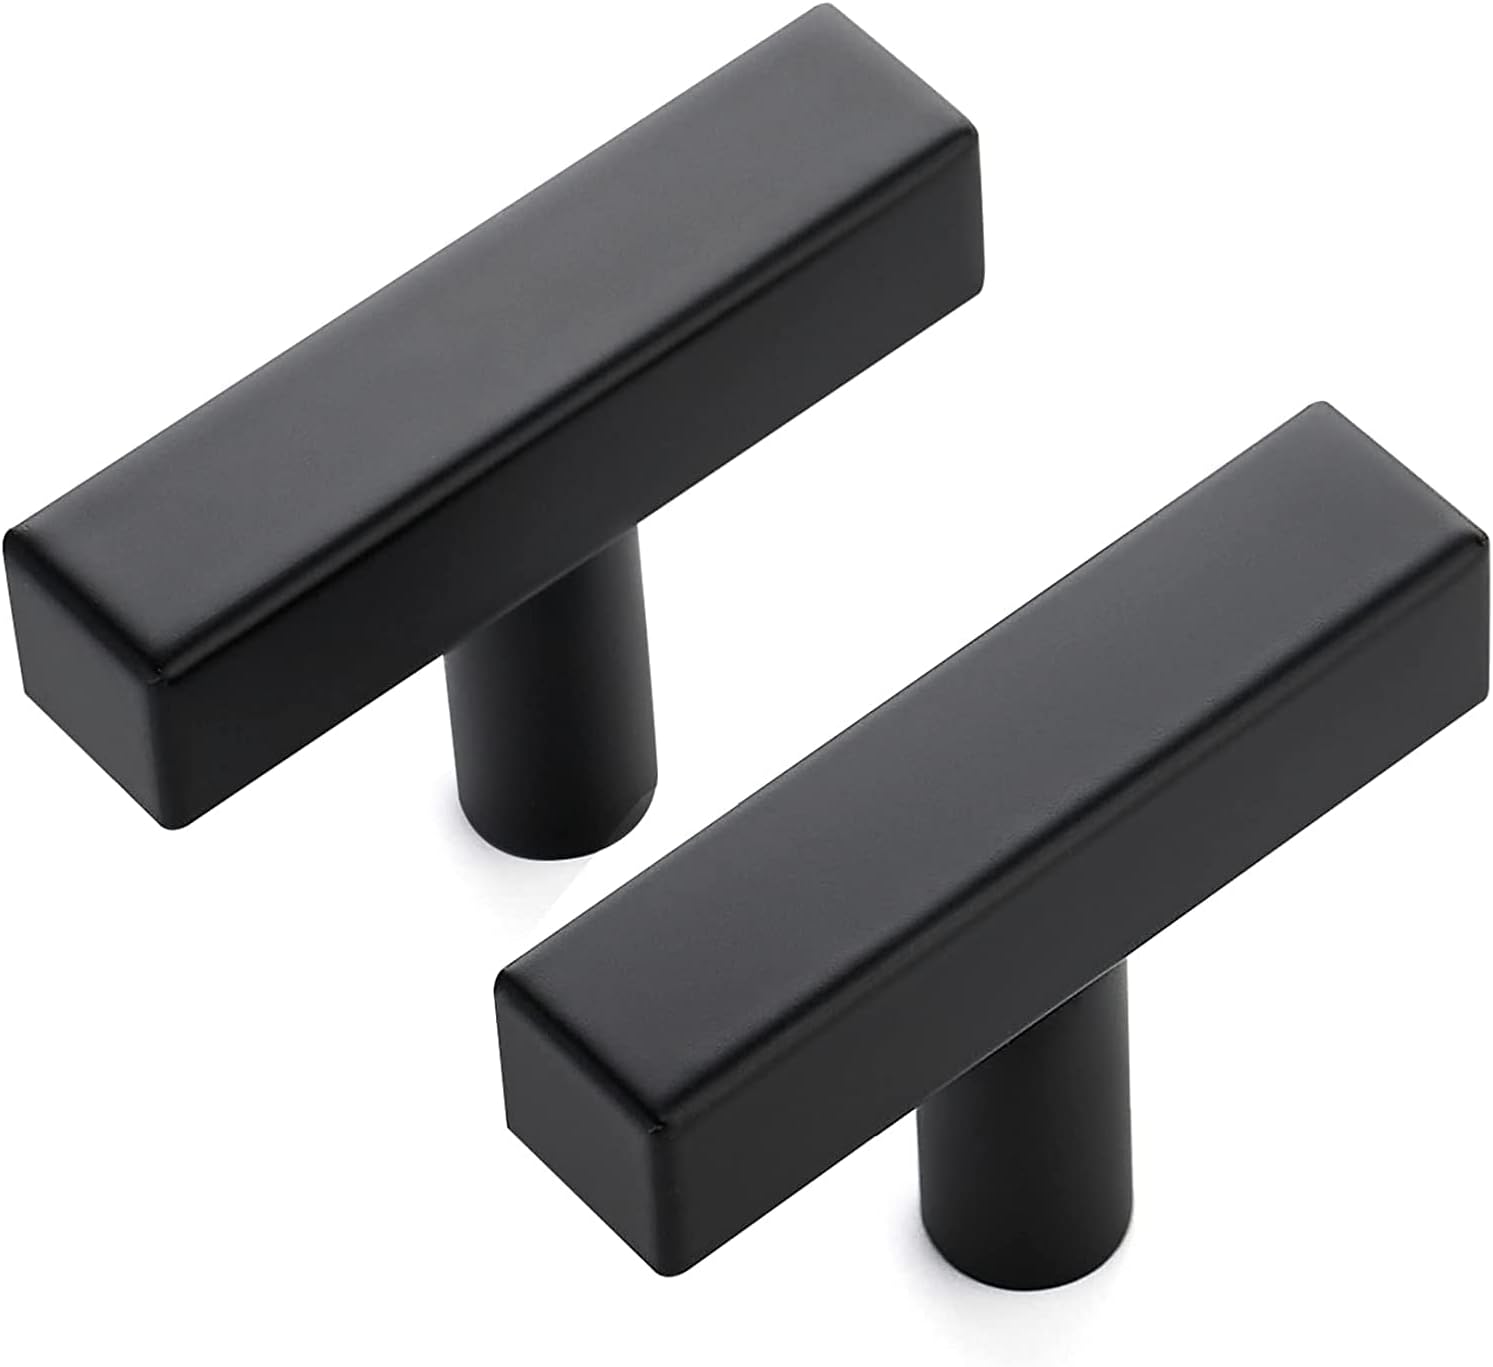
Add T-bar pulls so little hands can open them.
27. Label Every Hook
A label turns a hook into a home.
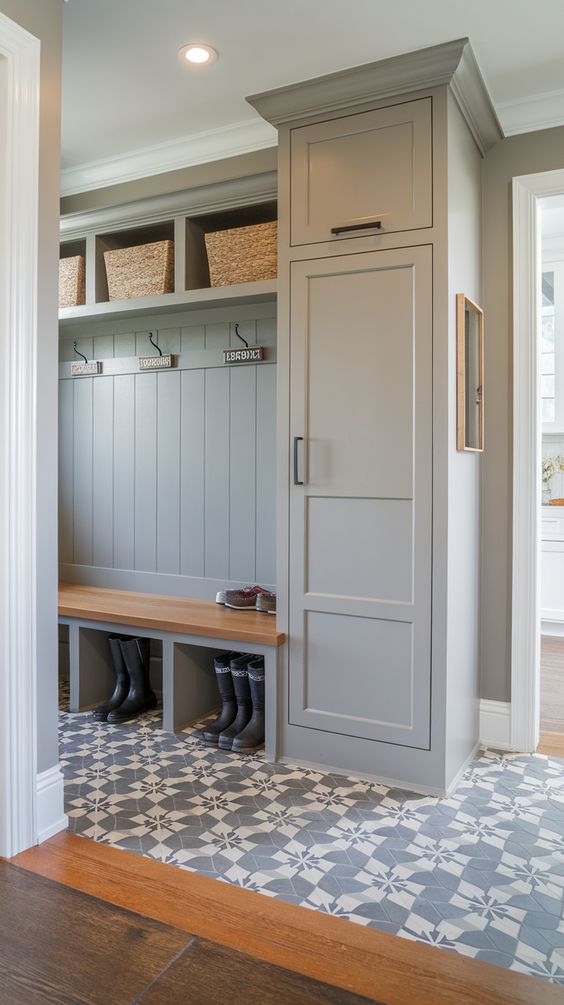
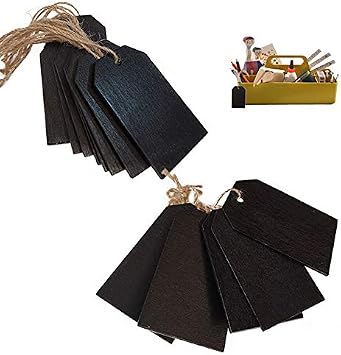
A gray built-in has labeled hooks, a basket shelf, a tall cabinet and blue patterned tile here. Use chalkboard tags so you can change them when the family changes.
Start with names and move to categories, such as sports, work or dog, once you know how you use it.
28. Put Shoe Shelves at Shoe Height
Shoes belong at floor height, where you can see them.
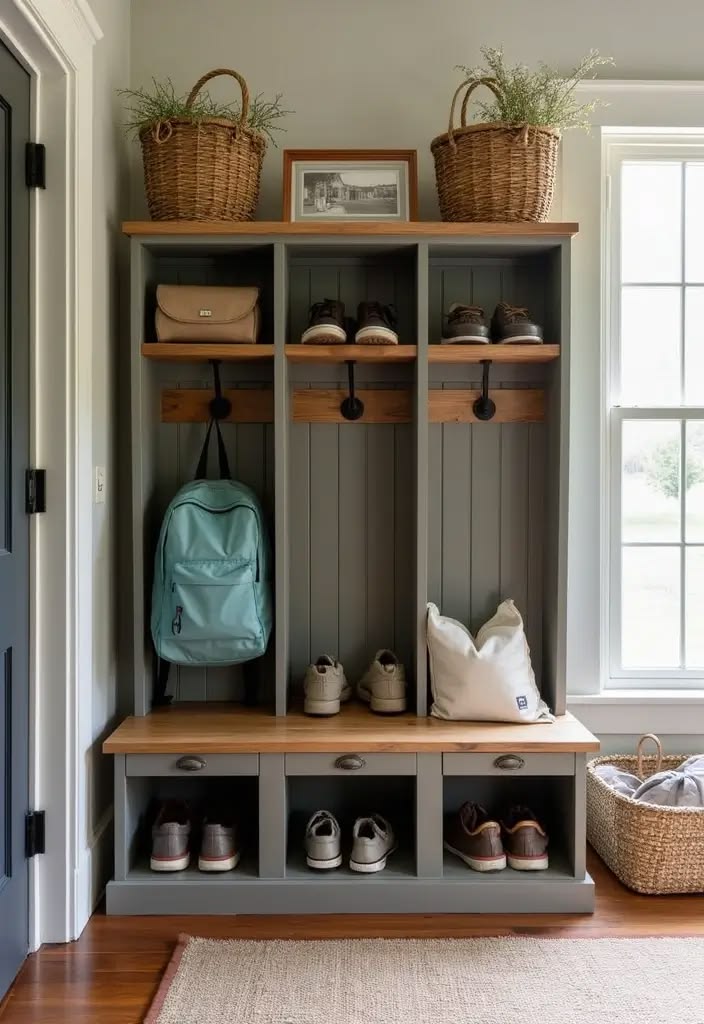
A gray built-in here has open shoe shelves at the bottom, a teal backpack on a hook and baskets on top.
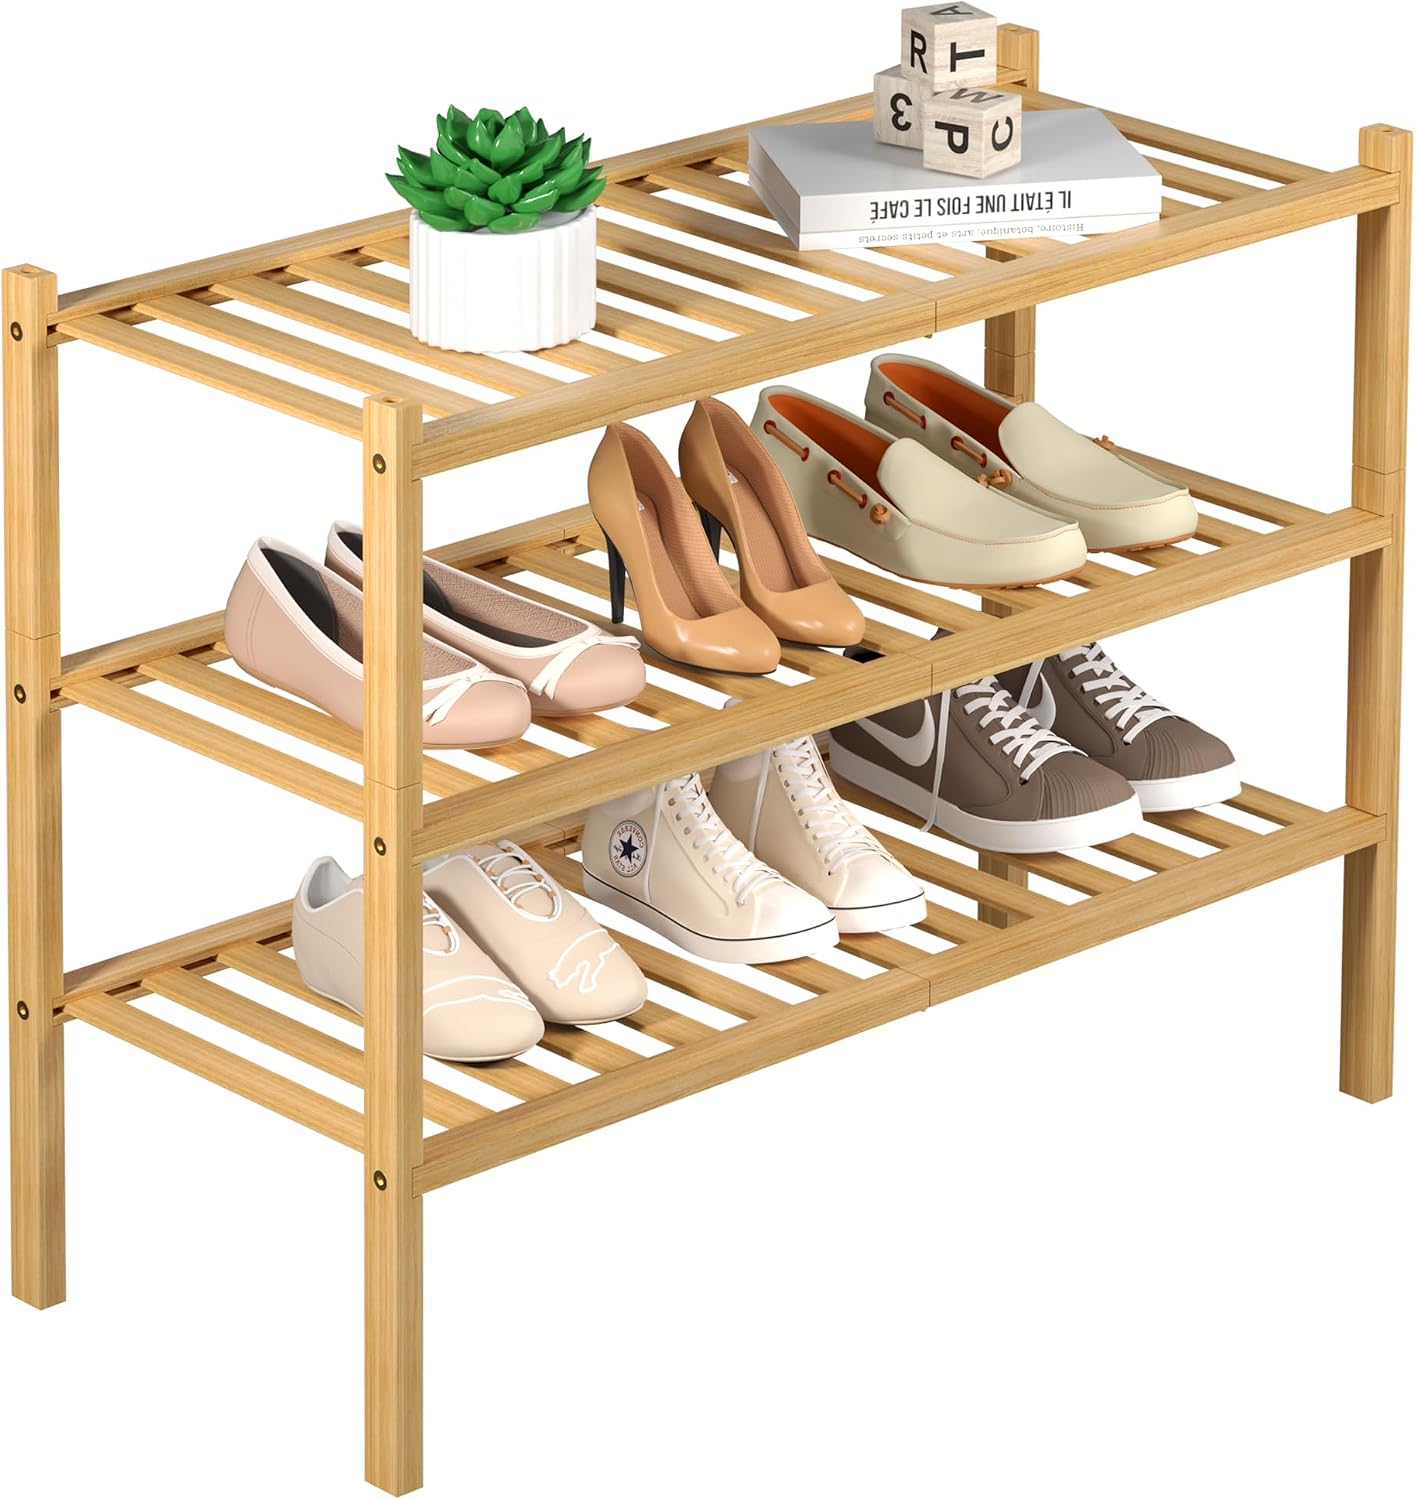
- Slope the shelves slightly, so muddy shoes can drip.
- Keep at least one shelf for each family member, and add a basket for extras.
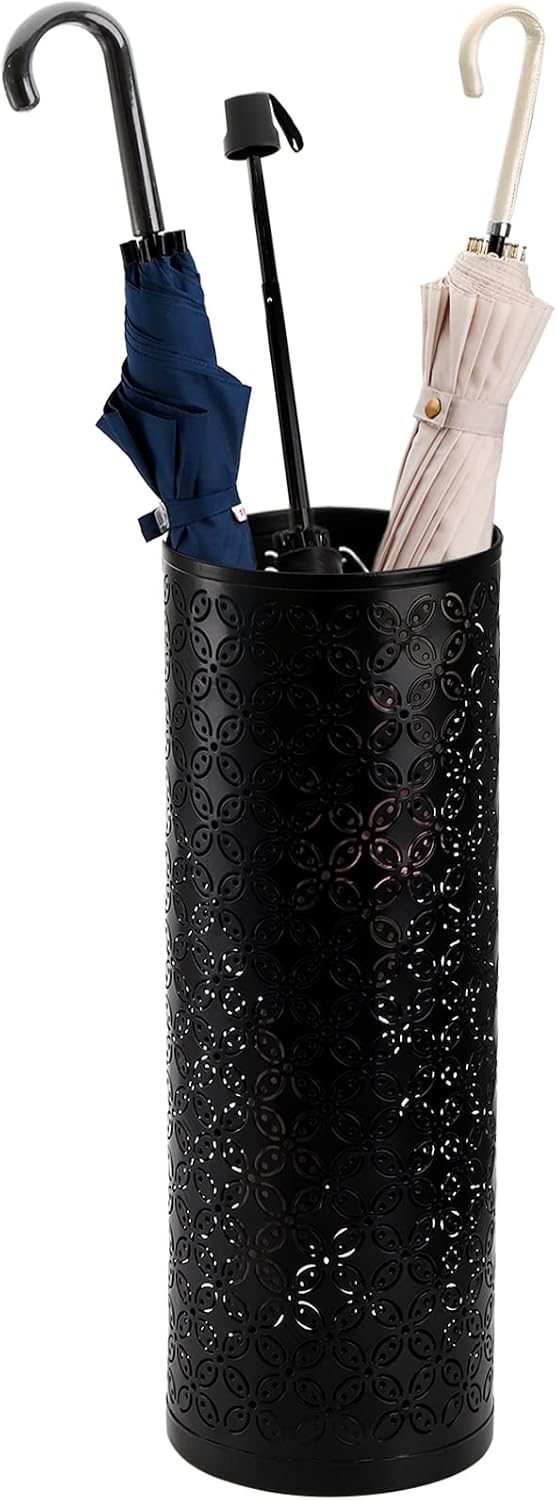
29. Plan a Place for the Umbrella
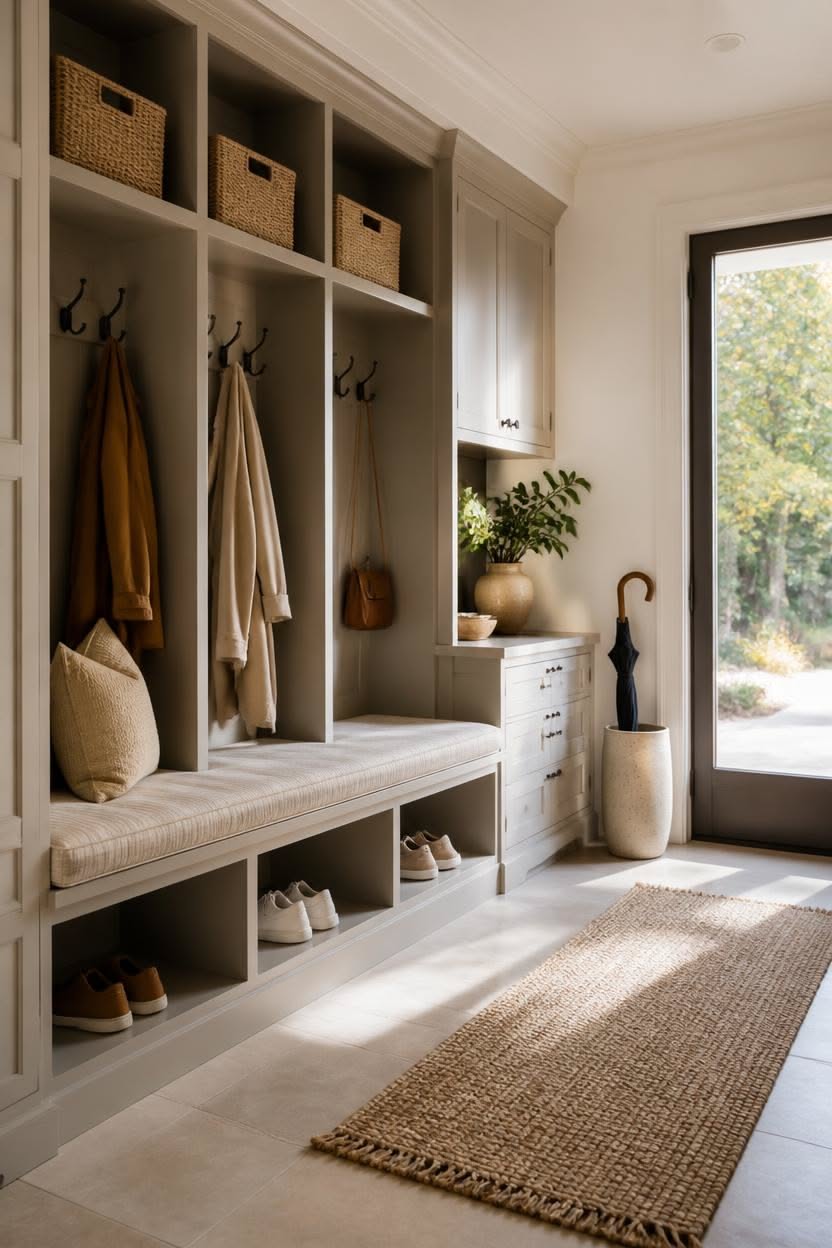
Wet umbrellas need a home with a tray, or they leave puddles. A greige built-in has a cushioned bench, shoe cubbies and drawers here, with an umbrella standing in the corner.
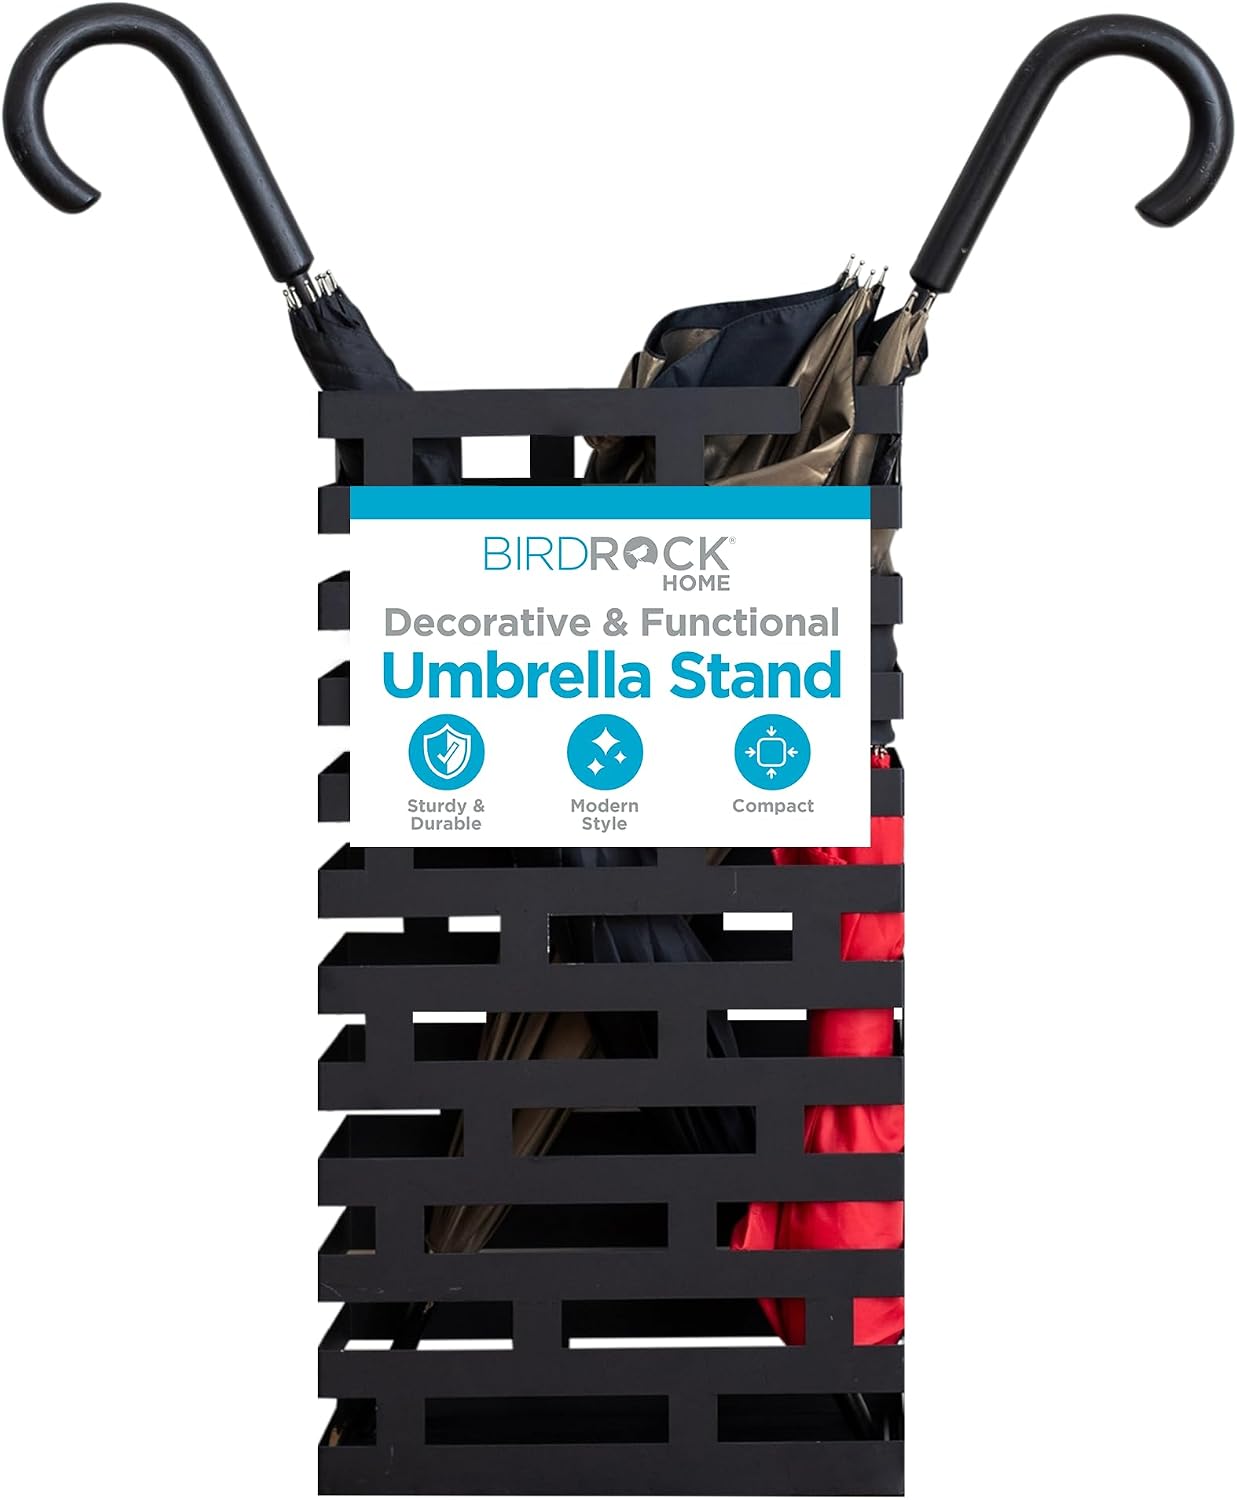
- Choose a stand with a drip tray. It protects the floor and is easy to empty.
- Place it near the door so you reach it before you step outside.
30. Use Tall Cabinets for Off-Season Gear
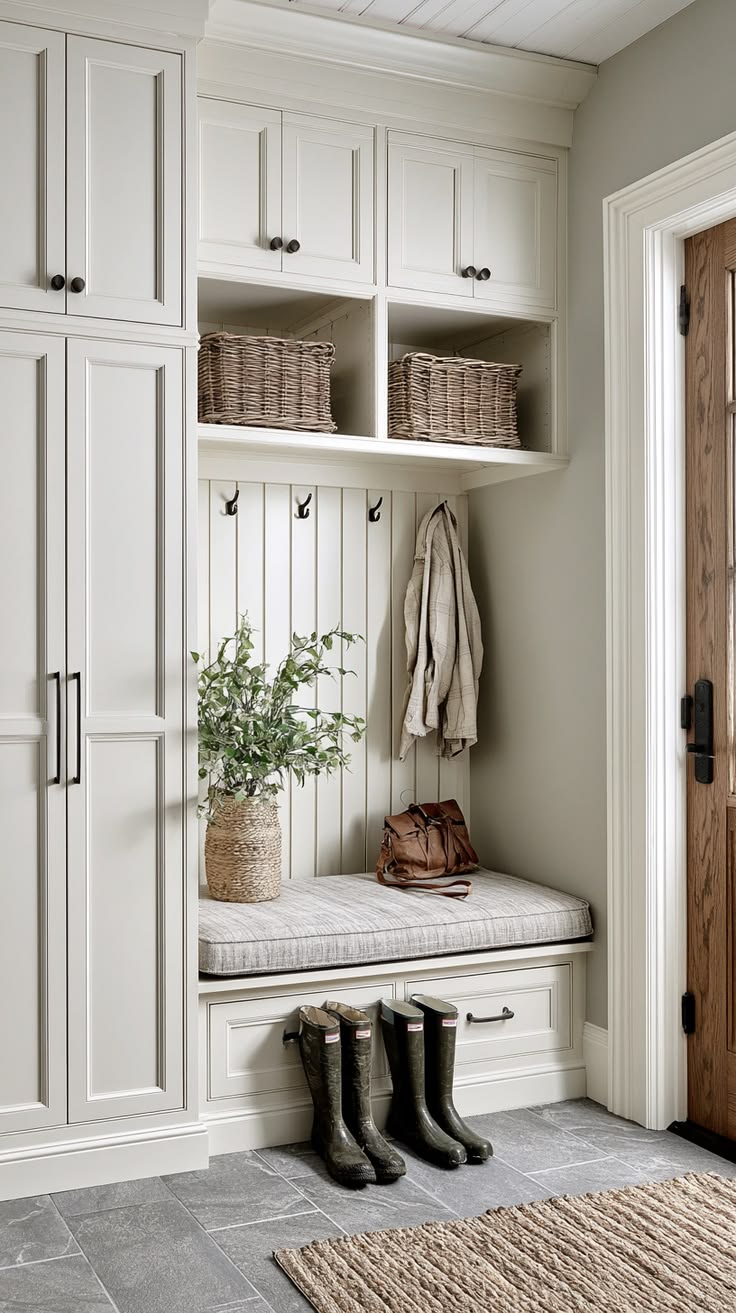
Don't leave winter boots out in July. A cream built-in has tall cabinets, a cushioned bench with drawers and rubber boots on a tray here.
Put current-season items at eye level and rotate the rest into the upper cabinets. Choose a boot tray with a raised edge to hold melting snow.
31. Match the Baskets and the Room Looks Calm
Matching baskets are the quickest way to quiet a busy shelf.
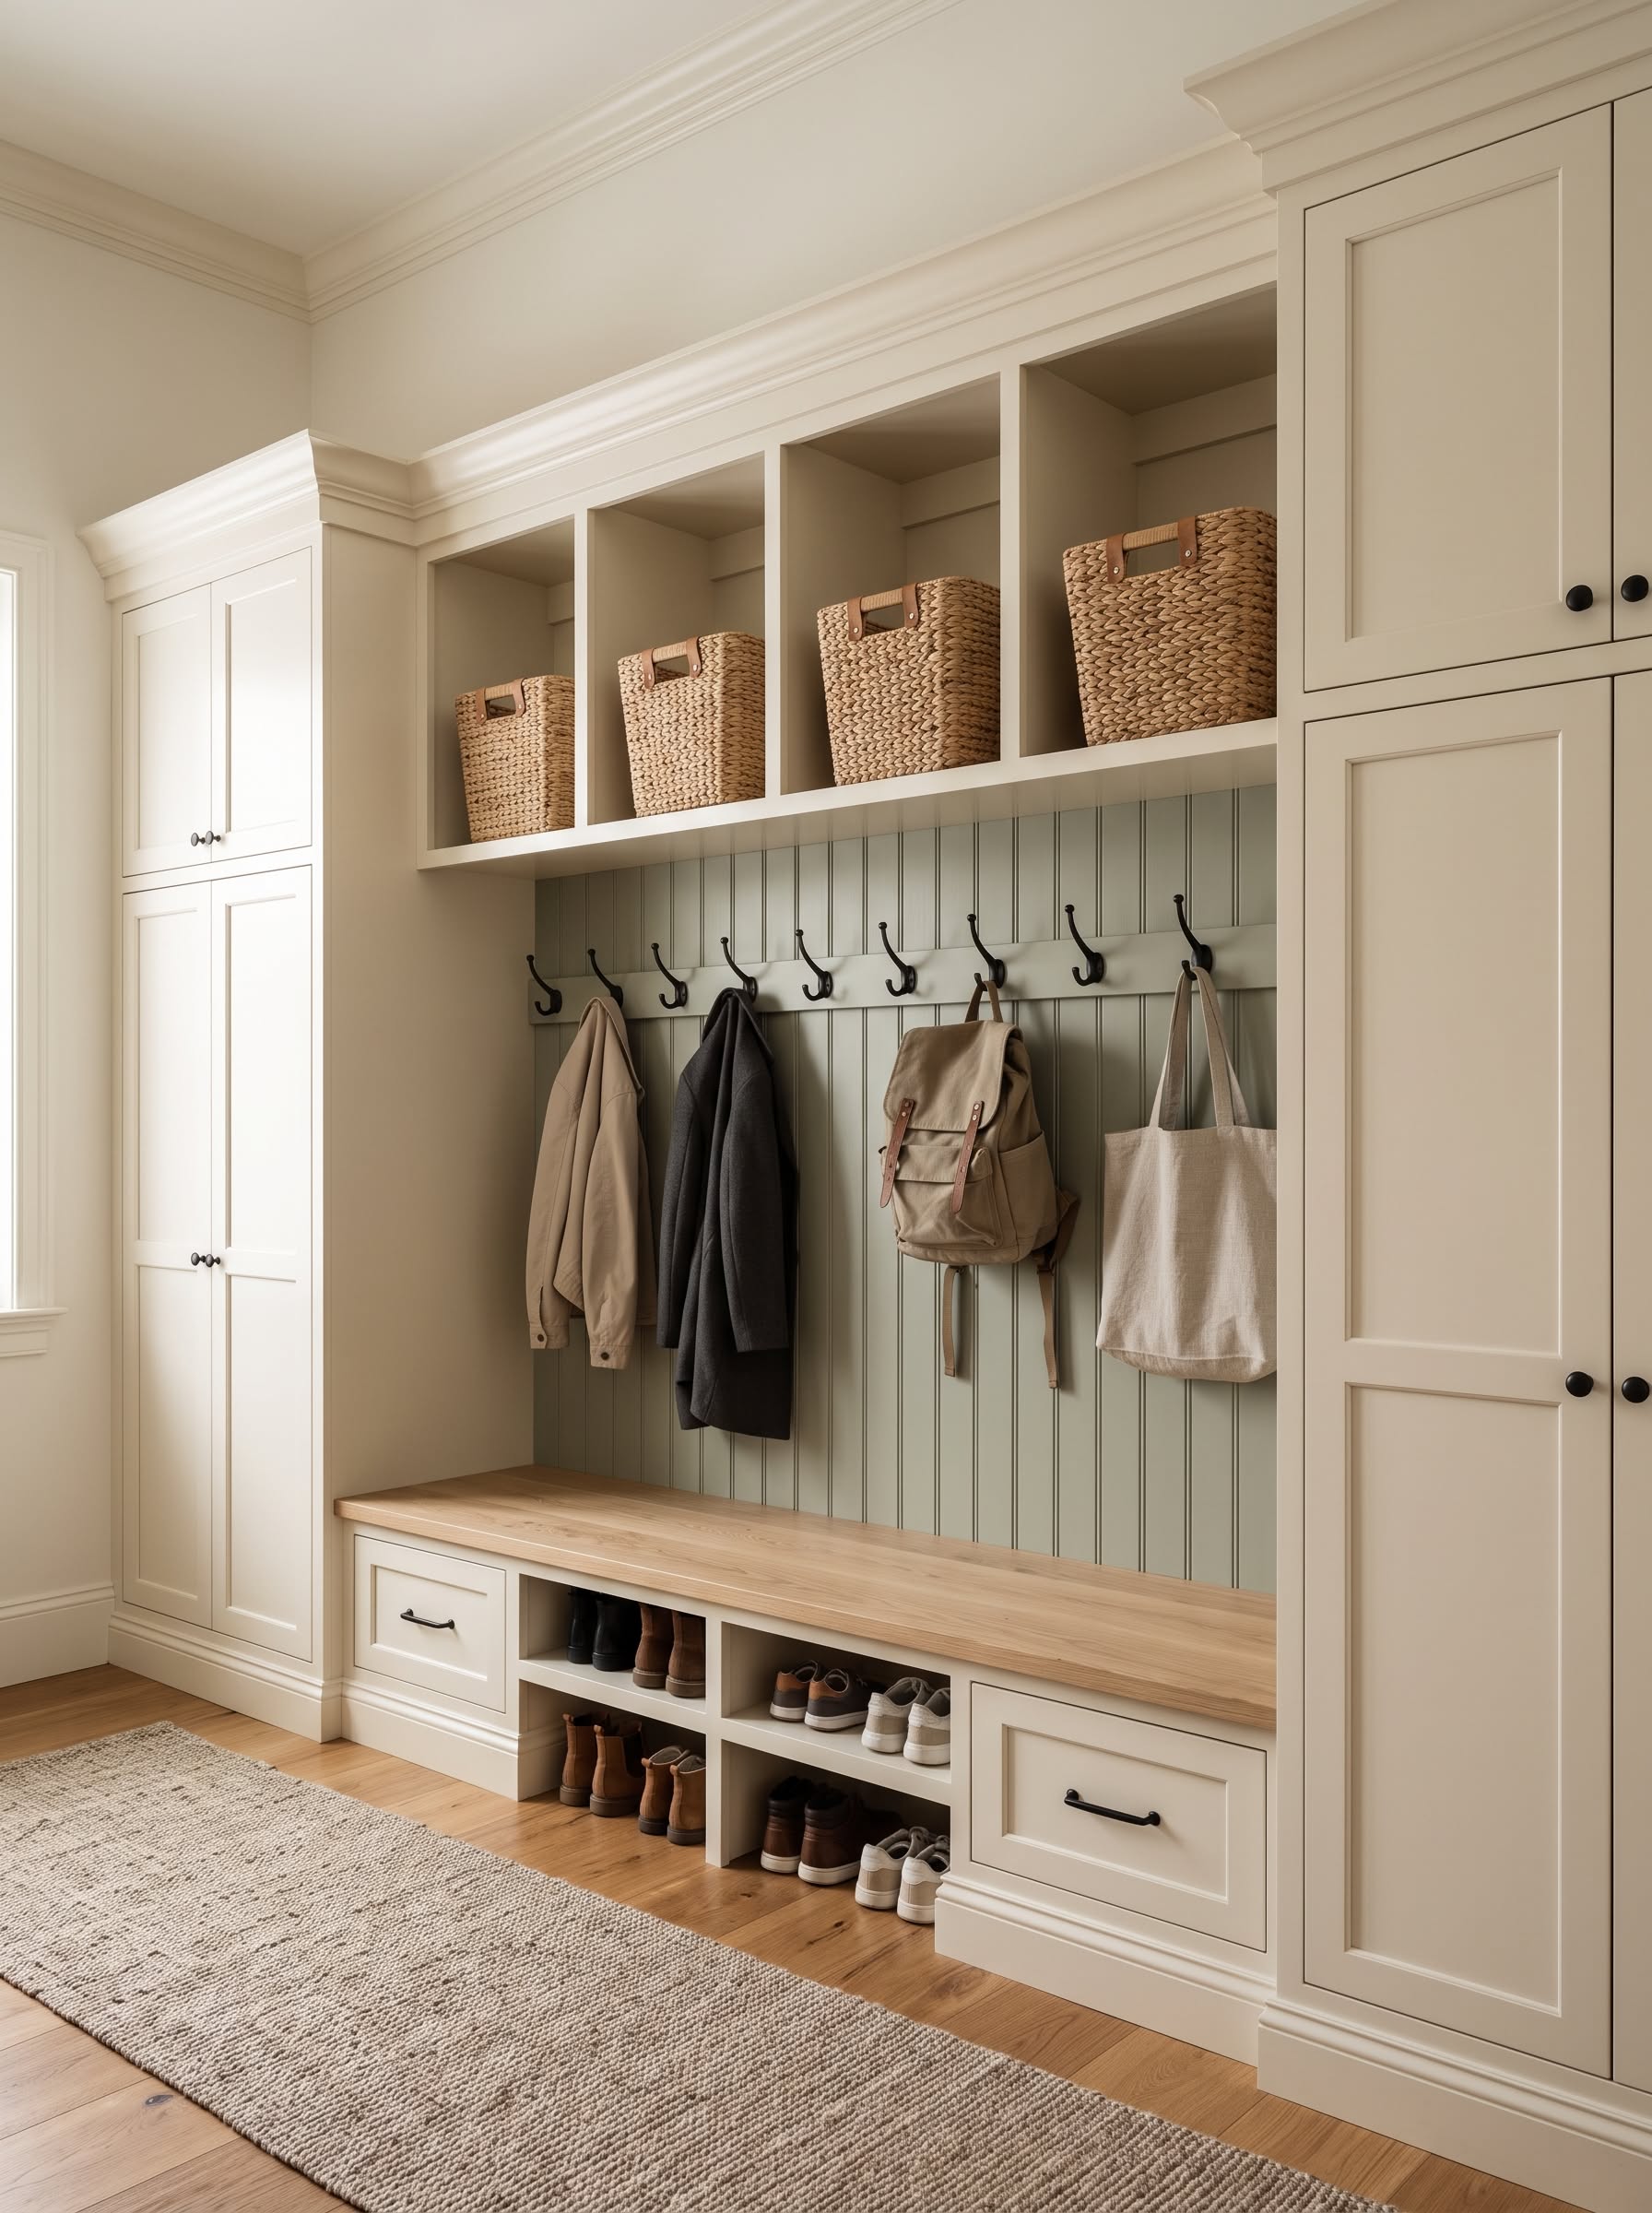
A cream and sage green built-in has matching baskets, hooks, drawers and tall cabinets here.
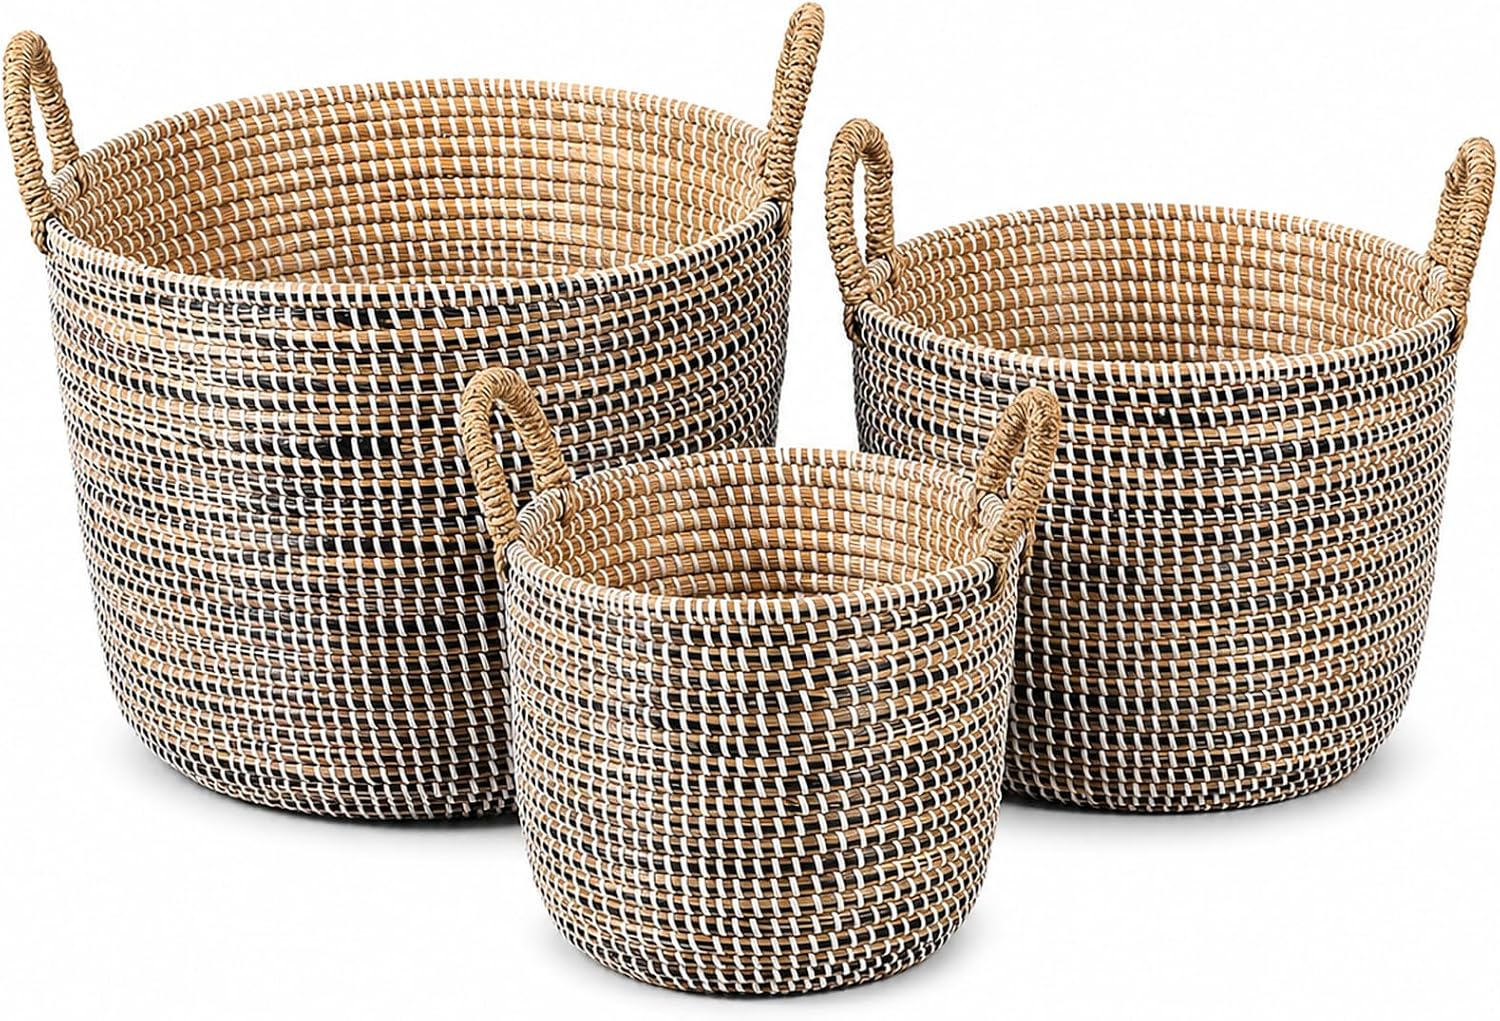
Buy a set of the same size and weave, so the shelf reads as a single piece.
Add liners so small items don't poke through the weave.
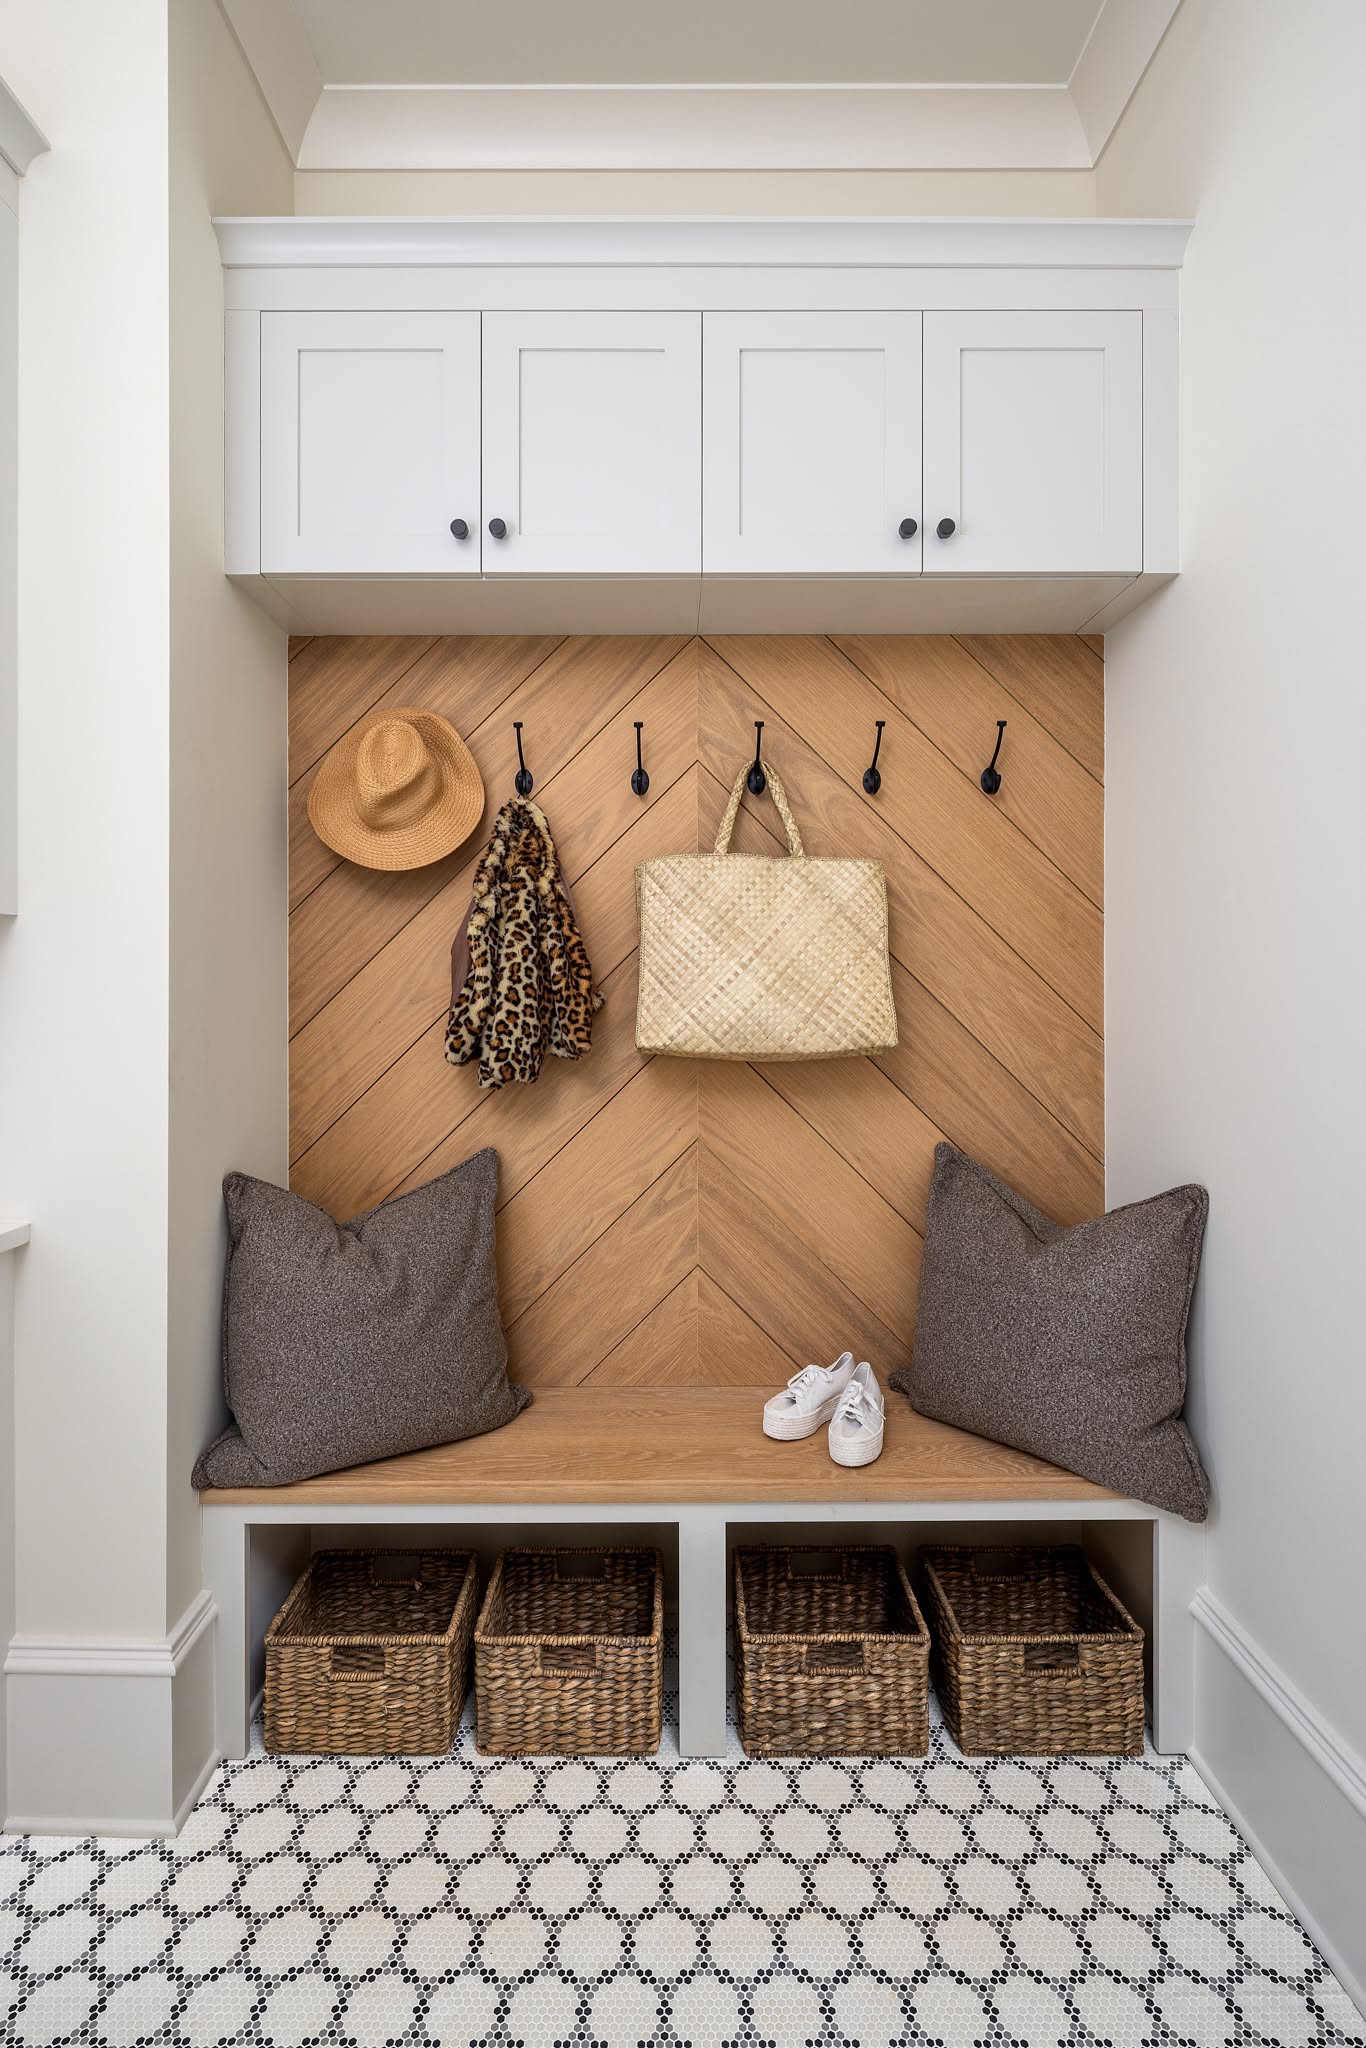
32. Add Warmth With Herringbone Wood
Wood paneling adds warmth without a drop of paint. A herringbone wood panel sits behind the hooks in this niche here, with white upper cabinets, a bench and four baskets, on patterned tile.
Cut the panels at a 45-degree angle, and use a nail gun and construction adhesive.
Seal the wood, since hooks and wet coats will mark an unfinished surface.
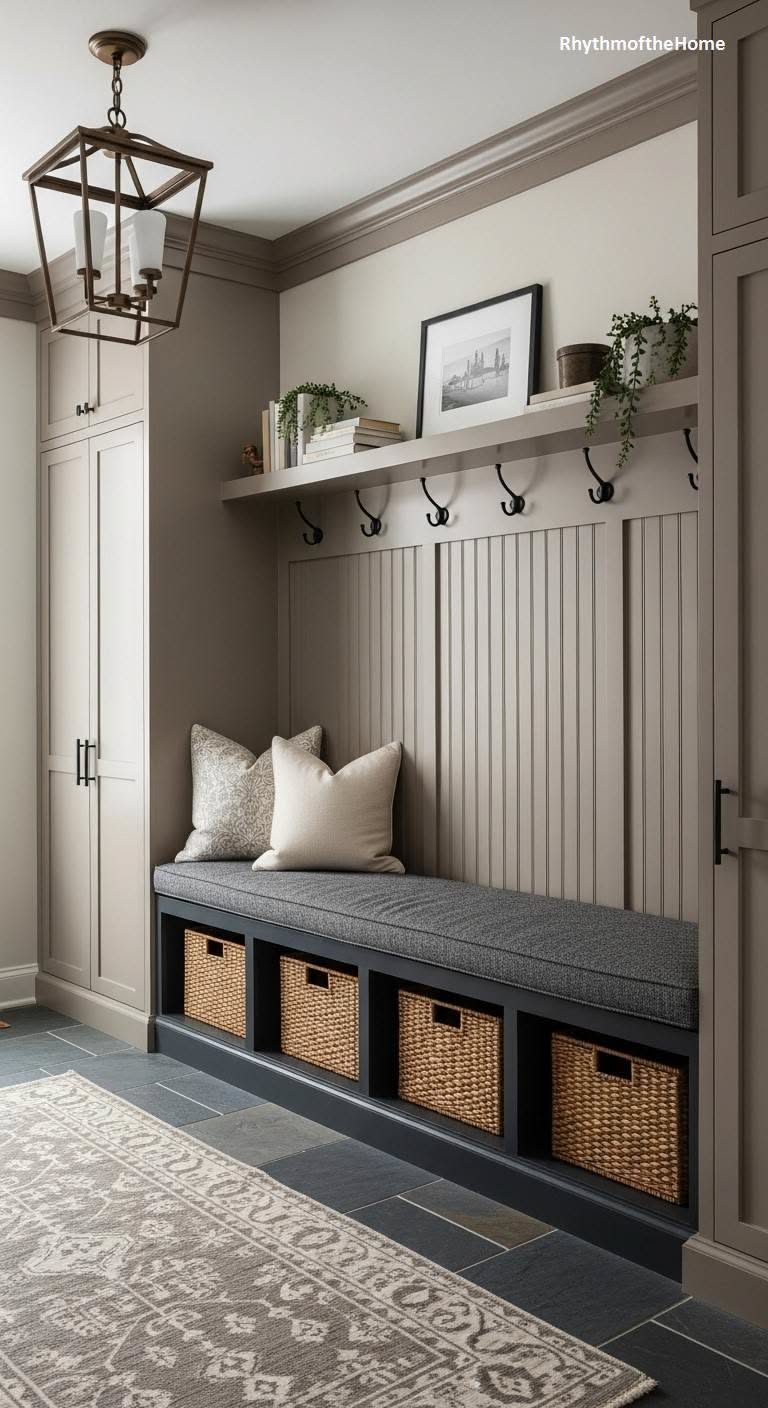
33. Choose Taupe to Hide Daily Marks
A mid-tone wall forgives scuffs that white never would.
A taupe built-in has a shelf, a hook rail, a bench with a dark cushion and four baskets here, with a lantern light and a patterned rug.
- Use a satin or semi-gloss finish so you can wipe it clean.
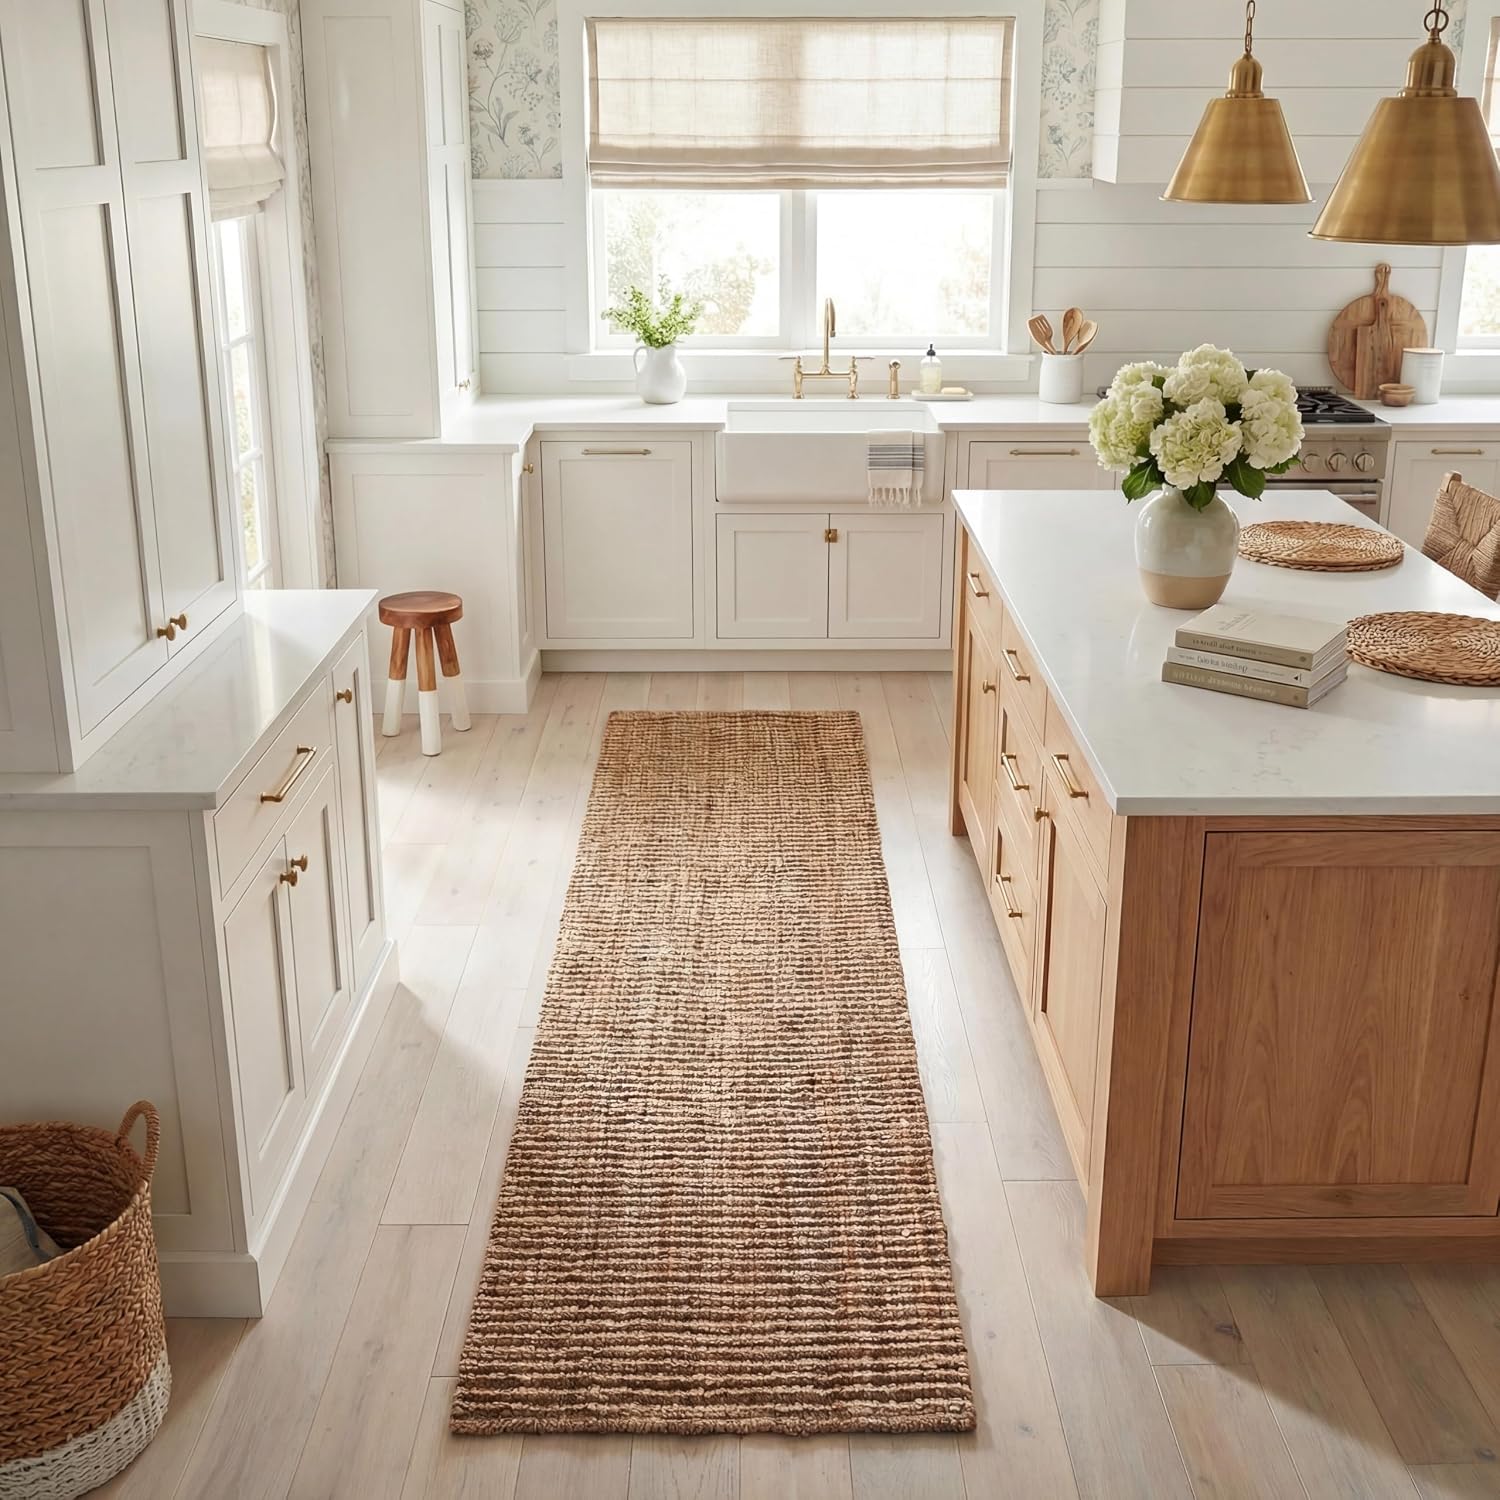
- Pick a rug with a pattern, since it hides dirt in the weave.
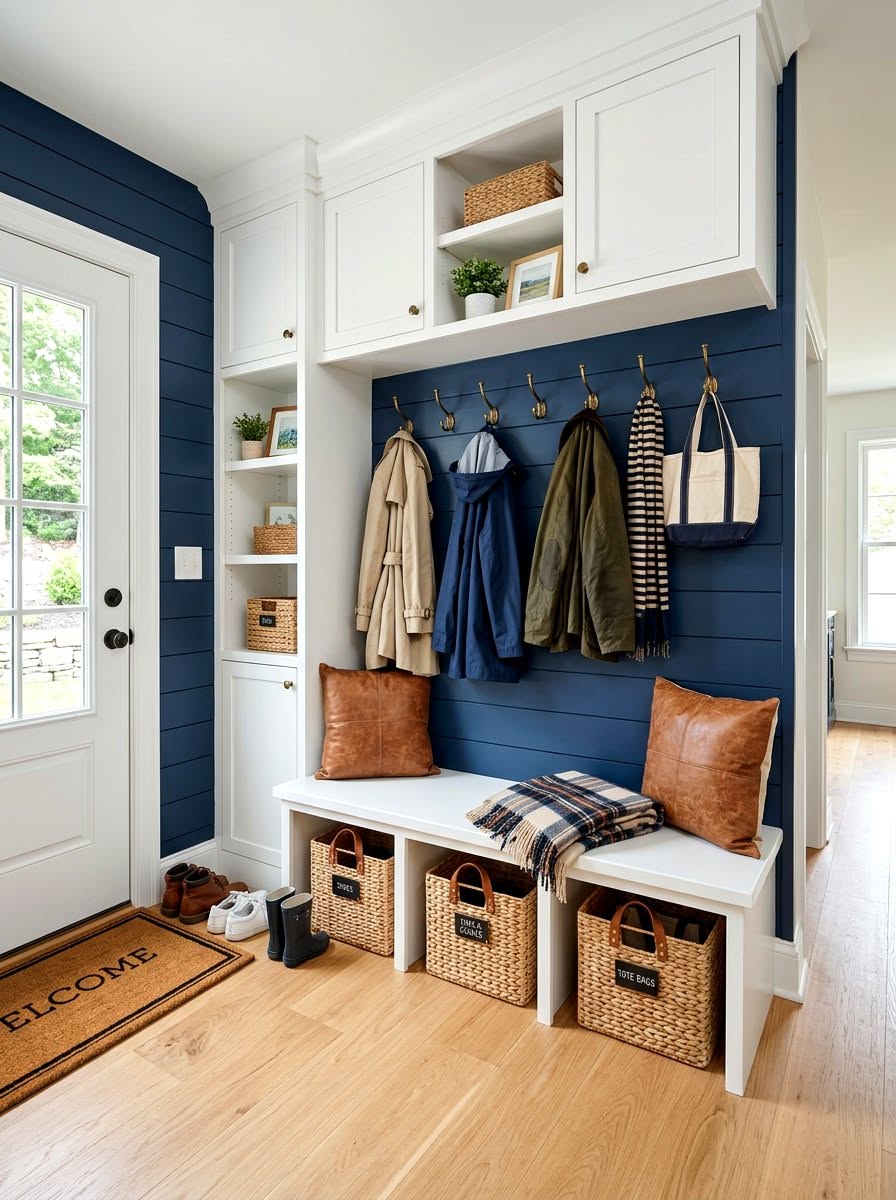
34. Use Navy Shiplap to Make White Cabinets Pop
A deep wall color makes white trim look crisp.
Navy shiplap sits behind brass hooks here, with white cabinets above, leather pillows and labeled baskets under the bench.
Use a washable paint. A satin finish is easy to clean. Brass hooks add warmth against the navy.
35. Choose Olive Green Over White
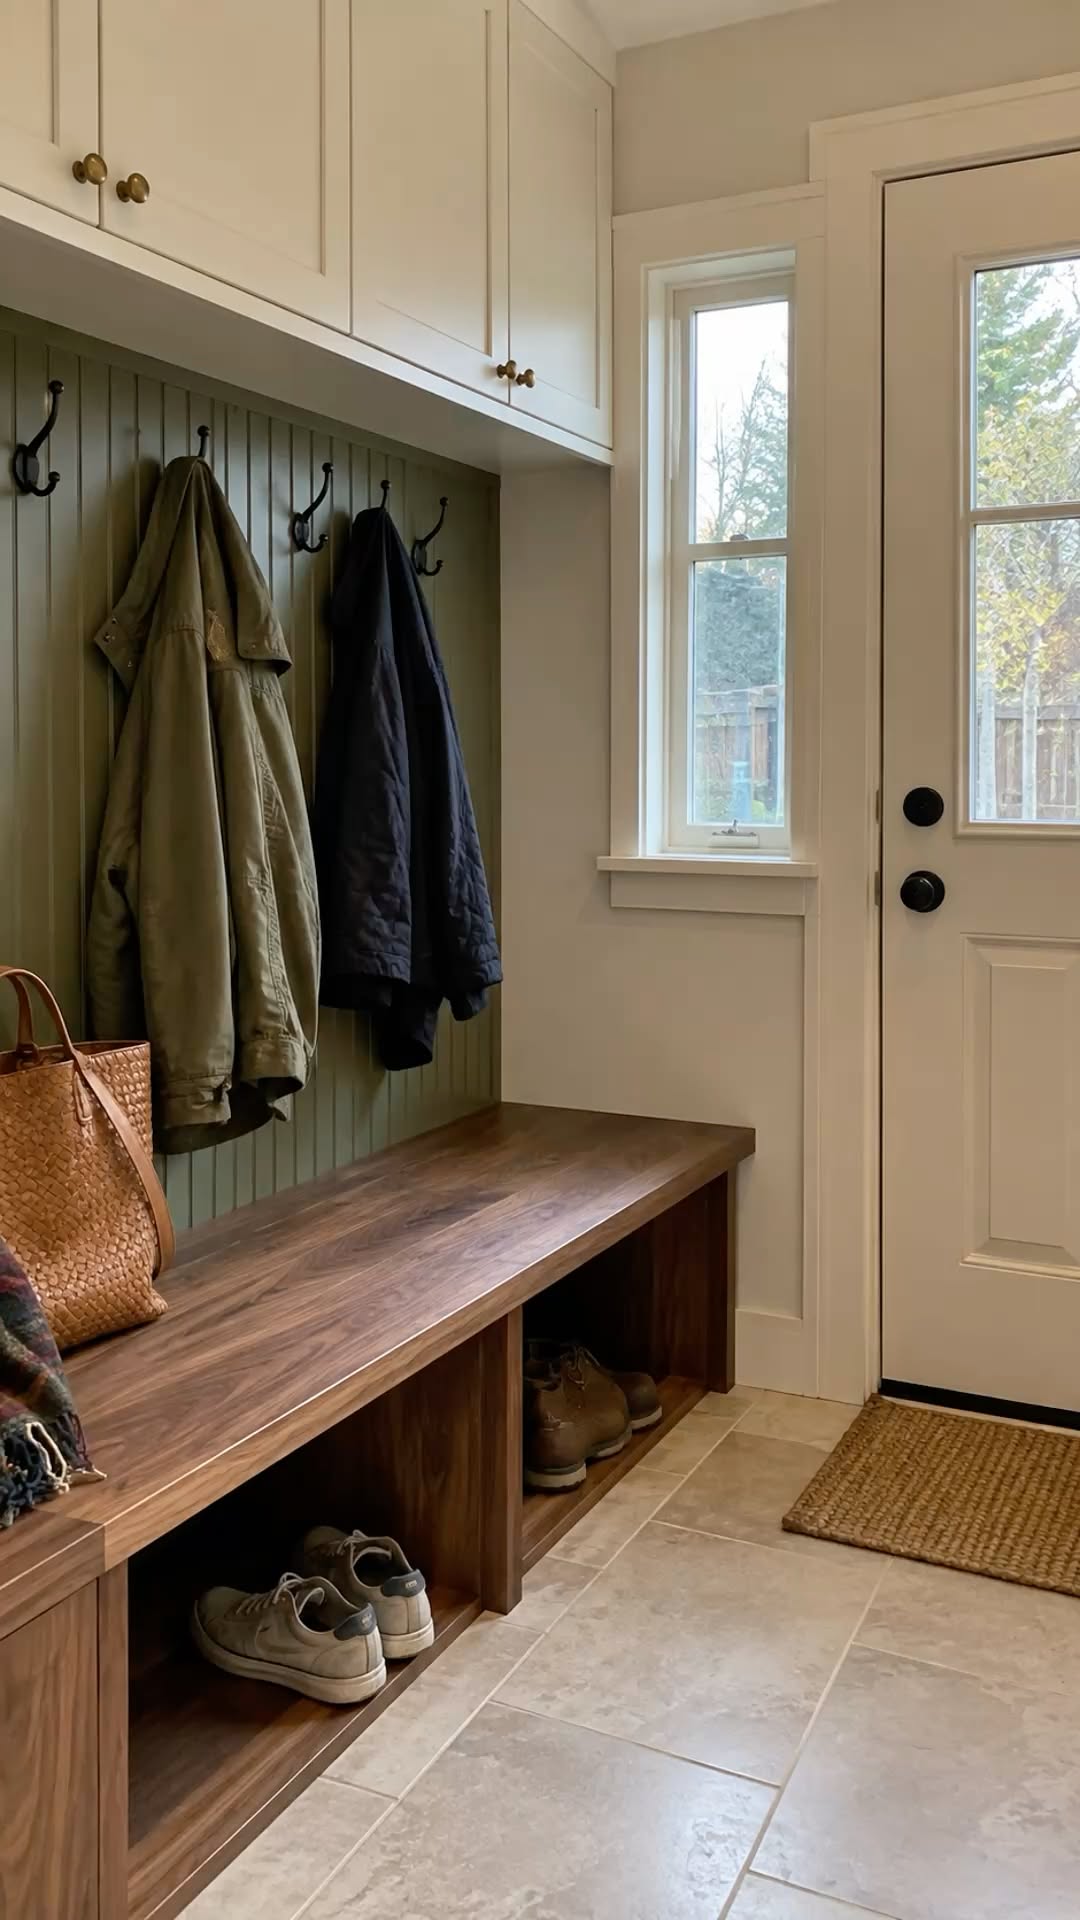
A deep green hides dirt that white shows right away.
An olive green beadboard wall holds hooks and jackets here, above a walnut bench, with upper cabinets and brass knobs.
Quick tip: Wainscoting that is painted a mid-to-dark color needs less touch-up.
Add a woven mat to catch mud at the door.
36. Number Your Lockers to Settle Who Owns What
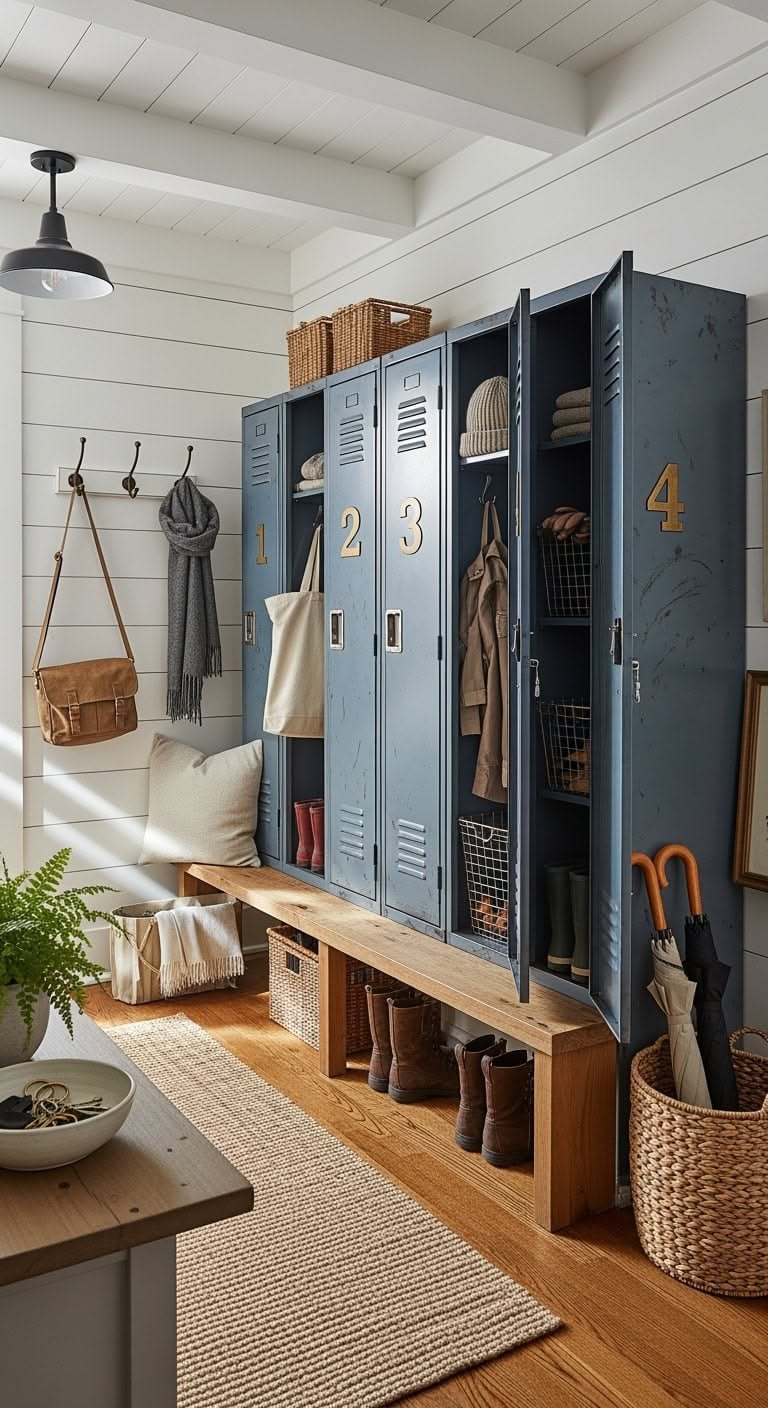
Assigned lockers save arguments. Blue-gray metal lockers with brass numbers one through four stand against a shiplap wall here, with a wood bench and umbrellas.
Give each person a number and a hook. Number stickers or brass numbers both work.
Leave one locker for guests.
37. Choose Vented Doors for Wet Gear
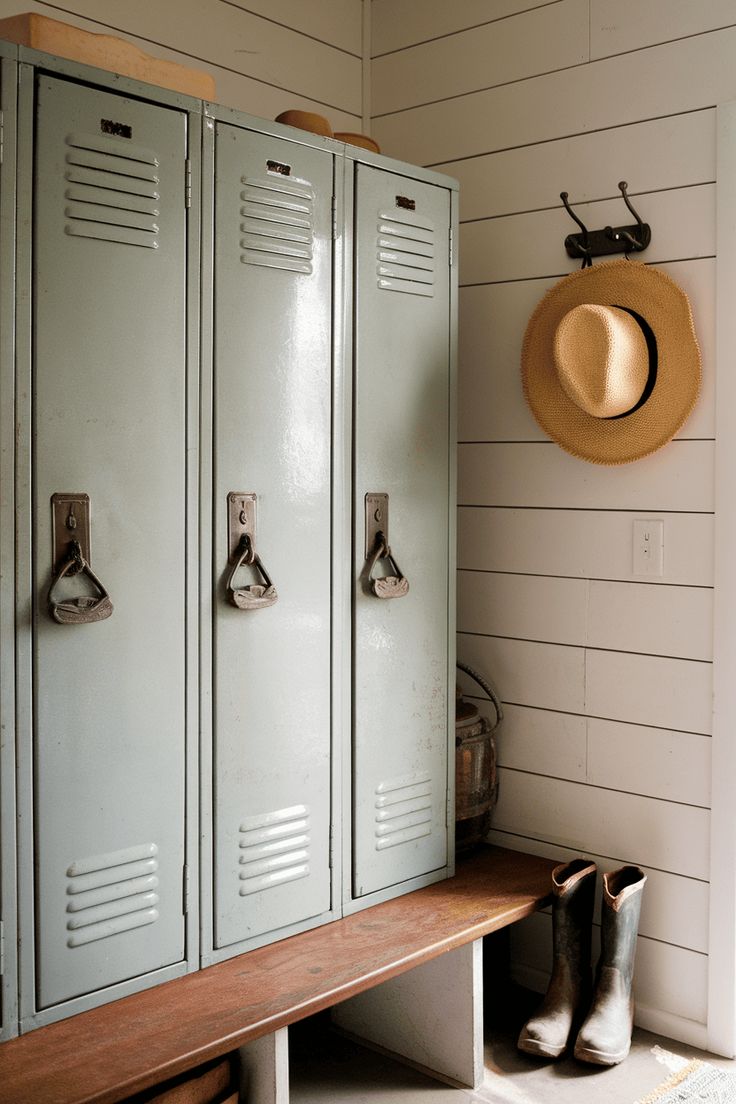
Vents let damp gear dry instead of getting musty.
Pale green vintage metal lockers stand here beside a straw hat on a hook, with rubber boots on a bench. Keep wet coats on hooks inside, not stuffed in a corner.
Wipe the inside of the lockers when they get wet, to avoid rust.
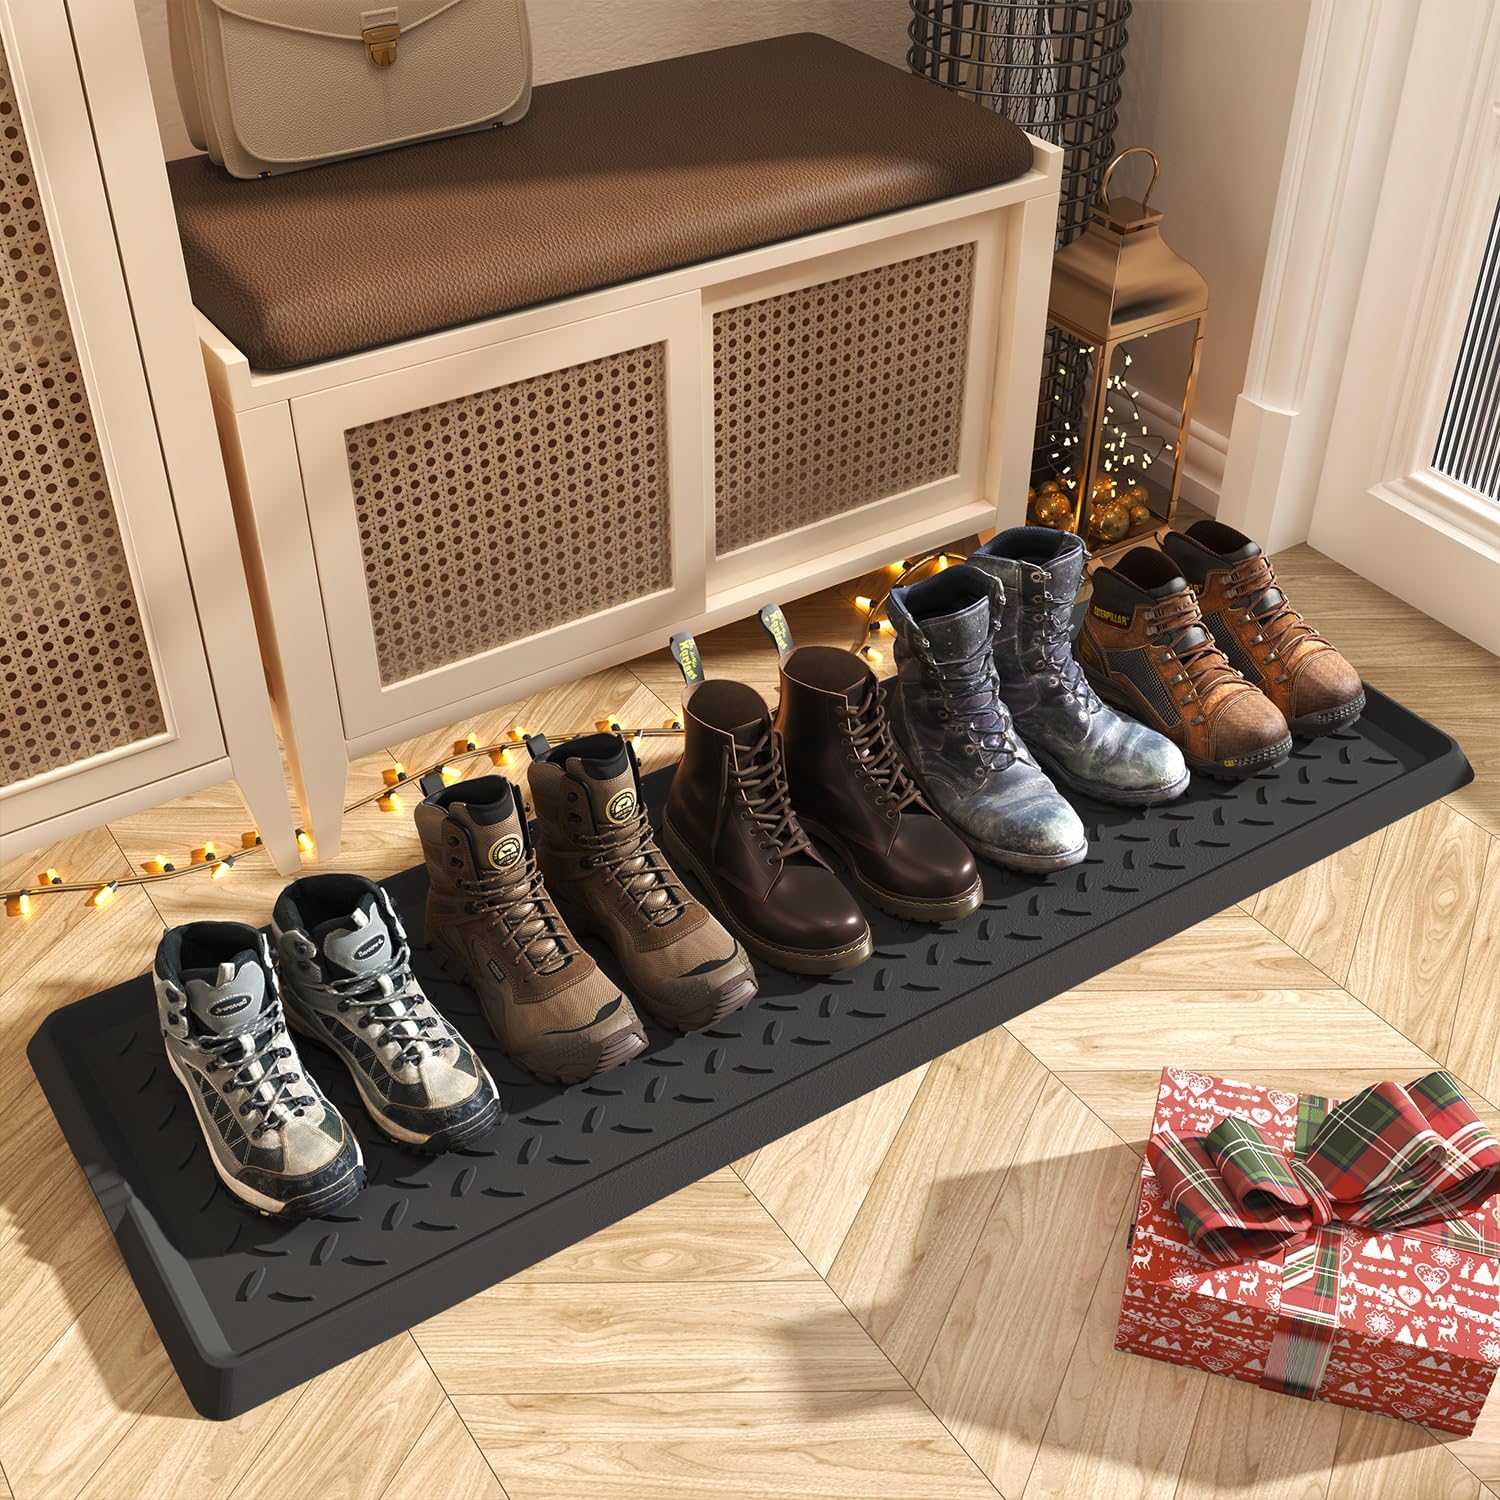
38. Seal the Concrete in a Garage Mudroom
Bare concrete stains and sheds dust. A sealer fixes both.
Blue-gray built-in lockers stand in a garage here, with baskets on top and a striped rug.
- Use a concrete sealer or epoxy and let it cure fully before you load the lockers.
- Add a boot tray under the bench, so melting snow has somewhere to go.
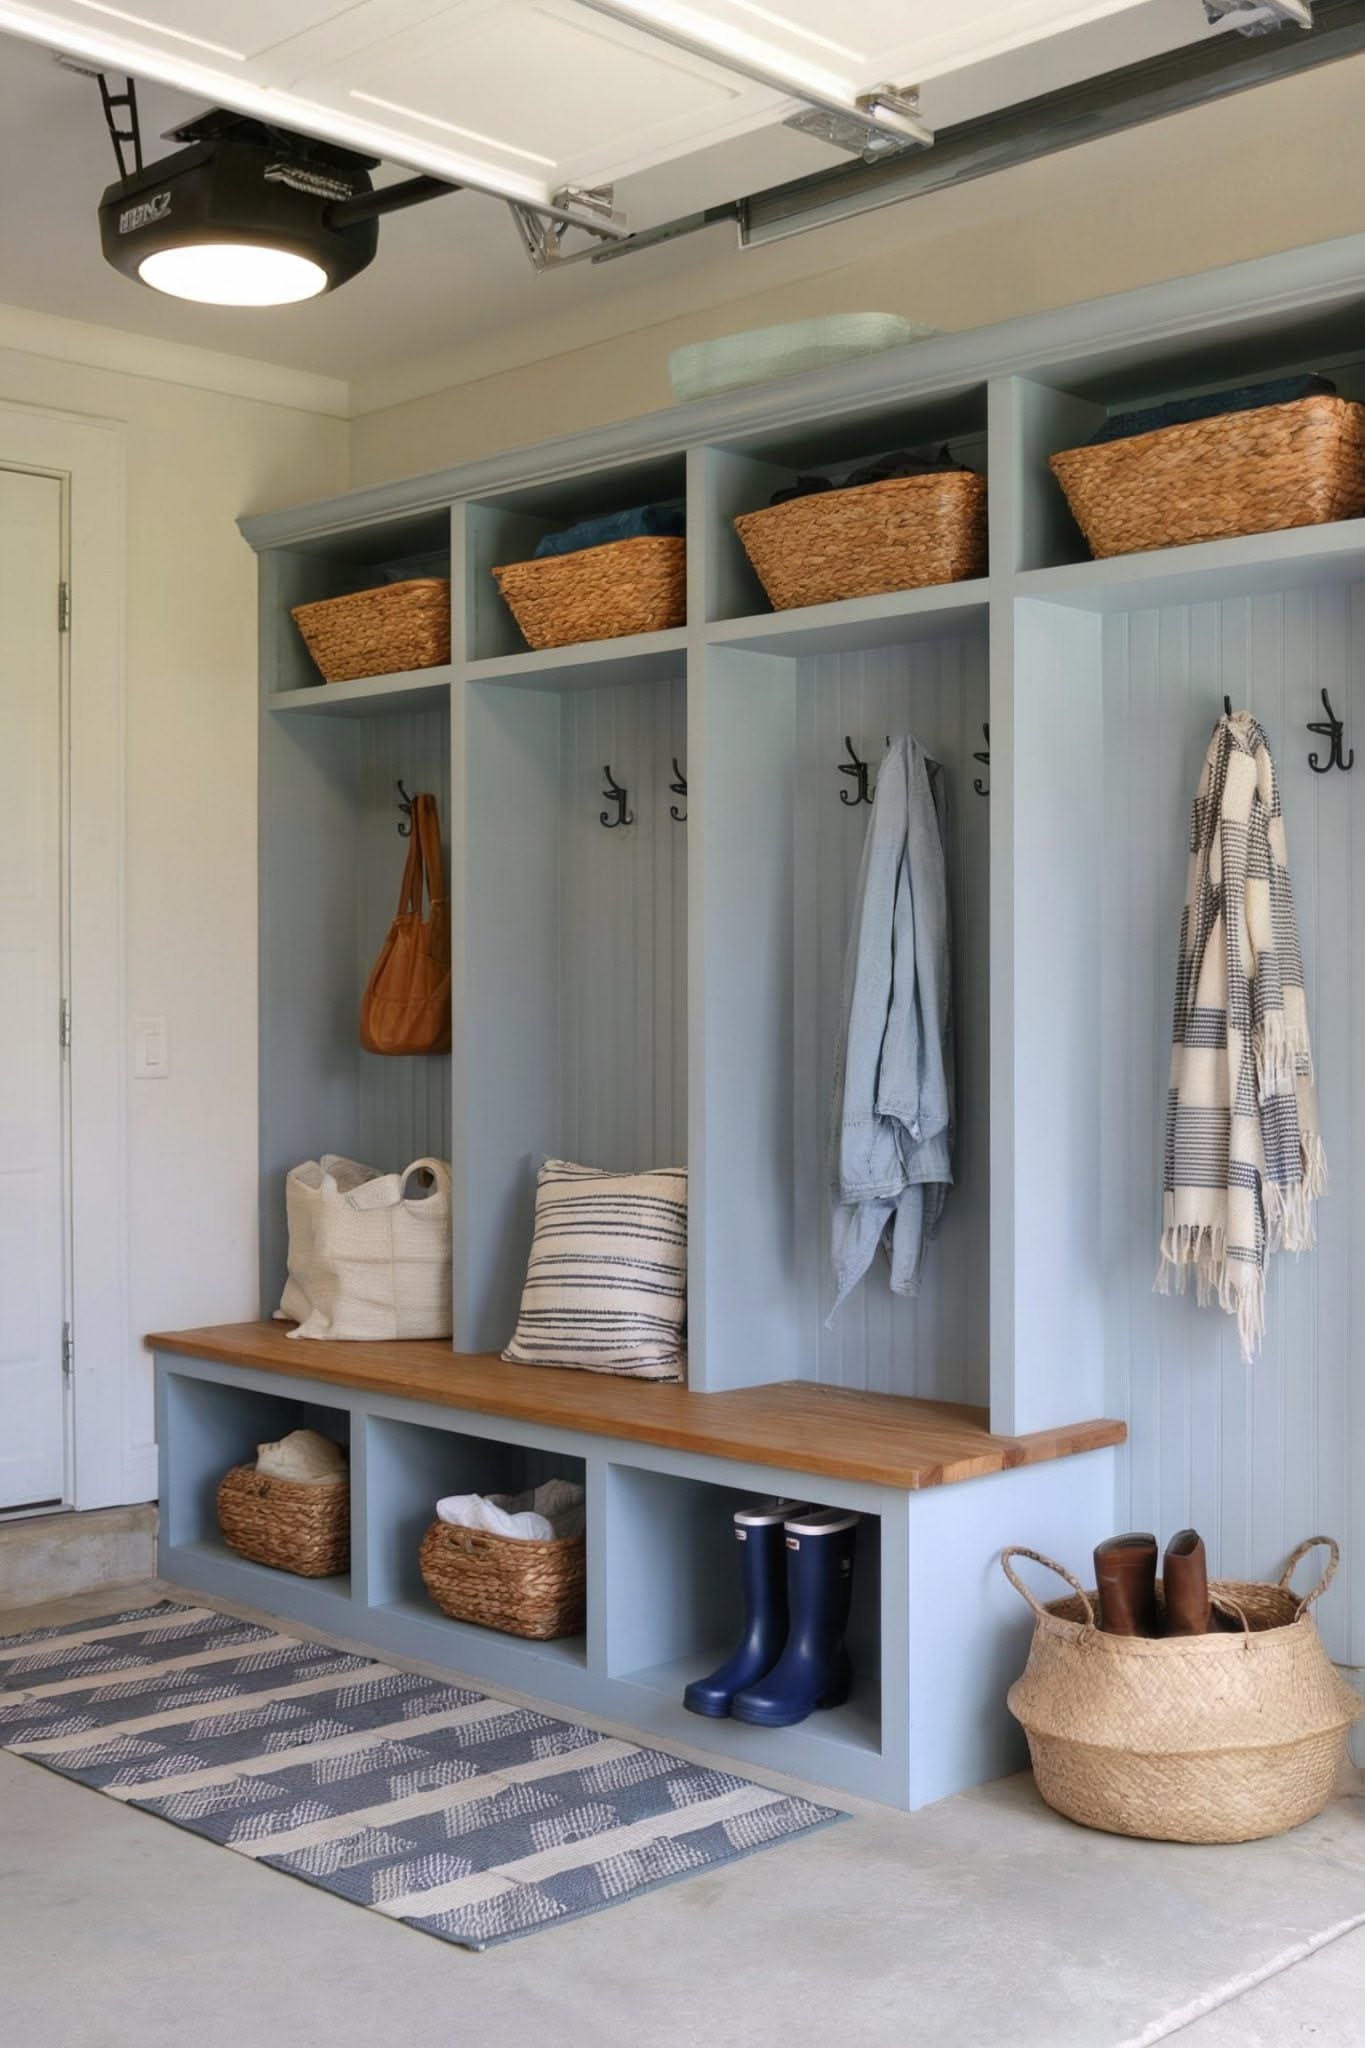
39. Use a Light Backing Behind Dark Lockers
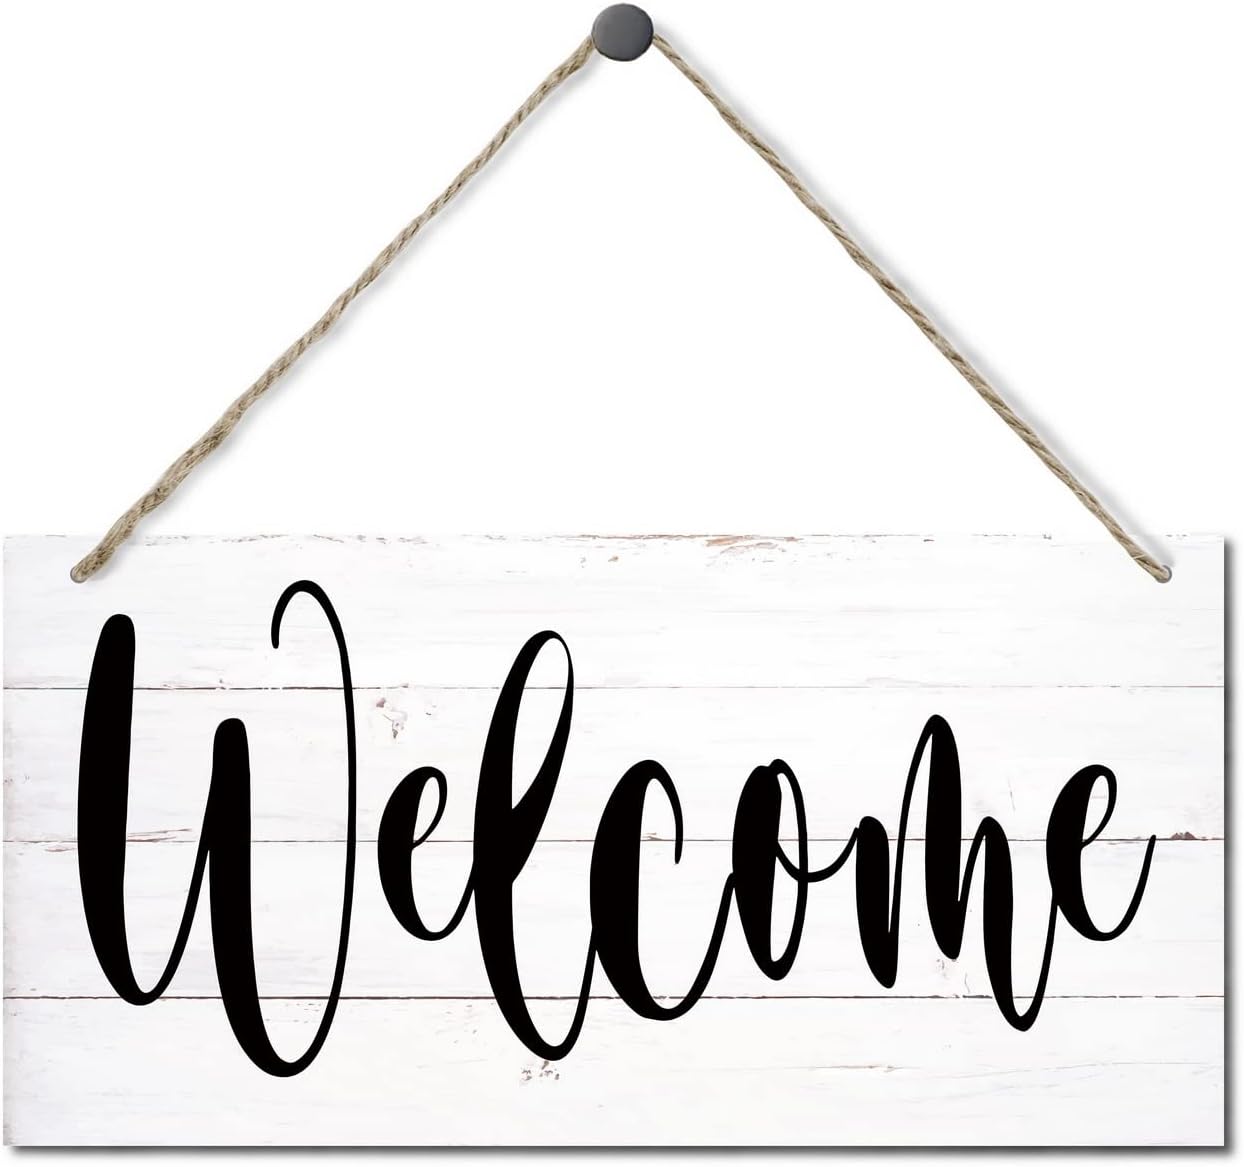
Dark lockers disappear against a dark wall. A light back brings out the shape. Rustic wood lockers stand under a WELCOME HOME sign here, with a lantern pendant and a slate floor.
- Paint the back panel a pale tone, so you can see the hooks and bags.
- Choose a pendant that hangs at least 7 feet above the floor.
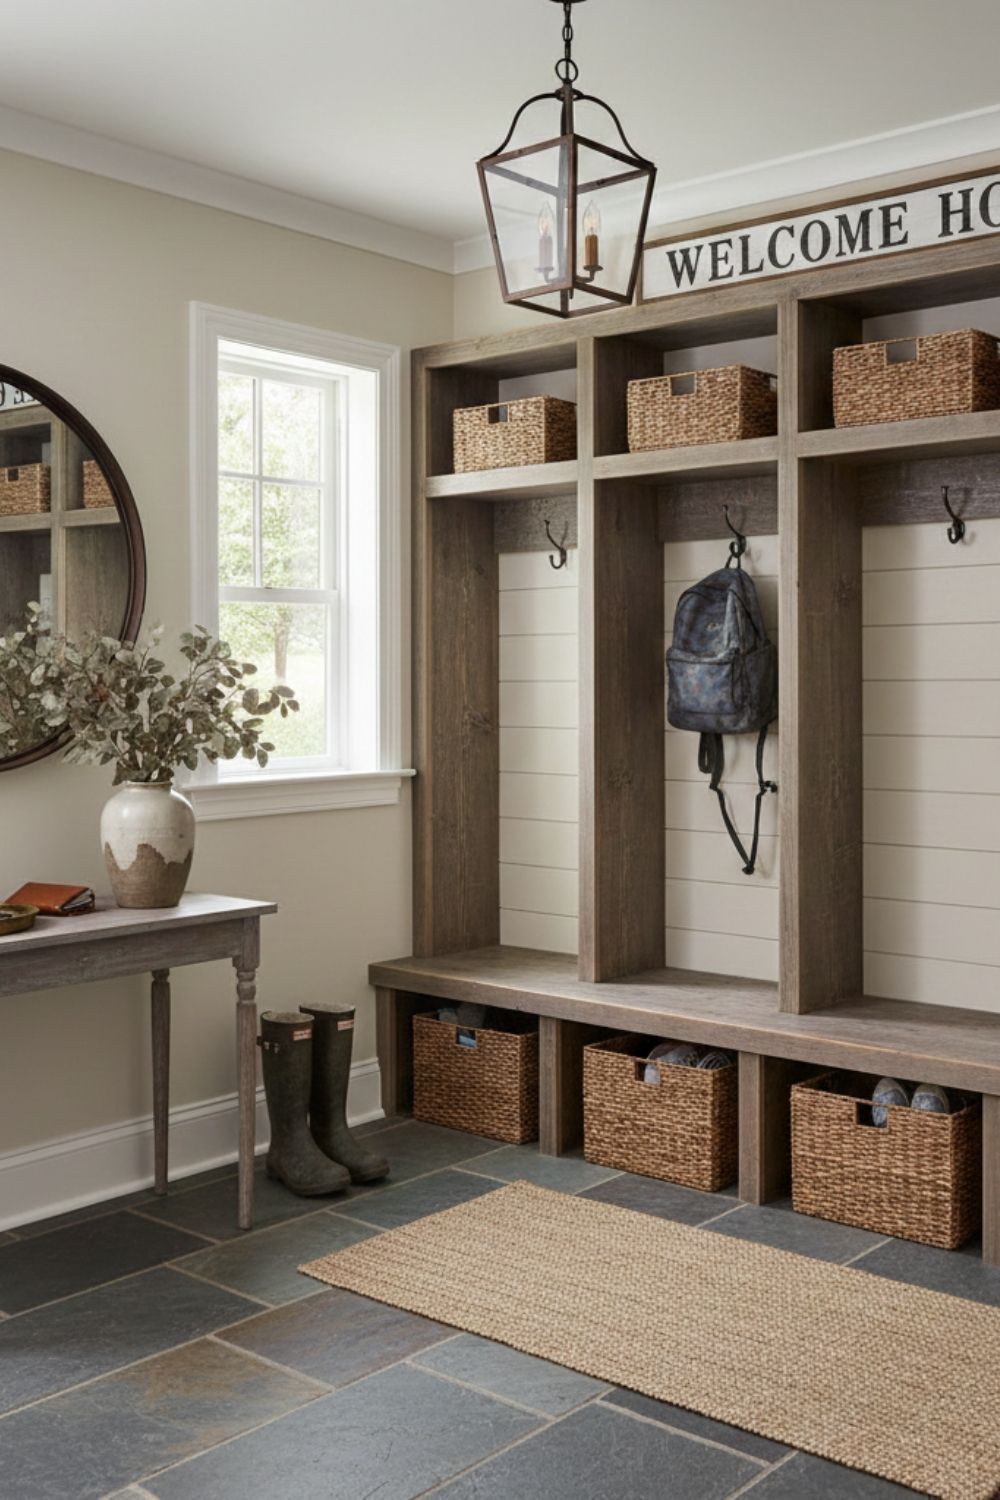
40. Add Brass Knobs to Metal Lockers
Hardware makes cold metal feel like furniture. Sage green louvered lockers have brass knobs here, with trailing vines and a brick floor.
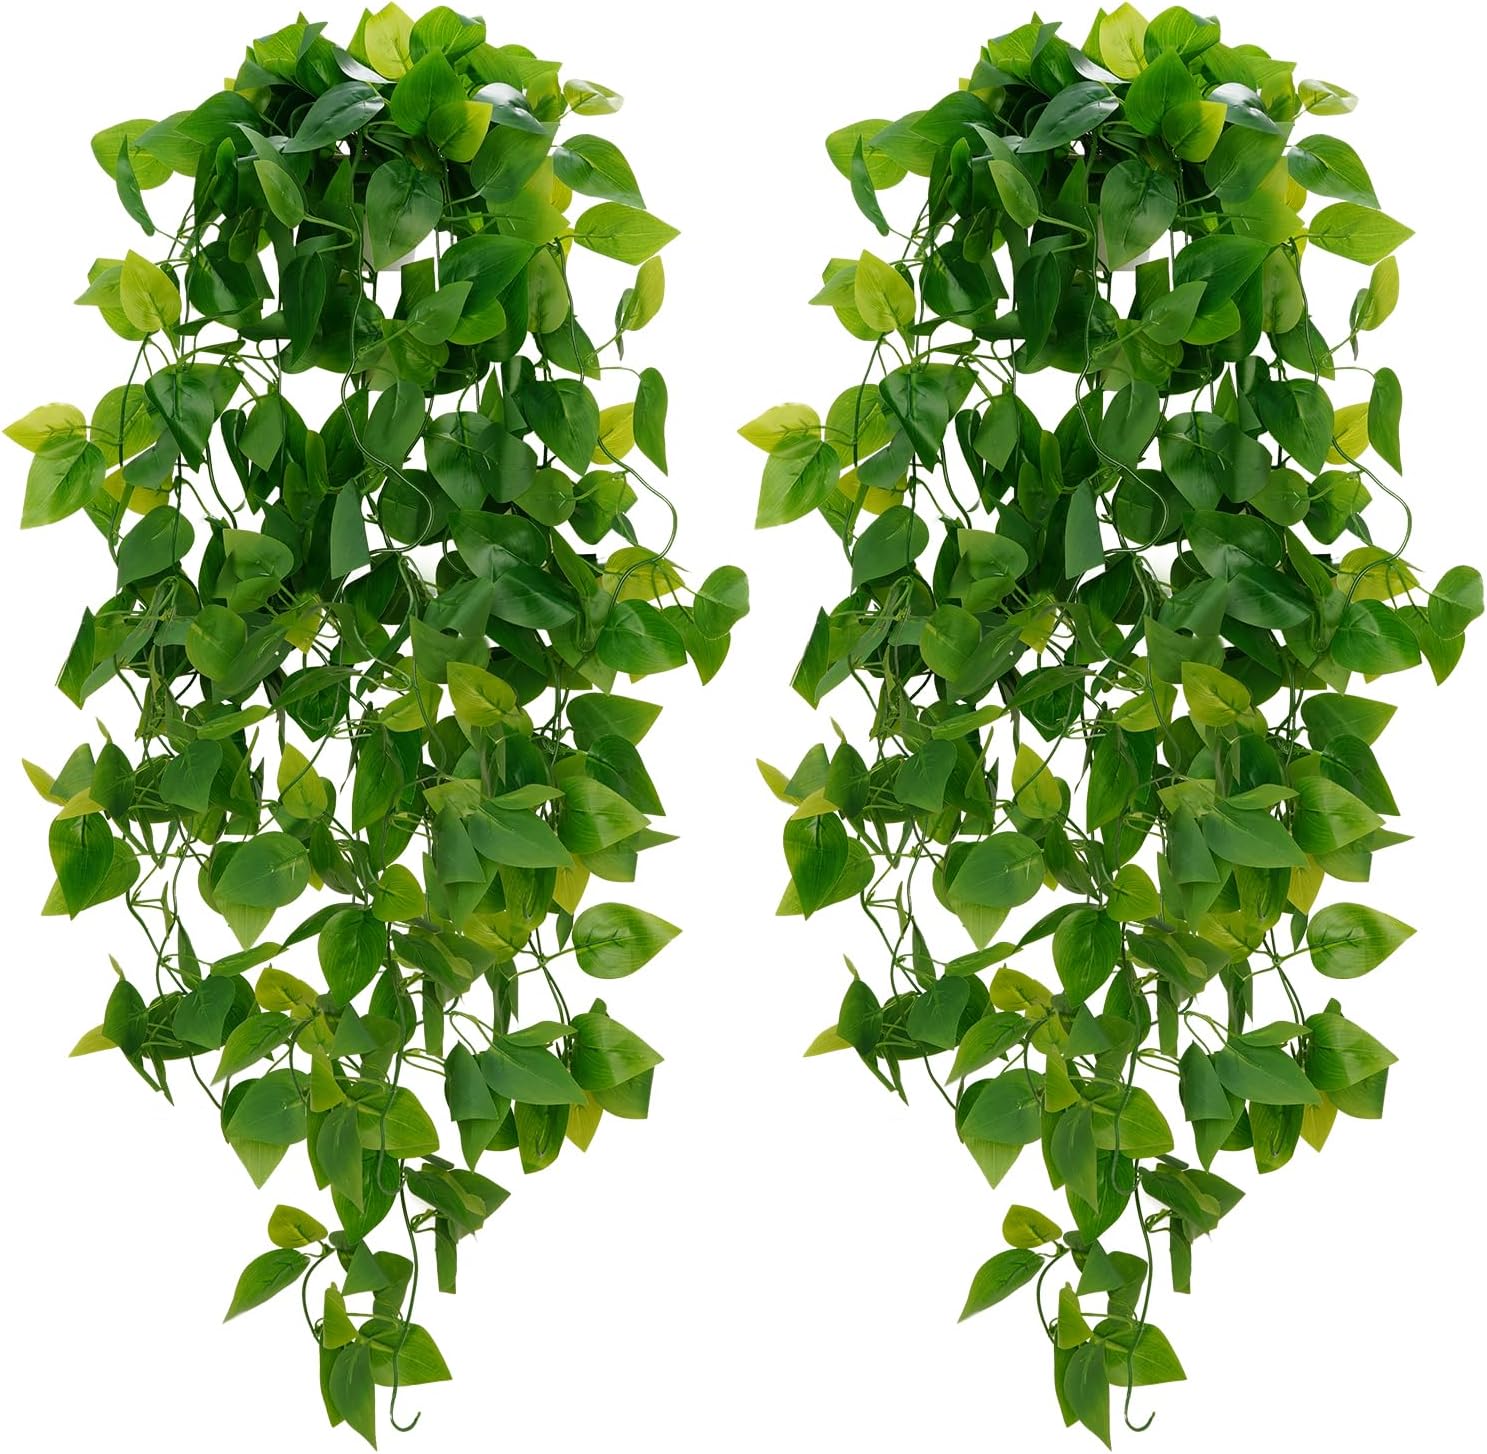
Swap the original handles with knobs. You'll need to drill, so measure first. Faux pothos trails soften the hard edges.
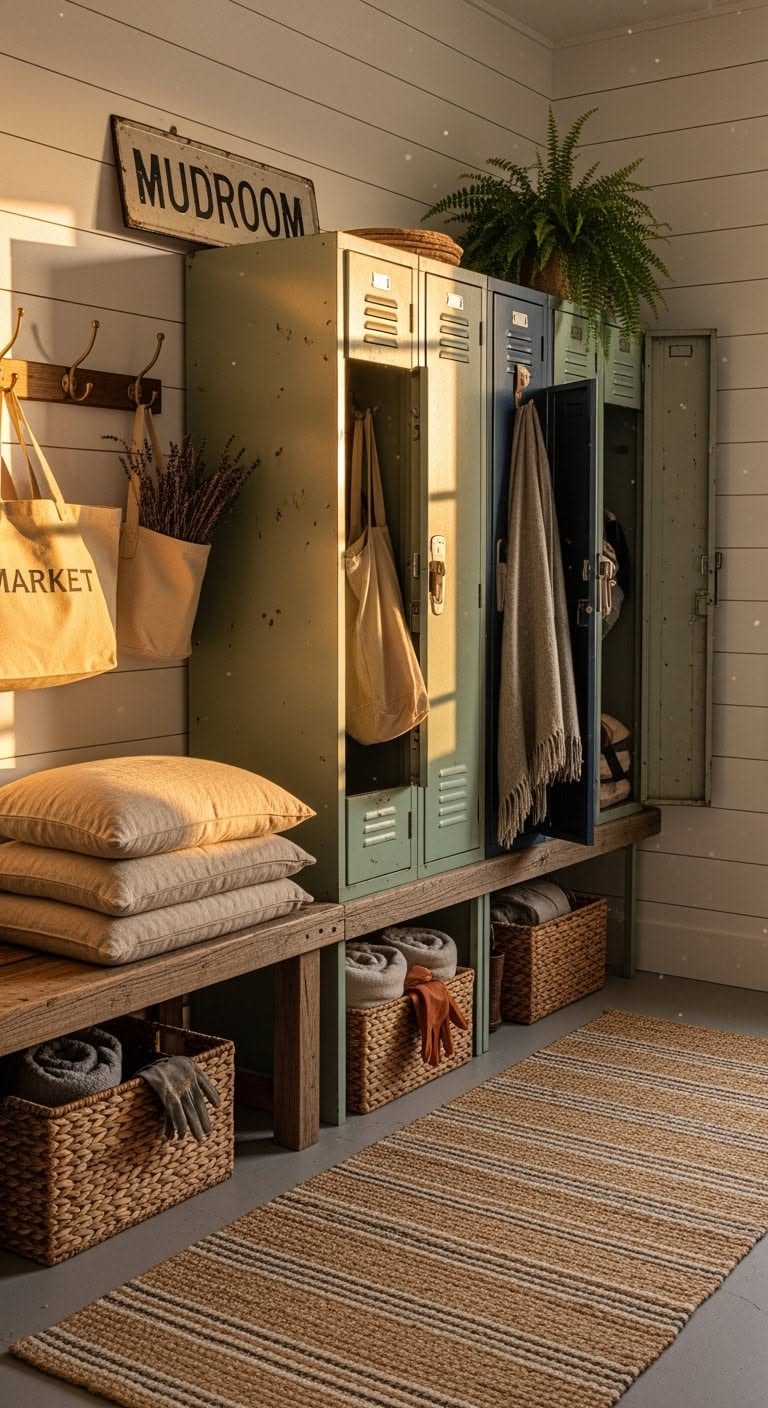
41. Label the Room as Well as the Baskets
A sign tells people where they are and what to do.
A MUDROOM sign hangs over vintage green and gray metal lockers here, with stacked cushions and market totes.
Pick a sign in a tone that matches the lockers.
Keep a stack of cushions for a seat or a picnic.
42. Use Butcher Block for a Bench That Takes Boots
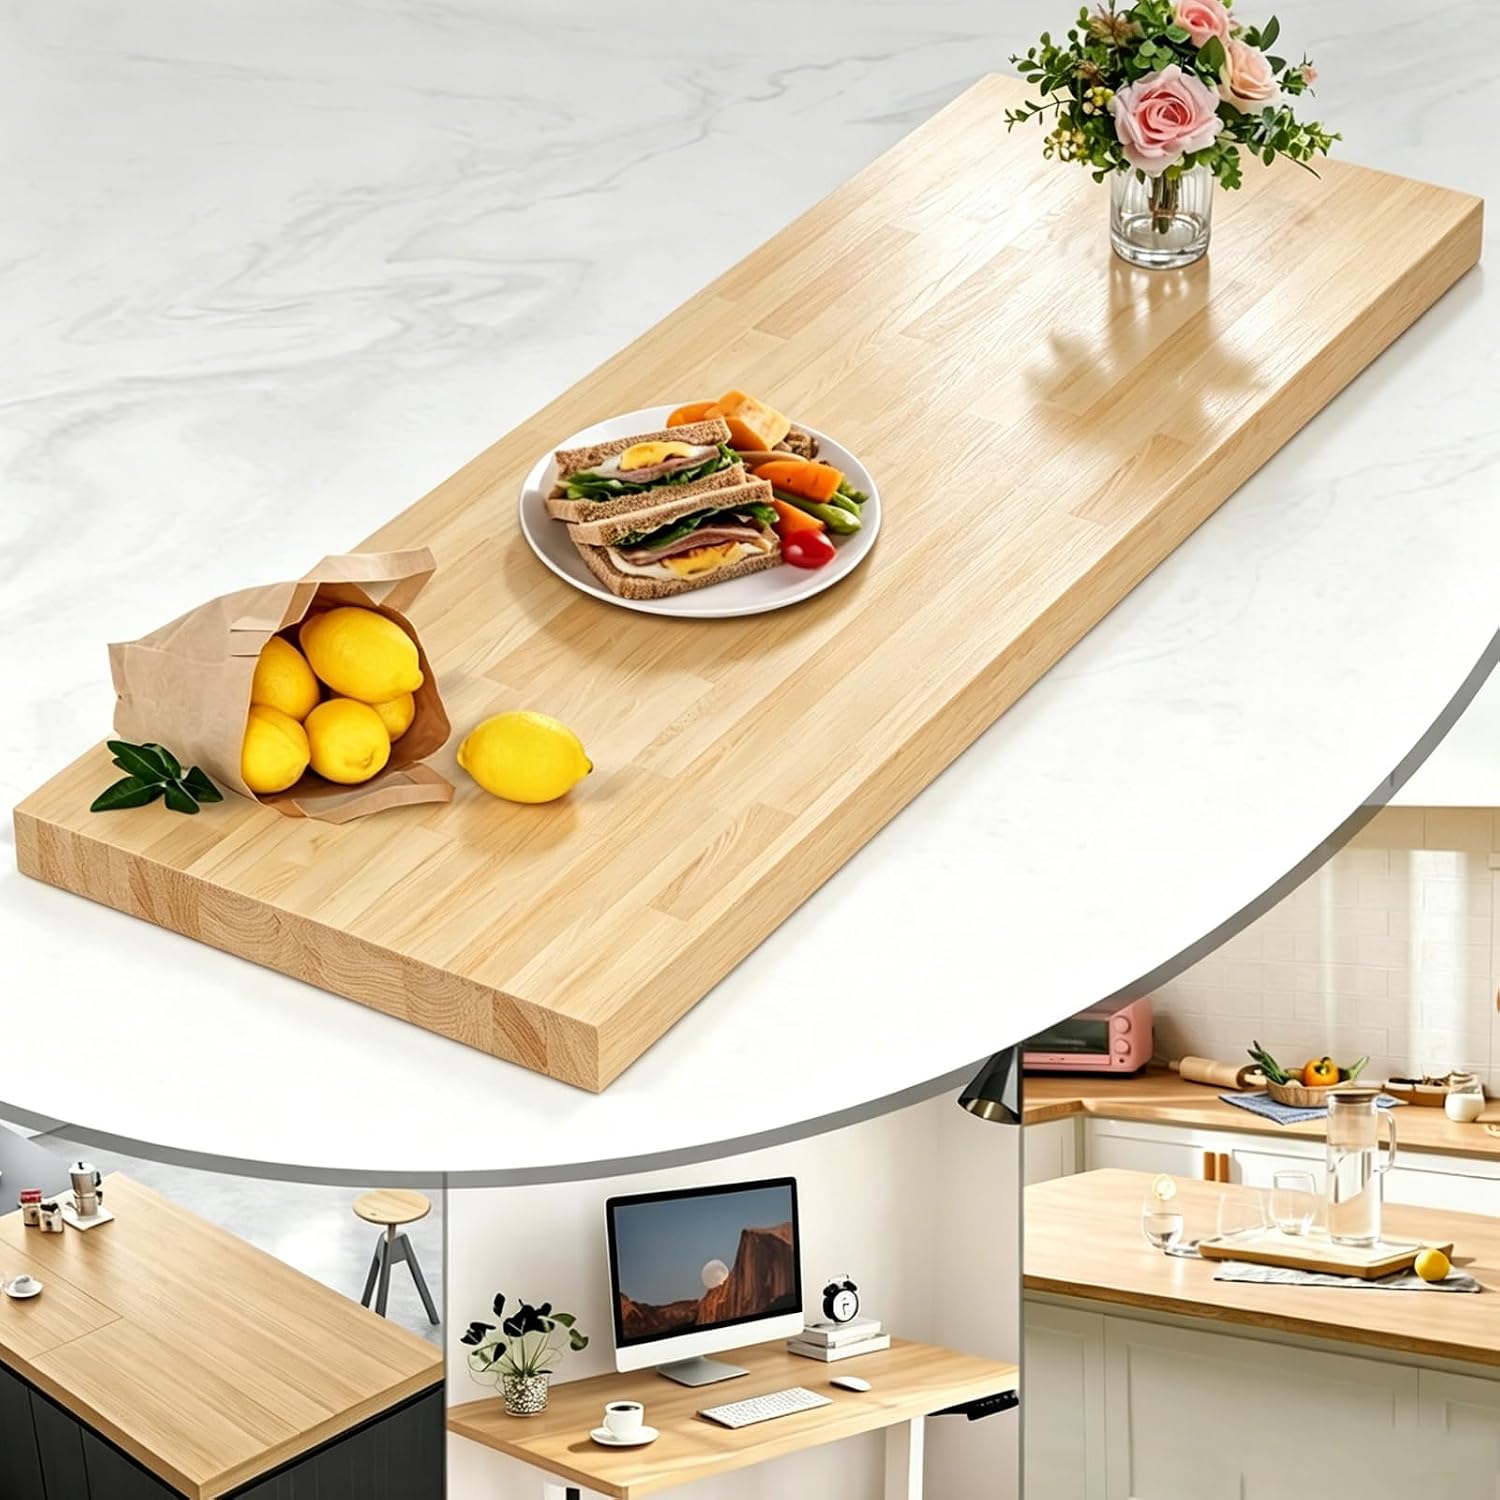
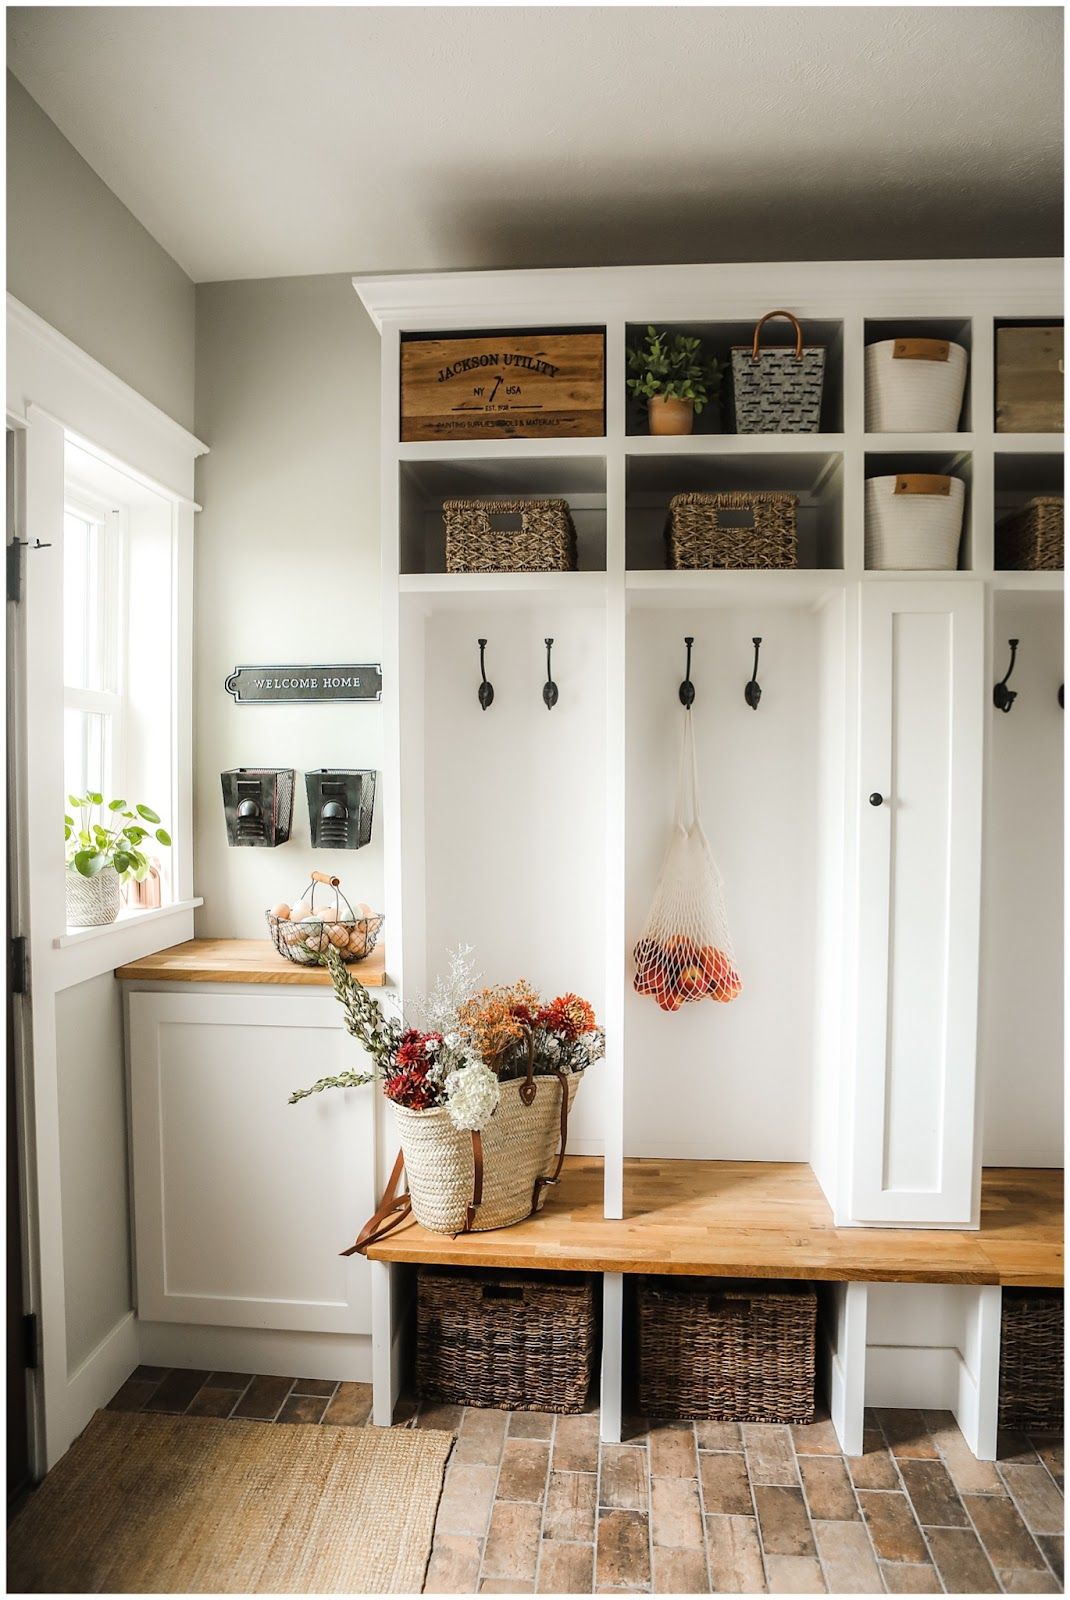
Butcher block is tough enough to take wet boots if you seal it. White lockers sit beside a butcher block bench here, with a bag of oranges and a brick floor.
Seal it with a food-safe oil or a polyurethane for a harder finish.
Sand it once a year and reseal.
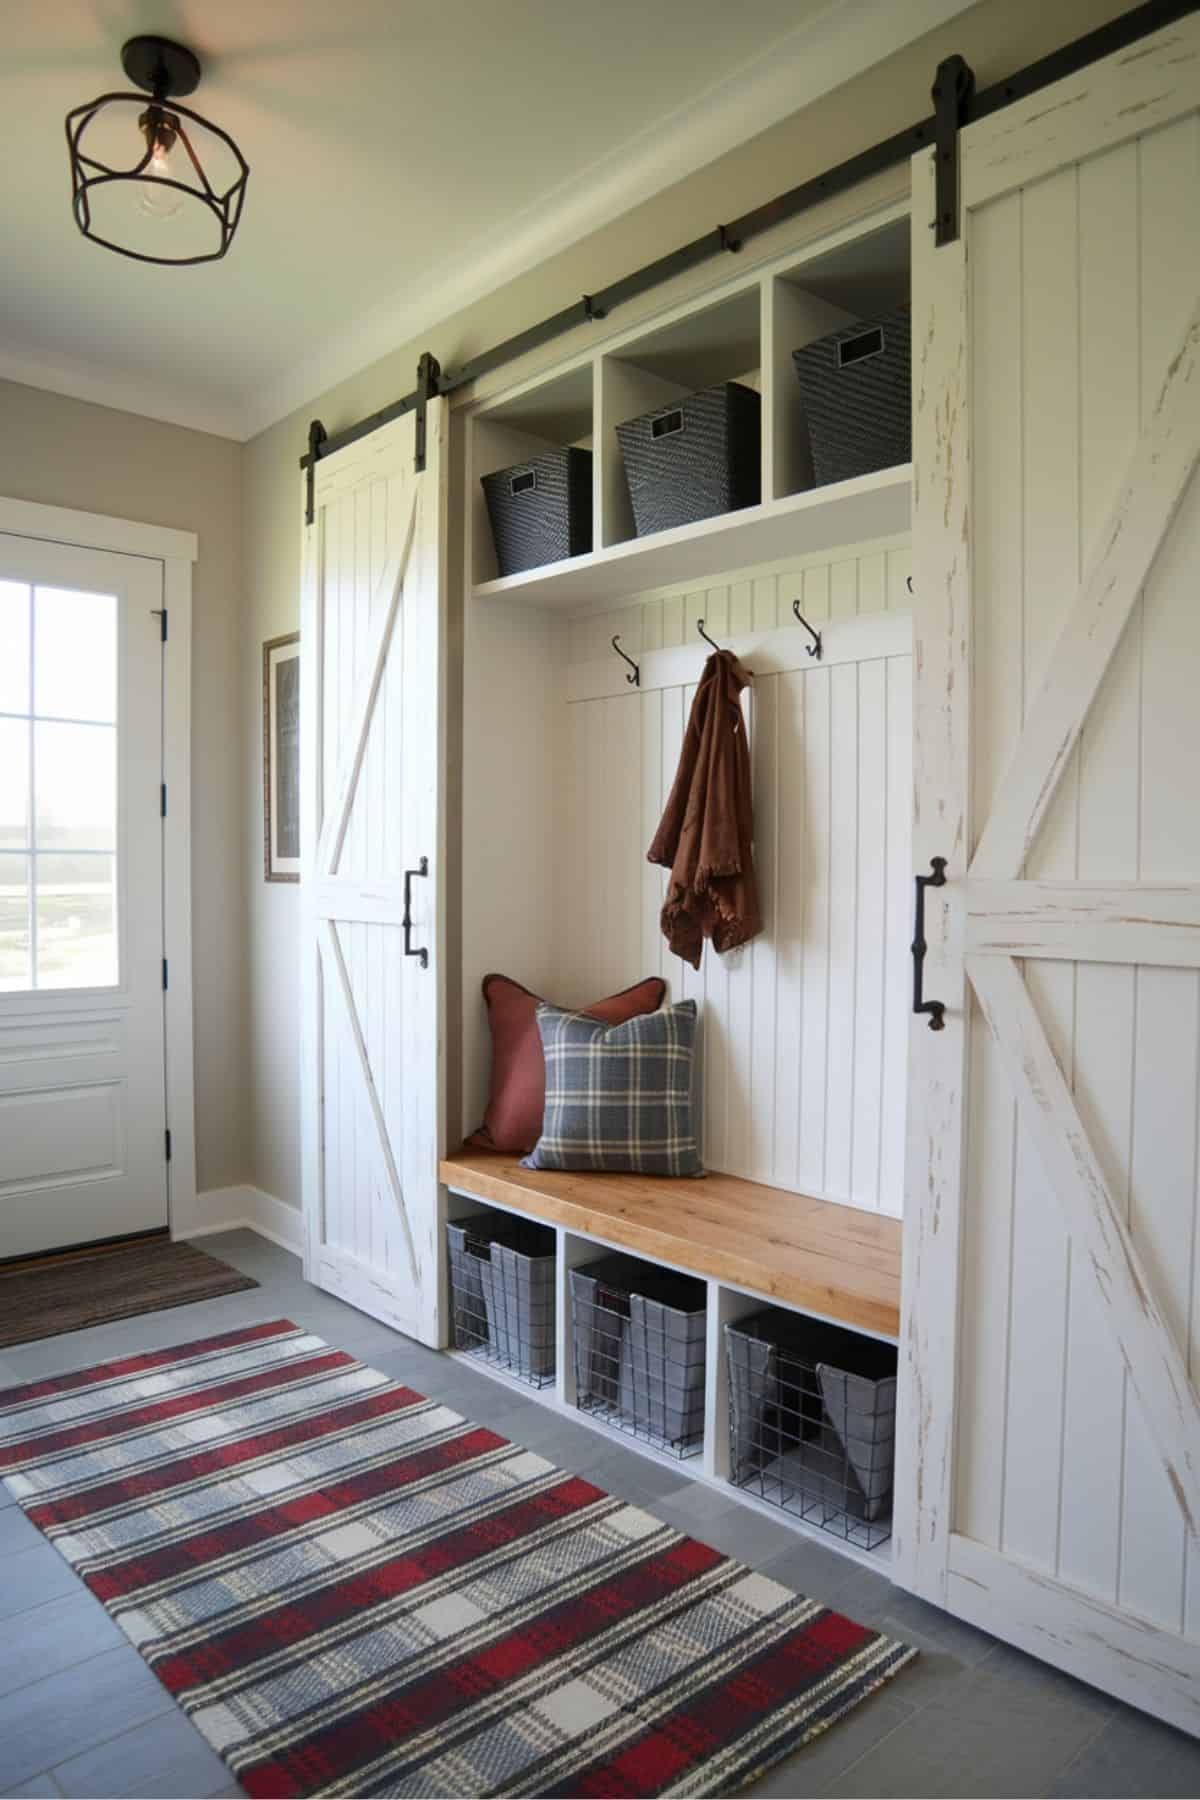
43. Hide the Mess Behind a Barn Door
A sliding door closes on clutter in two seconds.
White sliding barn doors with X braces open to a mudroom bench with wire baskets here.
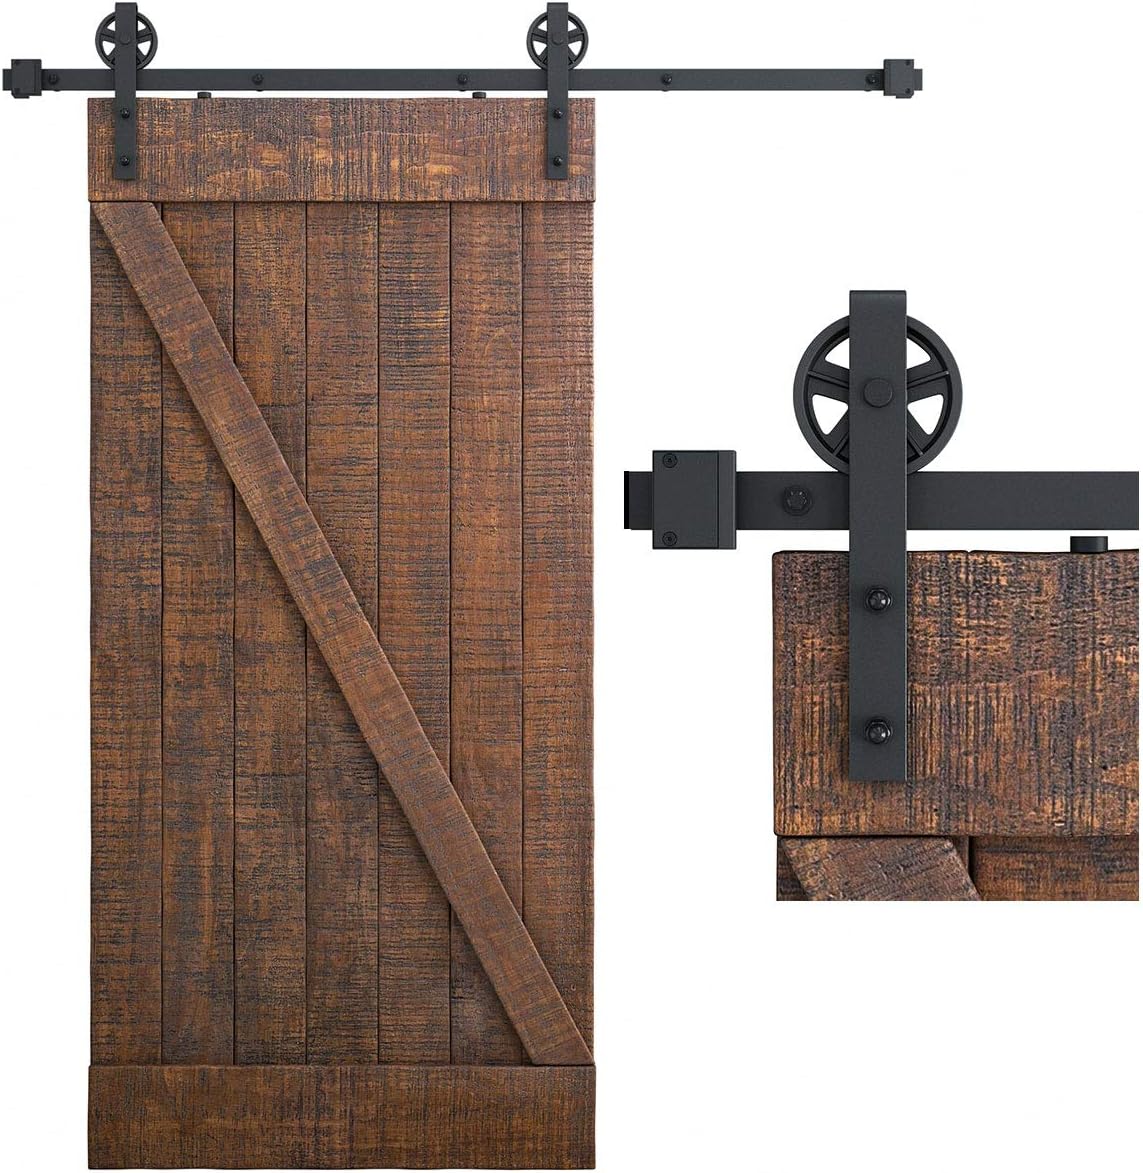
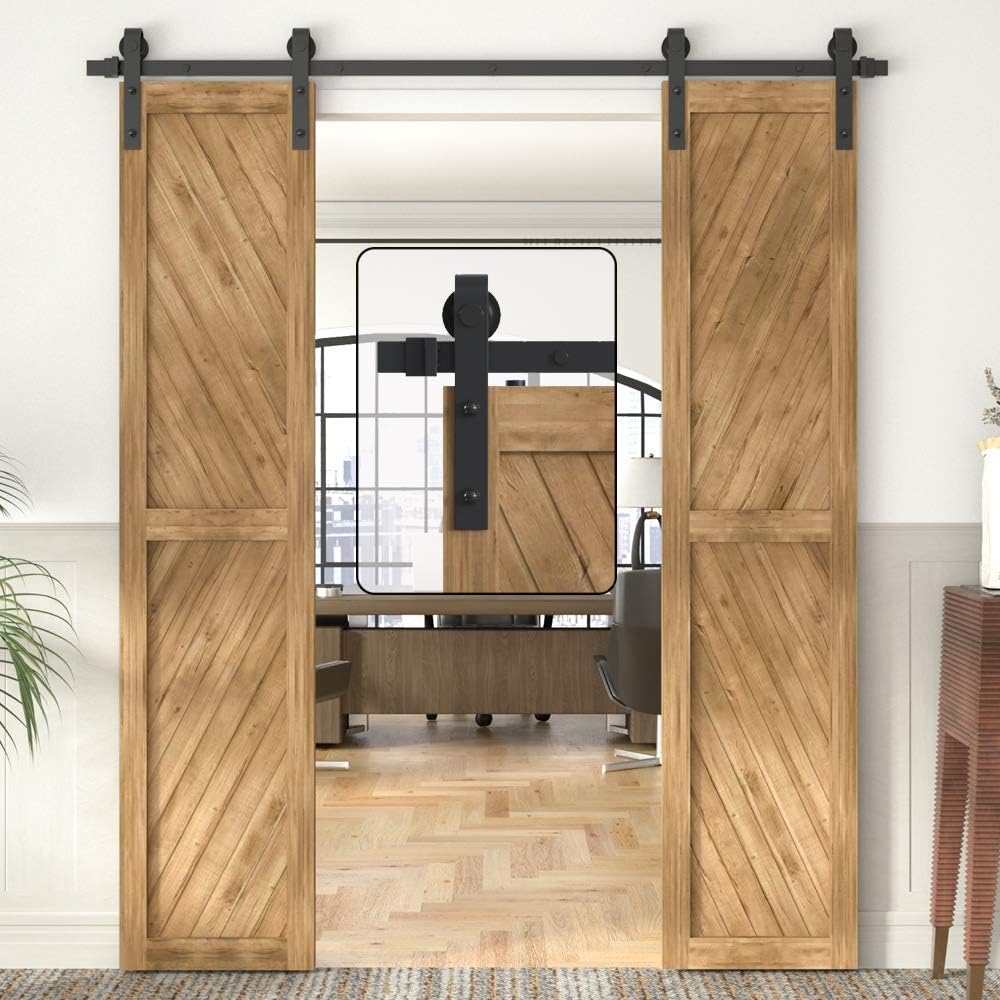
- Check the track is long enough to clear the opening, usually twice the door width.
- Mount the track into a header or a solid board, not just drywall.
44. Turn a Closet Into a Mudroom With a Door
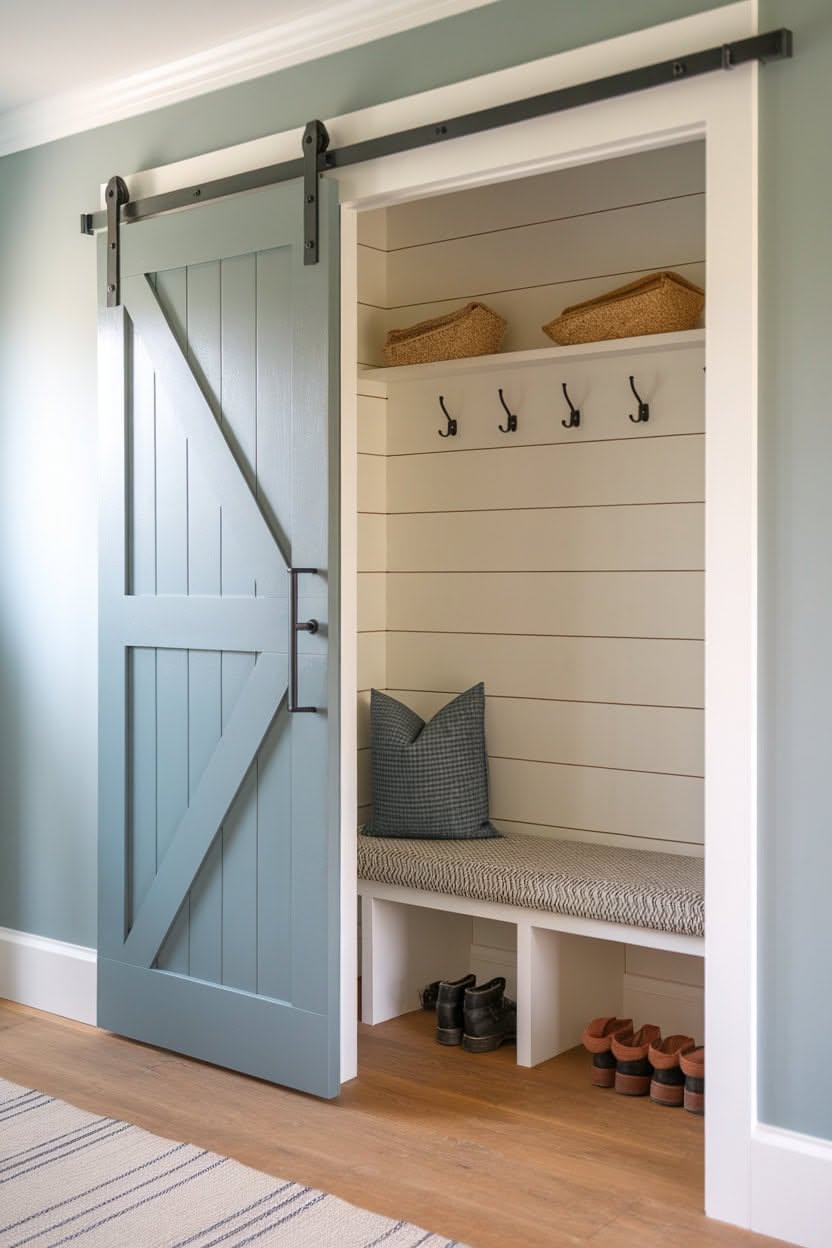
A reach-in closet is a mudroom waiting to happen.
A blue sliding barn door opens on a shiplap closet with a bench, hooks and two baskets here.
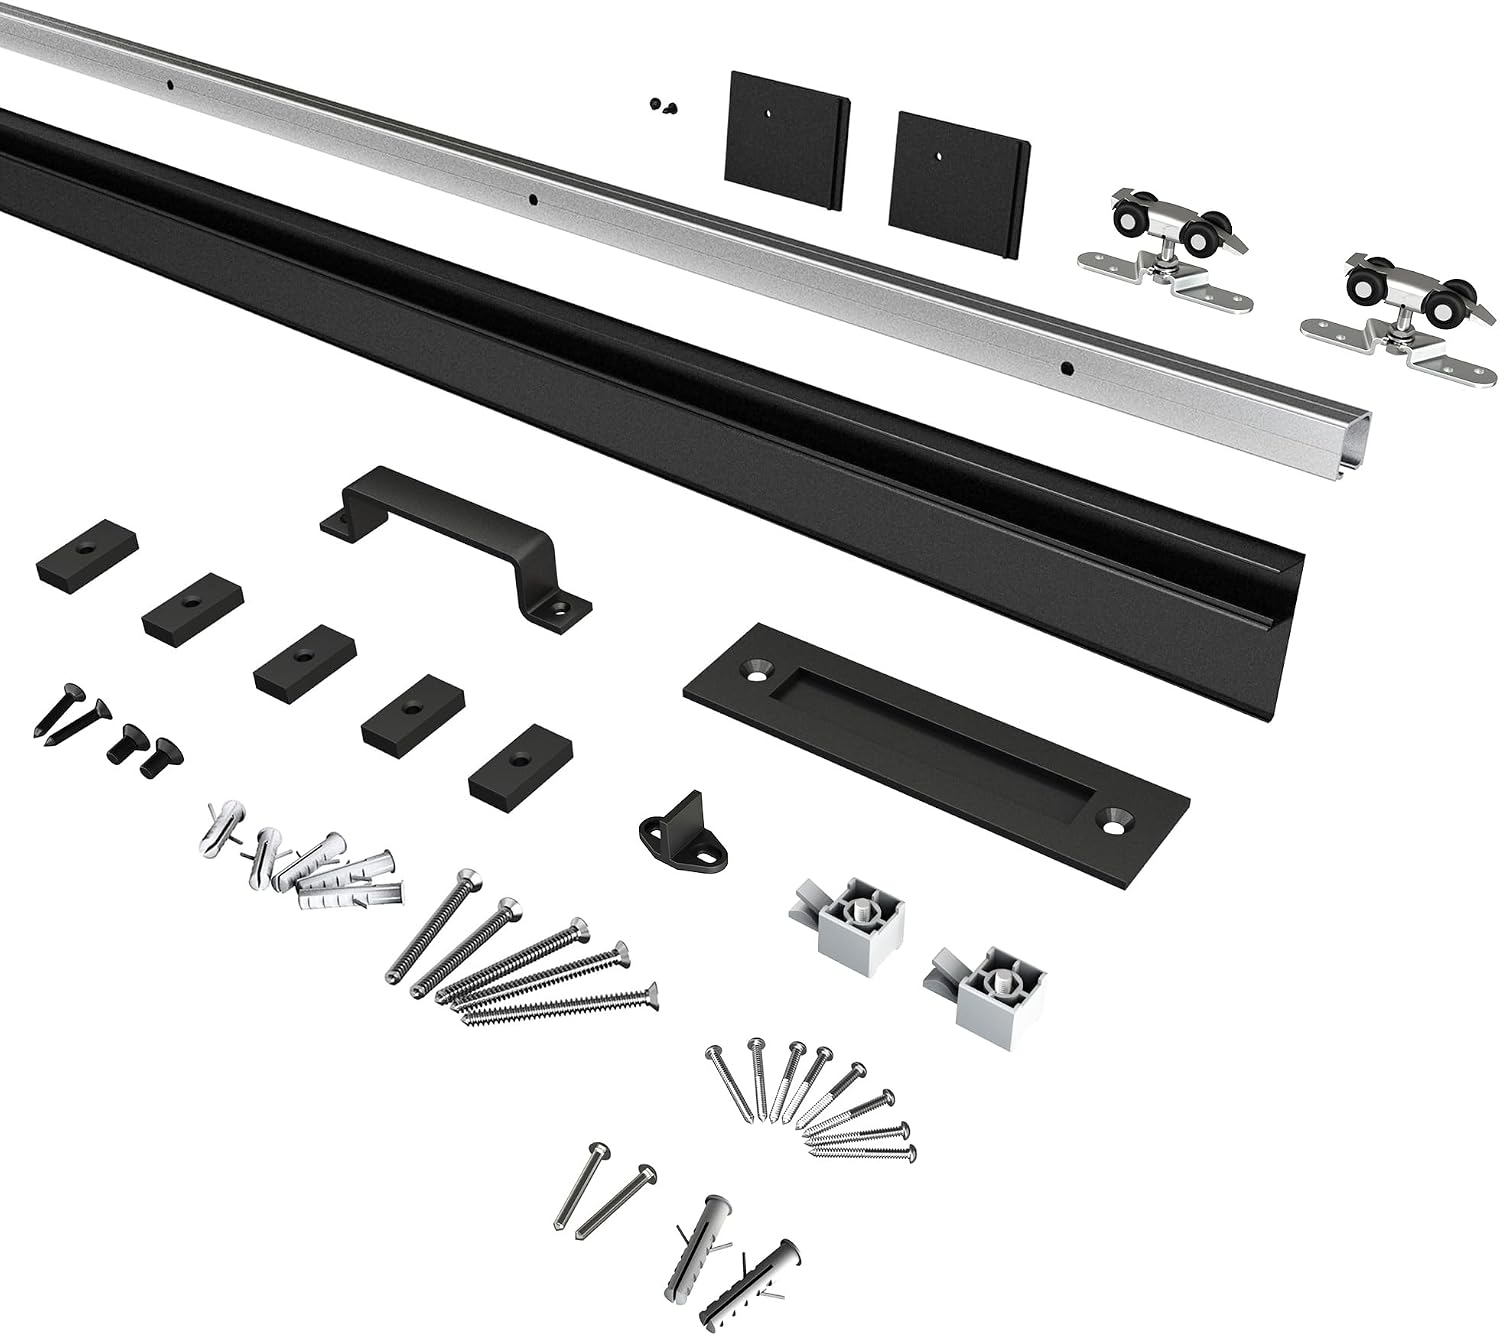
Take out the rod and shelf, add a bench and hooks, and you're done. A low-clearance track kit works when ceilings are short.
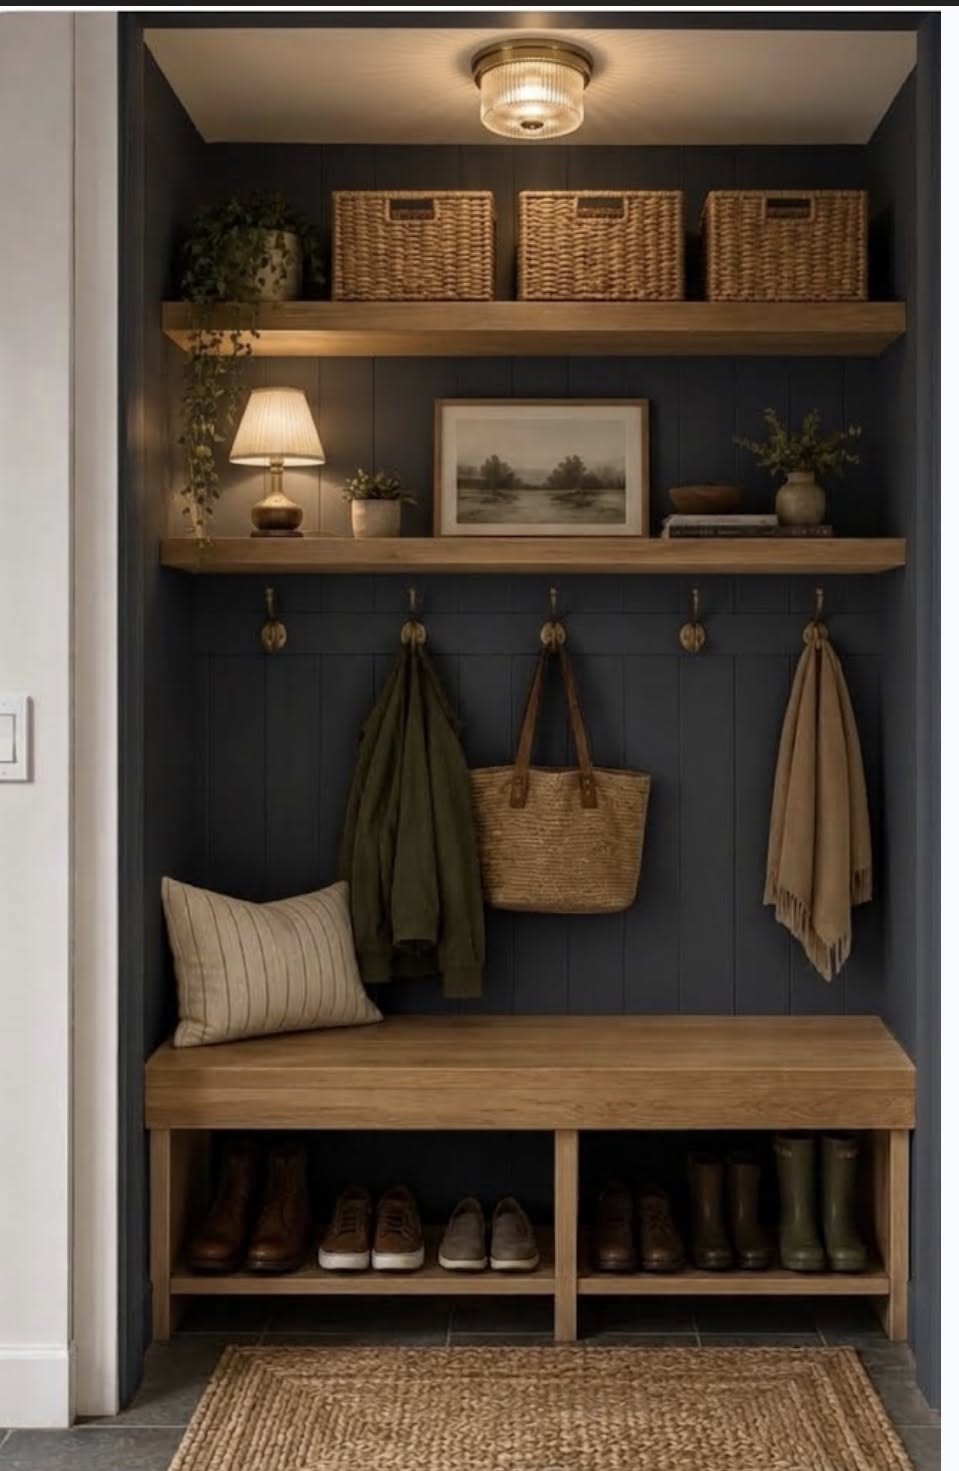
45. Turn a Closet Into a Moody Niche
A dark color makes a niche feel cozy, not small.
A navy niche has two shelves, a lamp, brass hooks and a wood bench here.
Quick tip: Add a small lamp for light, since niches get little natural light.
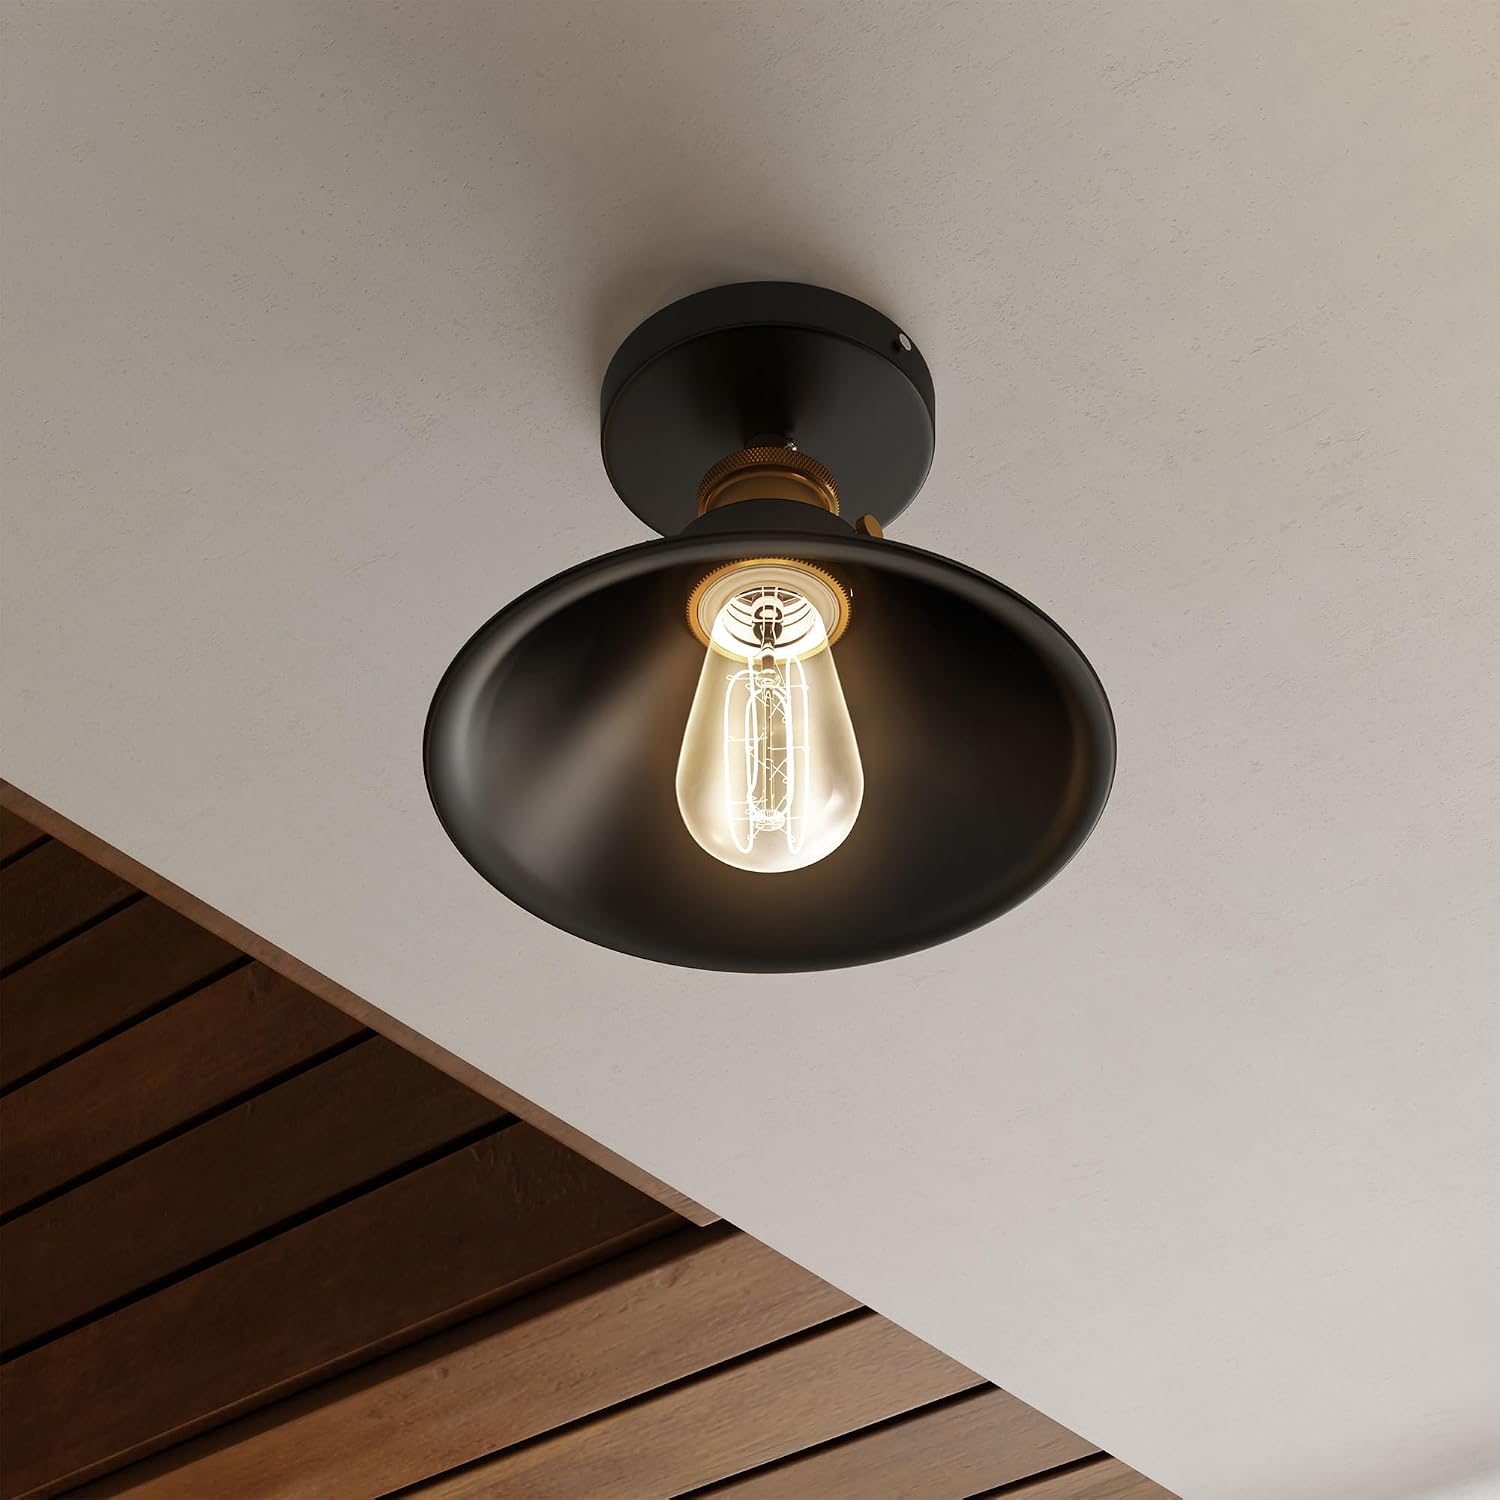
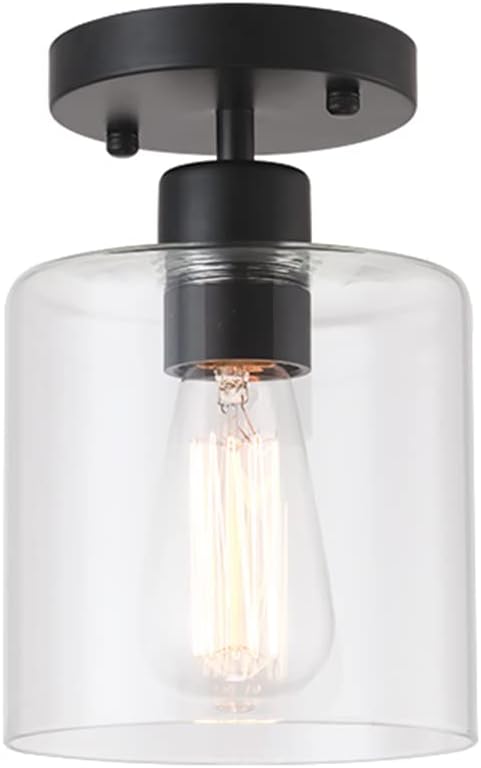
Use a semi-flush ceiling light if there's no lamp outlet.
46. Match the Door to the Wall
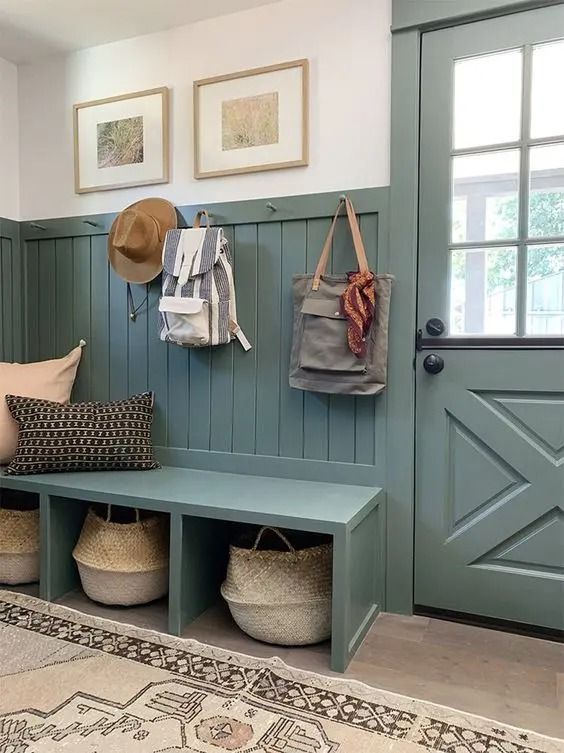
Painting the wall and door the same color makes the room look bigger. A teal green wainscot wraps this mudroom here, with a matching dutch door and a bench with two baskets.
Use a semi-gloss on the door so it wipes clean.
Add a patterned rug for contrast.
47. Warm a White Wall With Butcher Block
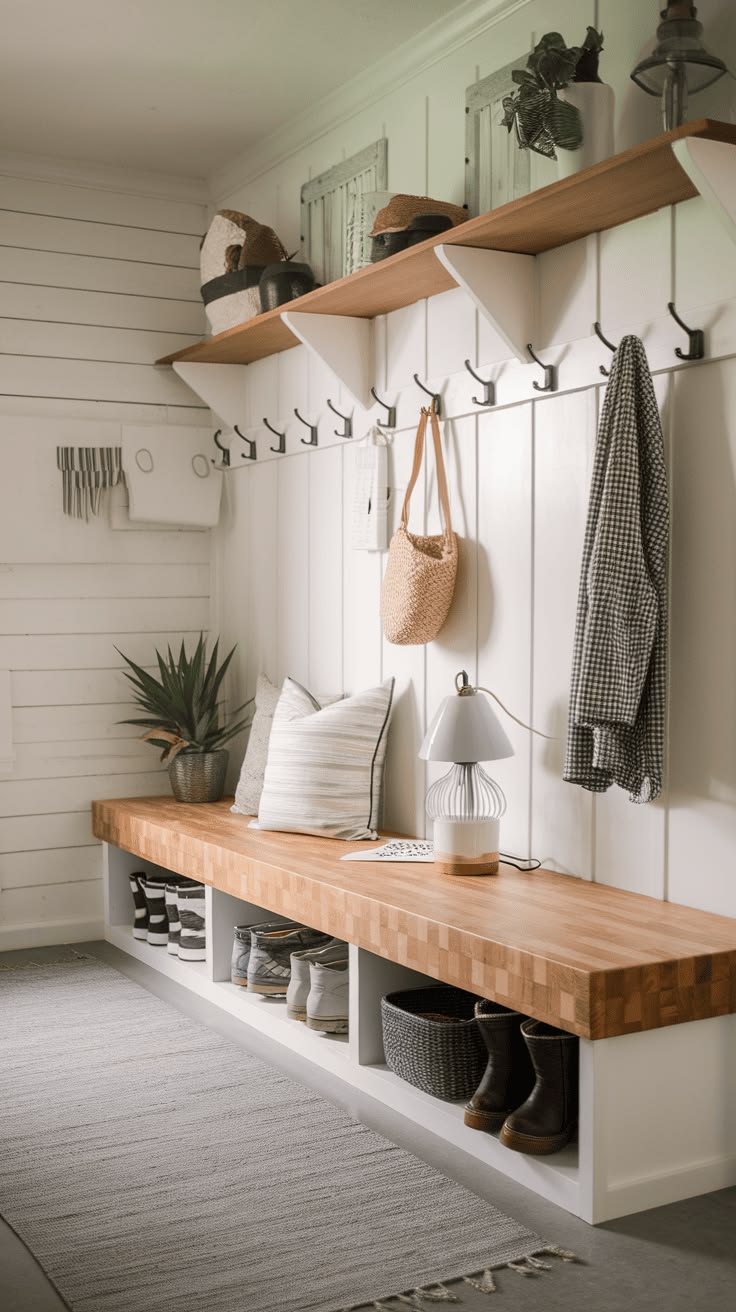
Wood is the quickest way to warm a white room.
A thick butcher block bench sits against vertical board walls here, with a bracket shelf with hooks above and a cushion on top. Install it with heavy-duty brackets into studs.
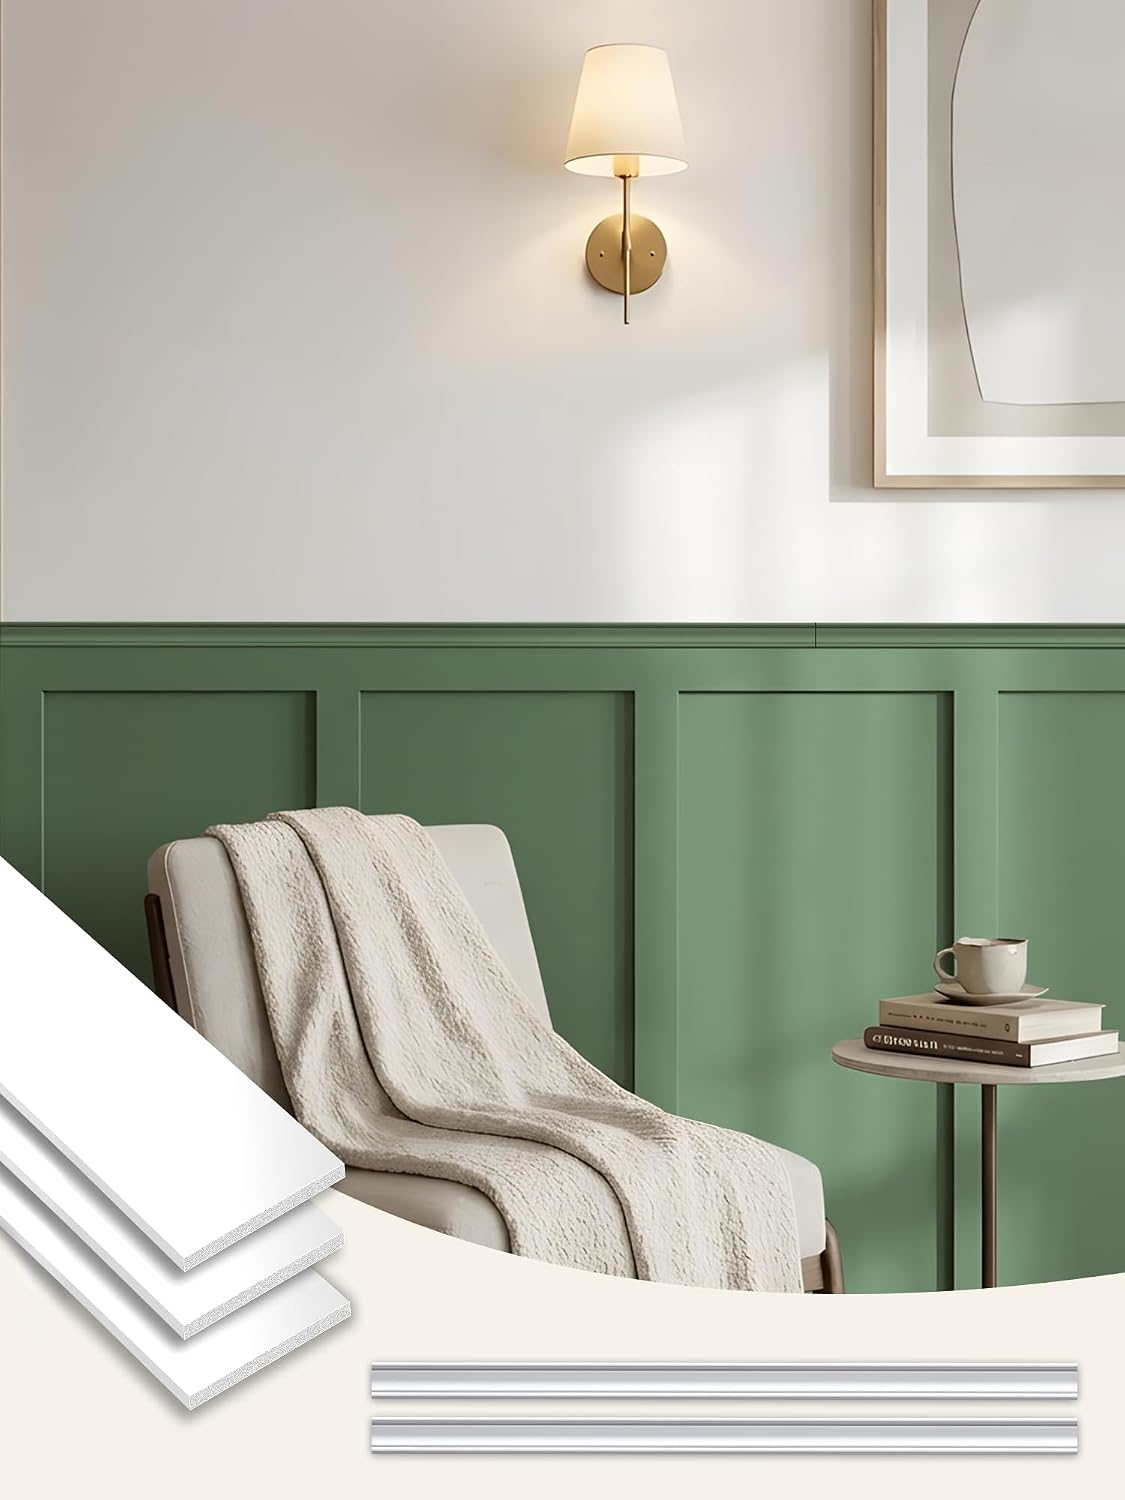
Board and batten panels are a quick DIY wall treatment.
48. Paint the Ceiling, Too
The ceiling is the fifth wall, and it's usually ignored.
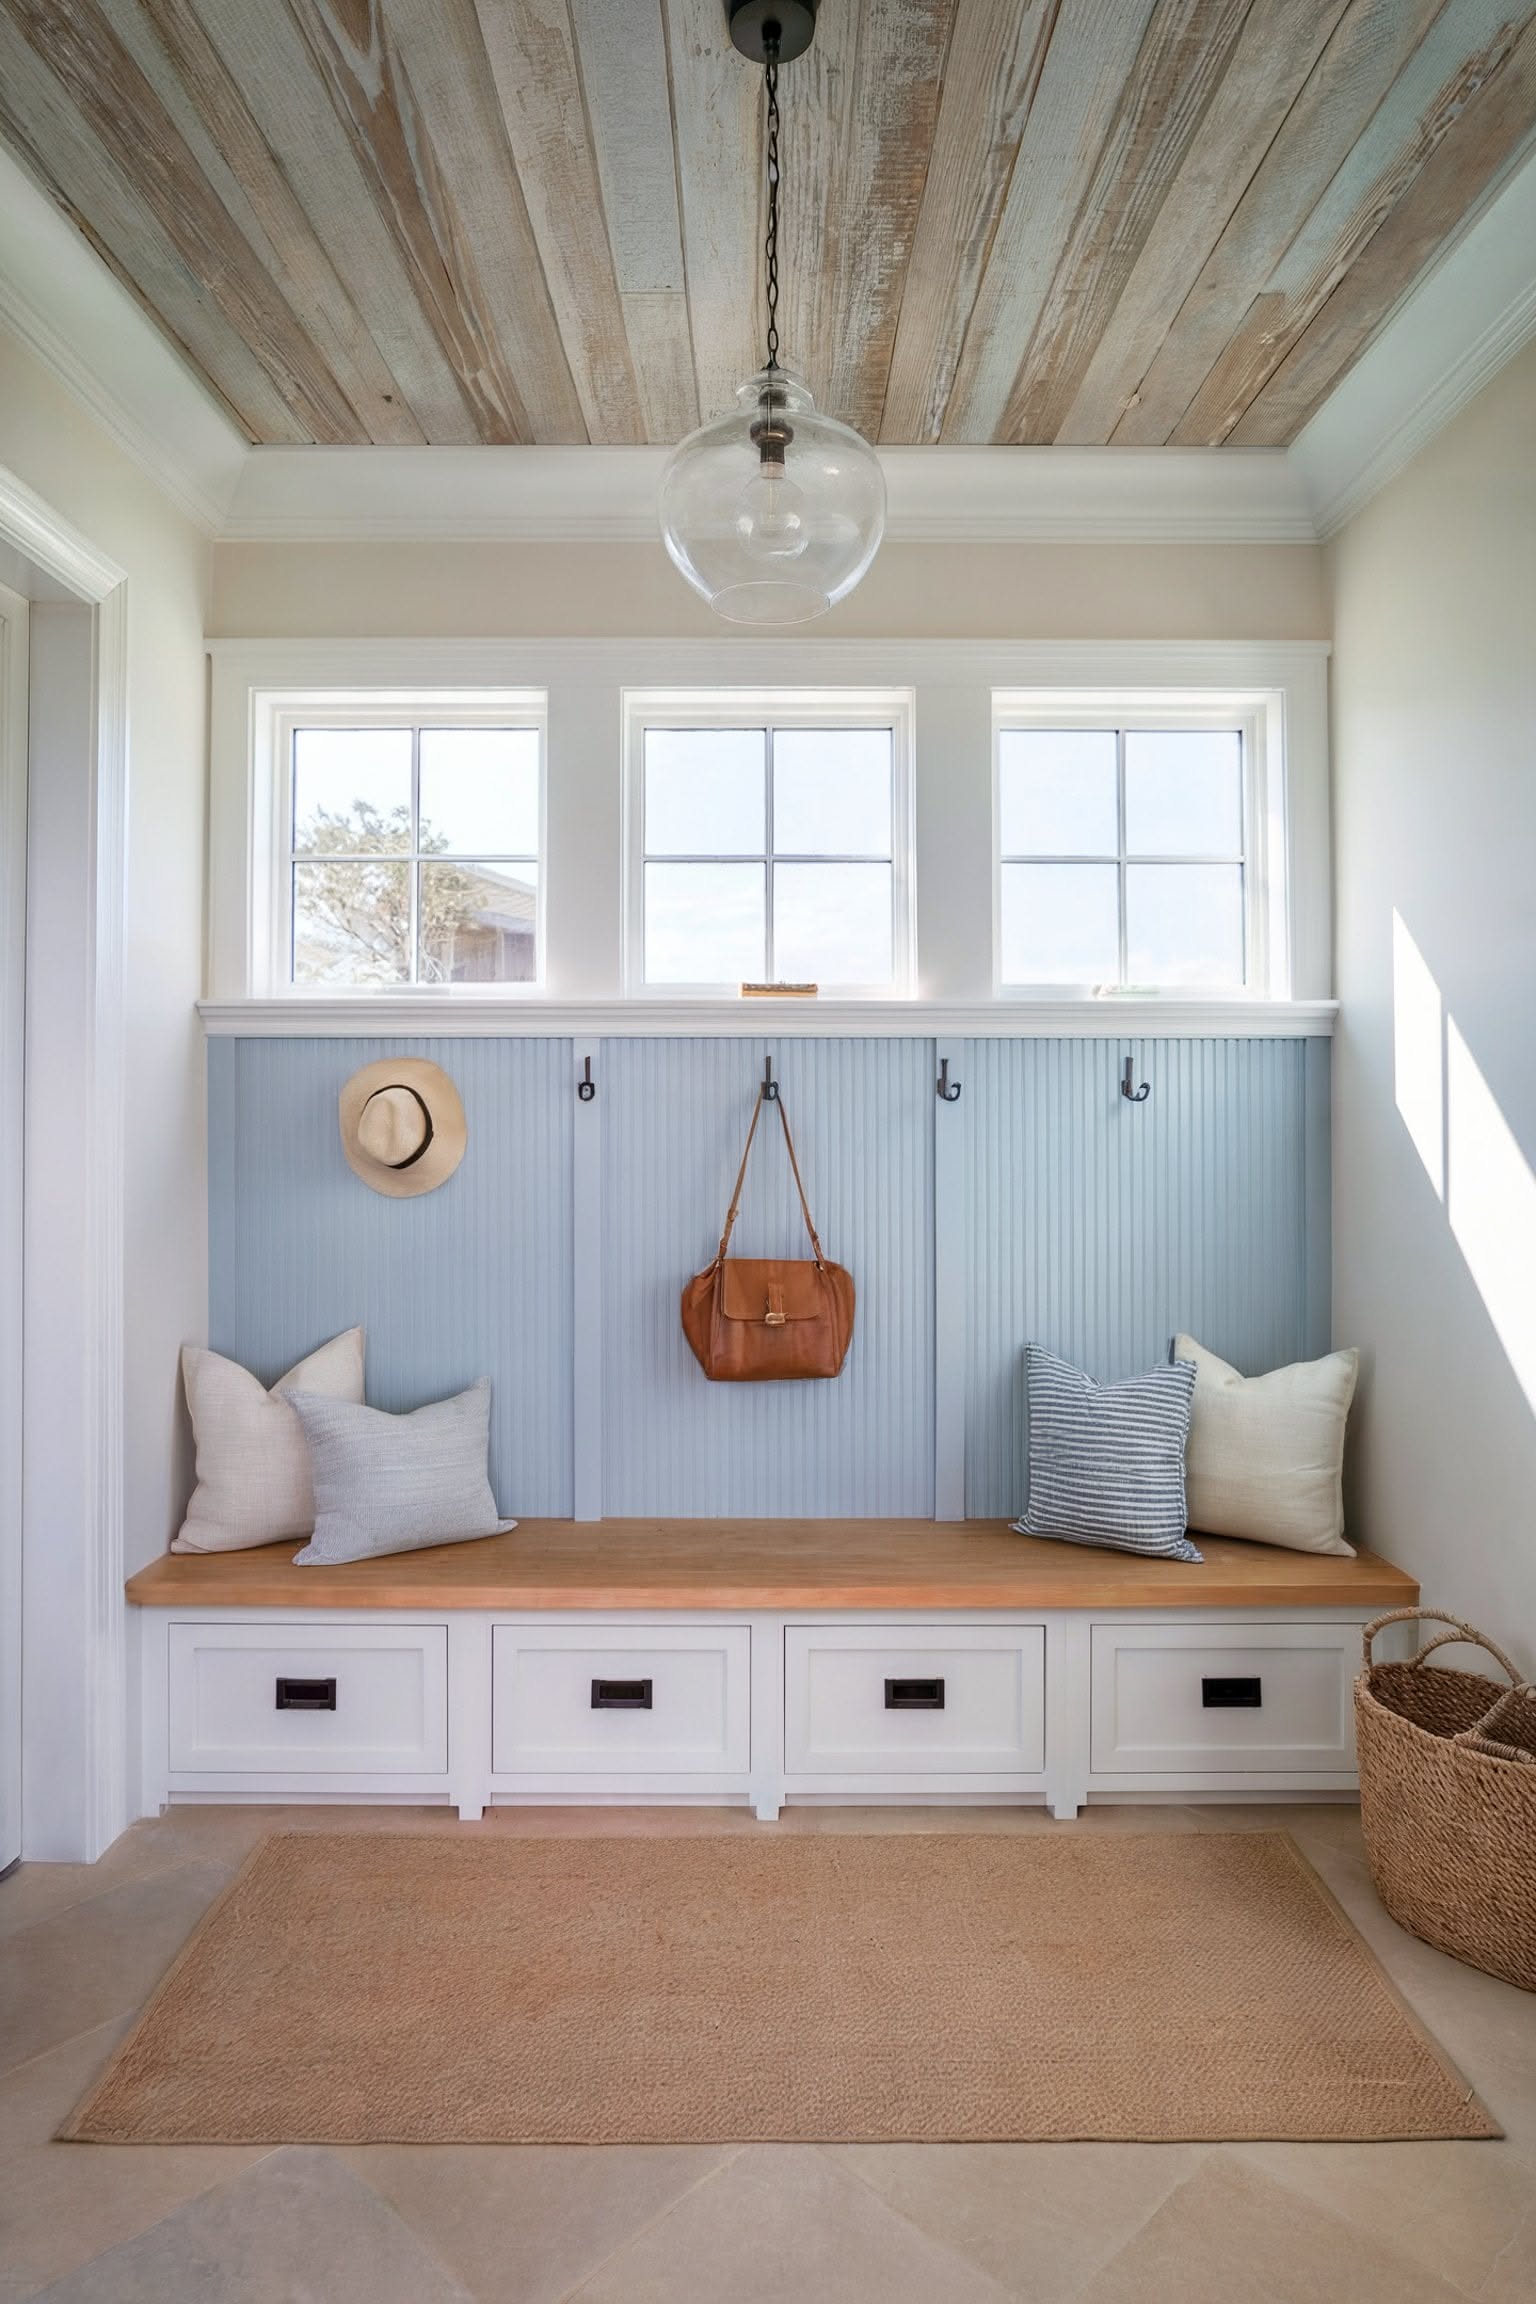
A blue beadboard mudroom has a four-drawer bench here, and a whitewashed plank ceiling.
- Choose a lighter shade than the walls, to keep it airy.
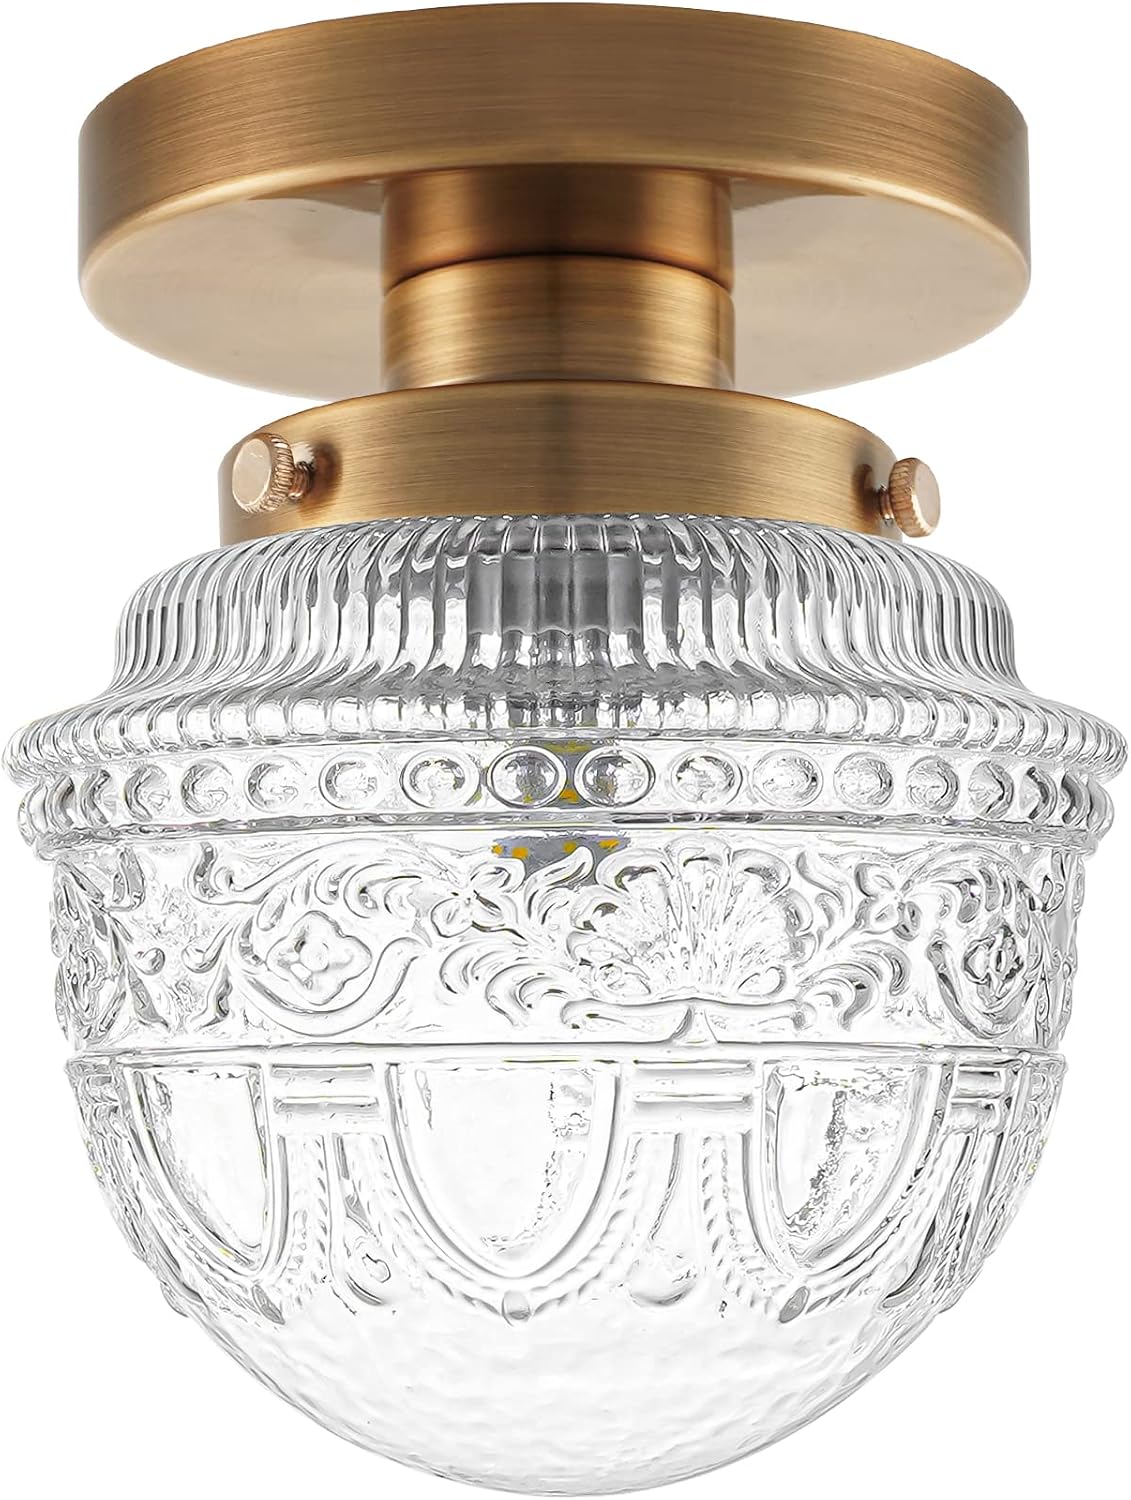
- A brass flush mount finishes the look.
49. Use Patterned Tile to Plan a Small Entry
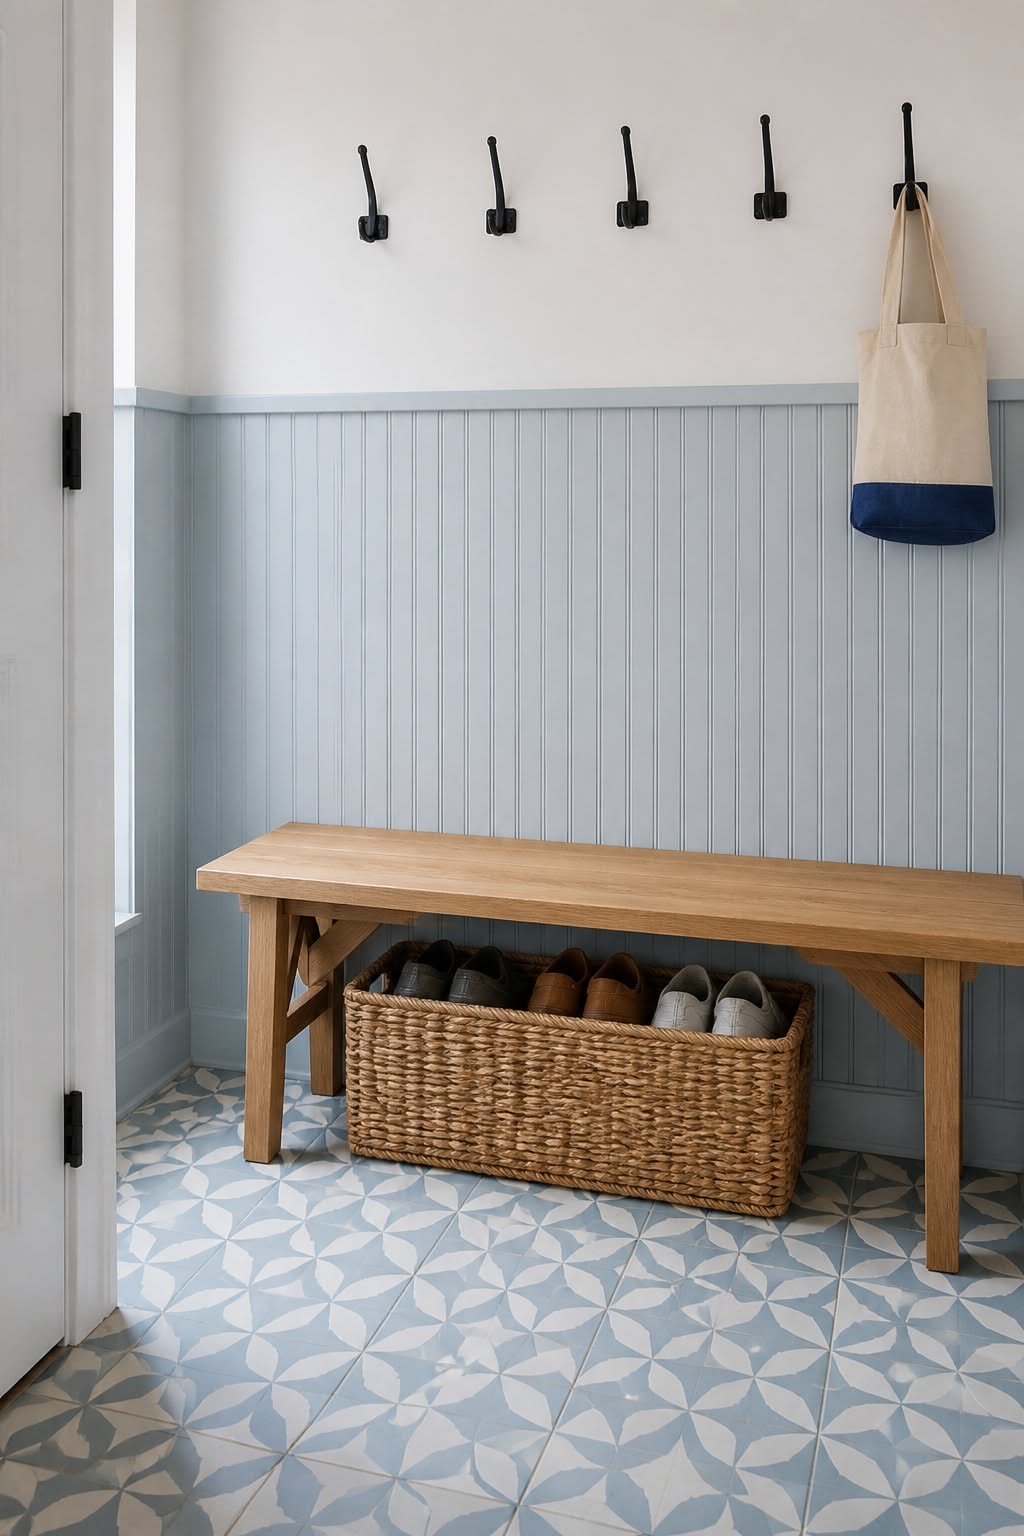
A patterned floor makes a small entry look designed. Light blue beadboard wainscot has five black hooks and a wood bench over patterned blue tile here.
- Choose a tile with a matte finish for traction.
- Keep the walls simple, so the floor stands out.
50. End the Room With a Window or a Door
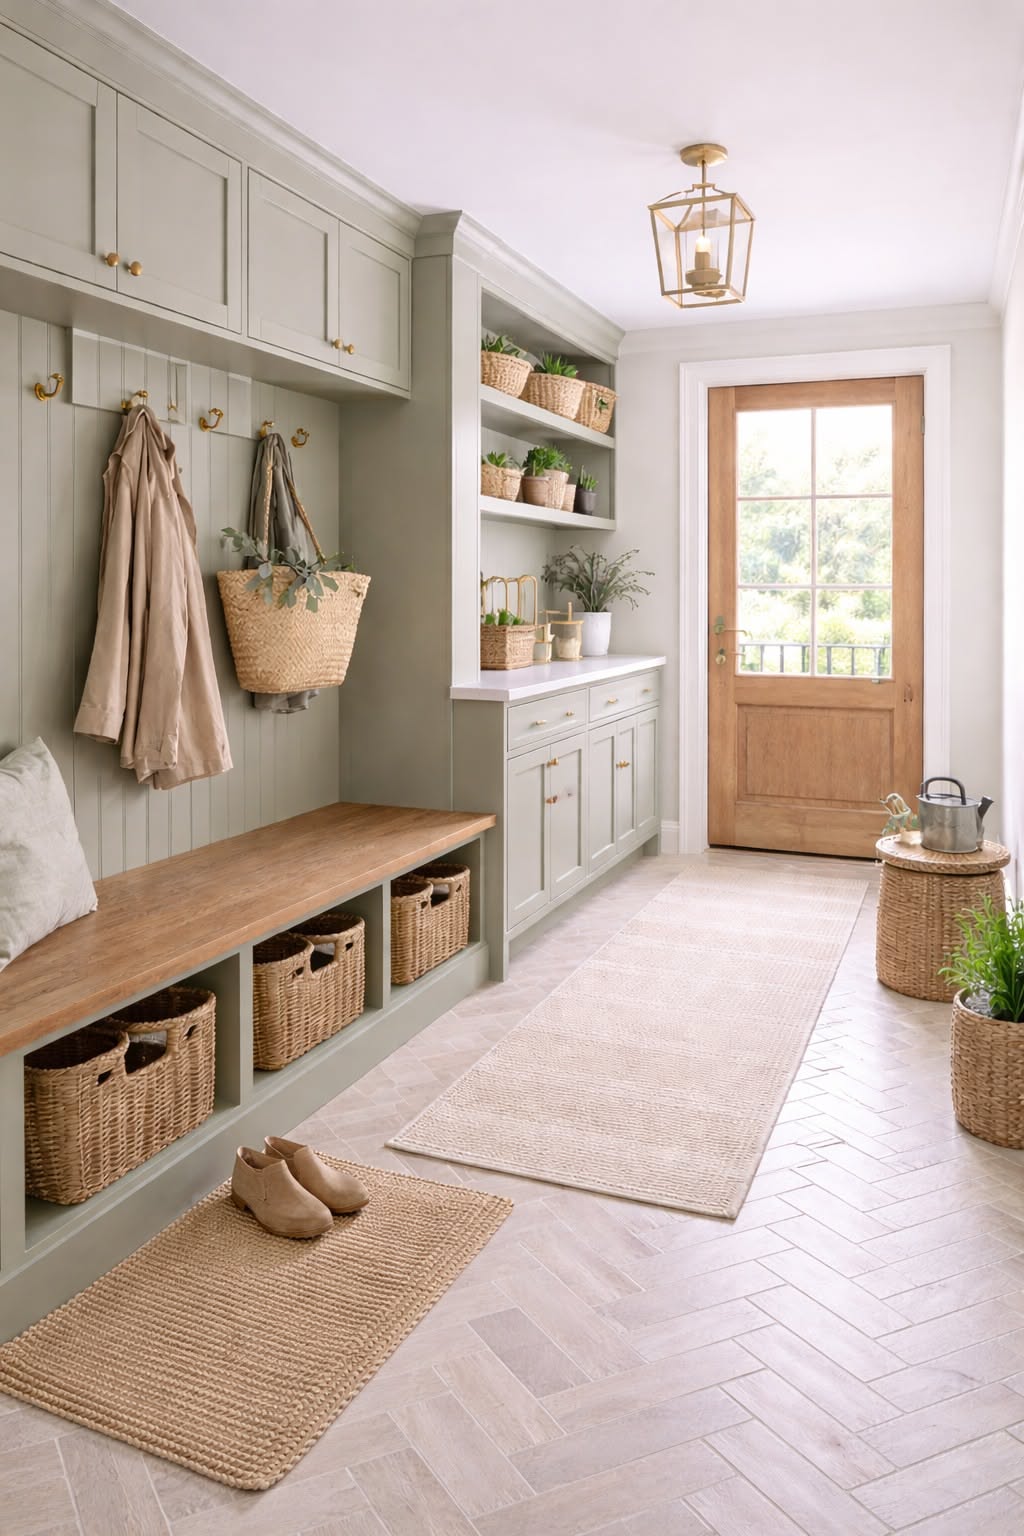
Give the eye somewhere to go at the end of the room. A sage green built-in has a wood bench, baskets and herringbone tile here, with a glass door at the end.
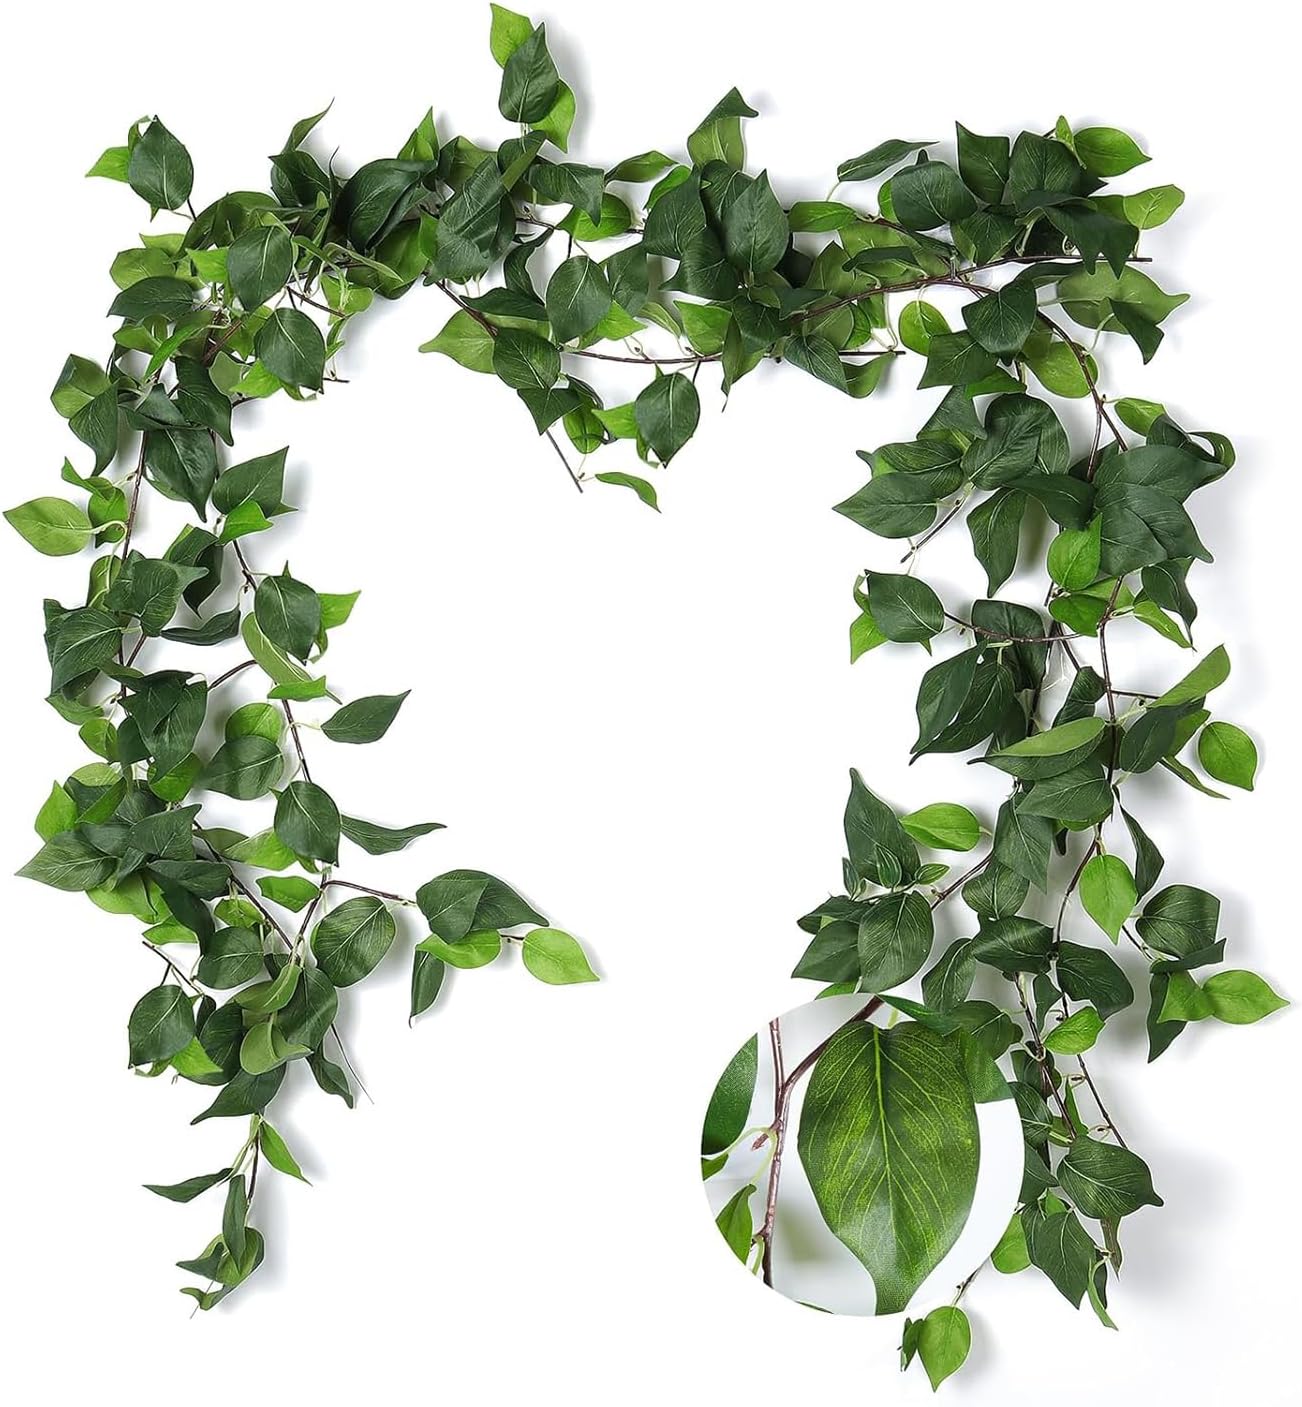
Add a runner to lead the eye to the door. Use ivy or faux greenery to soften the top of the cabinets.
51. Give the Dog a Spot, Too
Pets are part of the family, and they need a place near the door.
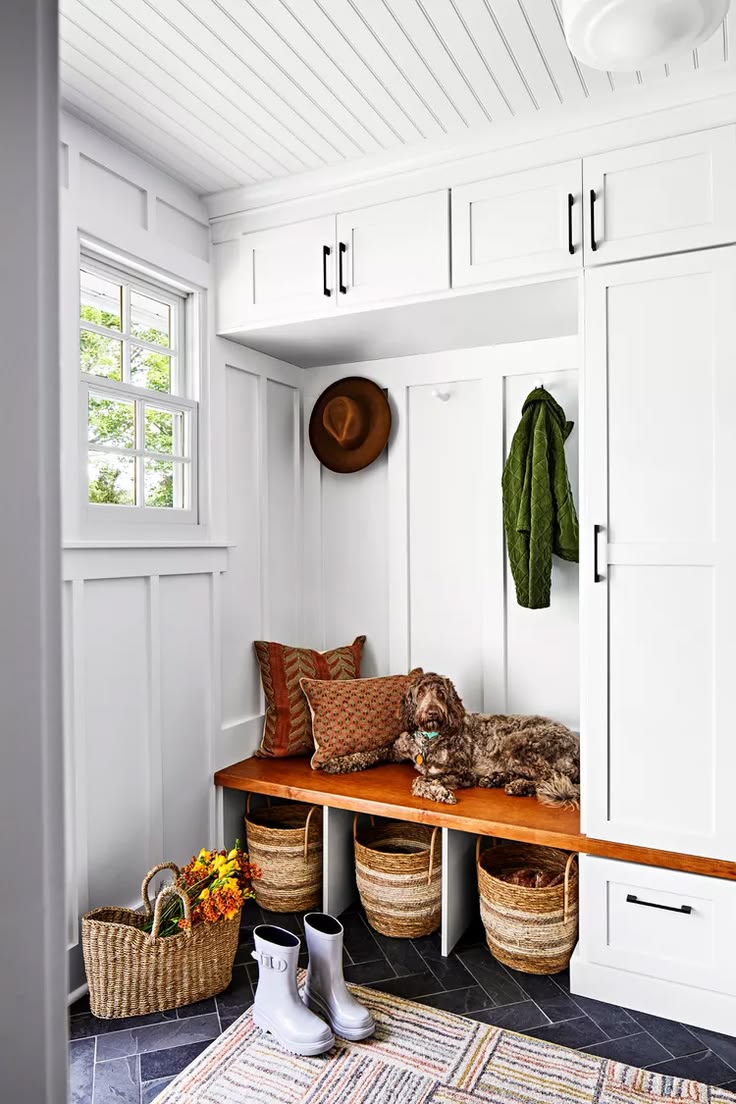
A white board and batten mudroom here has a dog on the bench, with baskets underneath.
Put a washable cushion on the bench.
Keep a towel for muddy paws in a basket nearby.
52. Hang the Leash by the Door
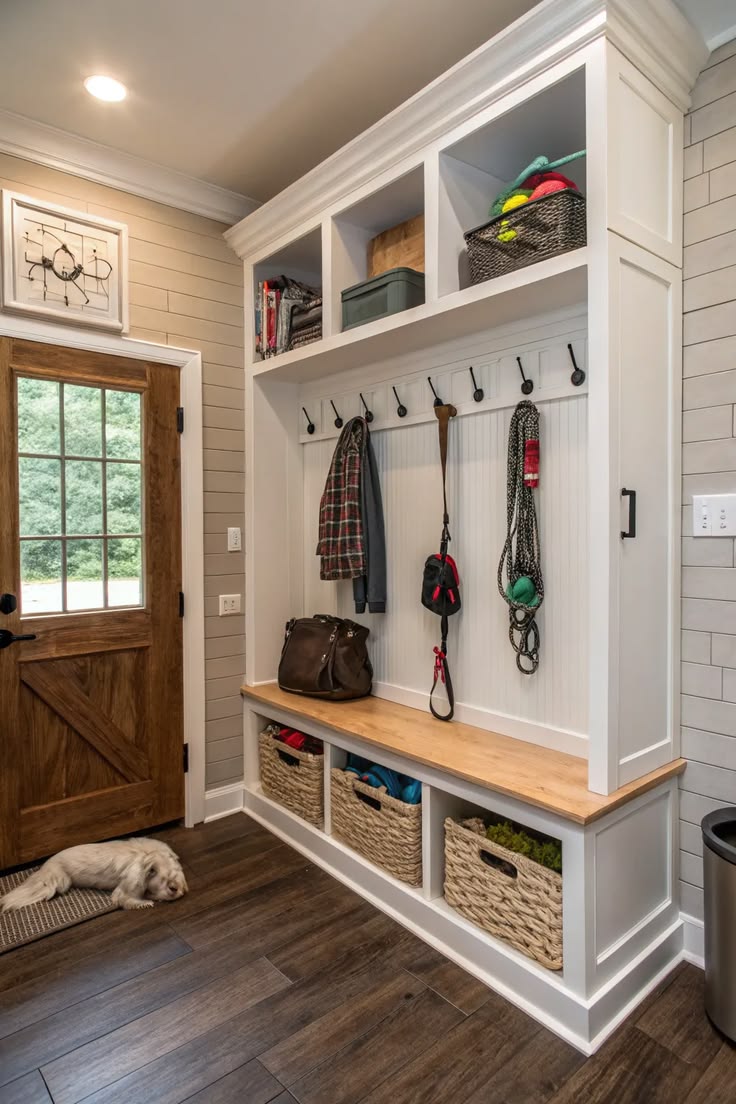
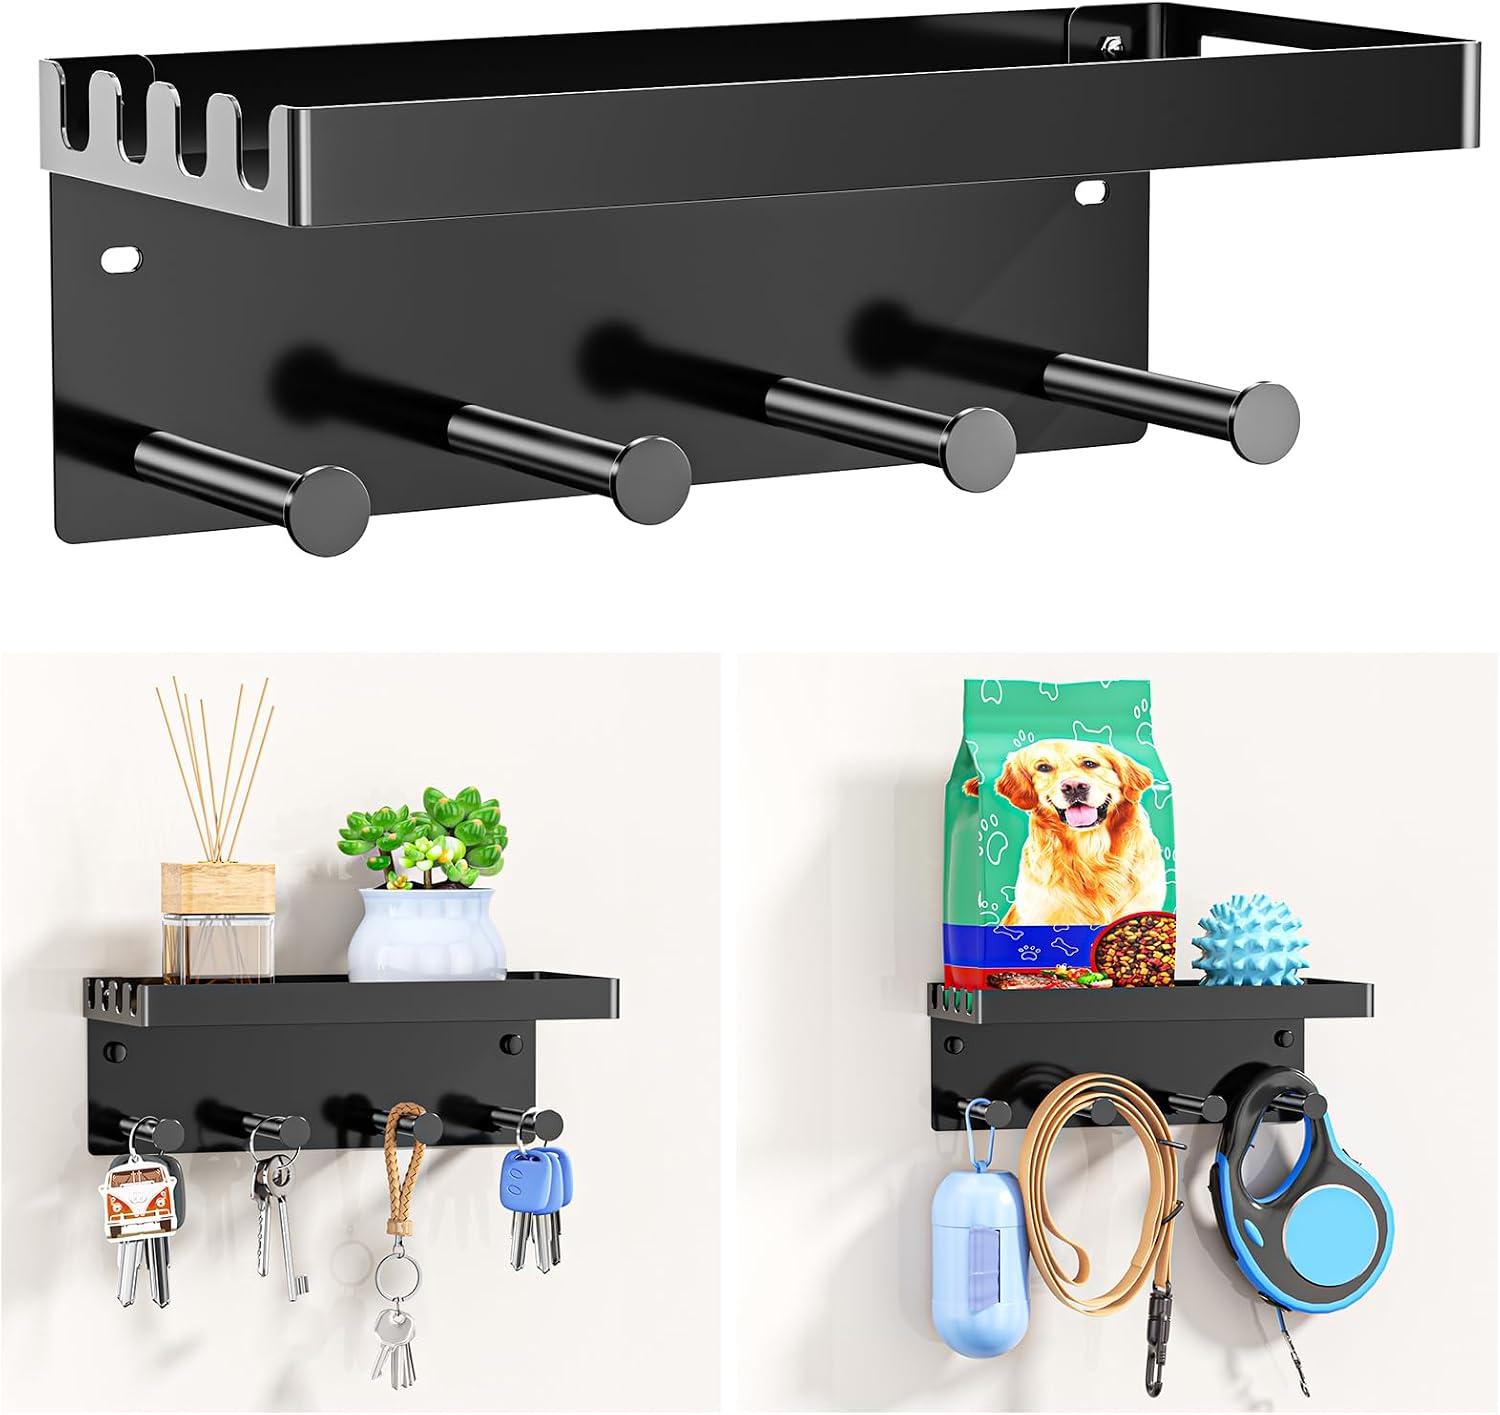
Where you hang the leash decides if you remember it. A white built-in has a leash on a hook, a basket bench and a dog resting nearby here.
Mount the leash holder at the door, at your eye level.
Add a small shelf for treats and bags.
53. Use Pegboard for a Custom Wall on a Budget
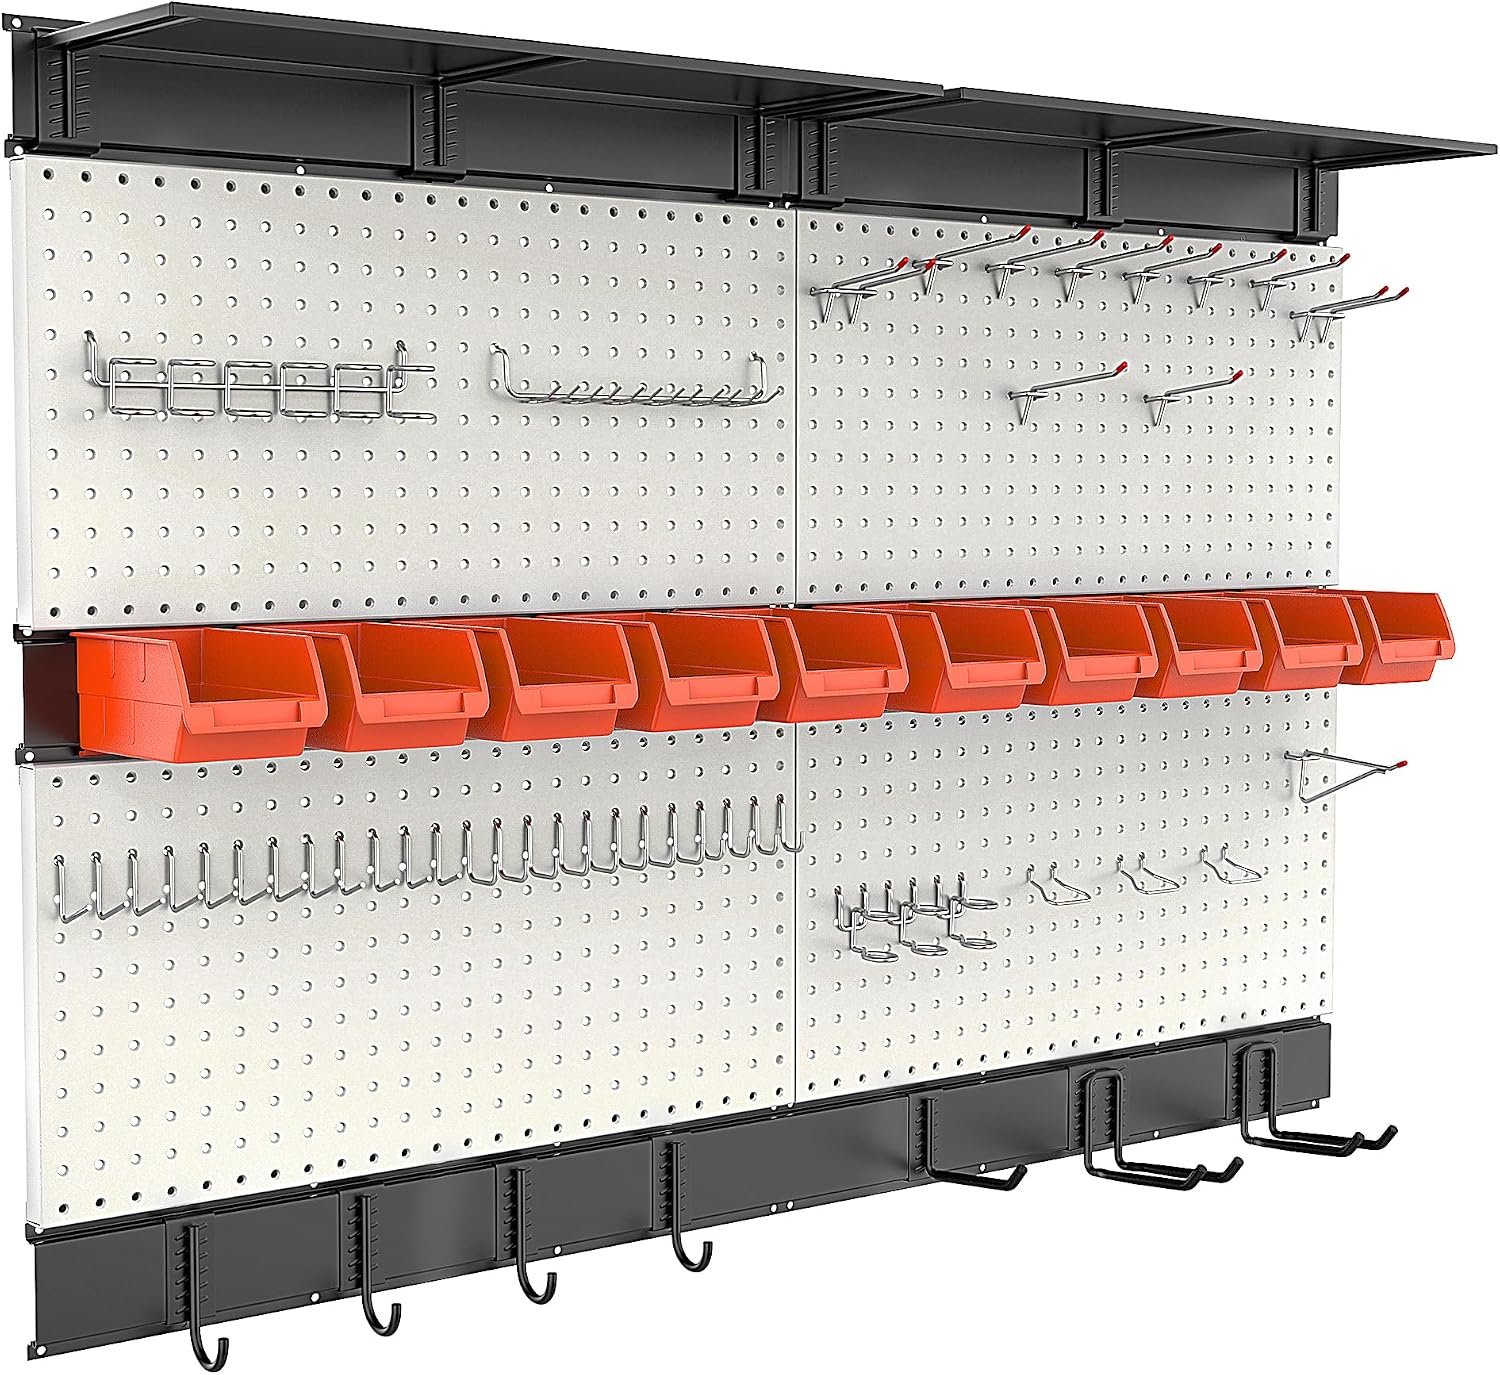
Pegboard lets you rearrange as the family changes.
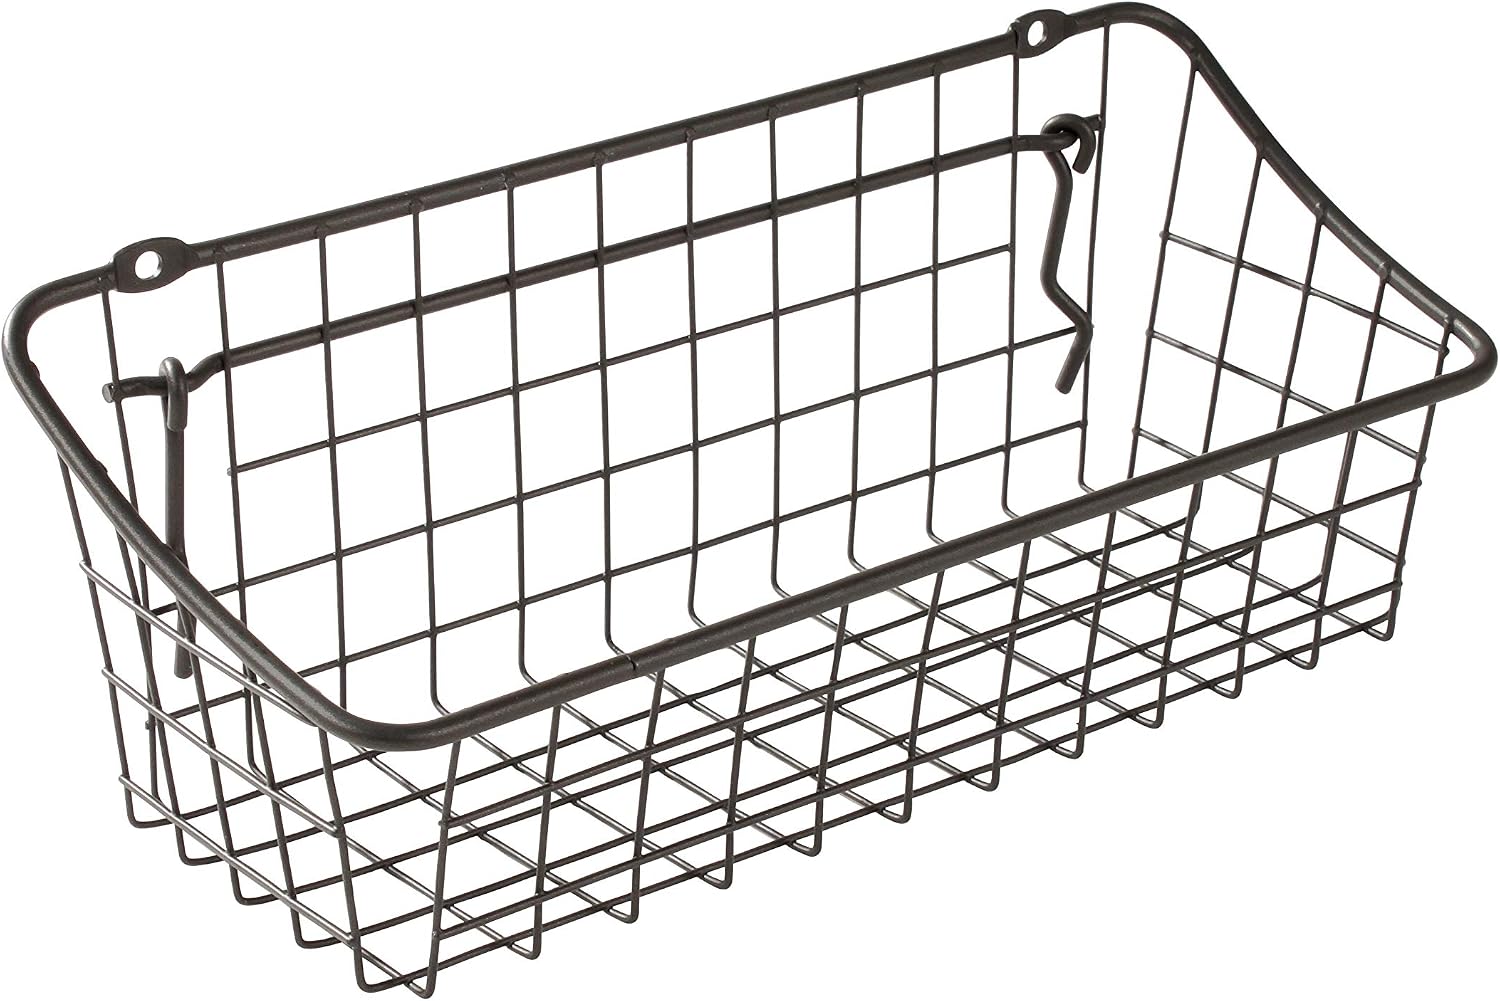
A gray pegboard wall here has wire baskets holding shoes, hooks, a shelf and a bench with three baskets.
- Use hooks and baskets that you can move around.
- Paint the pegboard to match the room.

54. Choose a Freestanding Unit for a DIY Mudroom
You don't need to build into the wall to make a mudroom.
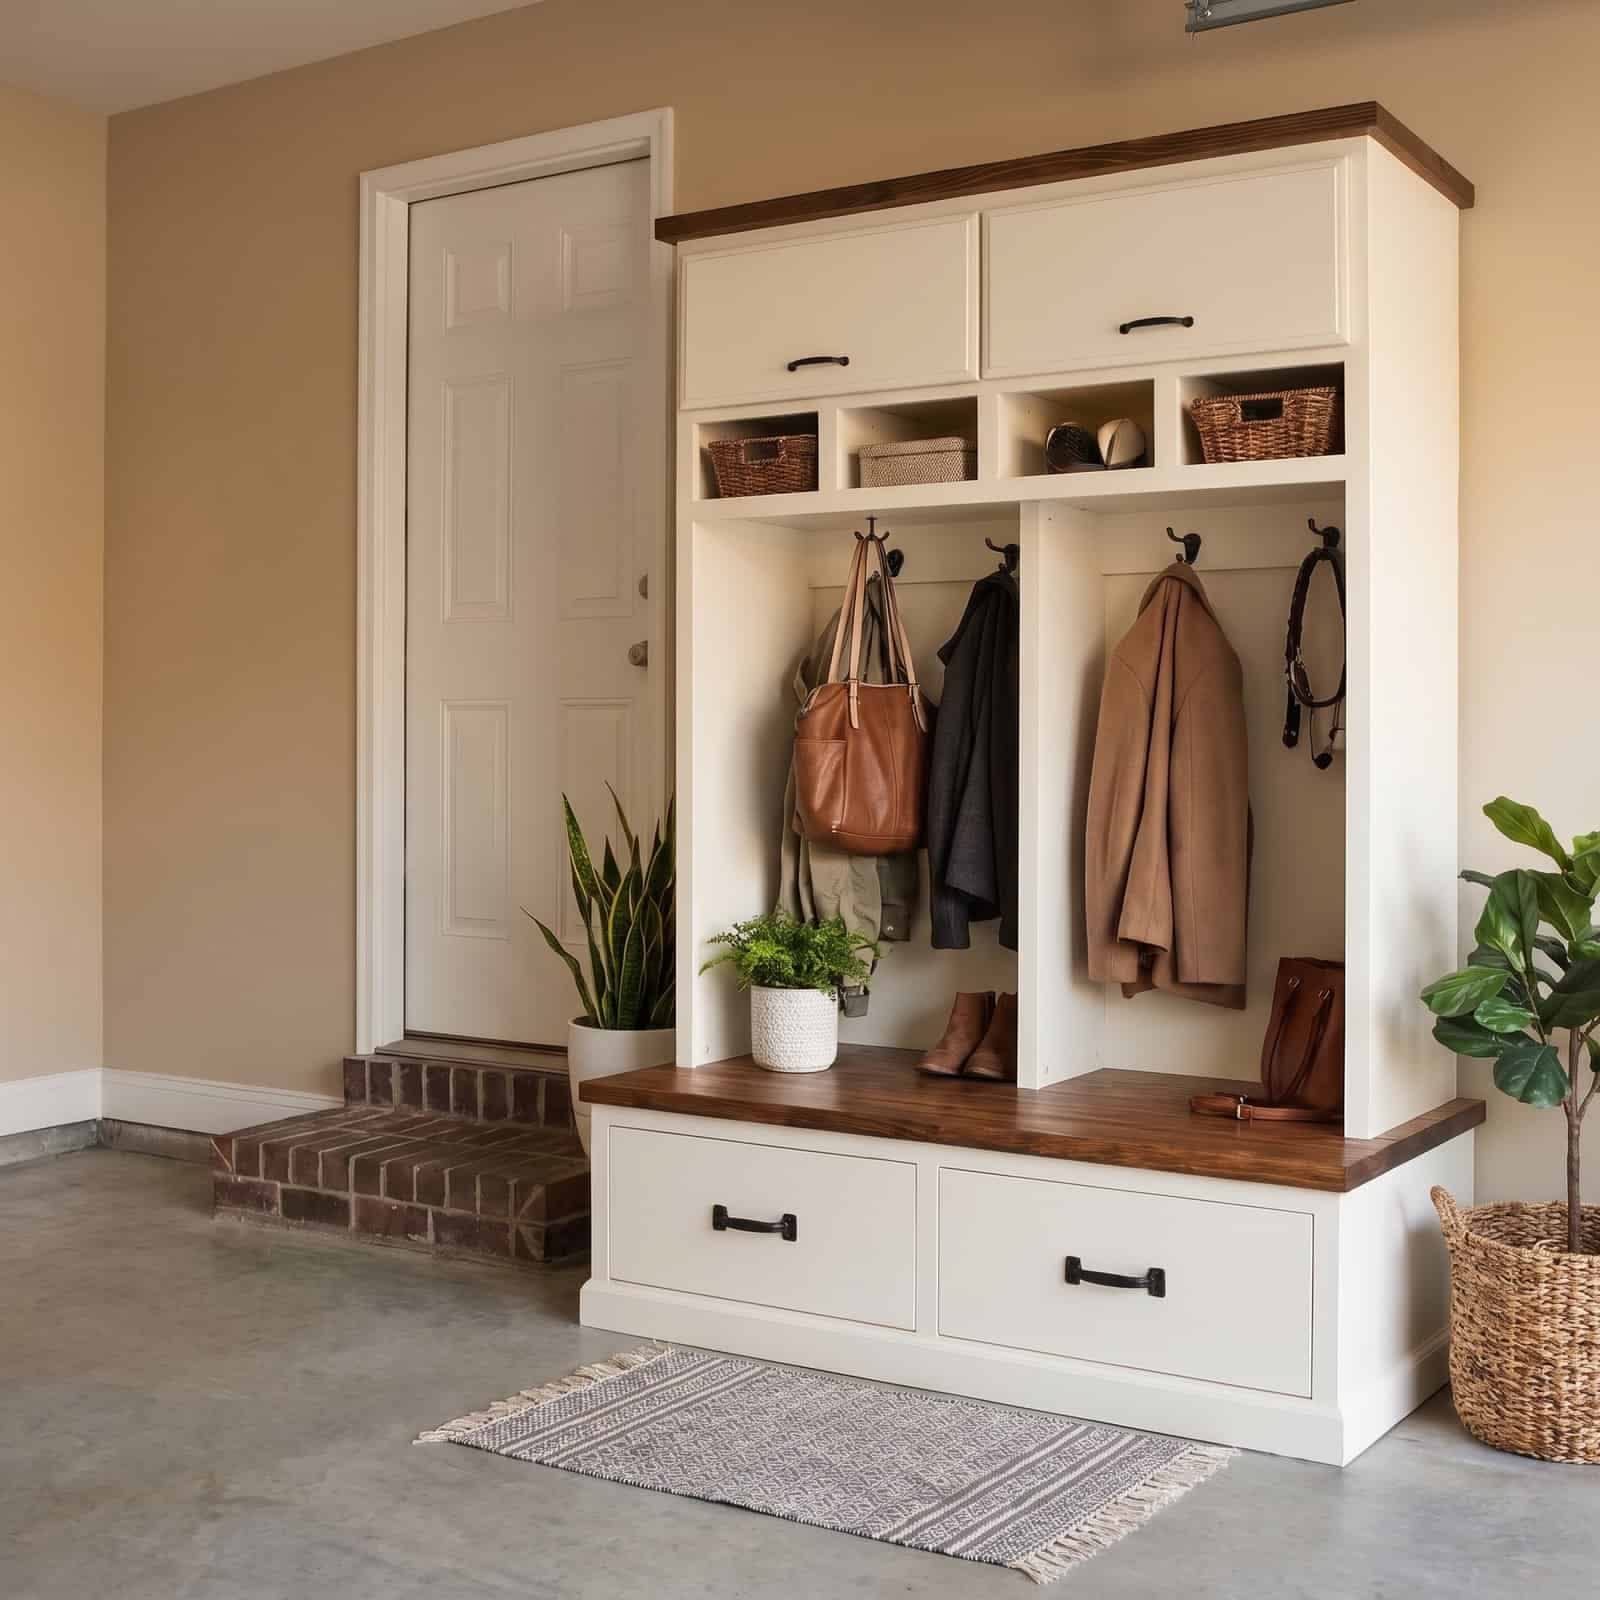
A white freestanding locker has a walnut top and drawers in a garage beside a brick step here.
Anchor it to the wall for safety. T-bar pulls give it a custom look.
55. Turn Hooks Into a Command Center
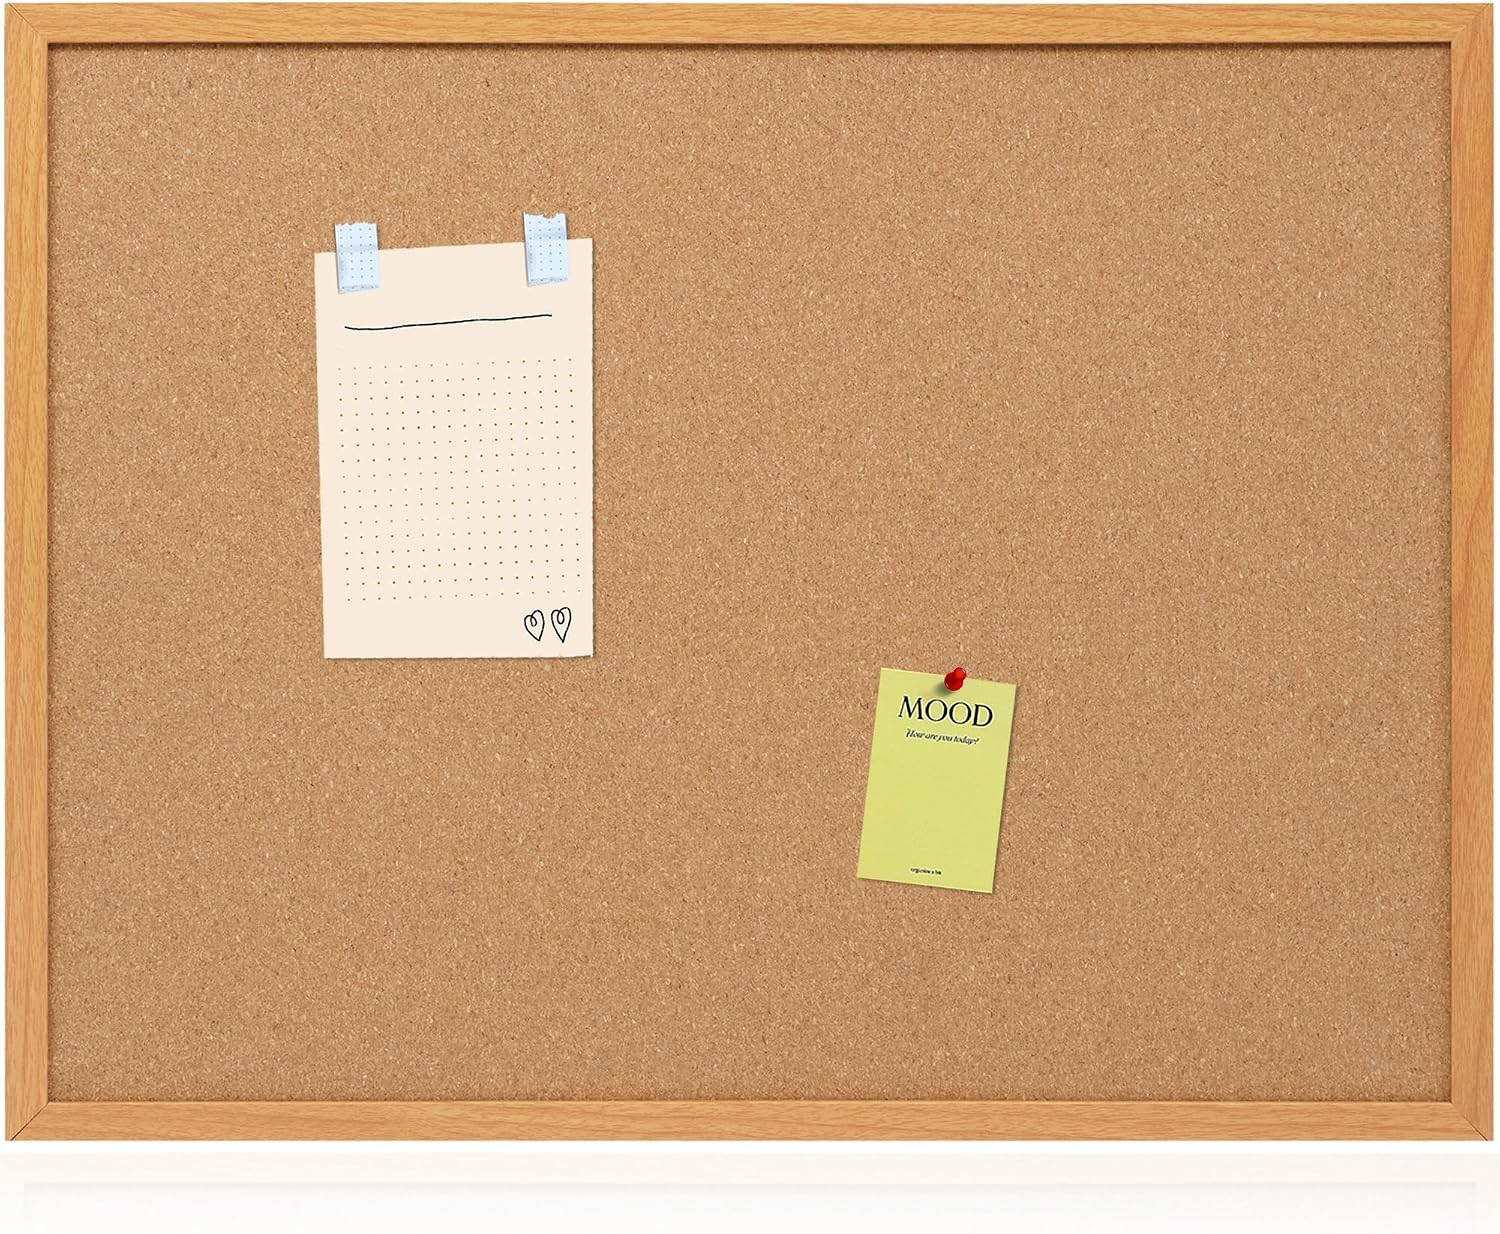
A message board by the door stops the paper pile.
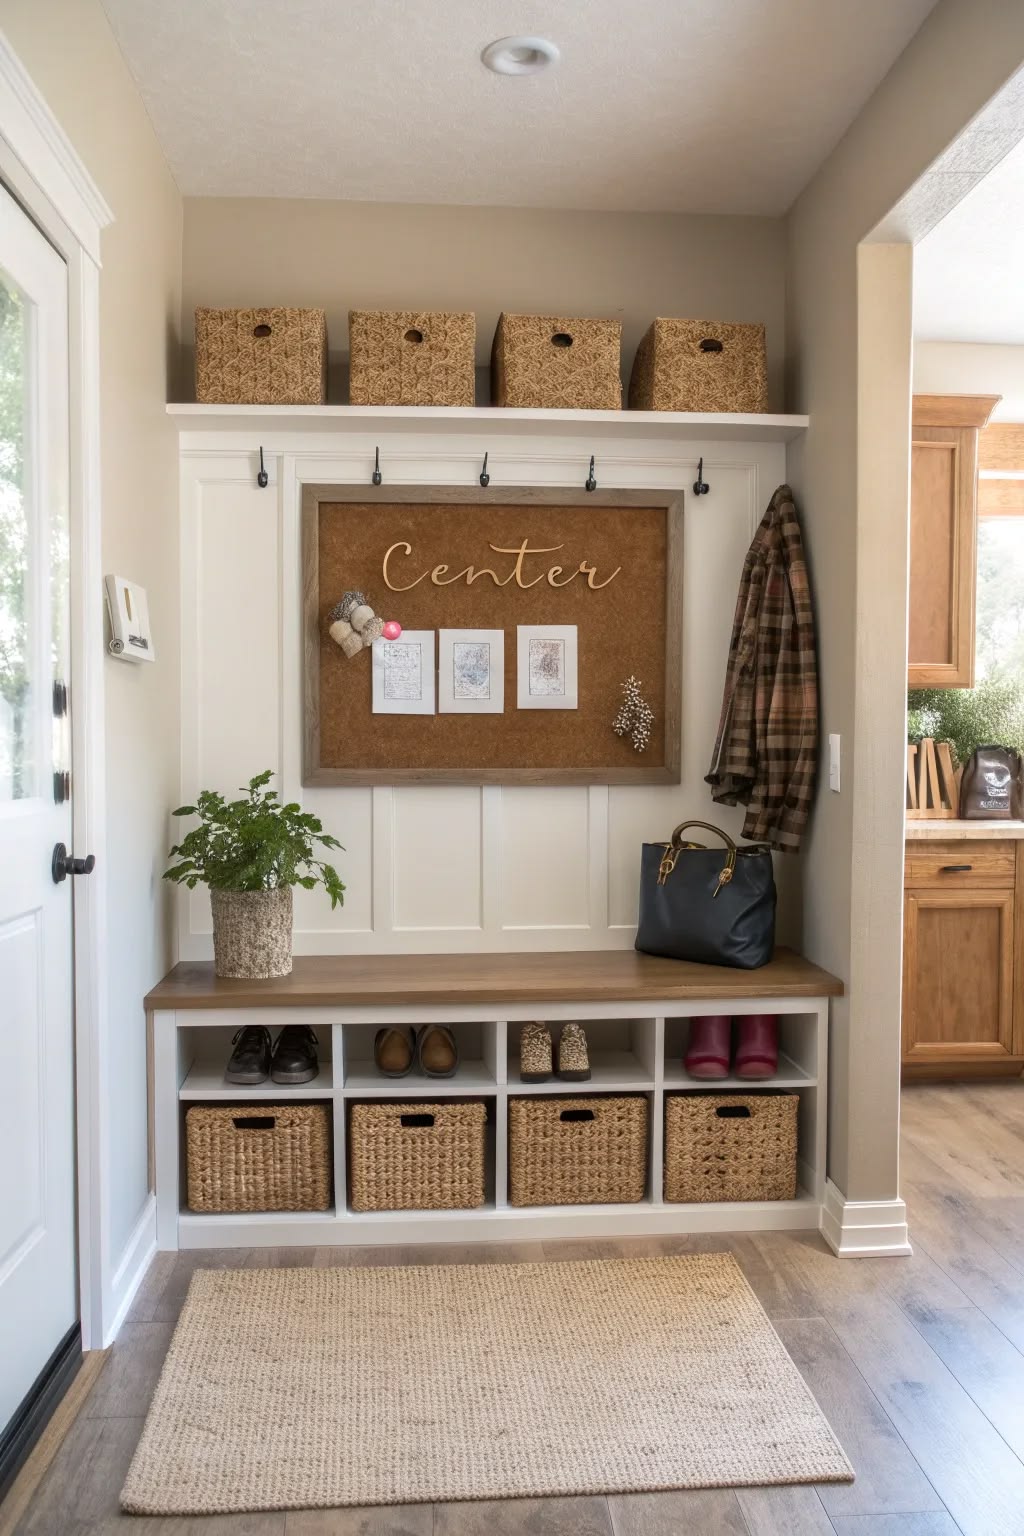
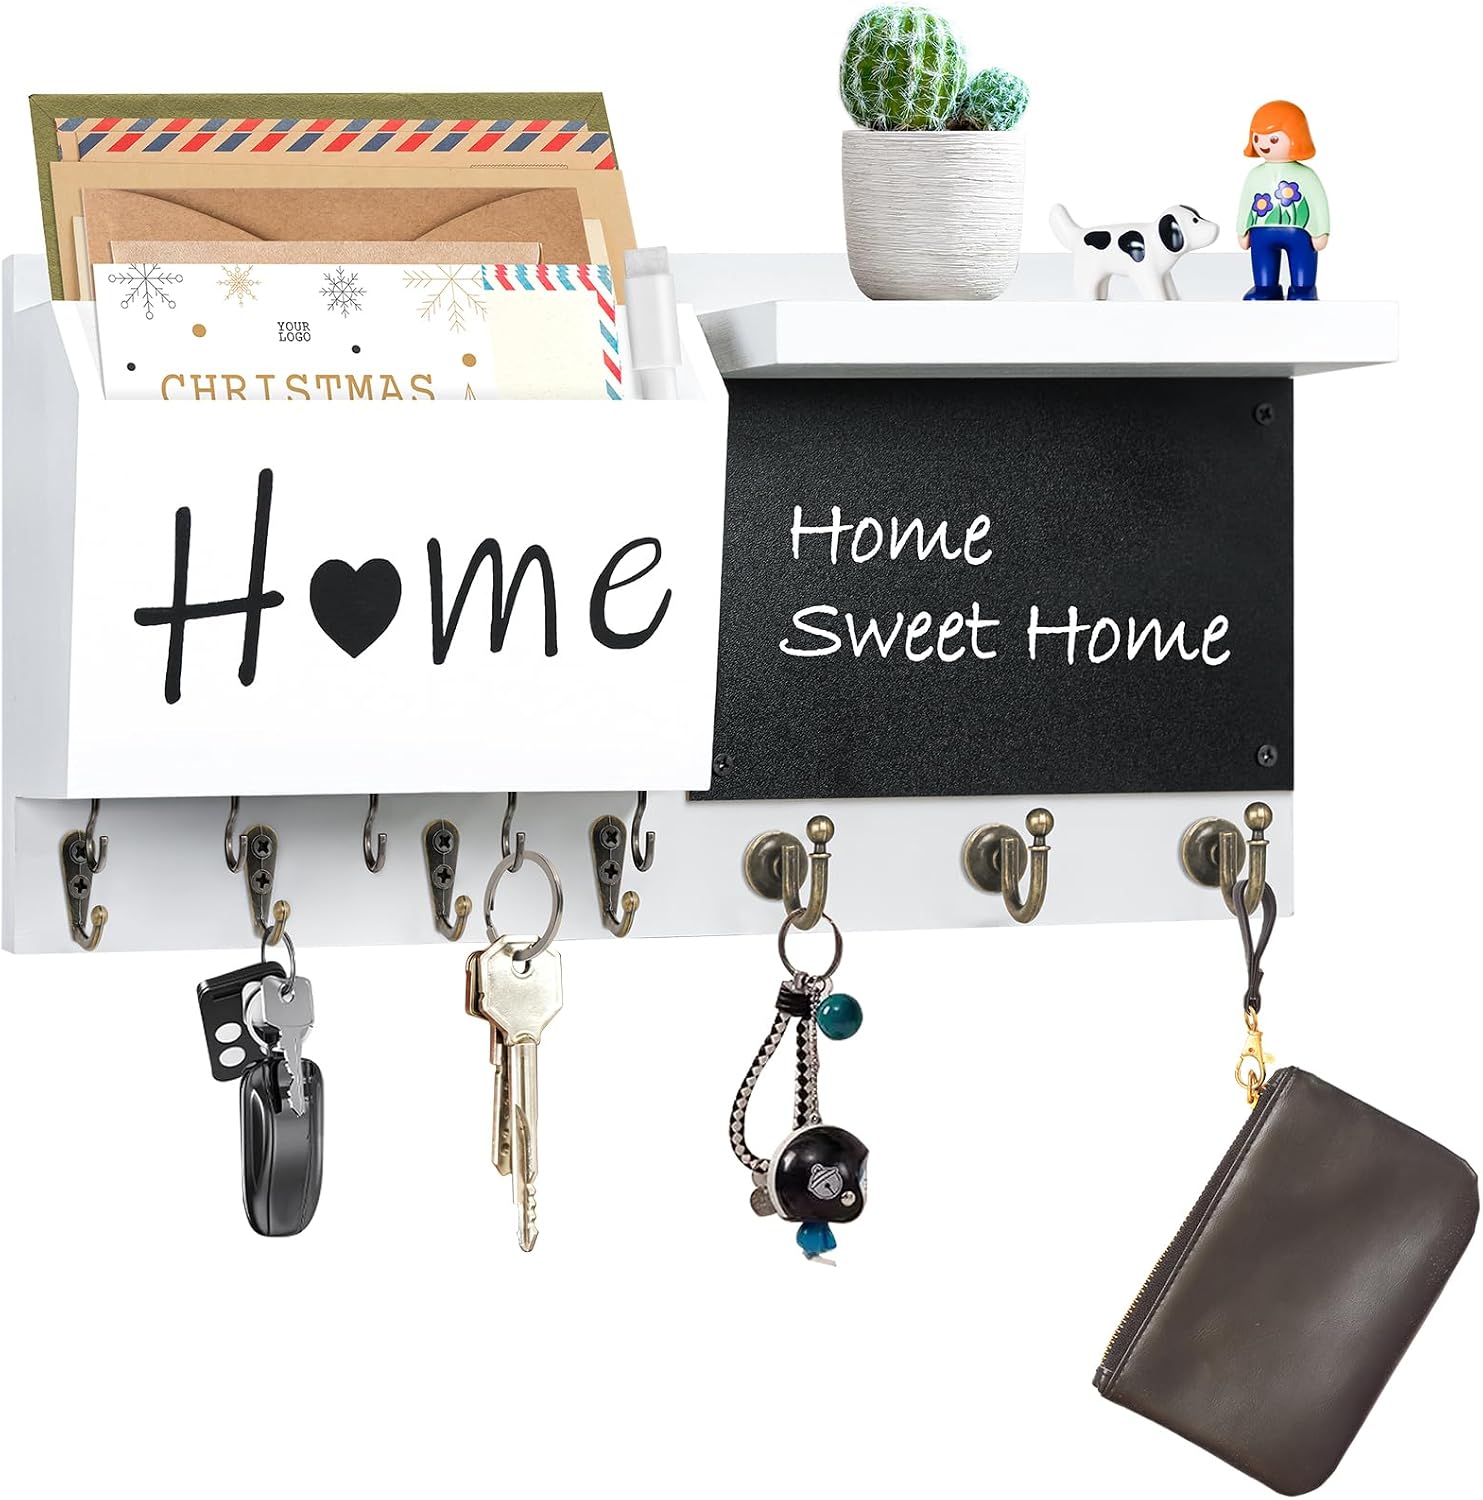
A cork board labeled Center hangs above a hook rail here, with a basket shelf and a shoe bench.
Quick tip: Add a mail sorter and a key hook beside it.
Pin the week's schedule on it every Sunday.
56. Go Vertical When the Floor Is Small
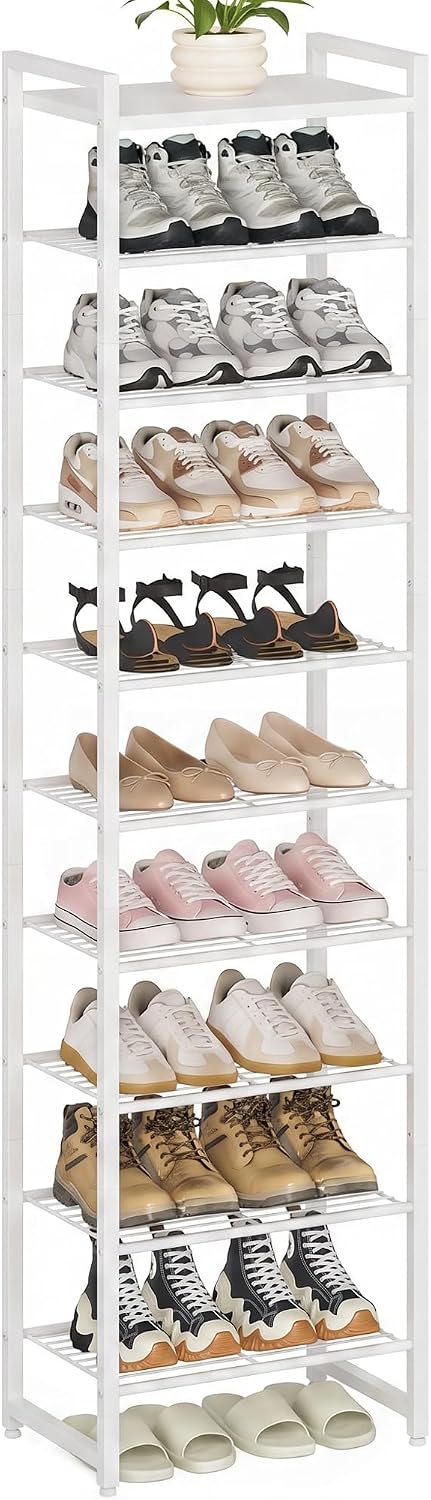
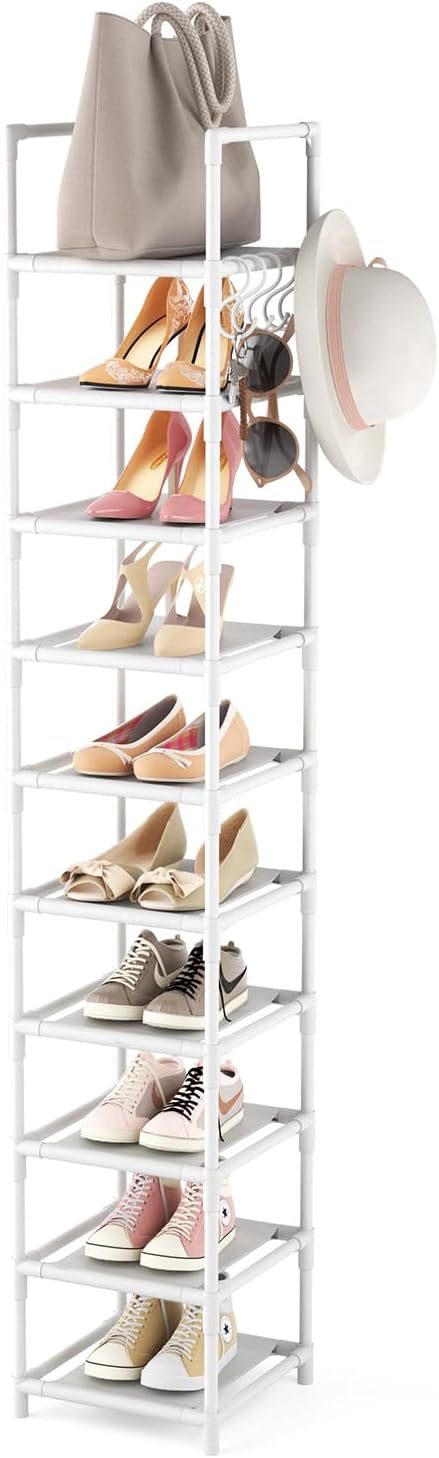
A tall shoe rack uses height instead of floor. A narrow white shoe rack stands between a bench and a glass door here.
Choose a rack that is less than 10 inches deep.
Anchor it to the wall so it can't tip.

57. Choose Shoe Cubbies Under the Bench Over a Rack
Cubbies under a bench keep shoes in order.
A wood-paneled built-in has open shelving, hooks and a bench with shoe cubbies here. Measure the height of your tallest shoe before you build.
Add a basket for socks and extras.
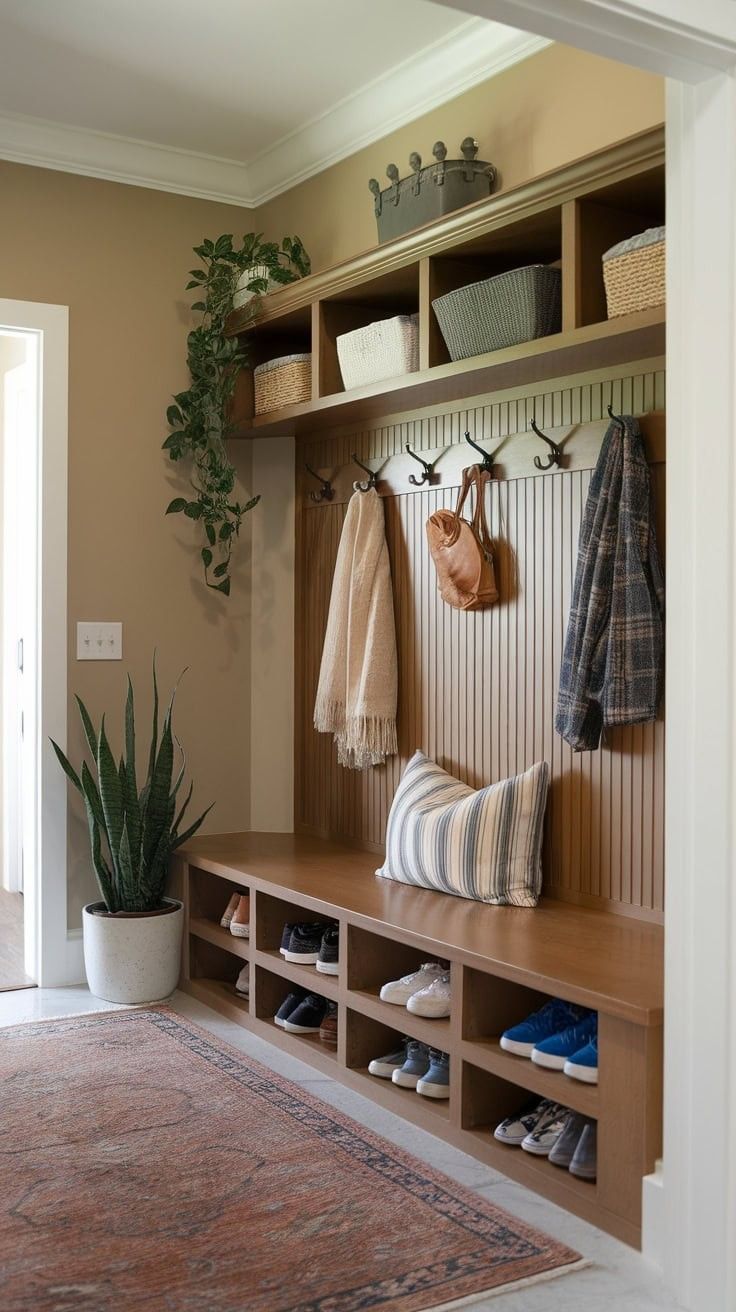
58. Slide a Metal Rack Into the Bench
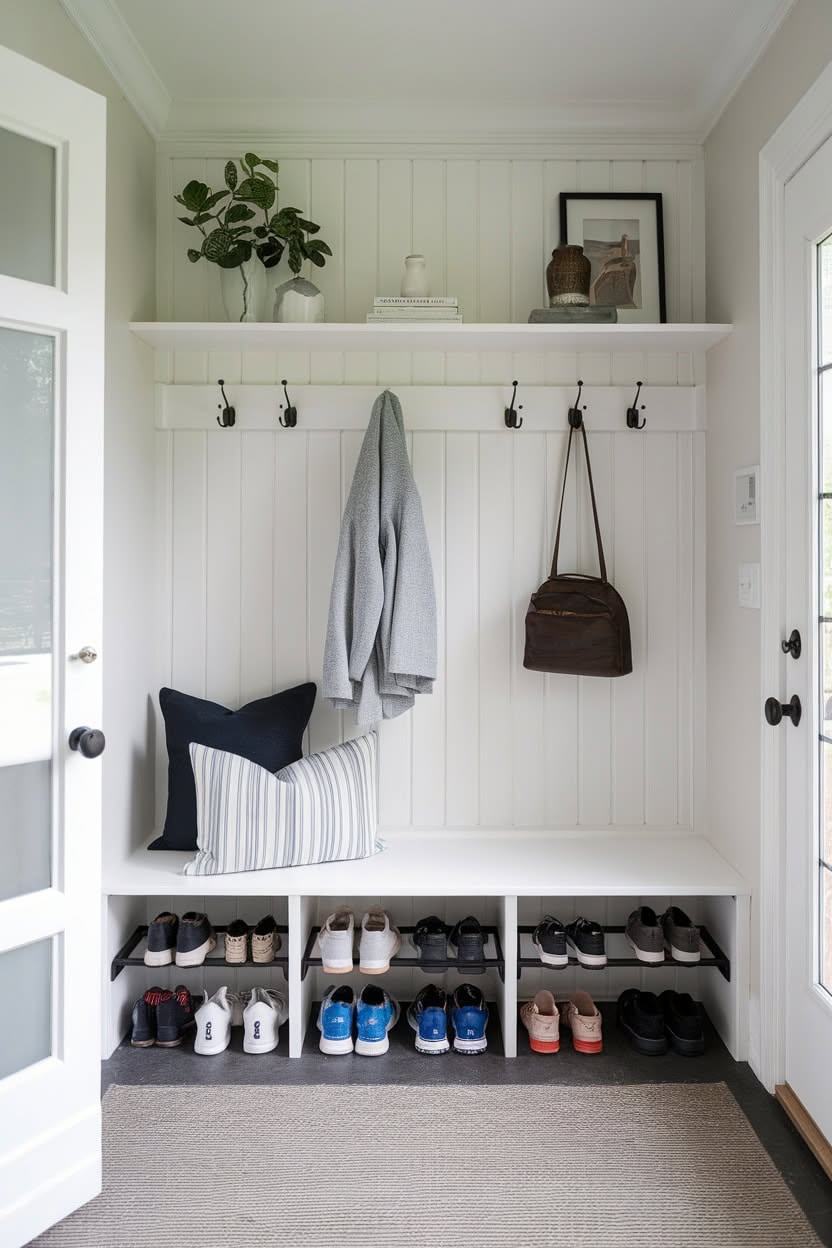
A rack under the bench holds more than a flat shelf.
A white bench has three levels of black metal shoe racks under a hook rail and shelf here.
- Choose a rack that matches the bench's width.
- Leave room to slide it out easily.
Common Mudroom Mistakes (and Fixes)
Too many hooks in too little space. Space them six to eight inches apart, or use fewer.
Open storage with no discipline. Open cubbies show everything. Use baskets, doors or drawers where you want it hidden.
Forgetting the floor. A mudroom floor takes the worst of the weather. Choose tile, sealed concrete or a washable runner.
Skipping a drip zone. A boot tray by the door catches melting snow before it reaches the wood.
Buying before measuring. Measure your tallest boots and your widest coat before you buy baskets or cabinets.
You don't need all 58 ideas. Start with hooks you can reach, a bench that holds shoes and a floor that can take a beating, and add the rest as the family's habits show you what's missing.