
Good wrapping is mostly about restraint: one paper, one ribbon and clean folds.
The paper sets the mood, and the ribbon finishes the story. Busy paper wants a quiet ribbon, and plain paper can take something rich.
Here are 24 combinations, from classic red and green to blue toile, kraft and pink, with the small details that make them look professional.
Five Rules for Gifts That Look Professionally Wrapped
Pair busy with calm. A bold print gets a plain ribbon, and plain paper can take velvet or layers.
Match patterns to the box. Line up stripes and plaid with the edges before you cut.
Use double-sided tape. It hides seams and works on delicate or dark papers.
Choose one color story. A pile in one palette looks planned even with mixed prints.
Wrap in batches. Finish every box in one paper before switching to the next.
1. Set Up a Wrapping Station Before You Start
Wrapping goes twice as fast when every tool is within reach.
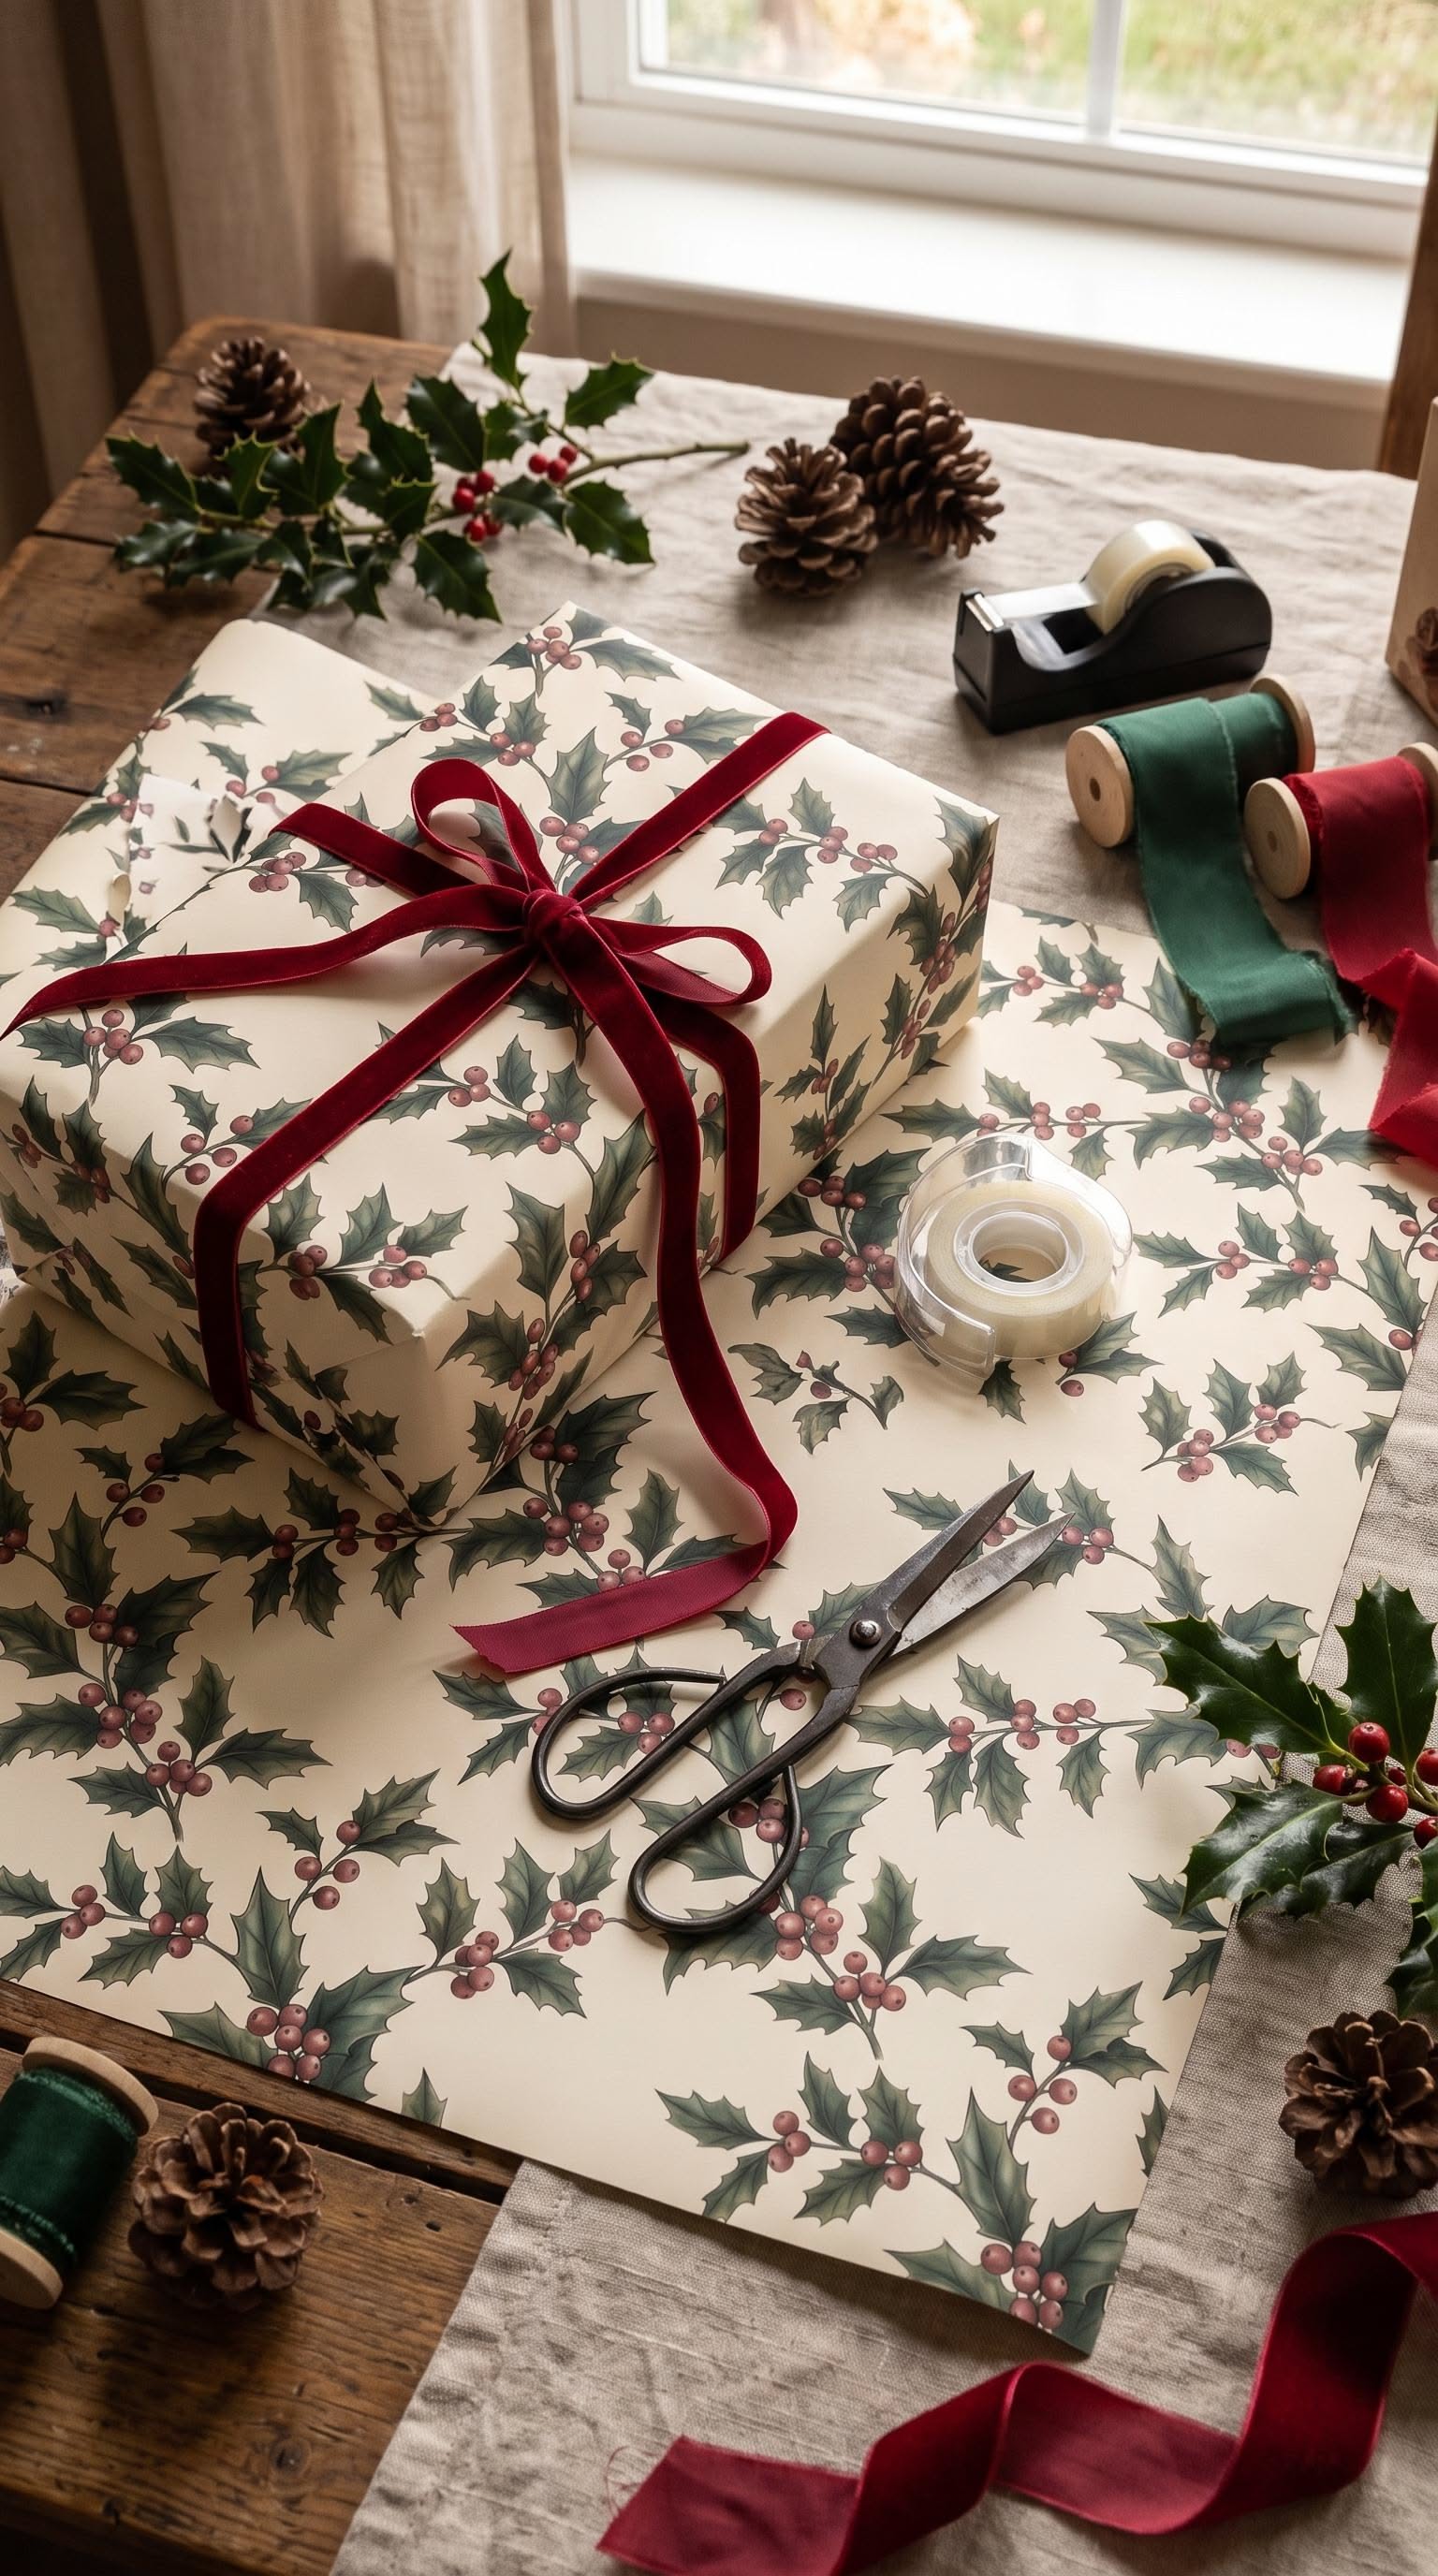
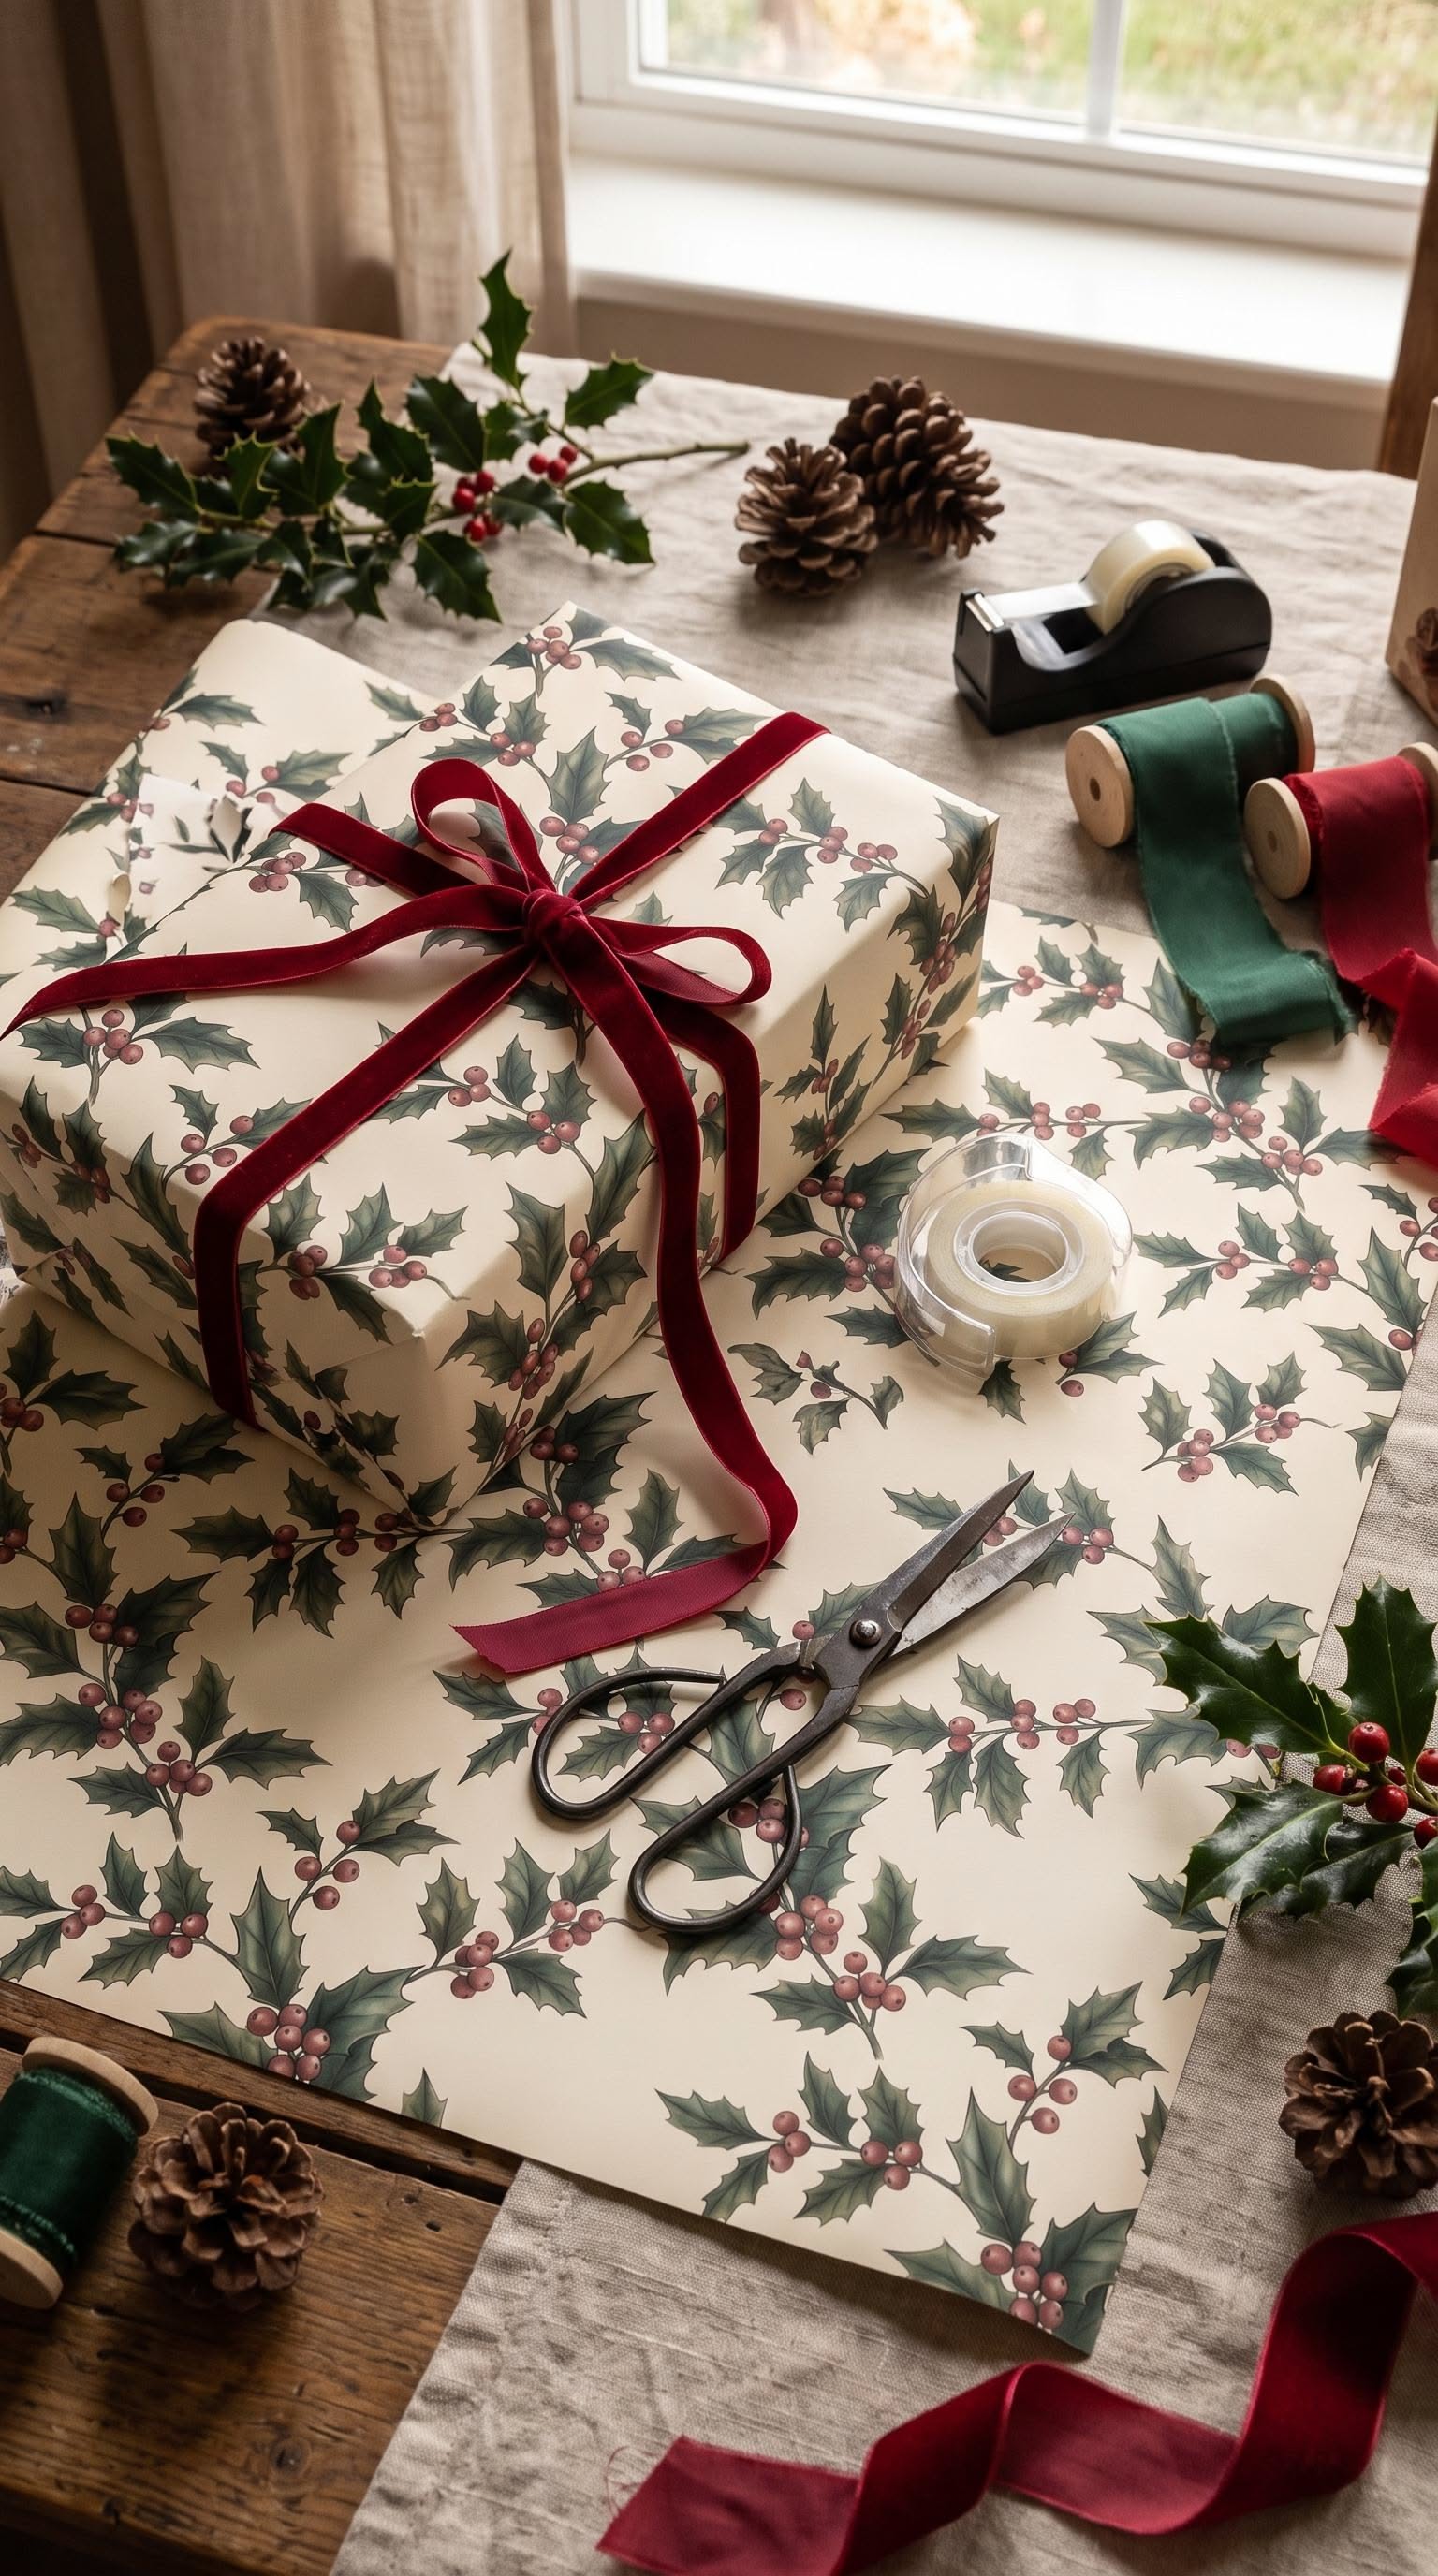
Scissors, ribbon spools and holly paper sit together on this table, so nothing interrupts the work.
Put double-sided tape, tags and a ruler on a tray first.
Wrap in batches, all big boxes in one paper and then the small ones in the next. Each change of paper costs you time.
2. Pair Candy Stripes with a Thin Gold Ribbon
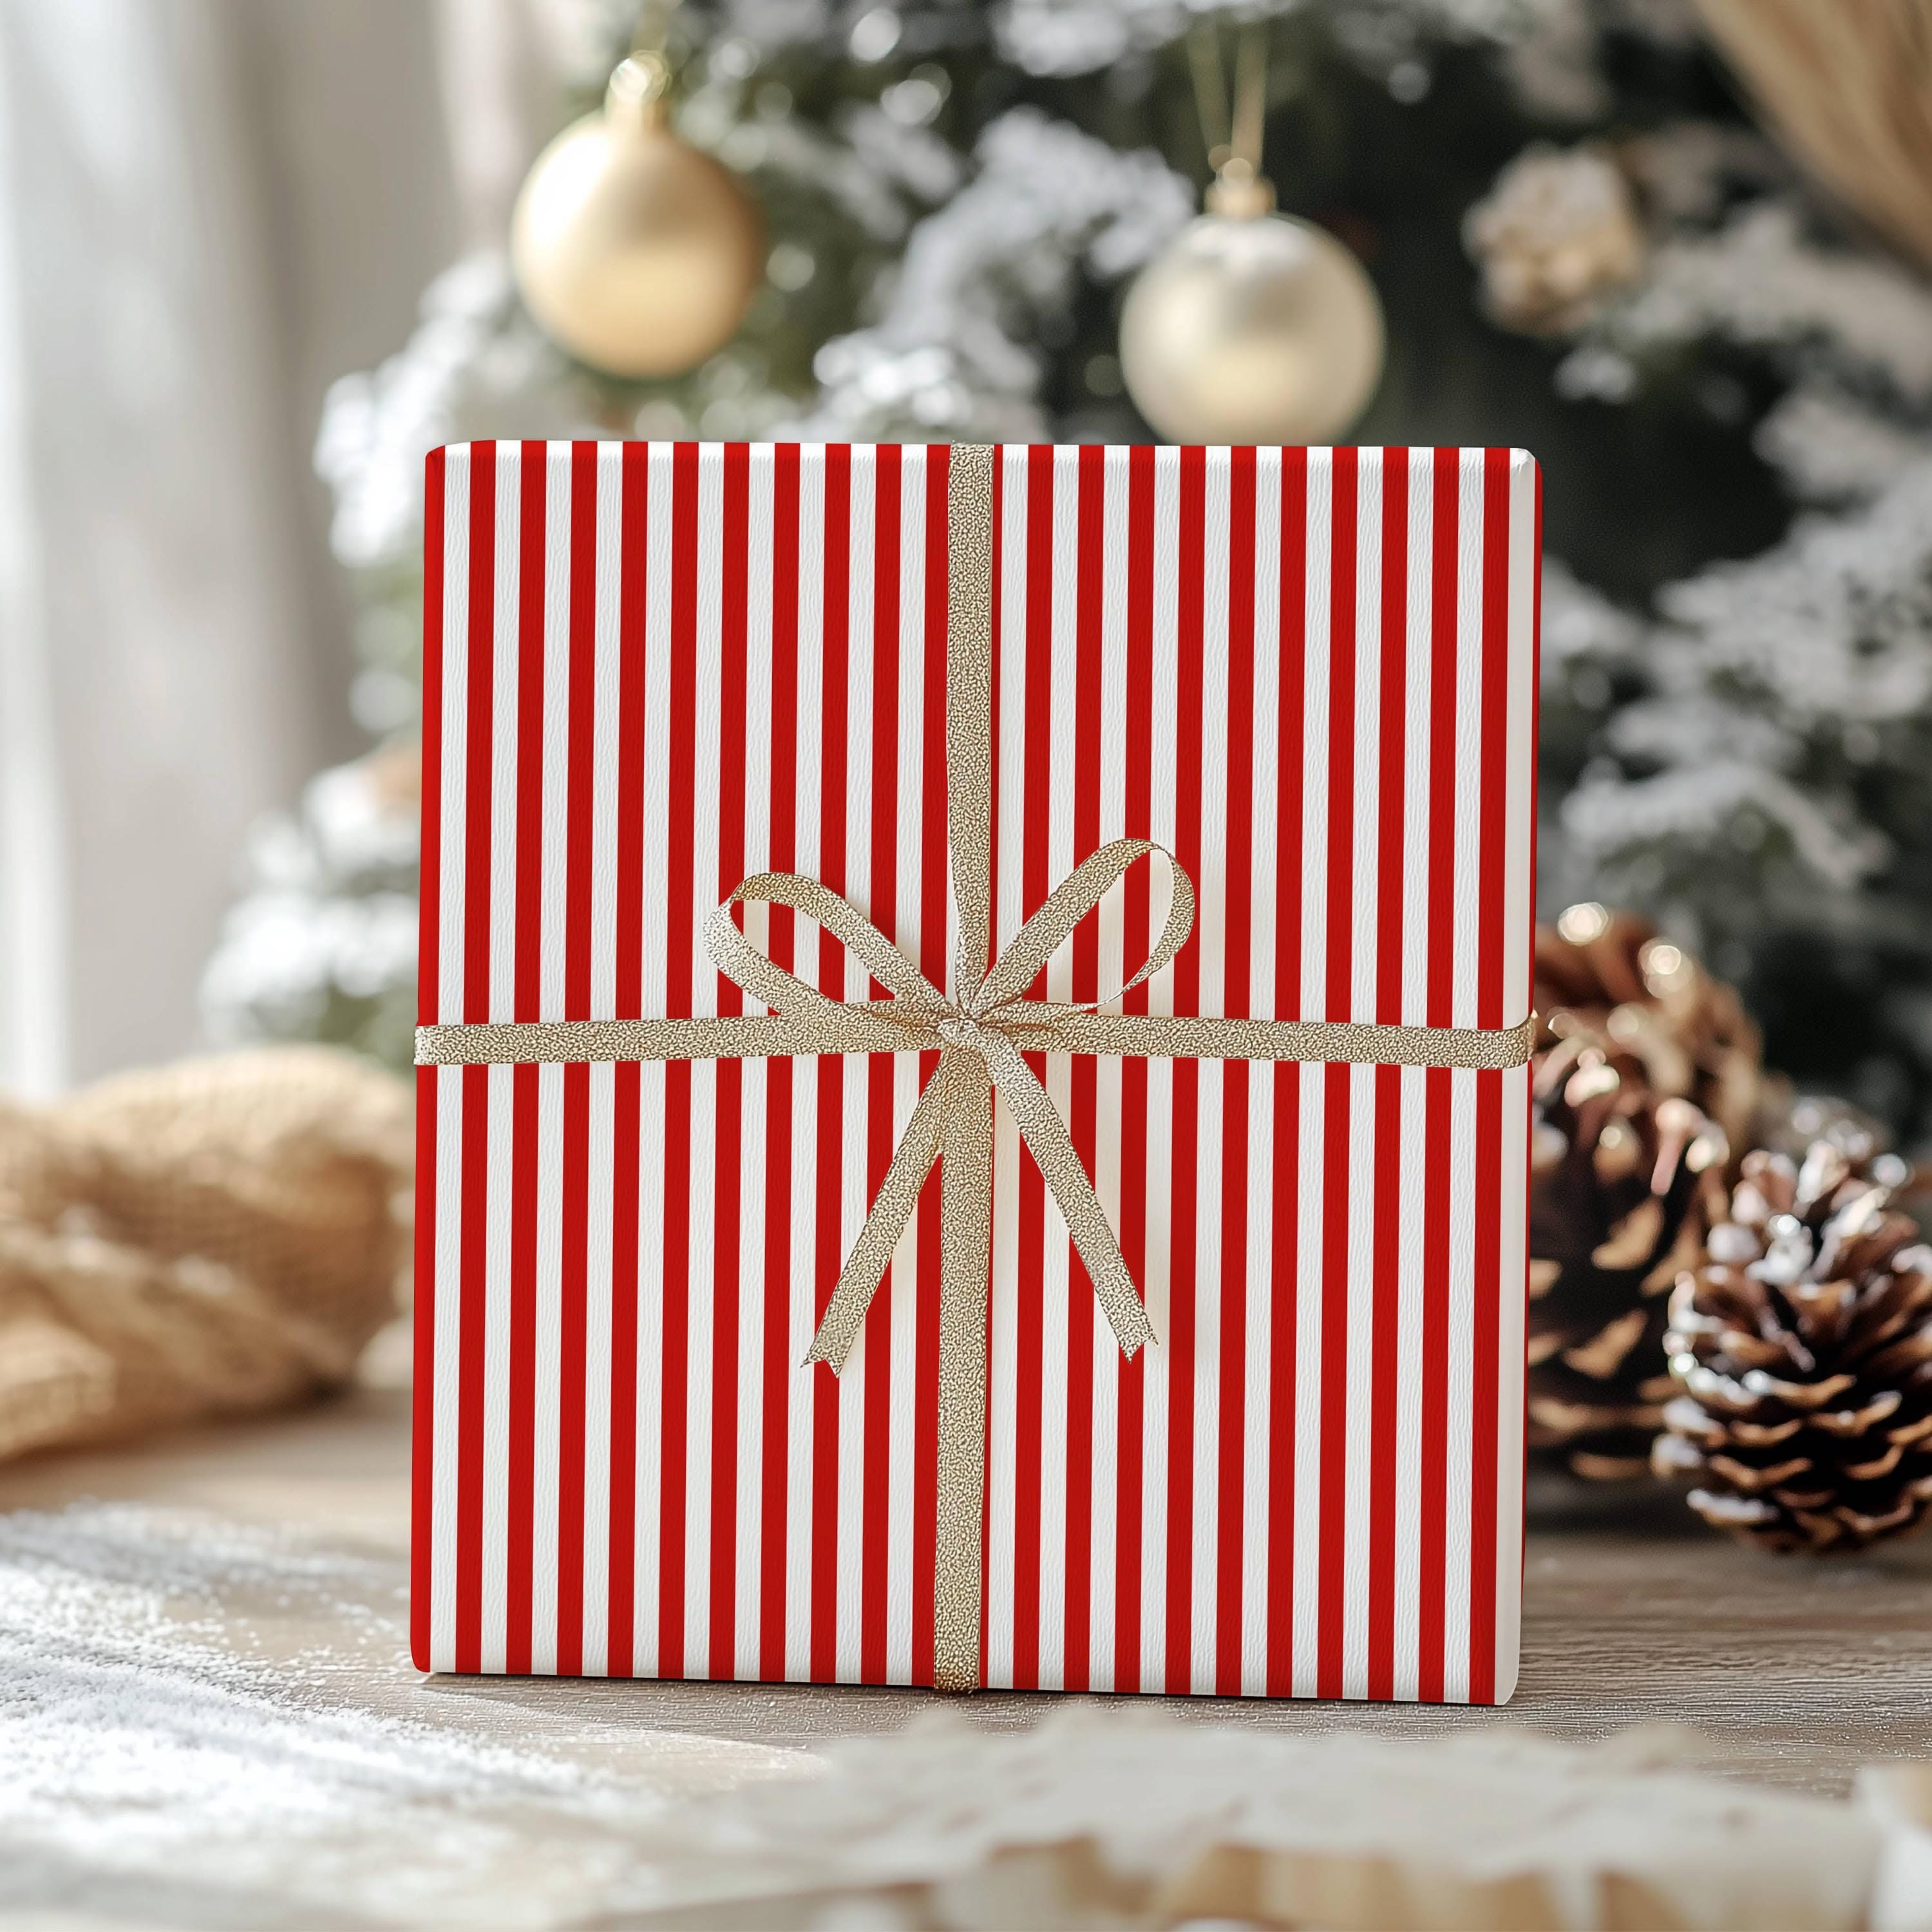
Stripes expose every crooked fold, so use them on boxes with clean edges. A red and white striped gift here wears a slim gold ribbon that adds shine without fighting the pattern.
Run the stripes in the same direction on every side and match them with a ruler at the seam.
Keep the ribbon narrow and metallic. A wide one would compete.
3. Let Foil Tree Paper Stand Alone
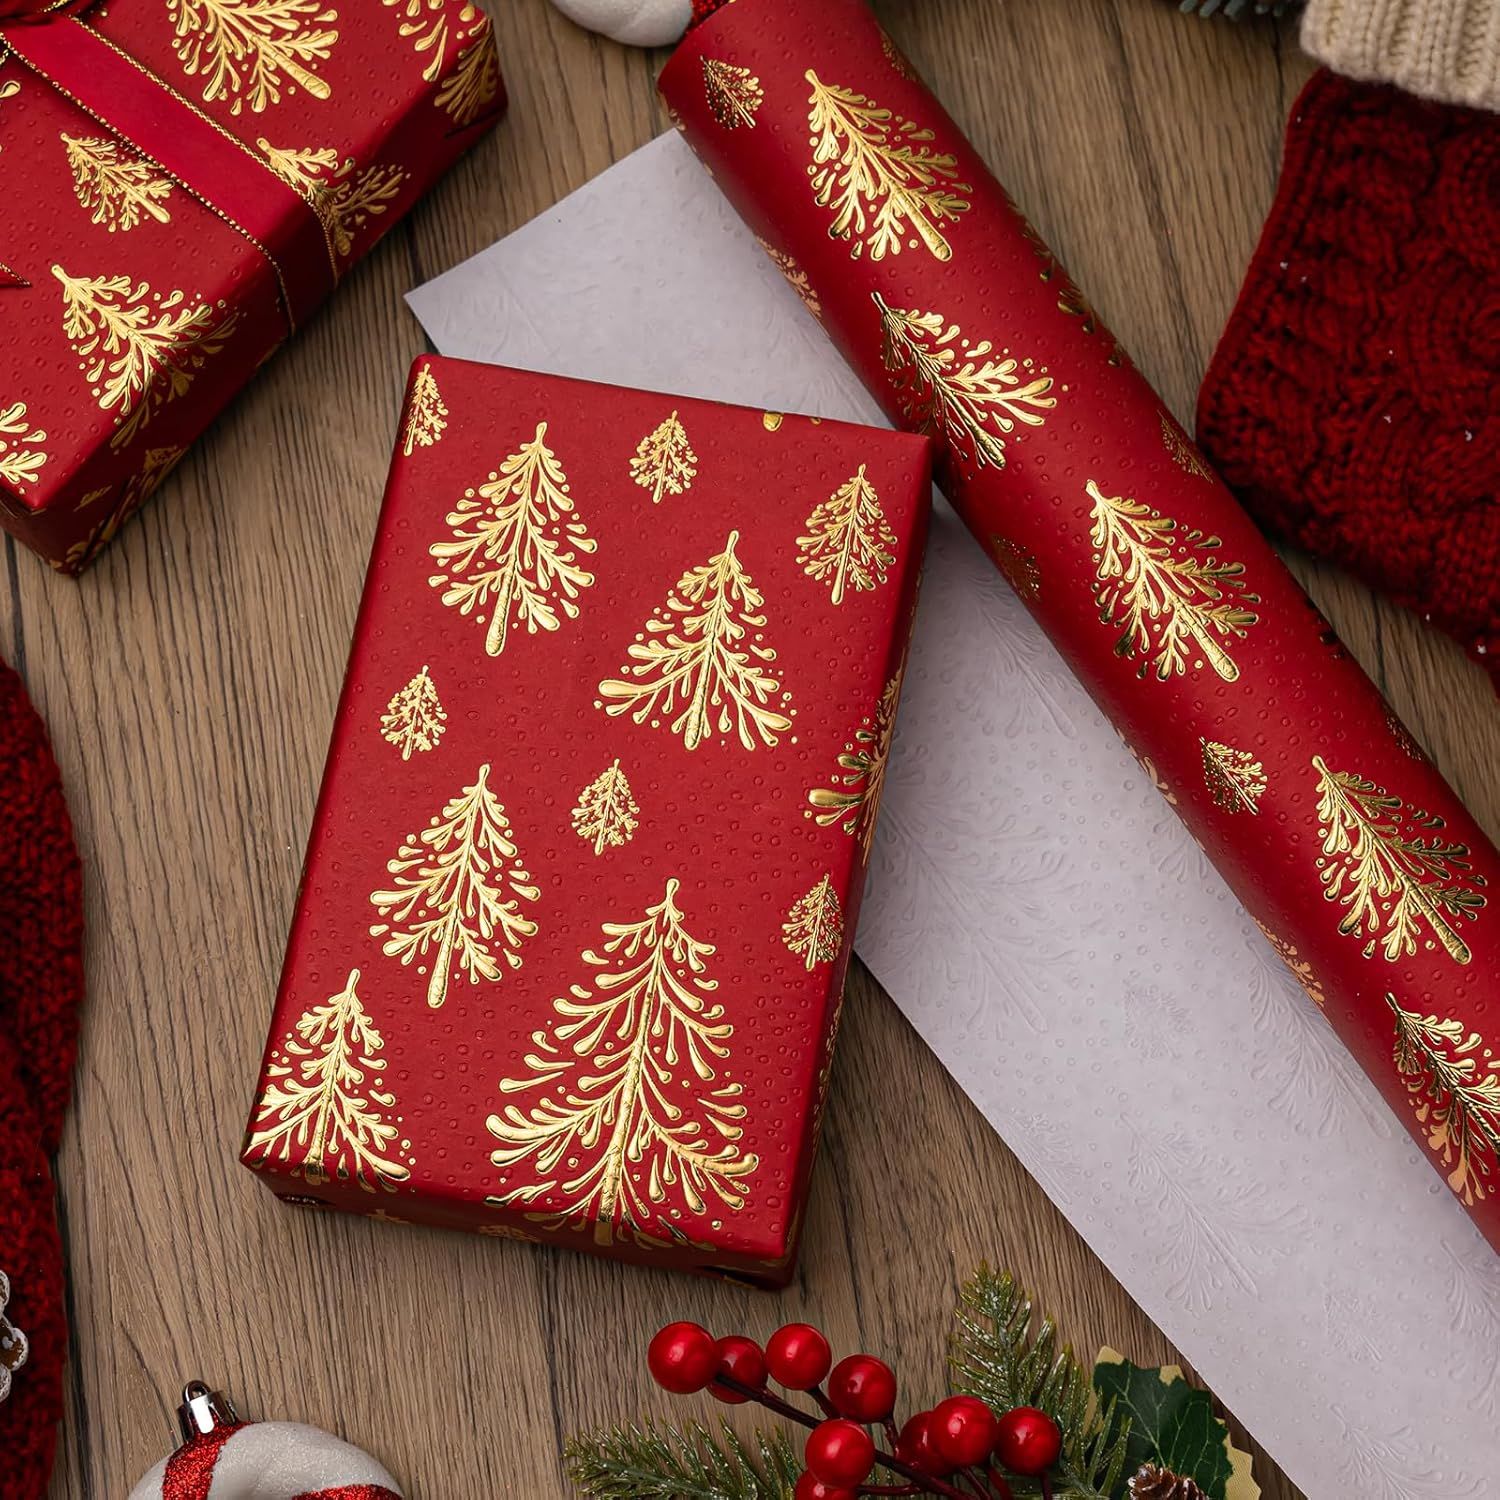
Foil-stamped paper is already dressed up, so skip the oversized bow.
Red paper stamped with gold trees takes a plain crossing of ribbon here.
- Foil cracks if you crease it hard, so fold gently.
- Close the seam with double-sided tape for a flat finish.
4. Match Tartan Edges to the Box
Plaid hides small mistakes, but only if its lines follow the box.
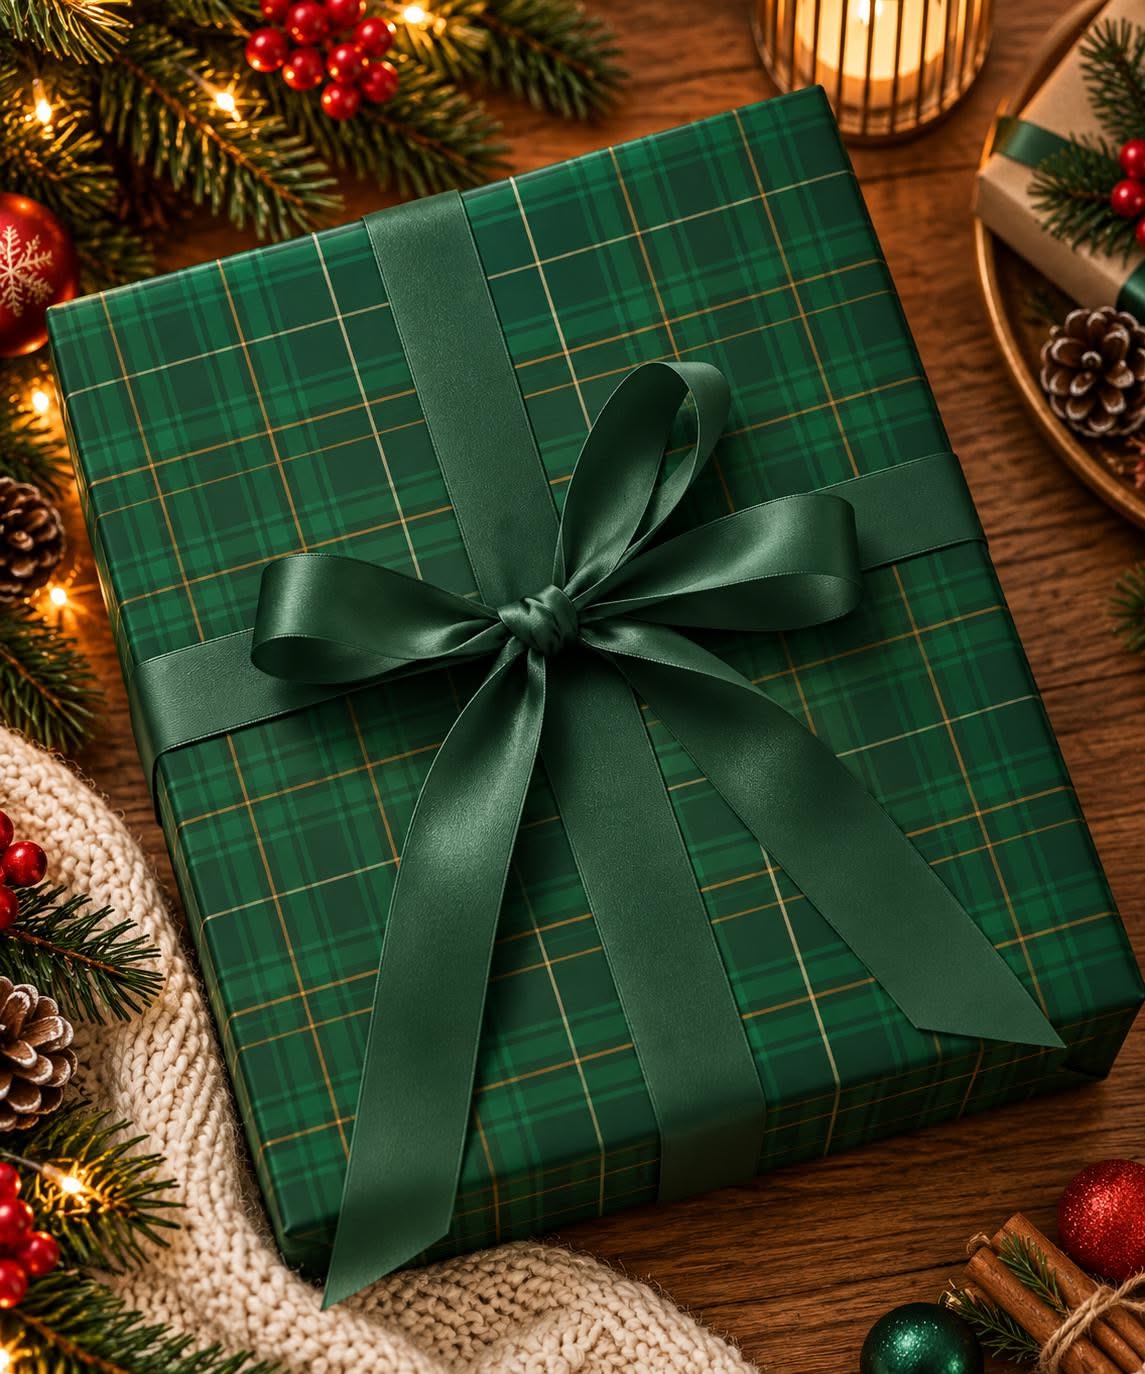
This green tartan gift is topped with a satin bow in the same green.
Cut along a line of the pattern for a straight fold. A cream ribbon would look lighter and more modern than green.
5. Calm a Holly Print with Dark Velvet
Busy patterns need a quiet ribbon.
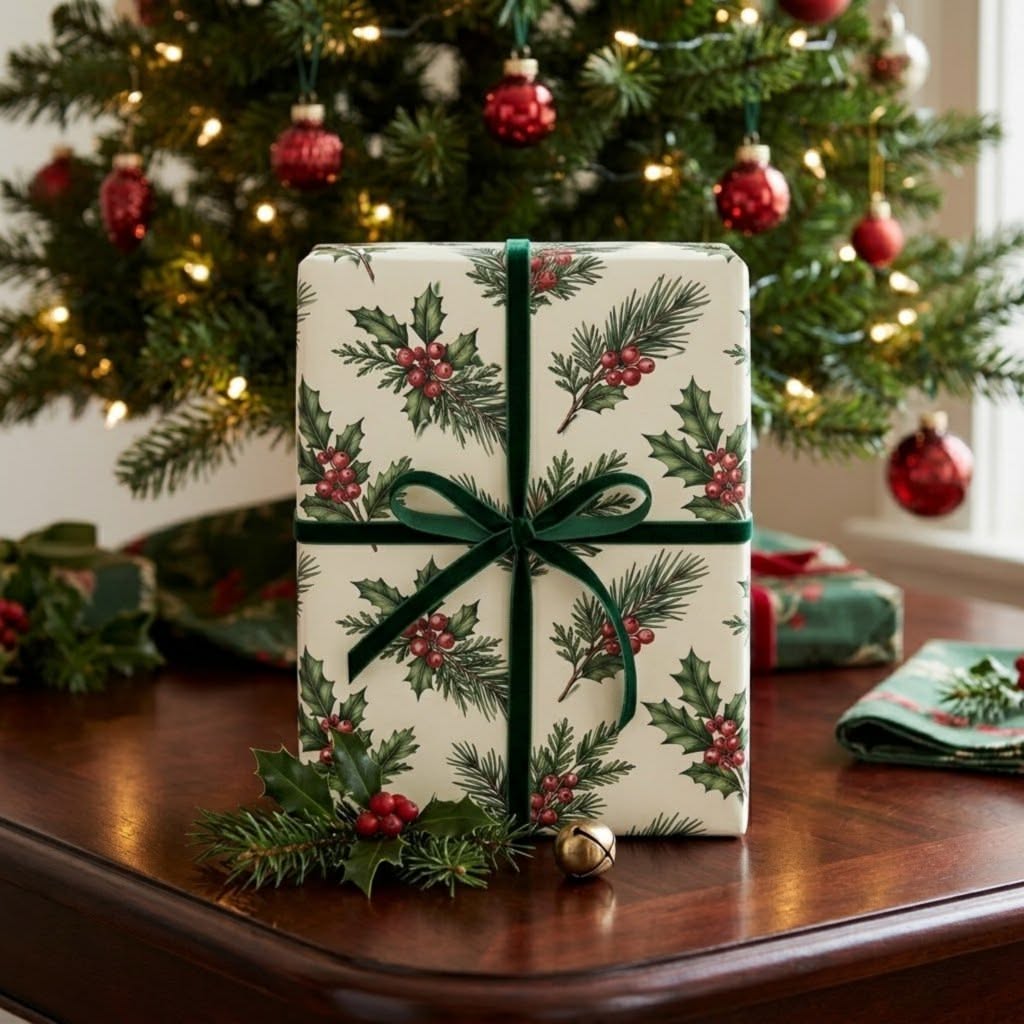
A holly-print gift here is tied with dark green velvet about an inch and a half wide.
Quick tip: Cut the ends in a V so they hang evenly and resist fraying.
The velvet ties it together without adding another color.
6. Keep Retro Candy Cane Prints Restrained
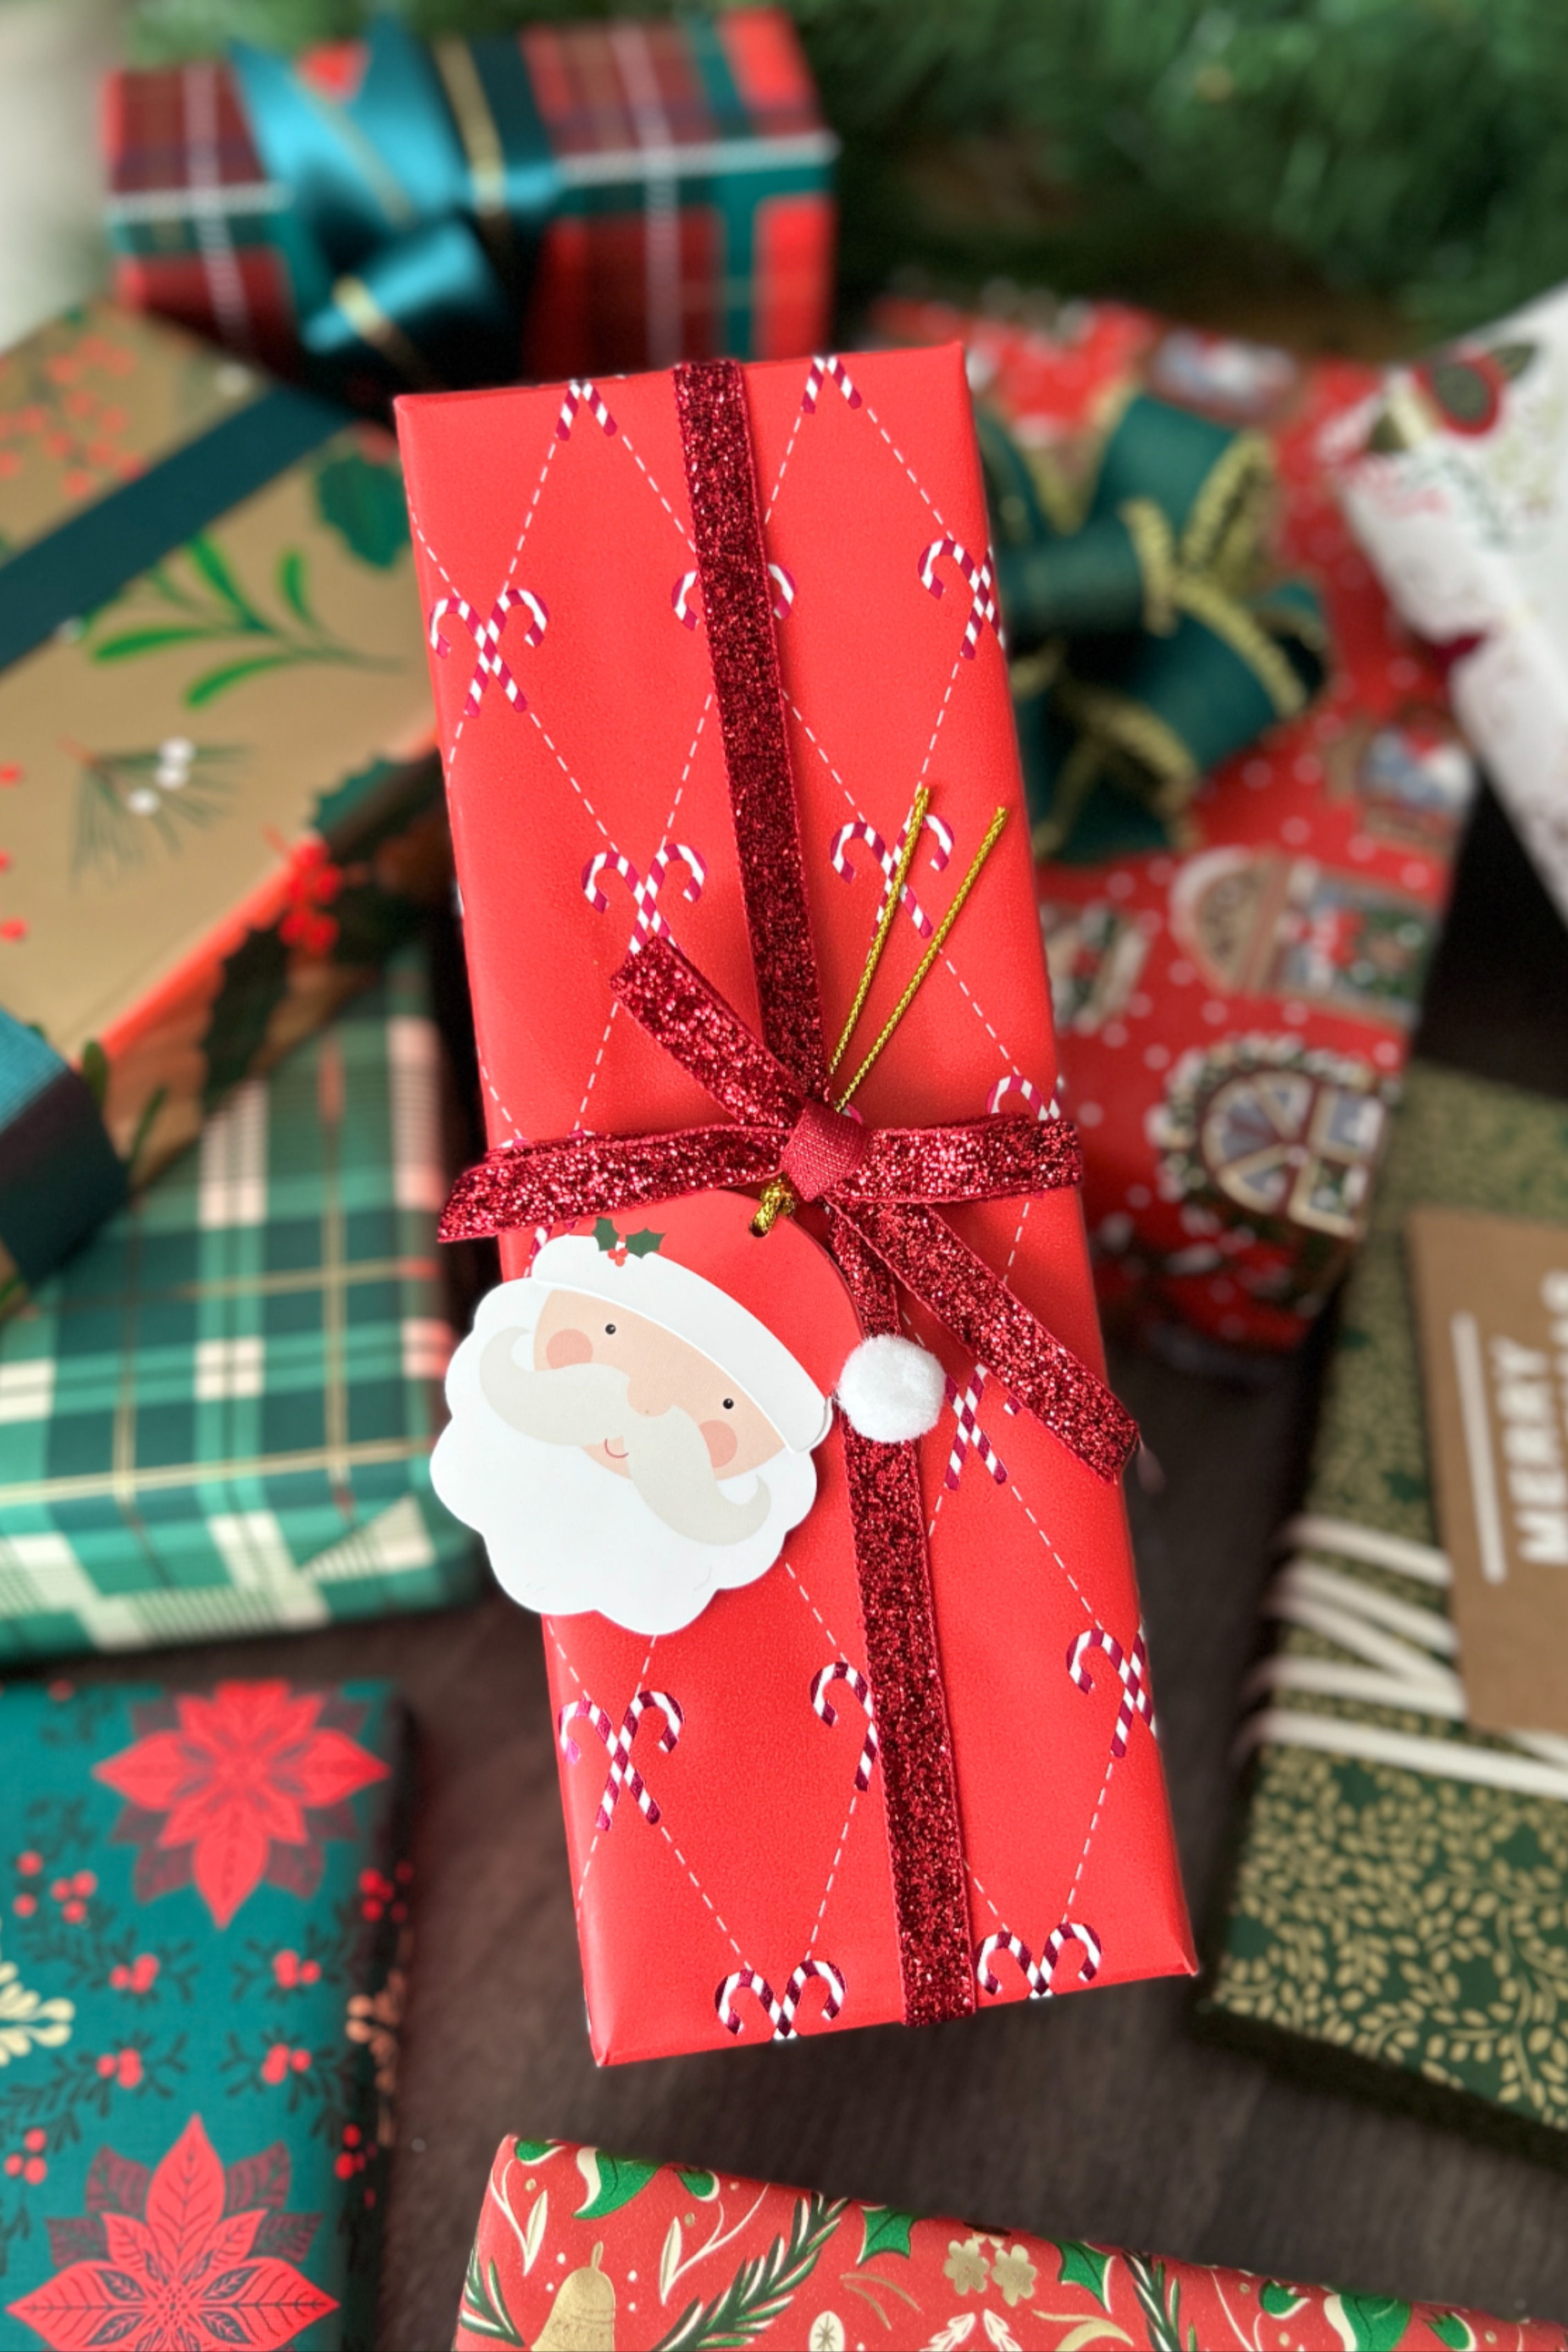
Bold retro paper needs only one finishing touch. This red argyle candy cane wrap carries a glitter ribbon and one Santa tag.
Mix it with plain red and green gifts in the same pile.
That way the stack does not fight for attention.
7. Use Black Paper to Make Gold Look Rich
Dark paper gives metallic motifs a glow.
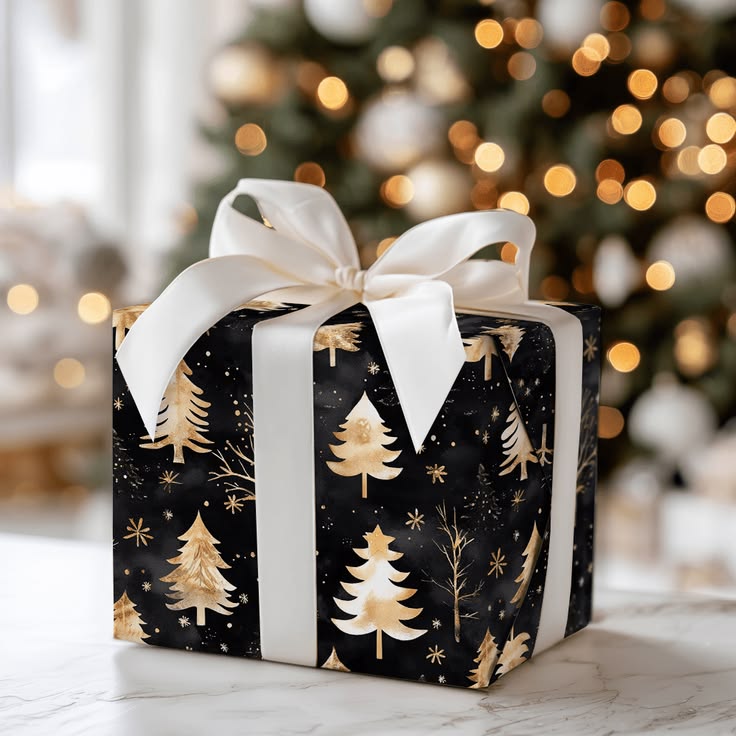
Black wrap with gold trees is finished here with a wide white satin bow for contrast. Black shows tape and fingerprints, so use double-sided tape.
Wrap with clean, dry hands for a flawless surface.
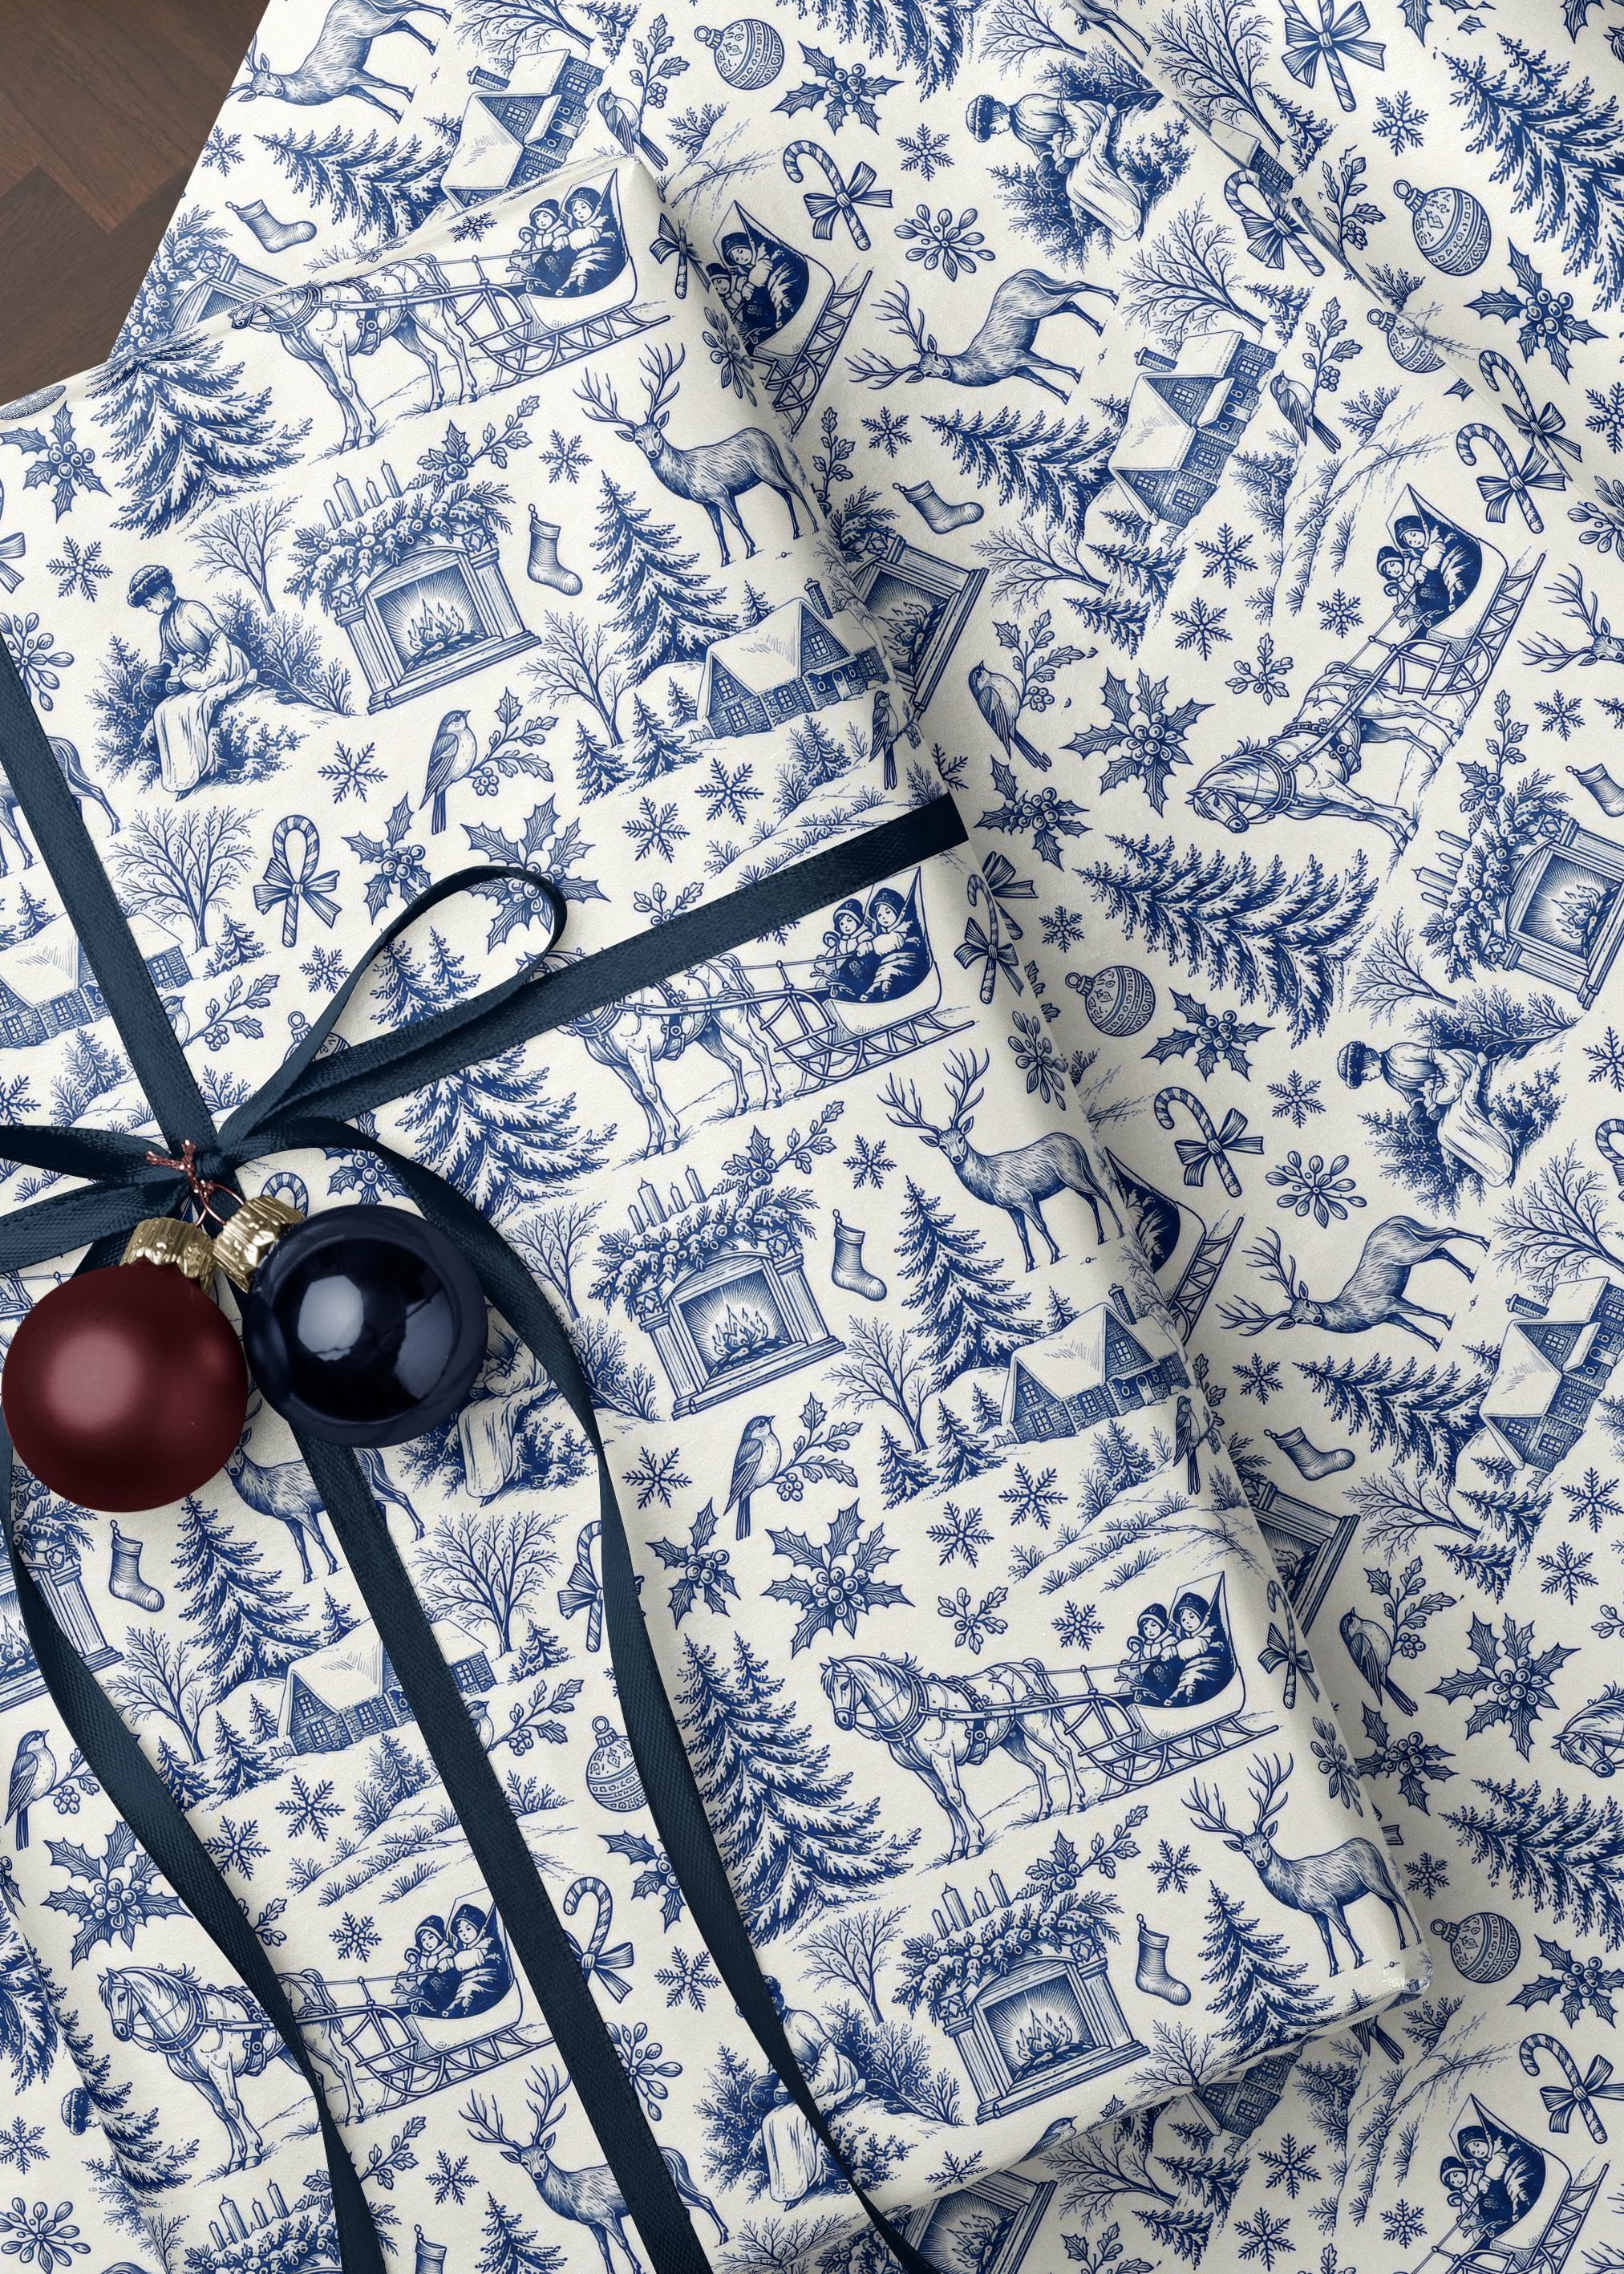
8. Treat Blue Toile Like Fine China
A single-color toile feels refined, especially with a matching ribbon.
This blue toile gift is tied with navy ribbon and carries two ornaments.
- Skip the paper tag and tie one ornament into the bow.
- Attach it with a loop of ribbon, not glue, so it can hang on a tree later.
9. Repeat One Toile Across a Whole Pile
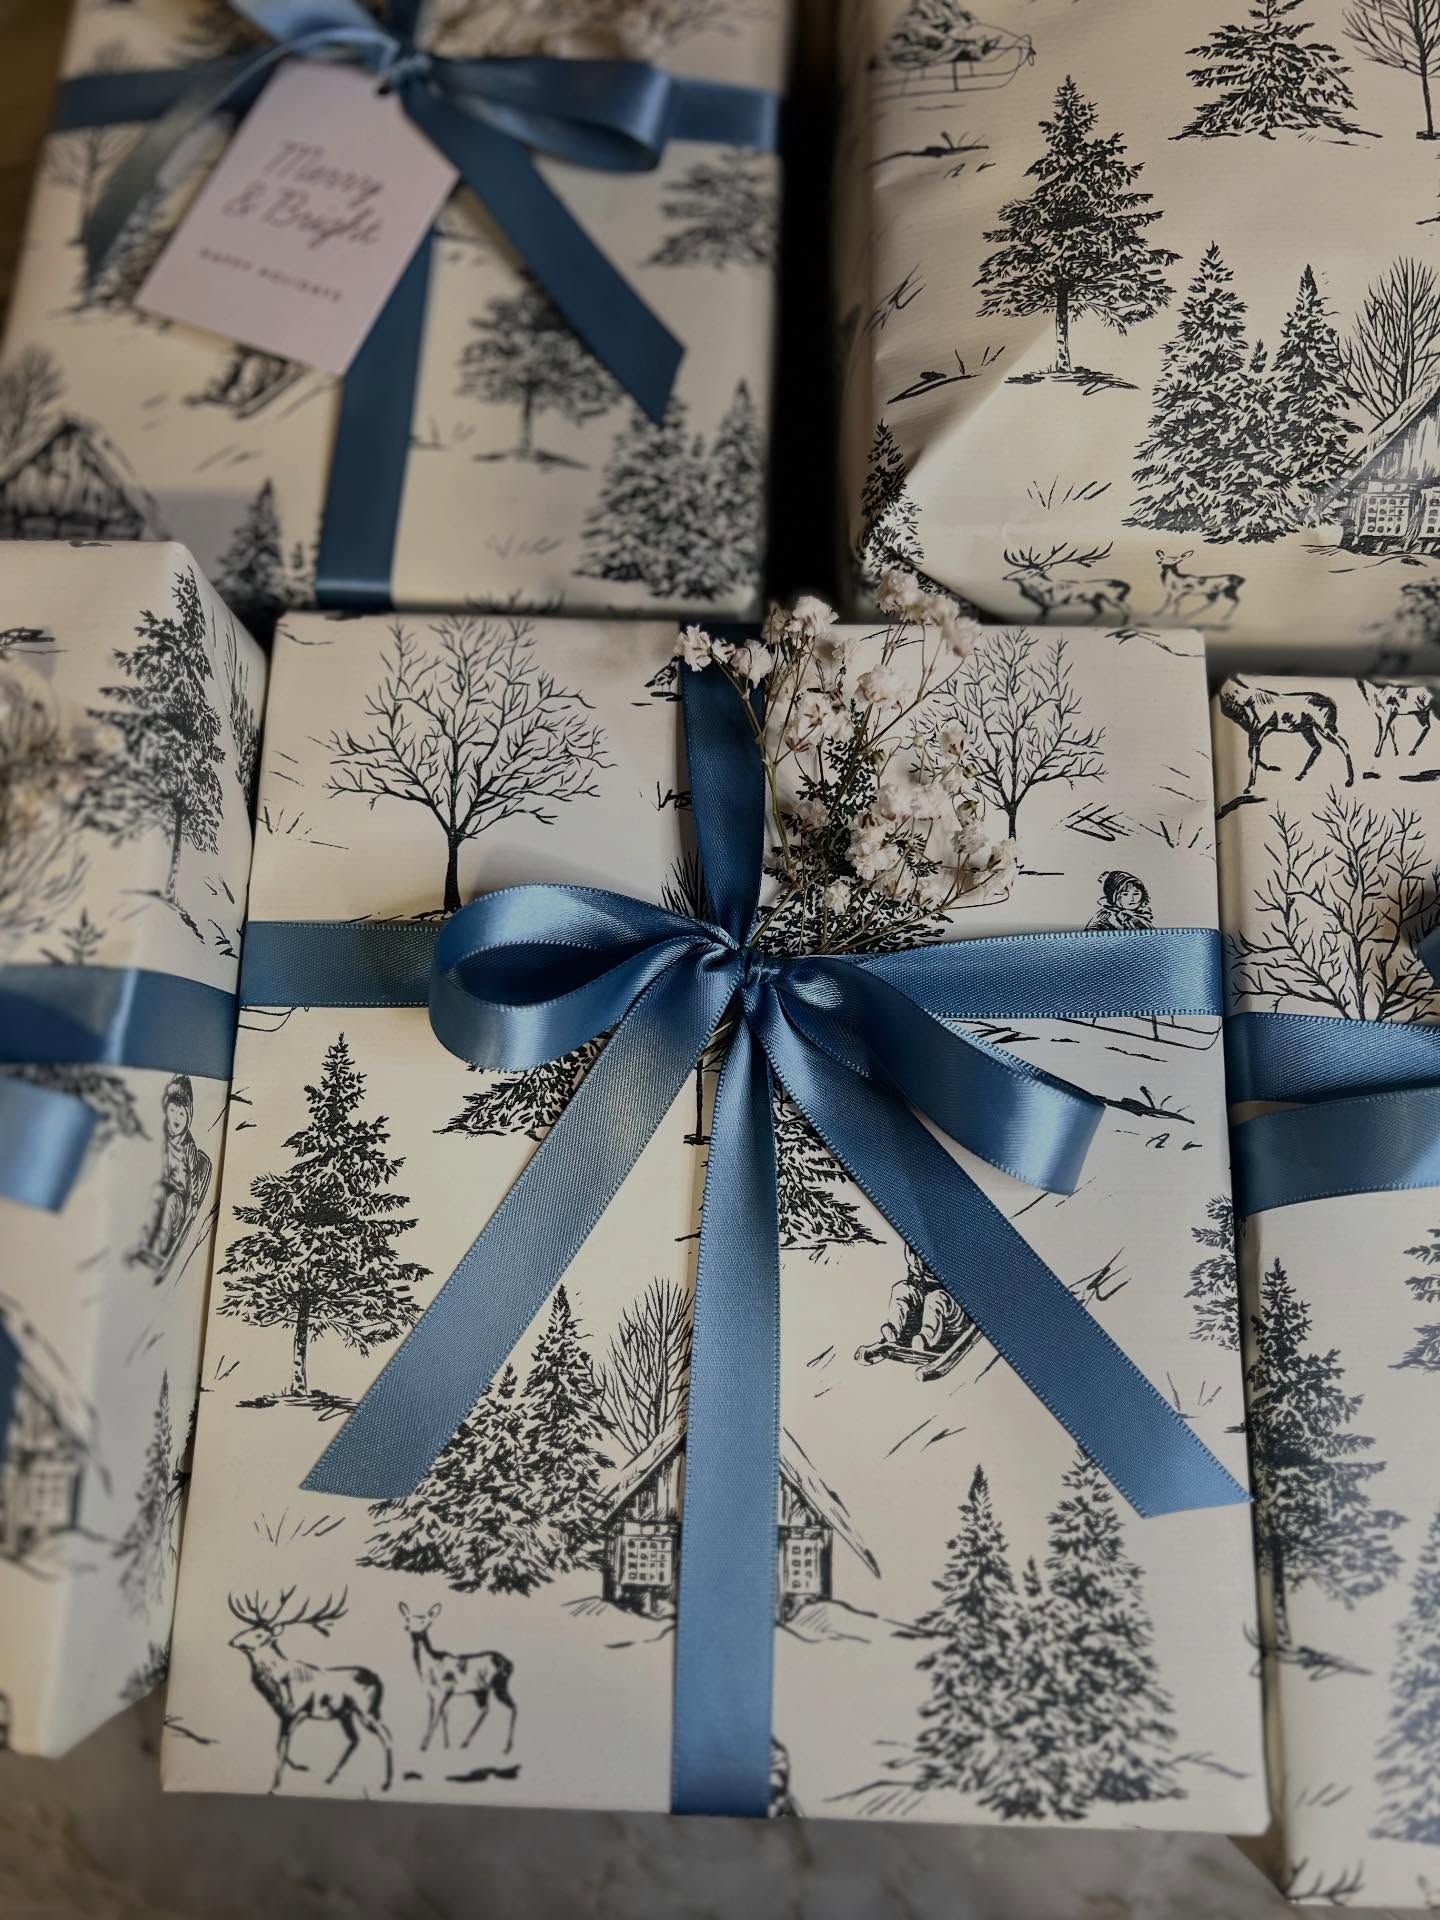
A single pattern on varied box sizes looks deliberate. A stack of black and cream toile gifts here is united by blue ribbon.
- Keep the bows a similar size so the pile balances.
- Add a small tag to each so recipients can find their own.
10. Pair Snowflake Paper with Twine and Plain Tags
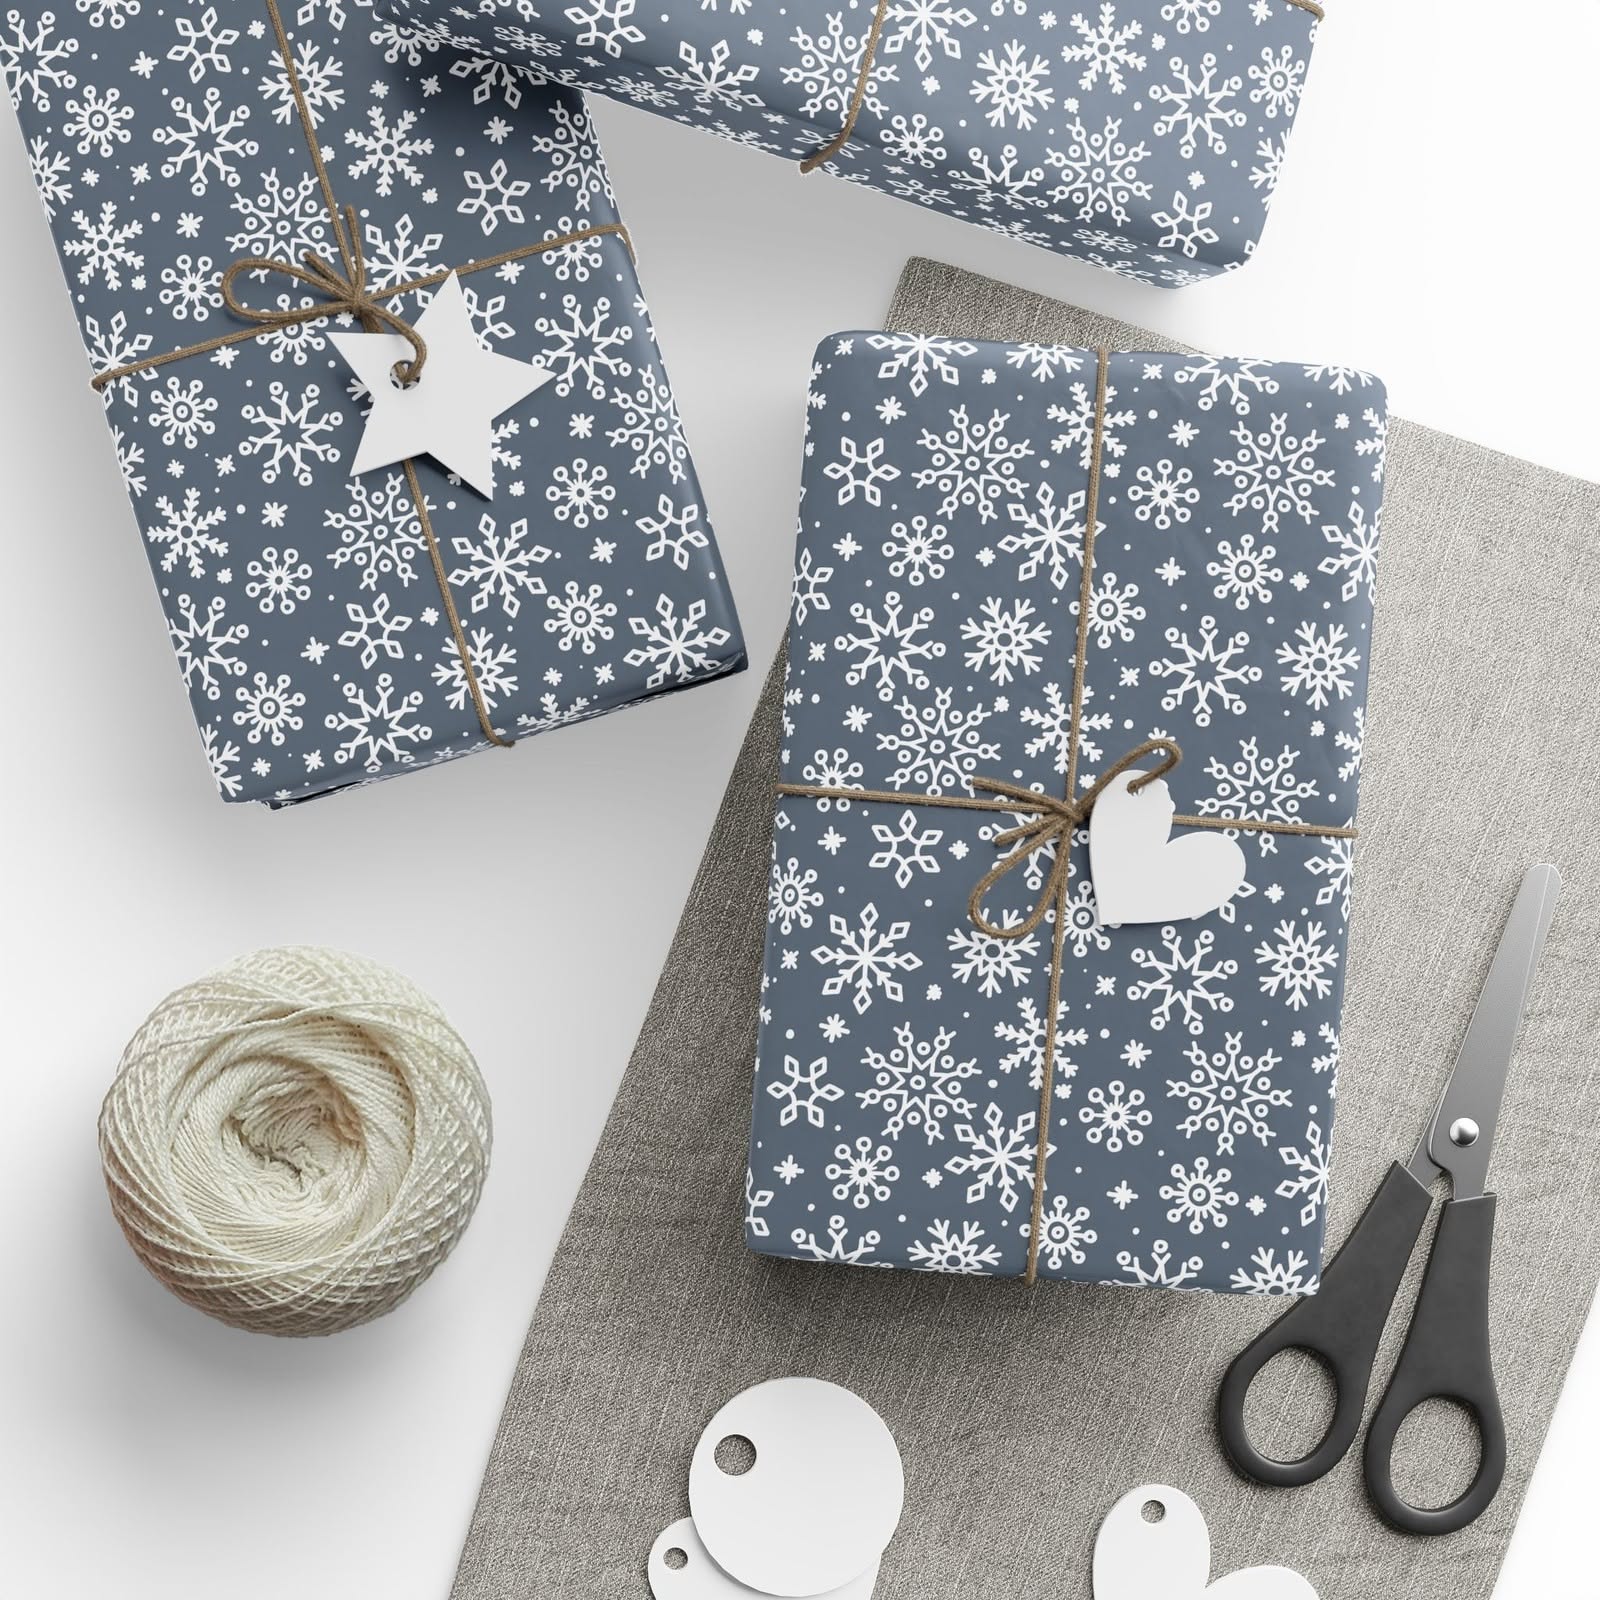
White on blue is one of the easiest pairings to coordinate. This blue paper with white snowflakes is tied with twine and finished with tags.
Cut tags from cardstock with a punch. Write names with a white gel pen so they stay readable.
11. Choose Wired Ribbon for Metallic Wraps
Metallic paper catches the light, and every fingerprint too.
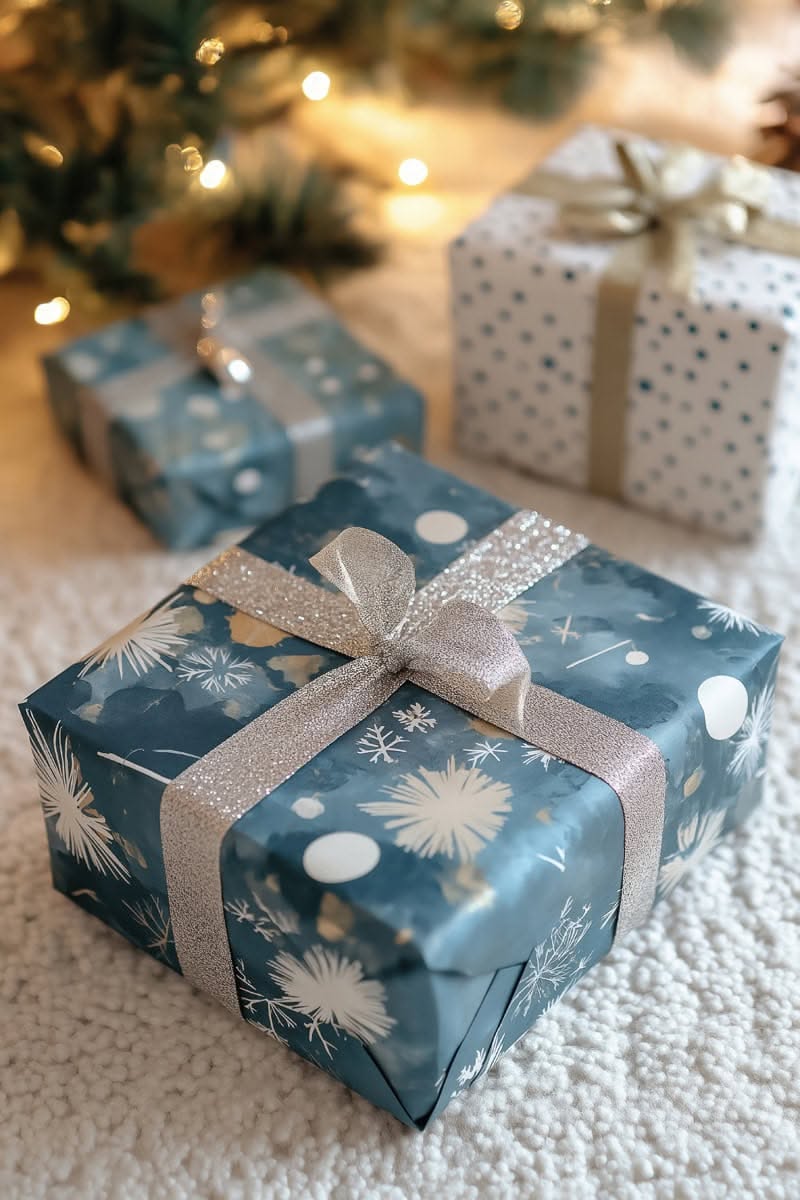
Blue patterned gifts are finished with a silver glitter ribbon here.
Handle the sheets by the edges and pick a wired ribbon so the bow holds its shape.
Tape the bow to the box underneath, since glitter ribbon slides.
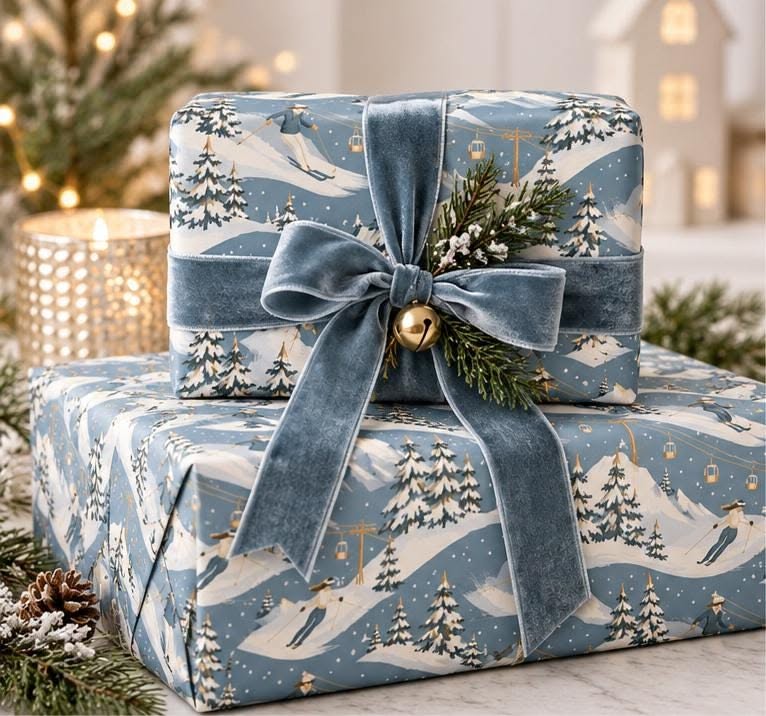
12. Keep a Scenic Paper's Decoration Light
A paper that tells a story needs little extra. These blue ski-scene gifts are tied with dusty blue velvet bows.
Add a sprig of greenery and one small jingle bell.
Press the bow flat if you plan to stack the gifts.
13. Match Print Scale to Box Size
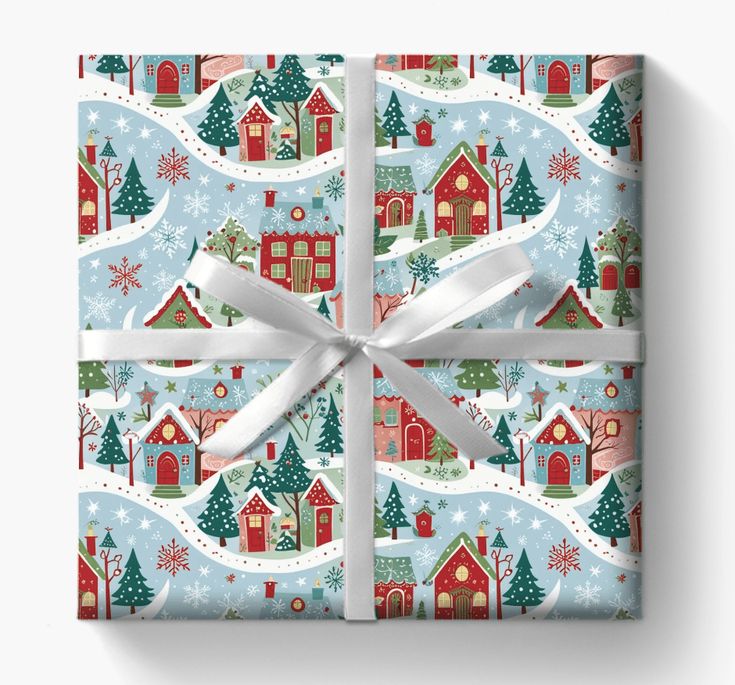
Small patterns suit small boxes, and big prints belong on large ones.
A light blue village paper with a white ribbon is perfect for children's gifts here.
- Plain white ribbon keeps the busy pattern as the star.
- The print reads better when it is not cropped across a tiny box.
14. Tame Folk Prints with Cream Velvet
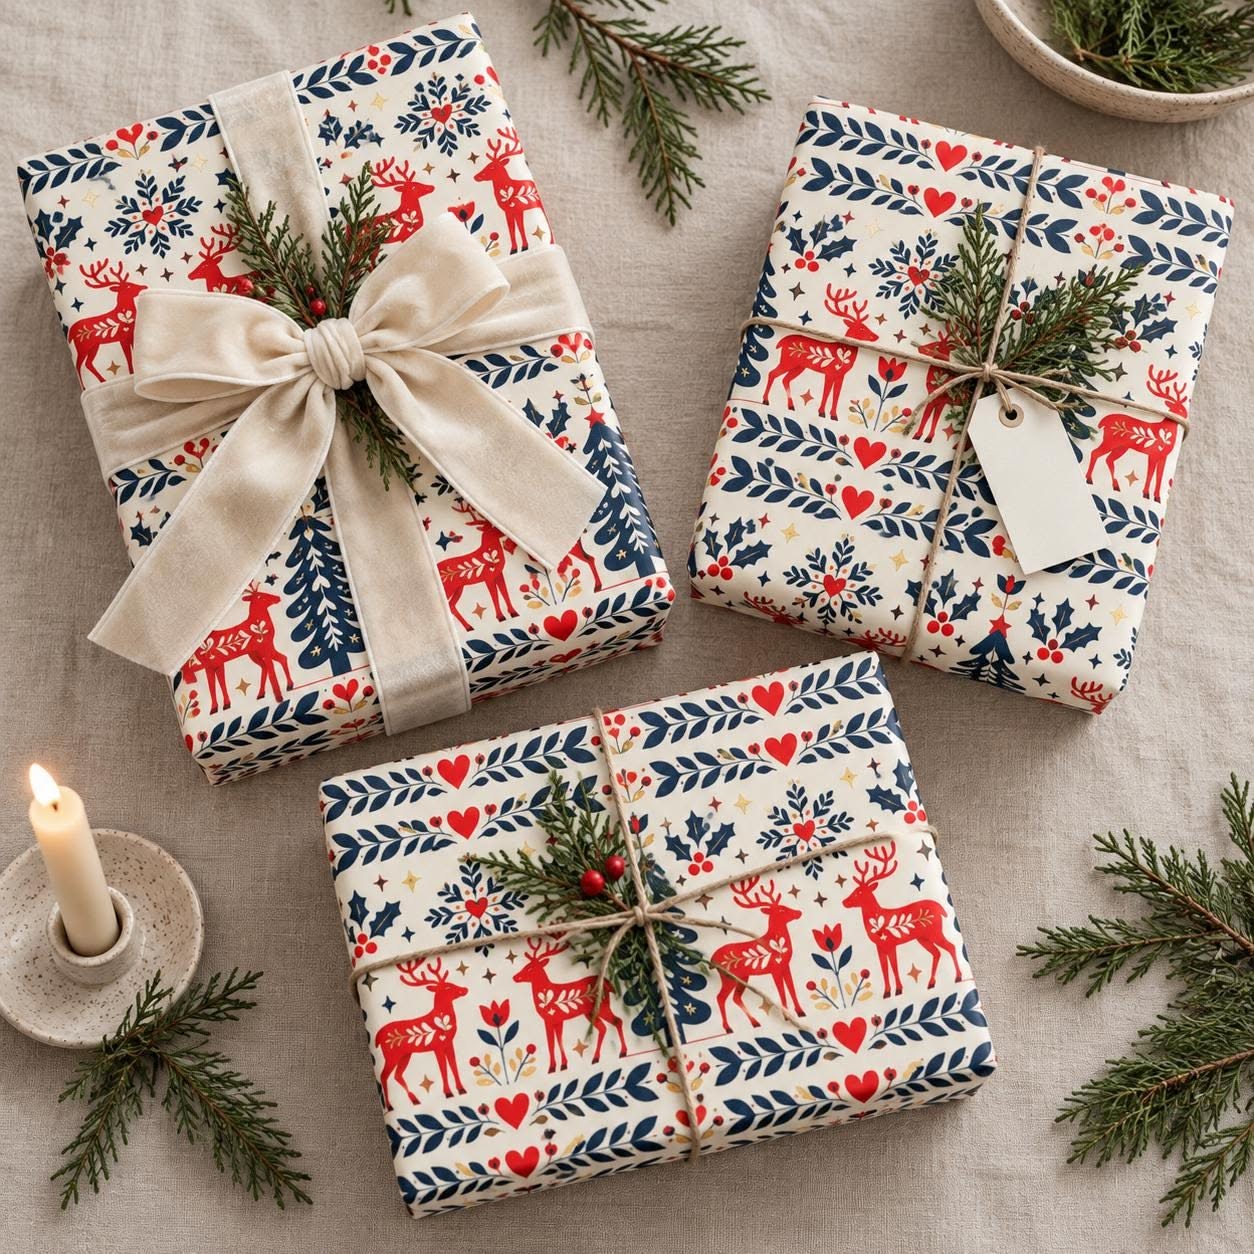
The secret to a busy folk pattern is a neutral ribbon.
Red and navy reindeer gifts are tied here with cream velvet and a sprig of greenery.
The ribbon lets the pattern stay clear. Use fresh greenery only when gifts go under the tree within a day or two, because needles drop as they dry.
15. Add Texture with Jute Twine
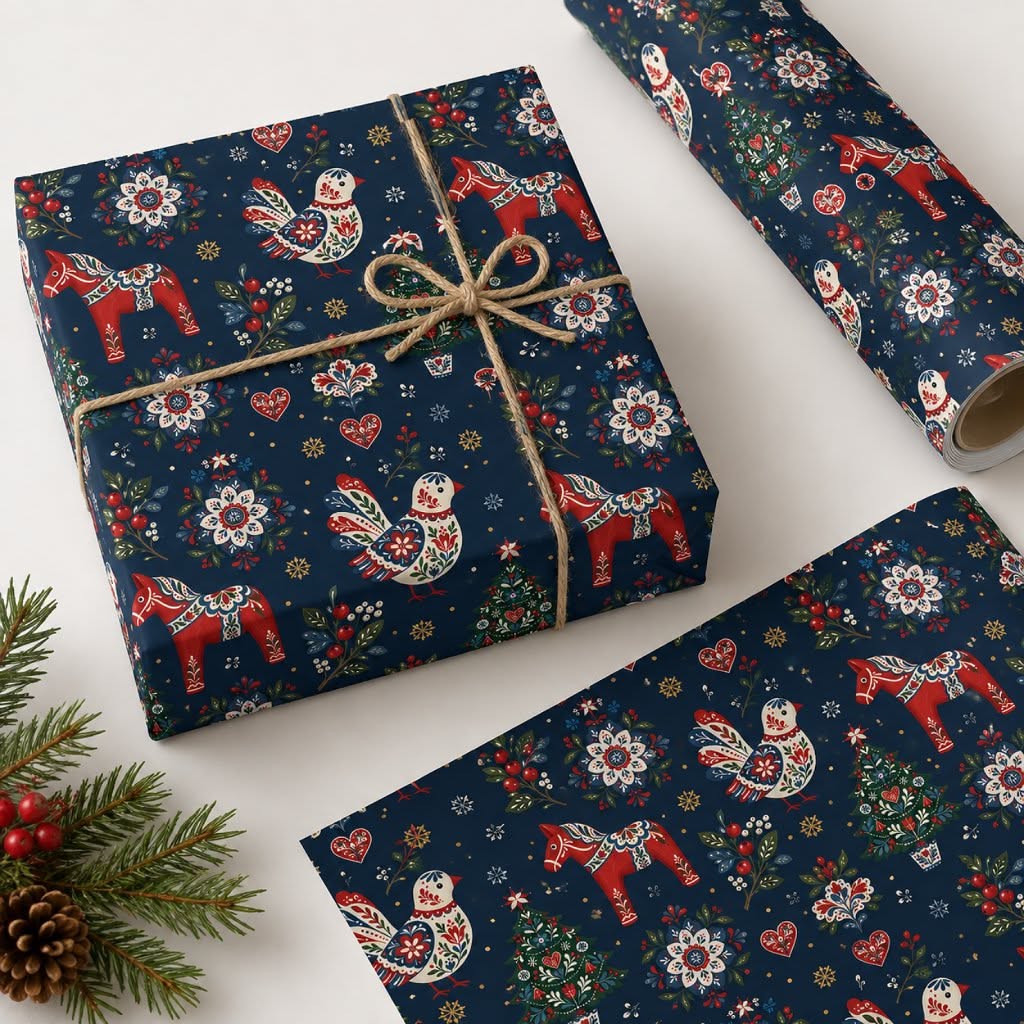
Twine adds texture without adding color.
Navy Scandinavian folk paper is tied here with jute and a small bow.
Quick tip: Wrap the twine twice around the box before tying.
A drop of glue under the knot holds it on glossy paper.
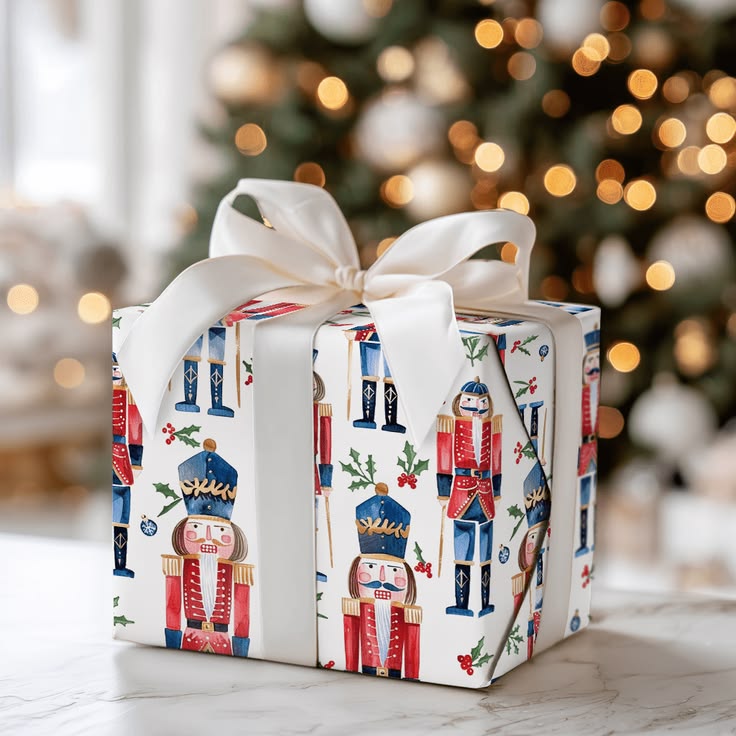
16. Finish Character Paper with White Satin
Character prints are fun for kids and hostess gifts. Nutcracker wrap gets a white satin bow in this picture.
The bow polishes the look without competing with the figures.
Satin slides, so tape the ribbon under the knot first.
17. Pair Kraft Paper with One Rich Ribbon
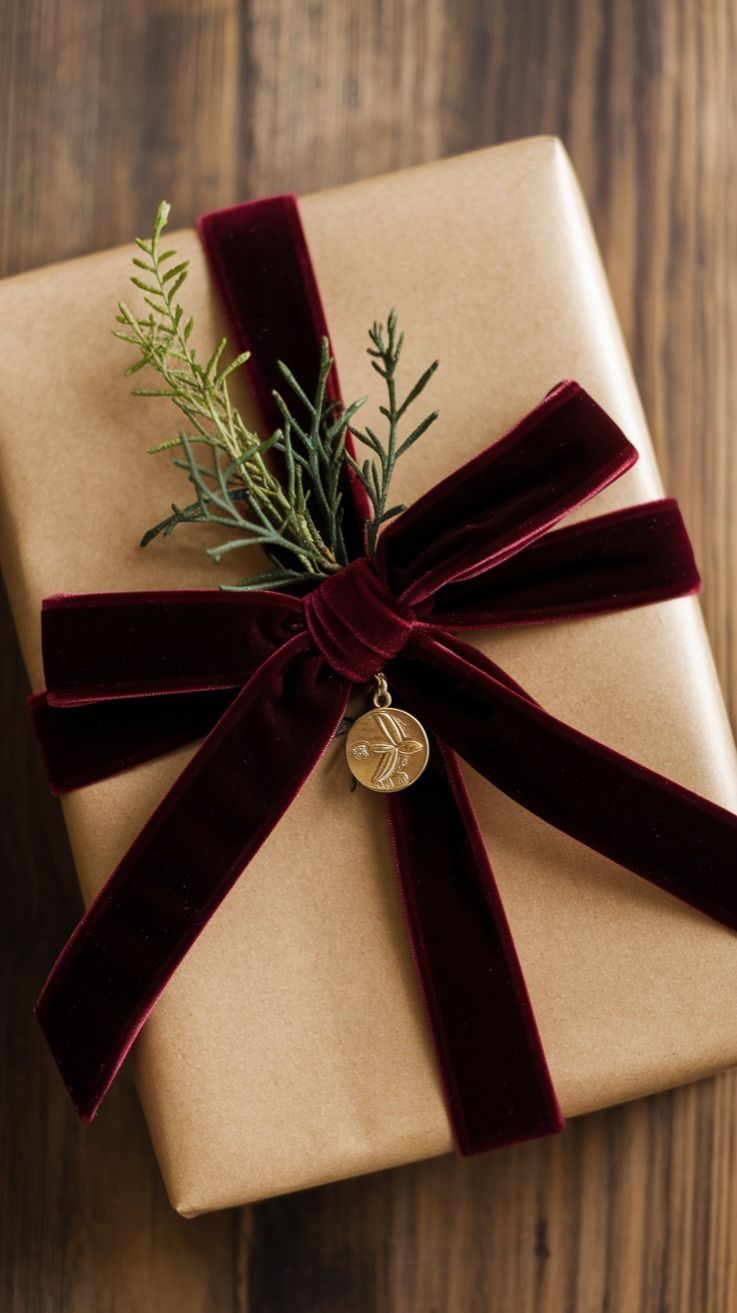
Kraft plus a single velvet ribbon is the classic budget wrap.
This kraft gift wears a burgundy velvet bow and a bit of greenery. Use ribbon about an inch and a half wide and tie a double bow.
To measure, wrap the ribbon around the box both ways and add 12 inches for the bow.
18. Layer Ribbons on Neutral Paper
Neutral on neutral looks luxe when ribbons are layered.
A cream gift here carries a wide brown satin ribbon under a narrow gold one.
- Keep both ribbons in the same warm tone.
- Trim the ends at an angle for a clean finish.

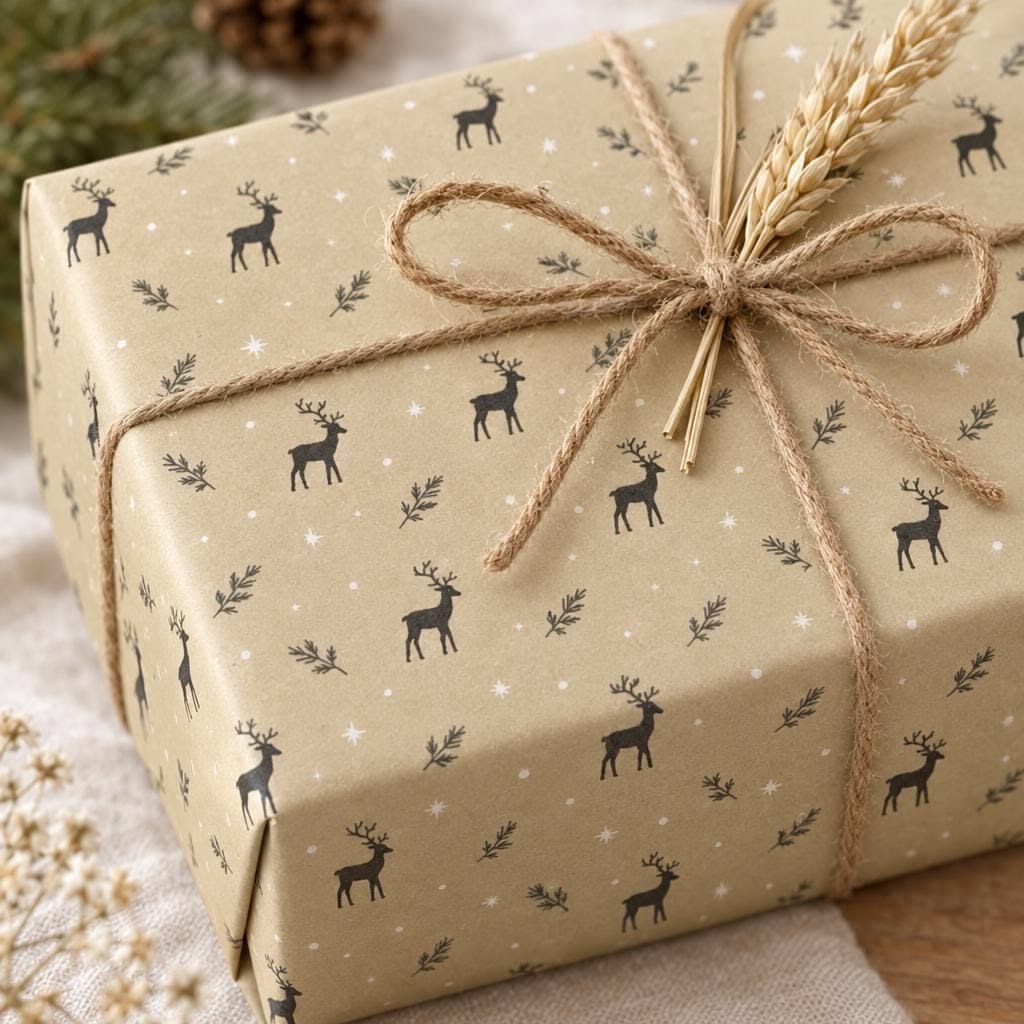
19. Replace the Bow with Dried Wheat
Natural touches can stand in for ribbon. A reindeer-print kraft gift is tied with twine and a small bunch of dried wheat.
- Tuck the stems under the twine and knot over them.
- Dried stems shed, so wrap gifts close to the day you give them.
20. Stamp Your Own Kraft Paper
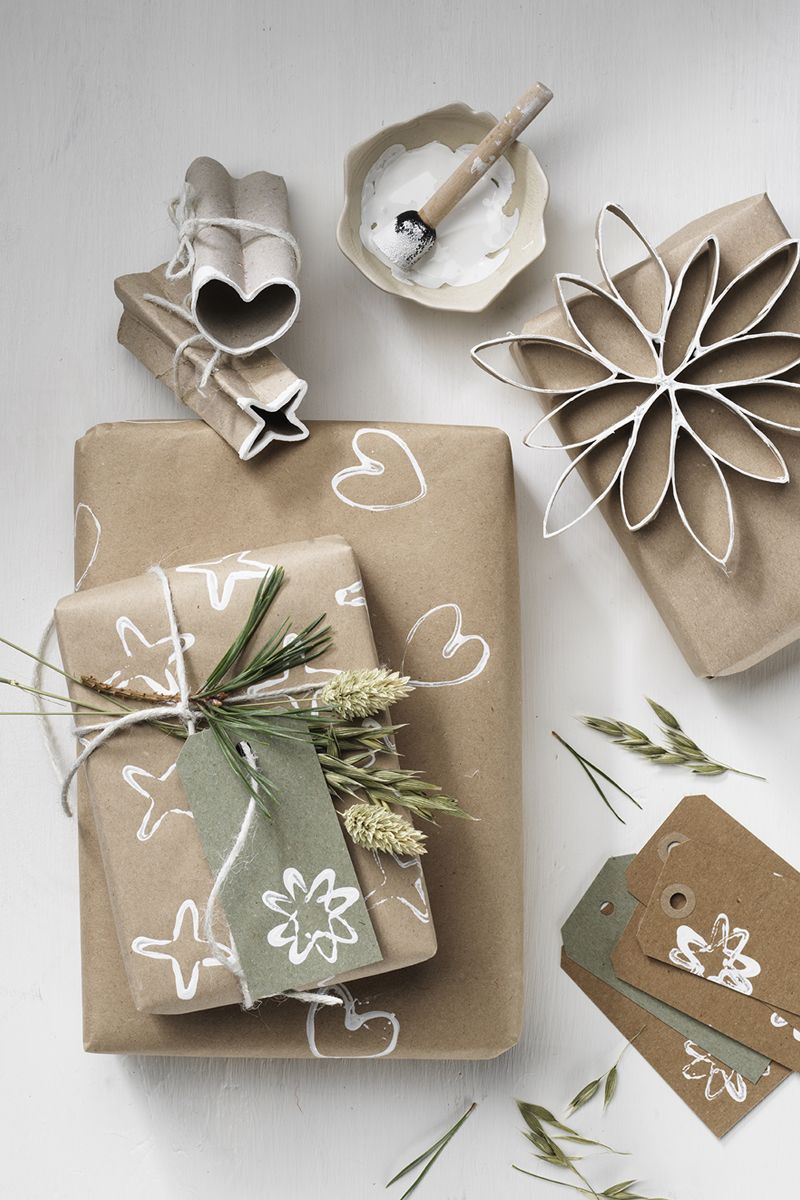
You can make wrapping paper in about ten minutes. These kraft gifts are stamped in white with shapes made from cardboard tubes.
Pinch the end of a tube into a heart or petal, dip it in white acrylic paint and press. Let the sheets dry for 20 minutes before wrapping, then add a sprig and a kraft tag.
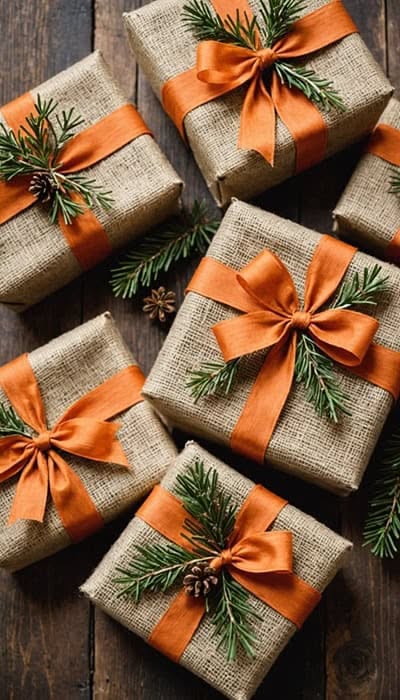
21. Tape Burlap from the Inside
Burlap sheds and resists creasing, so it needs help.
Burlap gifts here are tied with orange ribbon and pine sprigs.
Tape the corners from the inside and hold the edges with fabric glue.
Choose wired ribbon so the bows stay full.
22. Tag Gifts with Dried Orange and Cinnamon
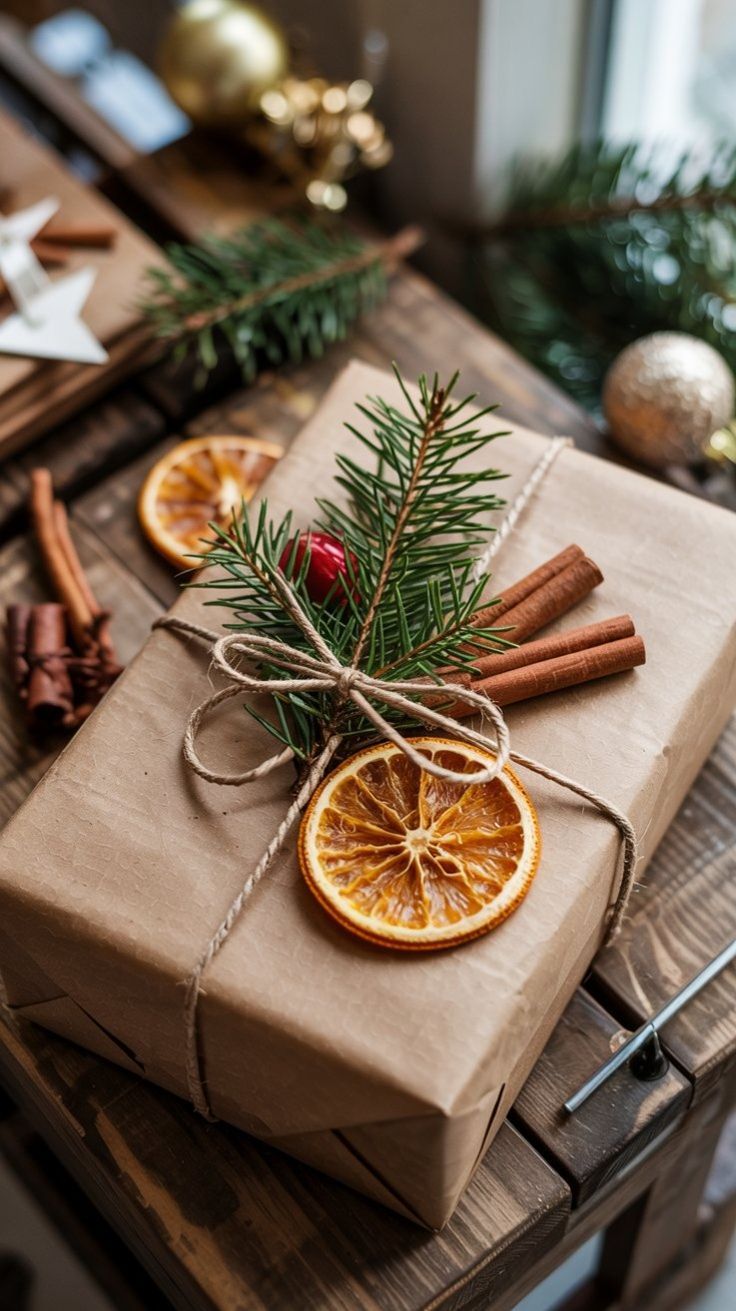
A dried orange slice makes a tag that smells good. This kraft gift carries an orange slice, cinnamon sticks and a sprig of pine.
Slice oranges a quarter inch thick and bake at 200°F for three to four hours, then cool completely.
The slices keep all season and make the gift smell like the holidays.
23. Try Pink and Burgundy for a Softer Palette
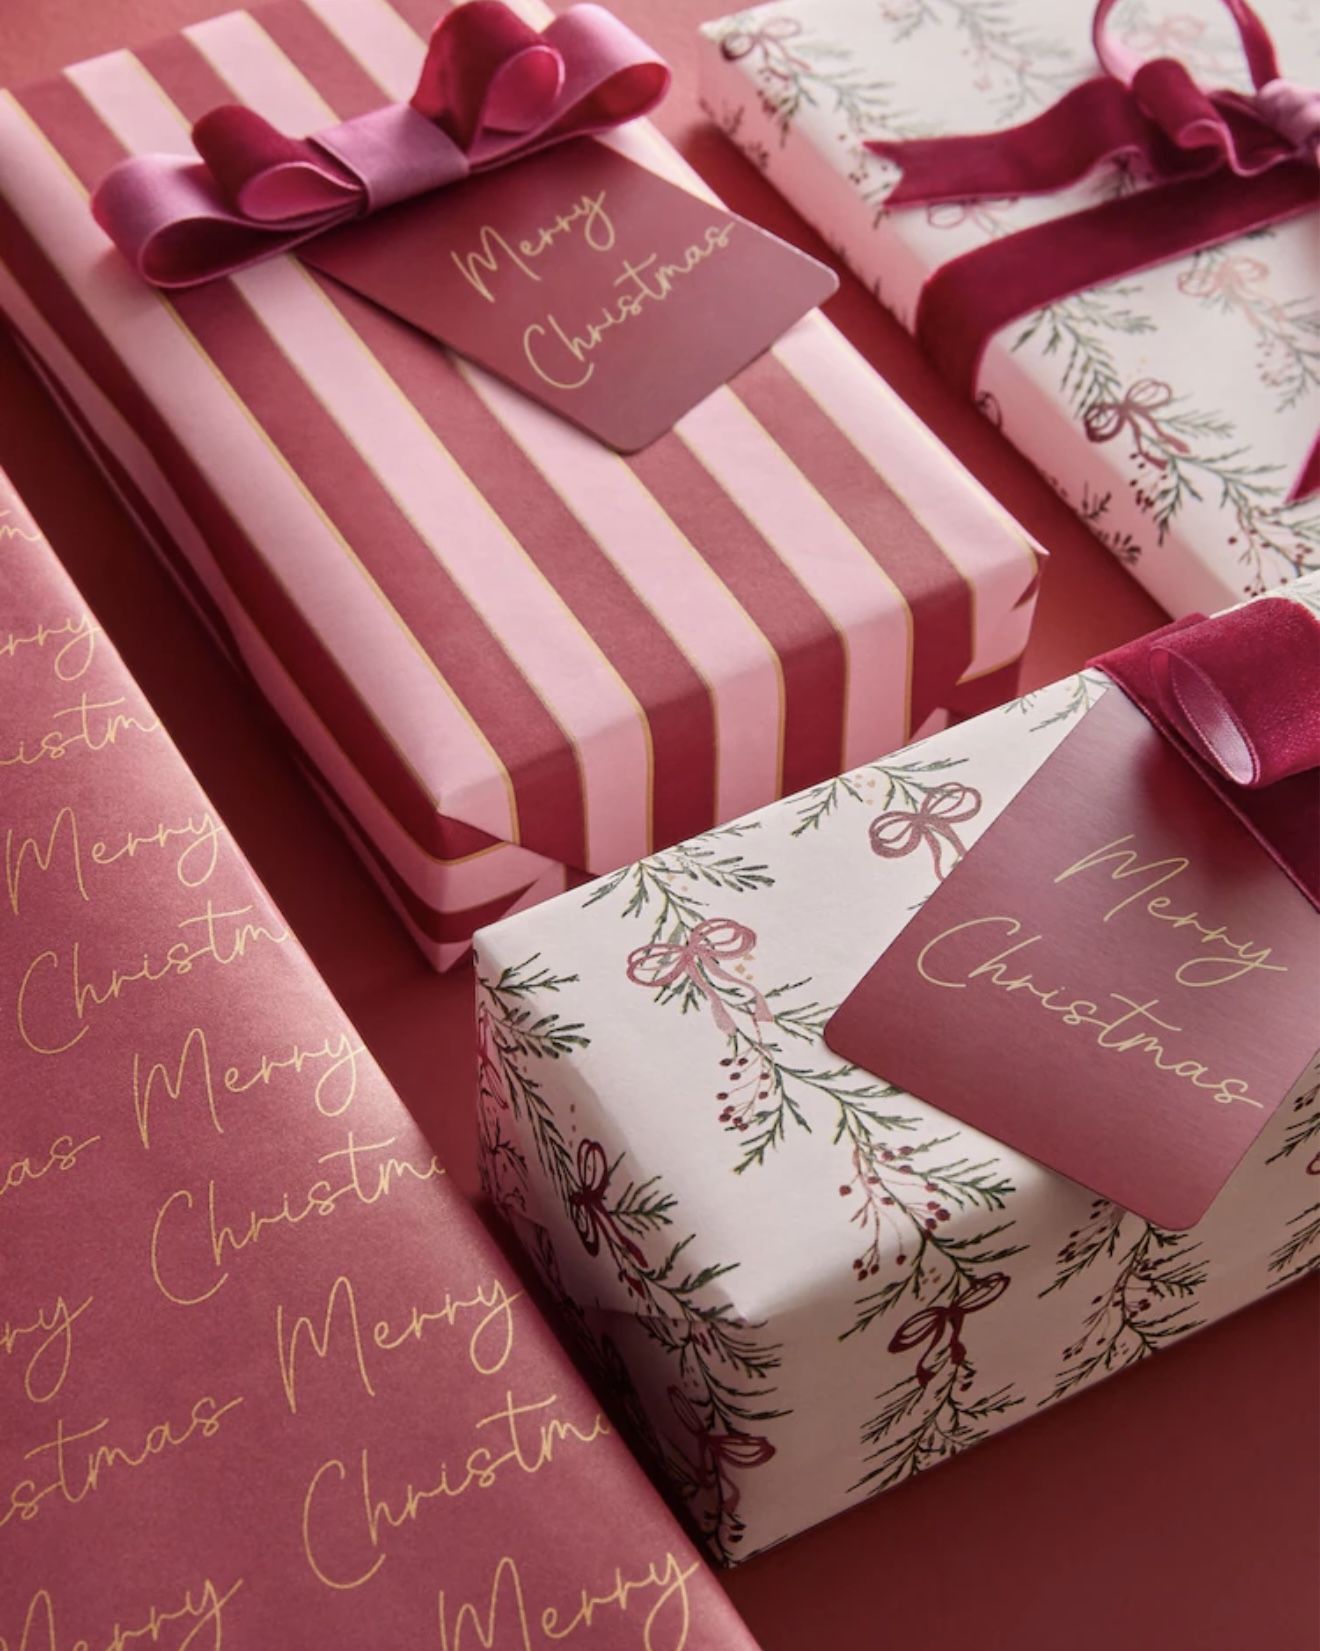
Pink and burgundy is a softer alternative to red and green.
Pink striped and floral gifts here have burgundy velvet bows and matching tags.
- Choose one striped paper and one velvet ribbon for each box.
- Seal cut velvet ends with a dab of fray-stop liquid so the edges stay neat.
24. Mix Patterns by Changing Scale
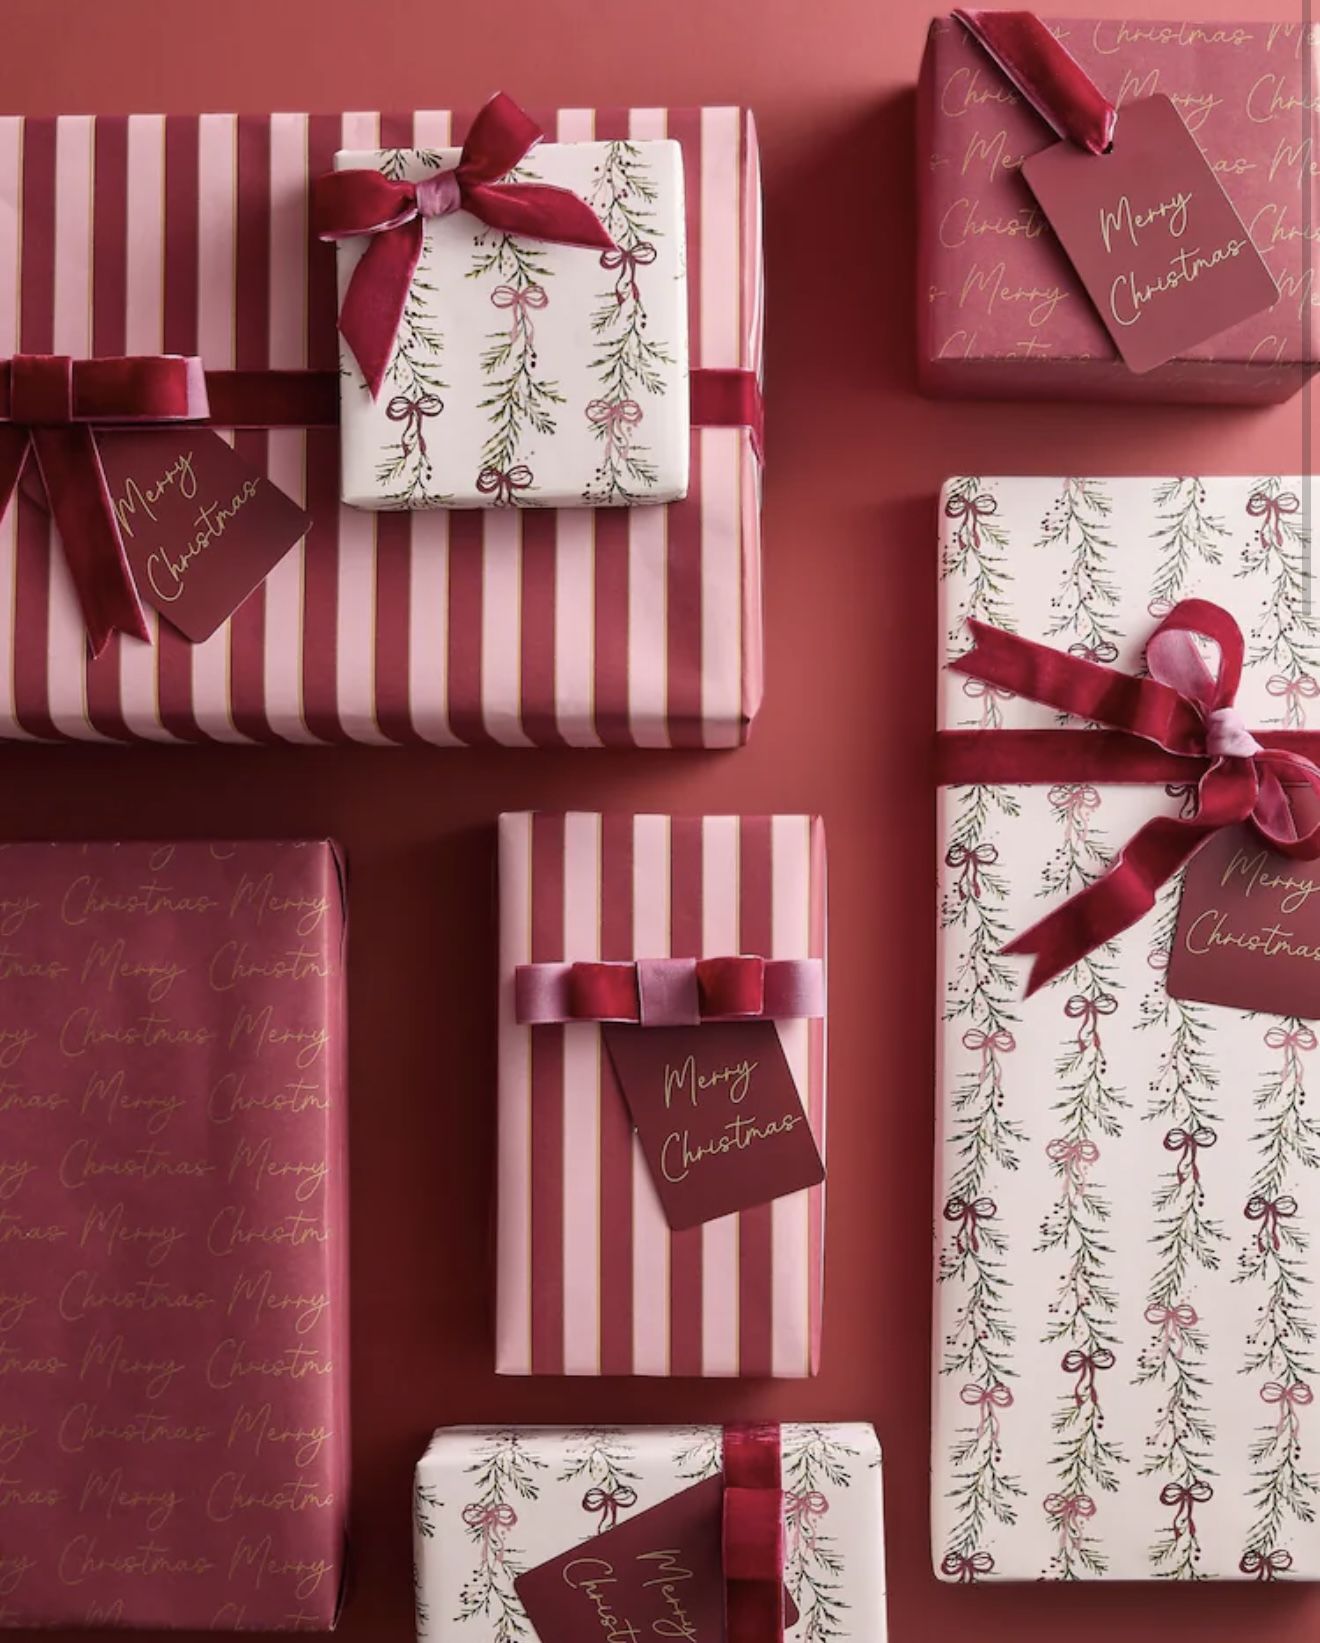
Patterns mix well when the color family stays fixed and only the scale changes.
This stack pairs pink stripes, a small floral and a script print under burgundy bows.
Use the same ribbon on every box so the mix reads as a set. Keep the ribbon color the only constant across the pile.
Common Wrapping Mistakes (and Fixes)
Adding too much to a busy paper. One ribbon and one tag is enough.
Creasing foil or metallic paper. Fold gently and tape from the inside.
Using loose bows on slippery gifts. Tape the ribbon underneath before tying.
Wrapping with fresh greenery too early. Needles drop, so add it close to gifting.
Pick one color story, set up your table and wrap everything in a single sitting. A pile of gifts that matches will look finished before you add anything else.