
Every December I run into the same problem: a kitchen counter that has to look festive and still work for making breakfast.
A tiered tray is the fix. It decorates upward instead of outward, so you get height, color and a bit of drama in roughly the footprint of a cutting board.
Most trays go wrong for one reason, which is too many unrelated things. So before the ideas, here are the rules I lean on, followed by 44 trays to borrow from.
Four Rules That Make Any Tray Work
Choose one theme. A cocoa bar, a gingerbread bakery, a snowman family. If you can't describe the tray in four words, it doesn't have a theme yet.
Think in a loose triangle. Put the tallest piece at the back or on the top tier, a medium piece on the opposite side and low pieces in front. Your eye should zigzag, not stall.
Limit the palette. Two colors plus a neutral is plenty. Repeat each color at least twice so it looks chosen.
Use odd numbers and leave gaps. Three mugs, five pinecones. And you should still see some bare tray between objects. That empty space is what makes the rest look styled.
1. Start With a Cocoa Bar People Will Actually Use
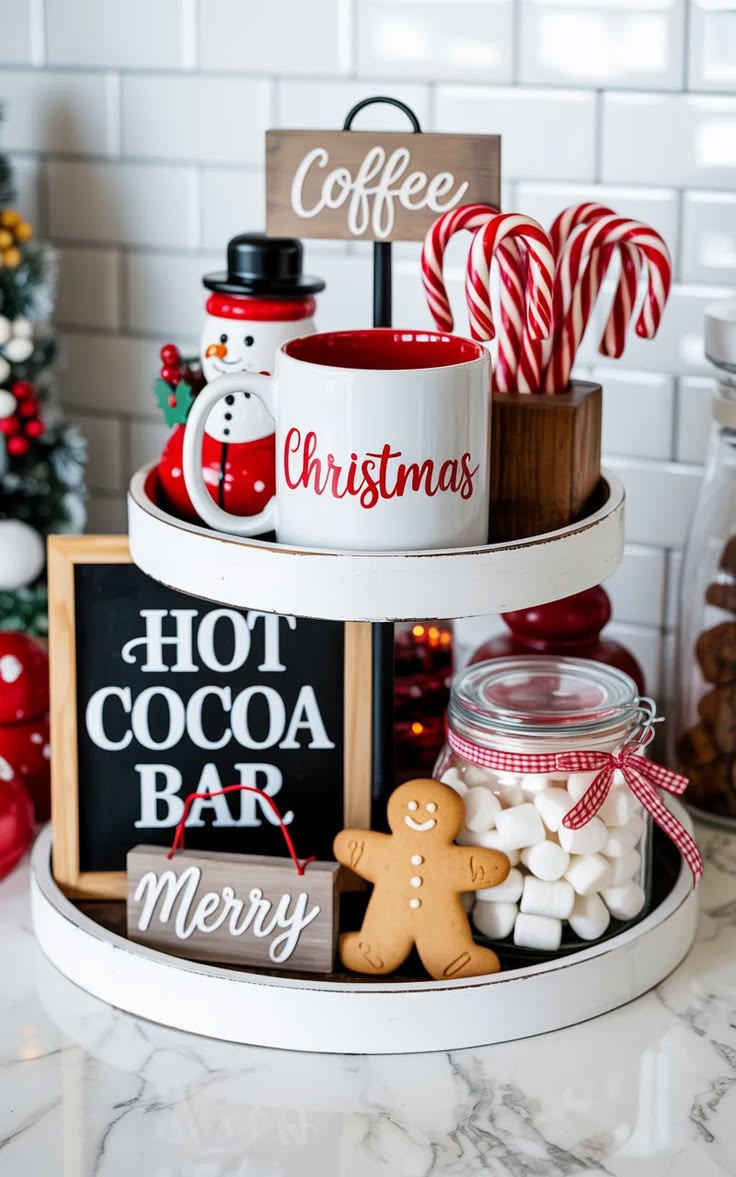
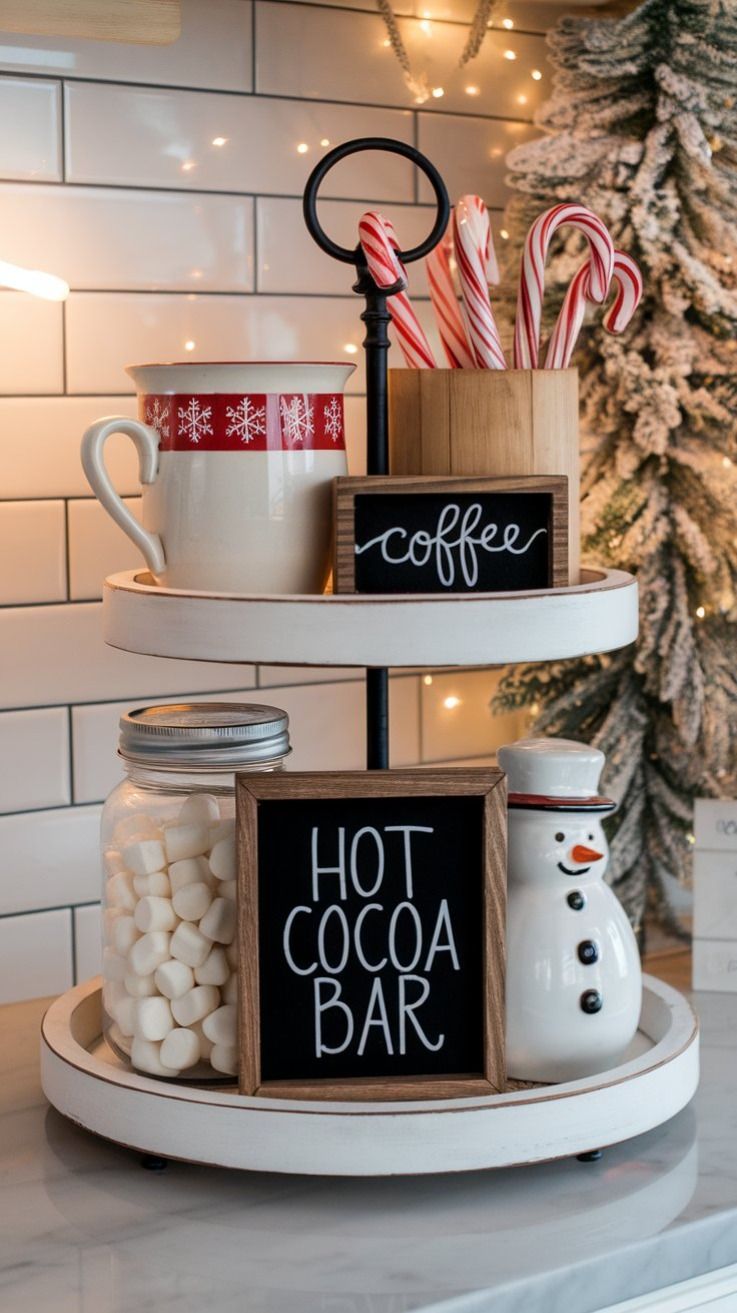
If you only style one tray this season, make it this one. A cocoa bar earns its counter space because guests use it, and that changes how you build it. Anything that gets touched needs to sit low and in front. Anything decorative can go tall and at the back.
That is exactly how this one is arranged: a chalkboard sign leaning forward, a jar of marshmallows within easy reach, and the Coffee sign and the snowman standing behind.
Buy the jar first. Everything else can come out of your cupboards.
2. Keep the Cocoa Bar Mostly White
Color is the first thing to get away from you on a busy counter.
A mostly white tray stays calm next to a coffee maker, a fruit bowl and whatever else lives there. The red in this one is limited to a mug band and a handful of candy canes, so it reads as a choice and not a mess.
I use an 80/20 rule: 80 percent of the tray in one quiet color, 20 percent in the accent. Move the accent around until it feels balanced, then stop adding.
3. Stock It With Things You Really Need
The best trays are half decoration, half storage.
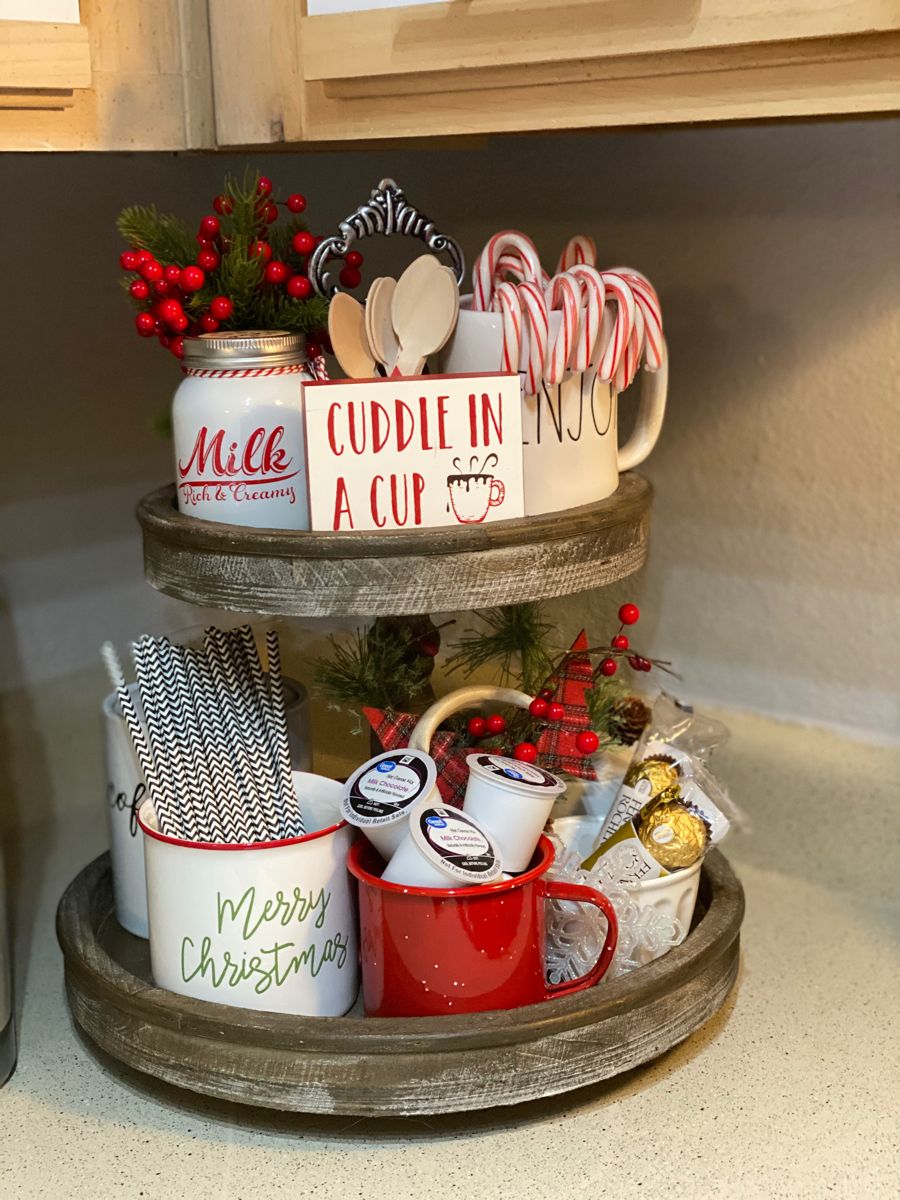
This coffee corner holds spoons, striped straws, candy canes and individual pods, so there is a reason to reach for it every morning. A Milk jar and a Cuddle in a Cup sign tell guests what is on offer without a word of explanation.
- Hide the practical items in pretty containers. Pods go in a mug, straws in a cup, spoons in a jar.
- One caution: keep chocolate and candy away from a sunny window, or you will be cleaning the tray instead of enjoying it.
4. Build Around One Collectible
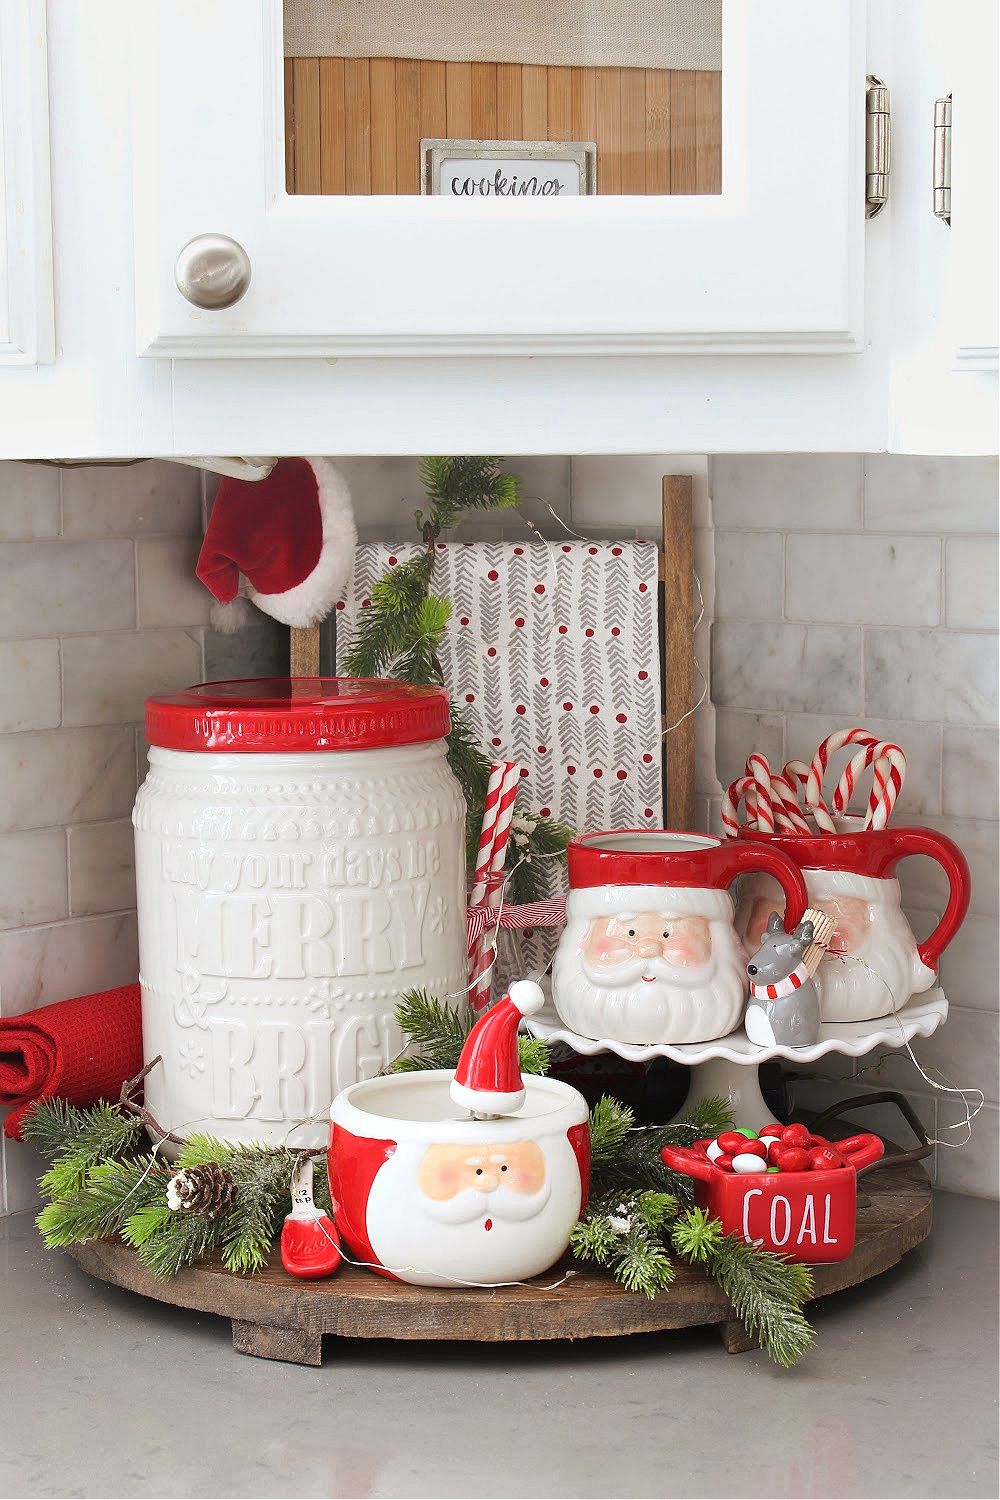
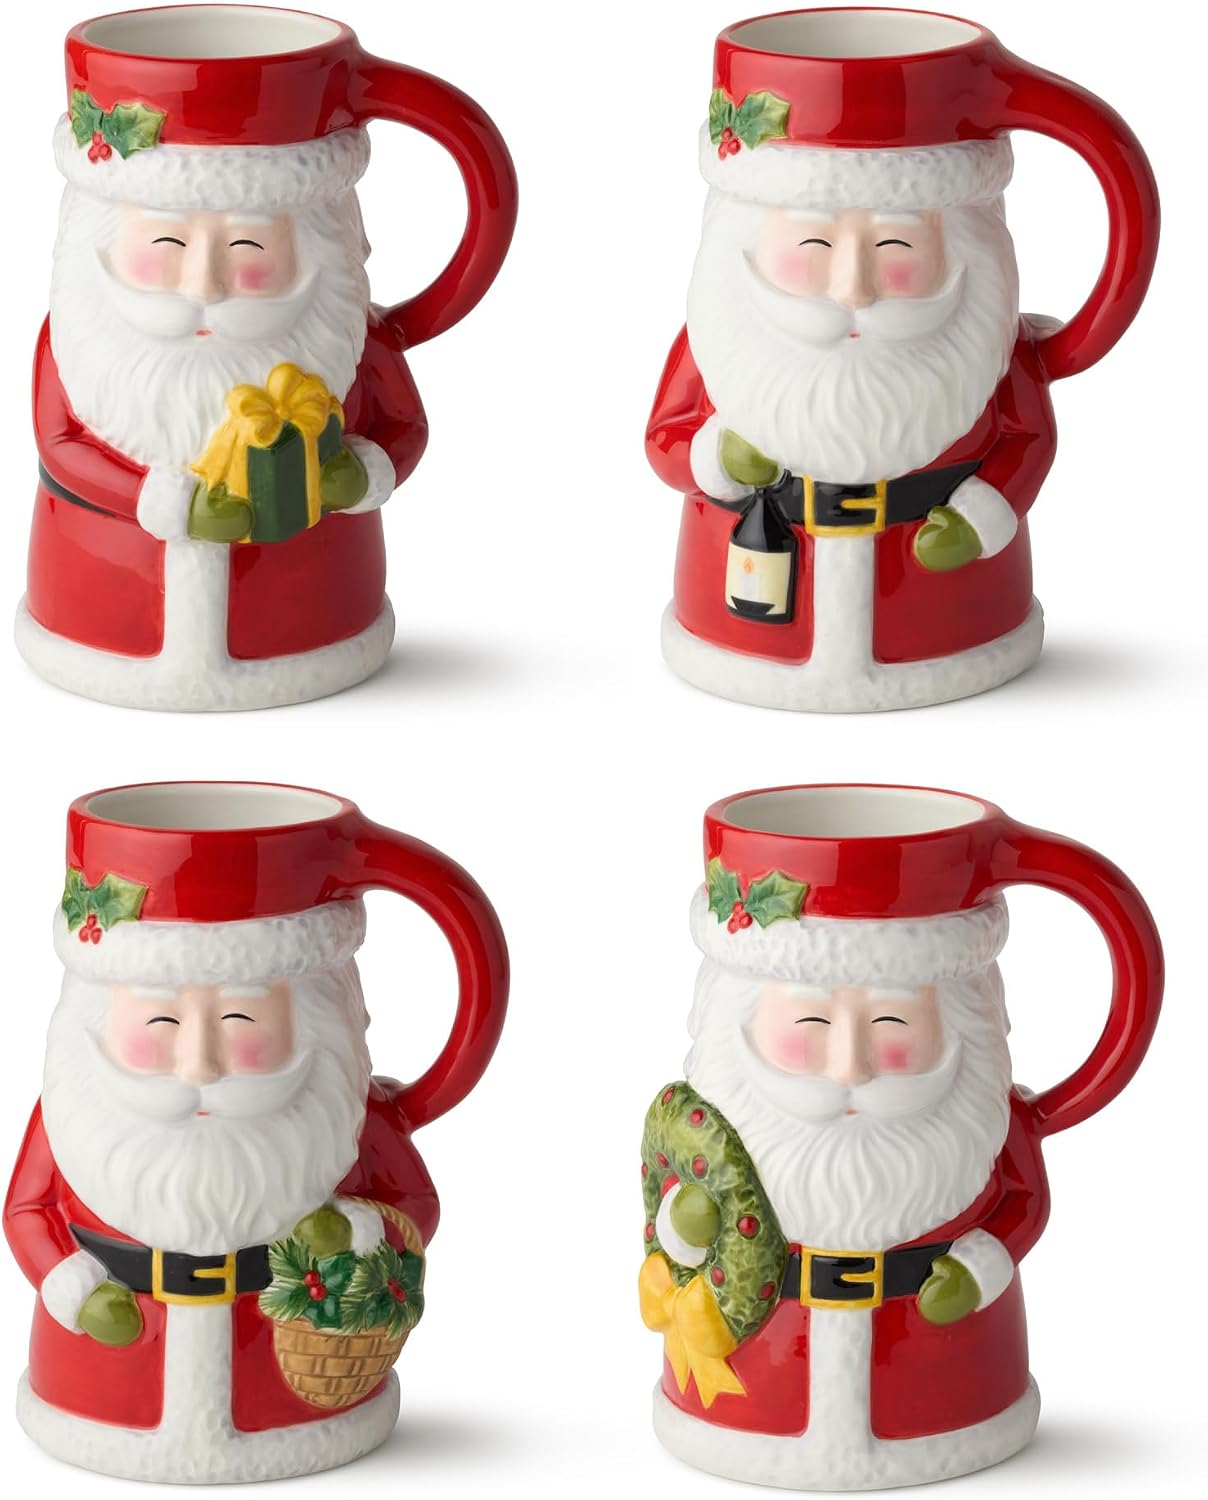
A matching pair of mugs can do the work of a dozen small decorations. The Santa mugs are the stars here, and everything else stays out of their way. A tall canister gives the back some height, a little red dish keeps the joke going, and pine around the base ties it to the wood.
- When you own something with real personality, don't compete with it. Pull two colors from the piece, use those for the rest, and keep everything else quiet.
- Greenery under and around the base hides gaps and makes the tray look rooted.
5. Go All In on One Candy Color
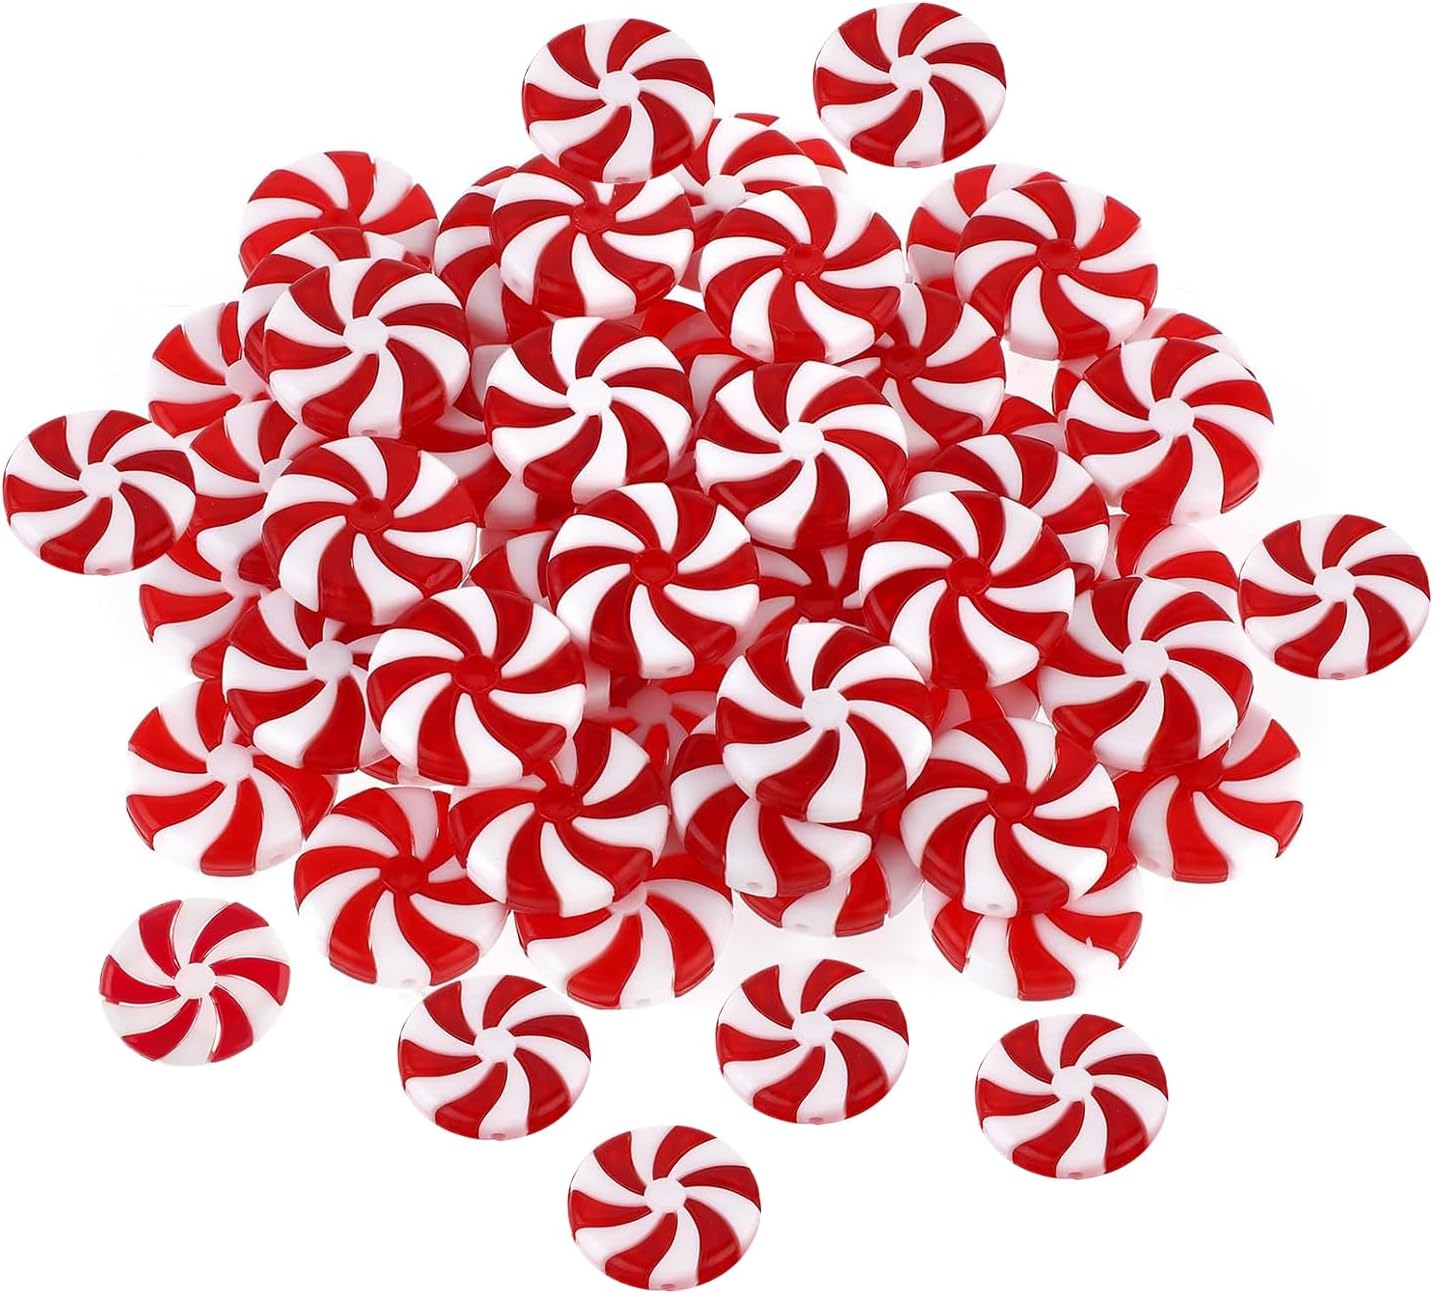
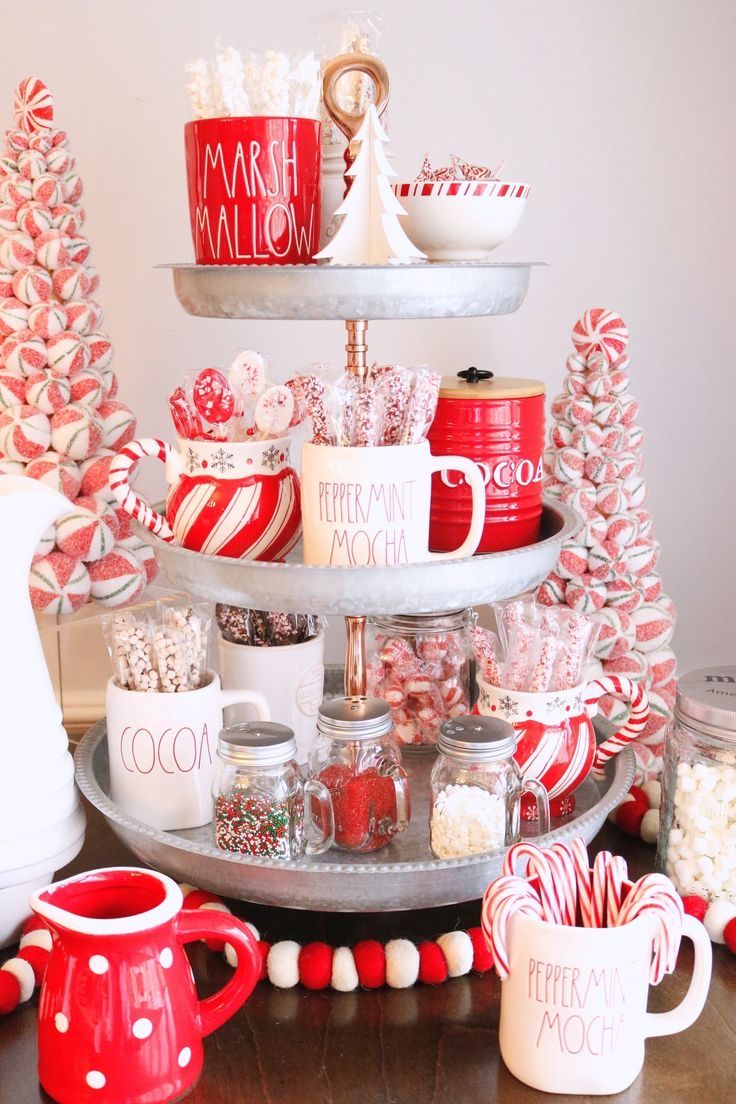
Sometimes the answer to a big tray is a bigger commitment. Peppermint red and white runs through every tier of this galvanized stand, from the canisters to the swirl-candy trees behind it. Because the palette never changes, the sheer amount of stuff reads as abundance, not clutter.
A rule of thumb I rely on: the more items you have, the fewer colors you should use. Put the heaviest pieces on the bottom tier for stability, and the lightest on top.
6. Hang the Sign Instead of Standing It
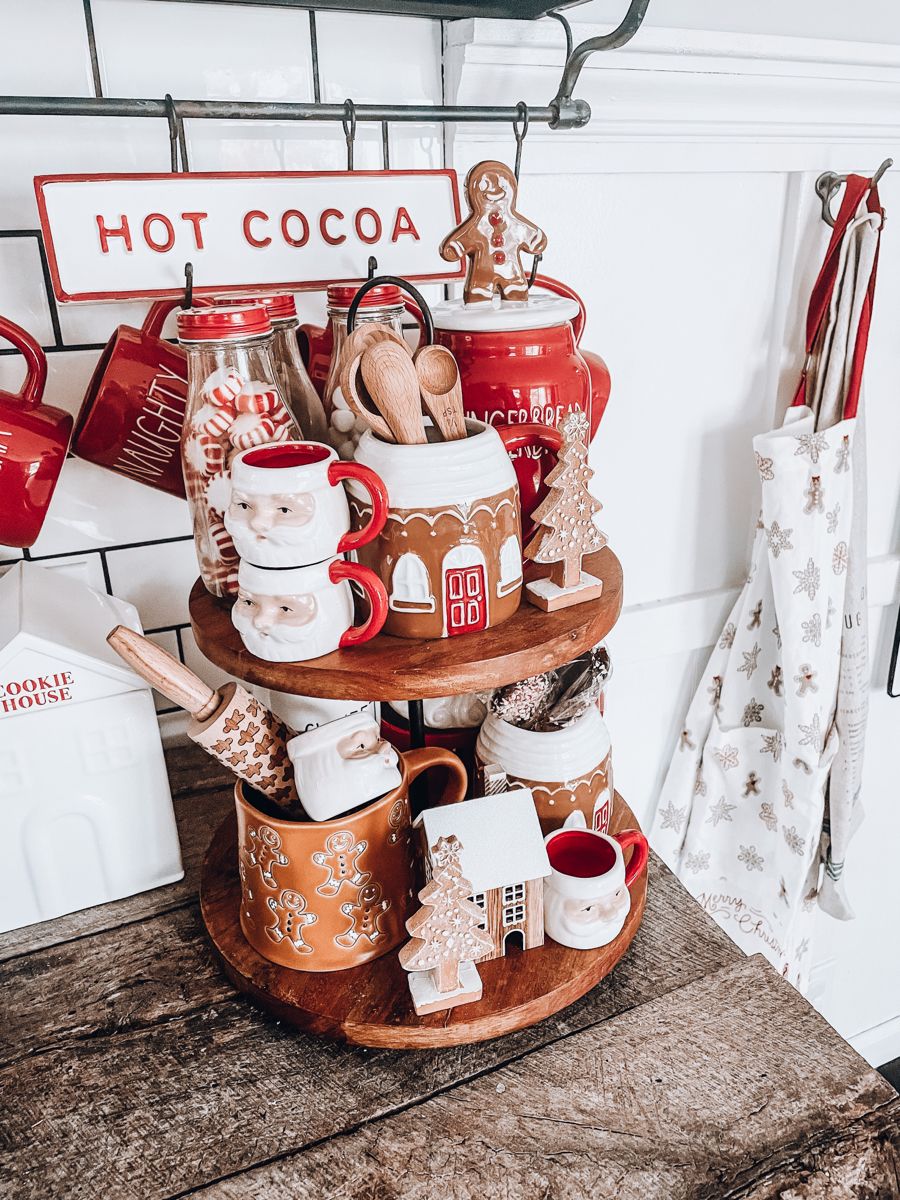
Signs eat tray space. Hang them and you win it back.
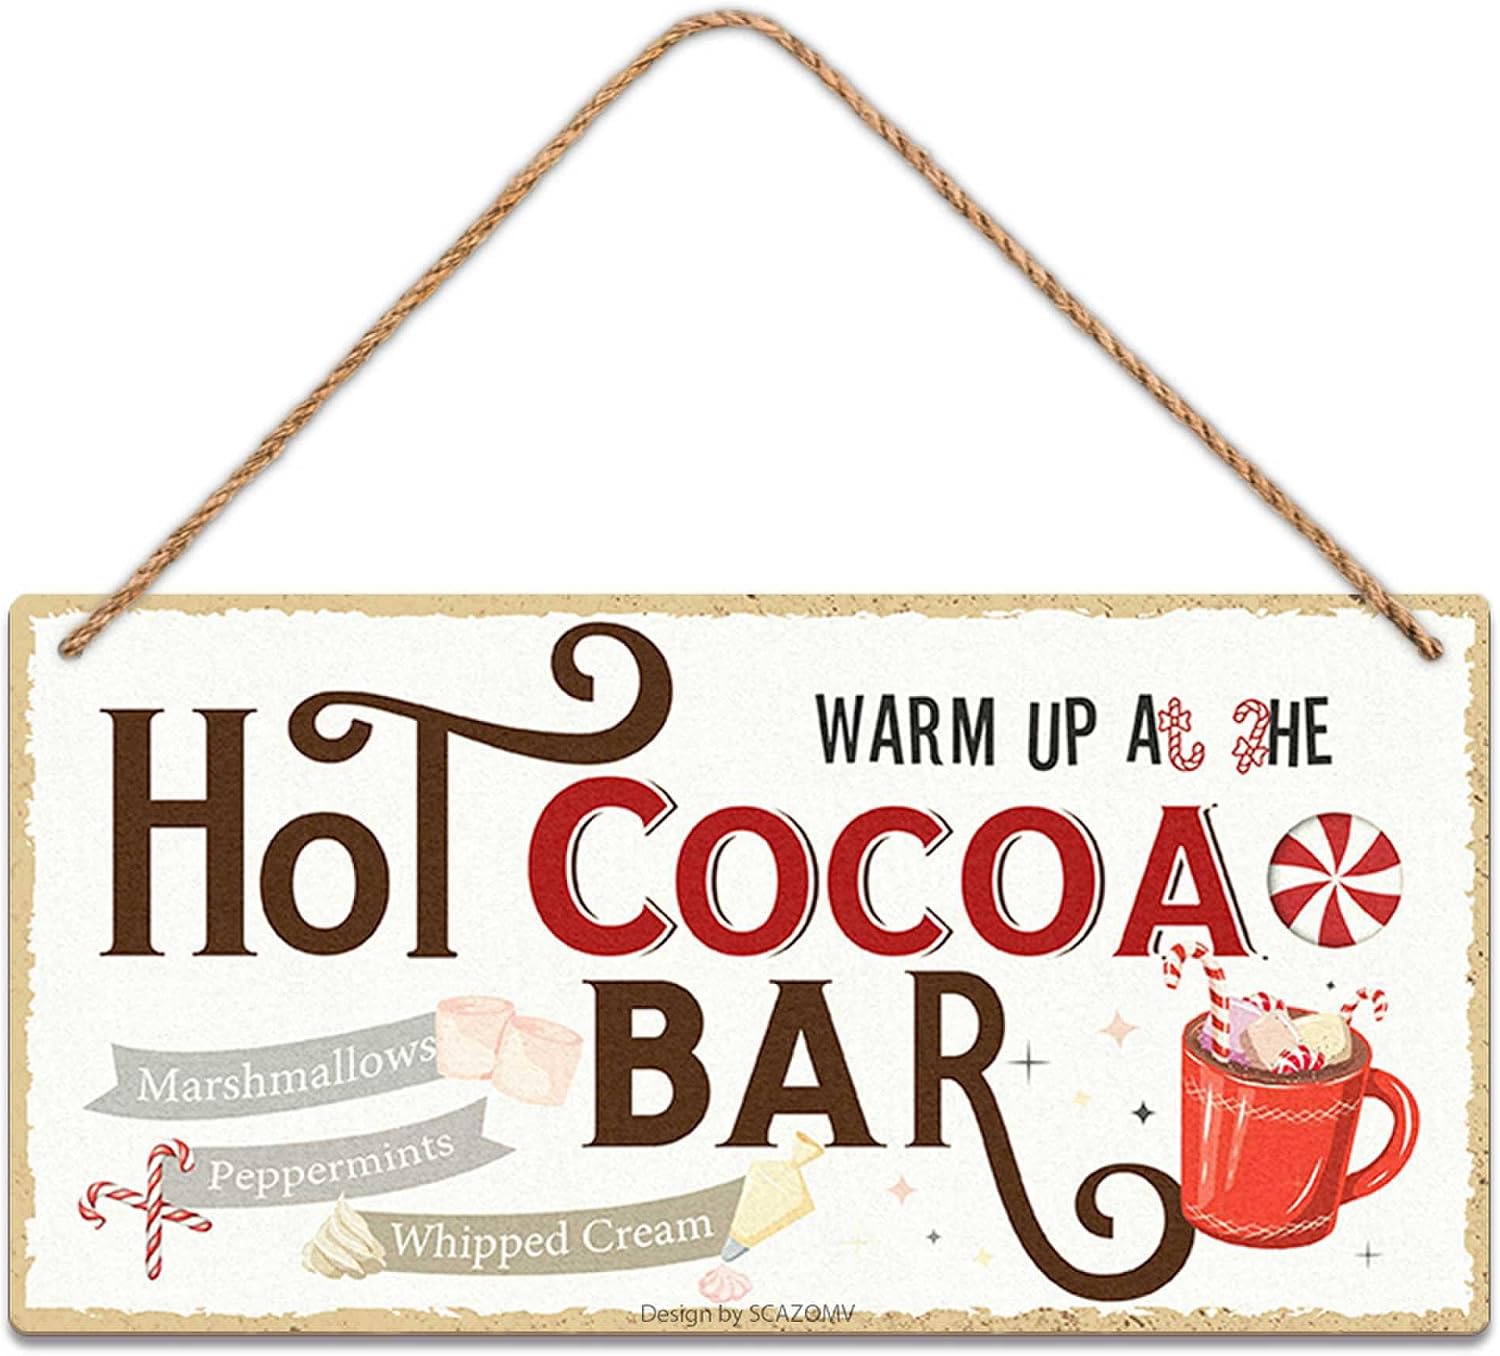
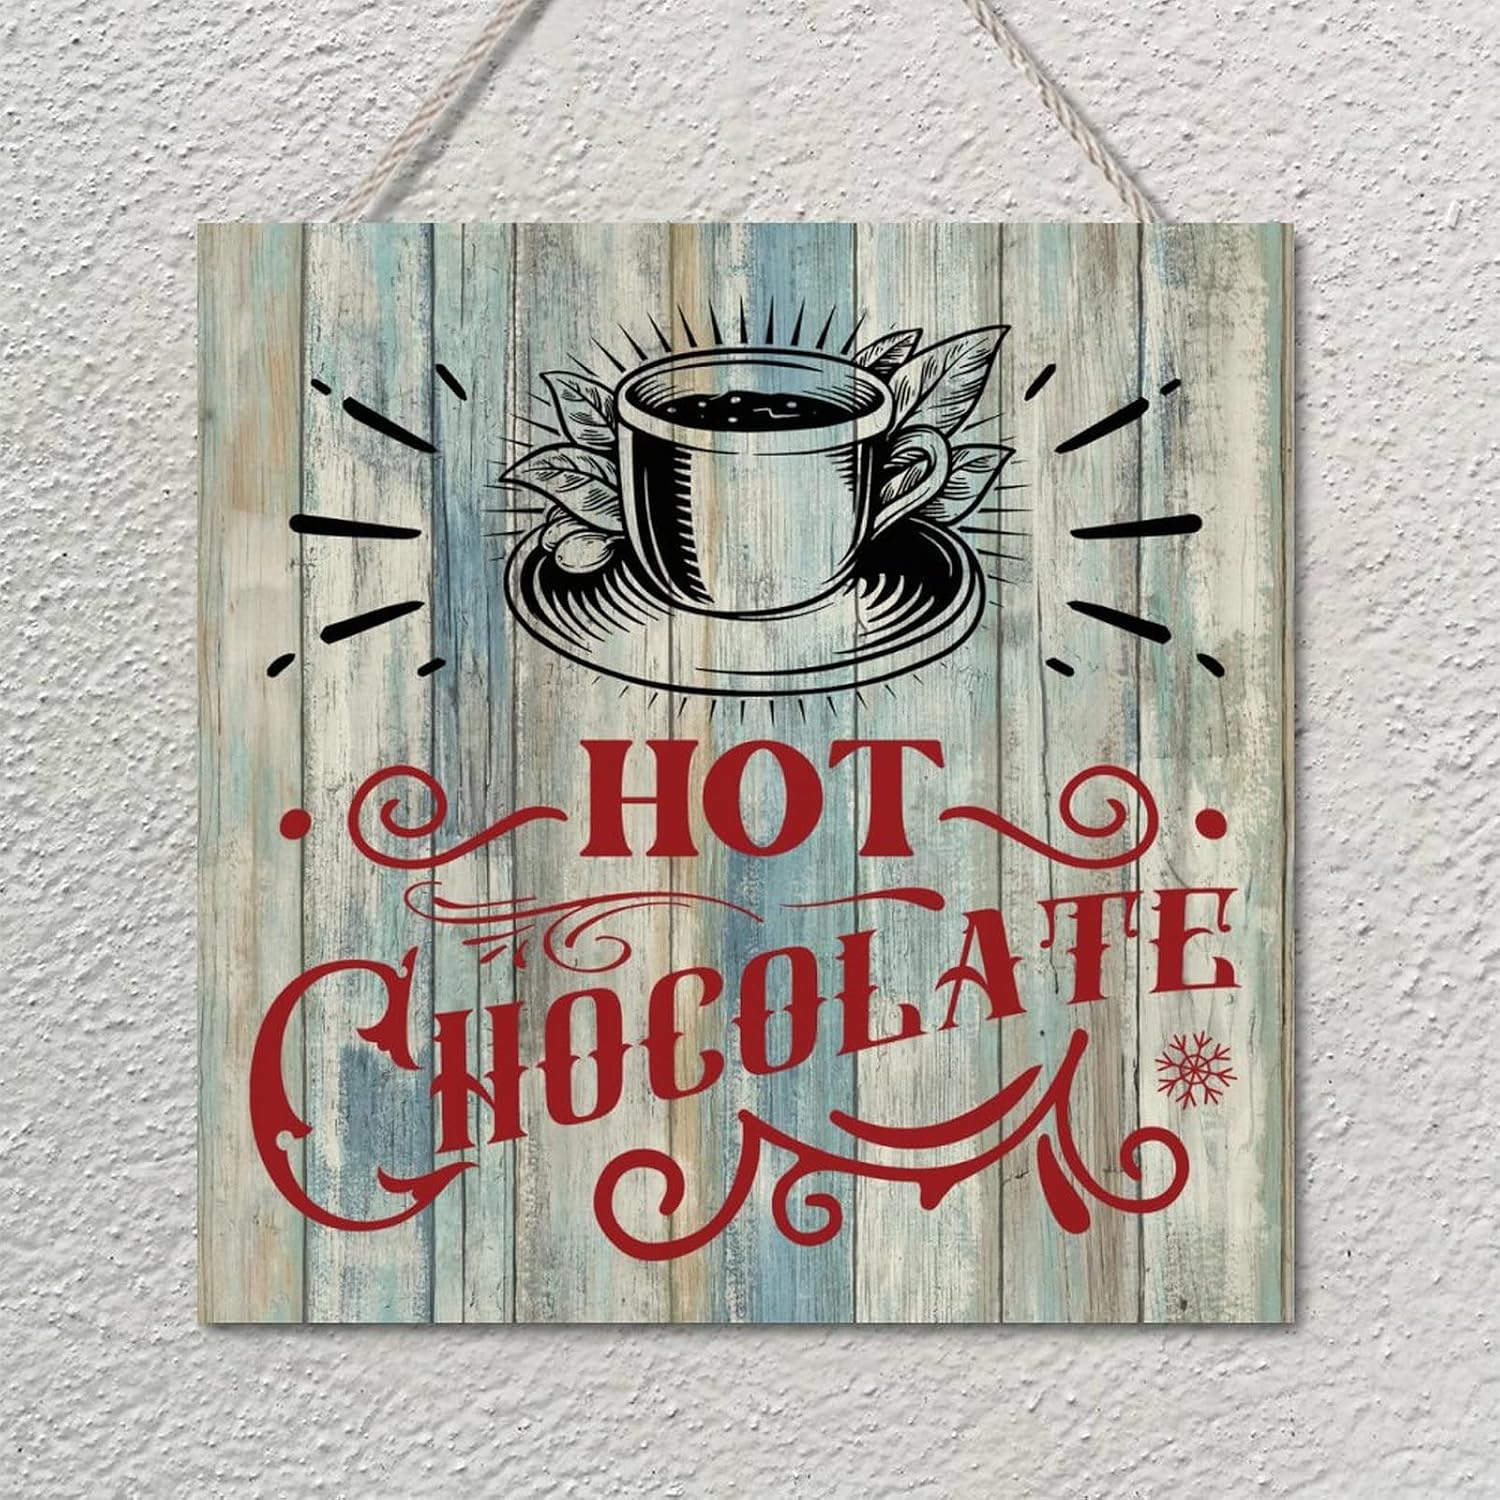
A red Hot Cocoa sign on the rail above this tray sets the scene, which leaves the tiers free for mugs, a cookie jar and a little house.
An S-hook on a rail, a removable hook or even a loop of twine over a cabinet handle will do. You can raise or lower the sign to suit your counter height.
Wood trays like this forgive scratches, and they look better as they age.

7. Fake the Whipped Cream
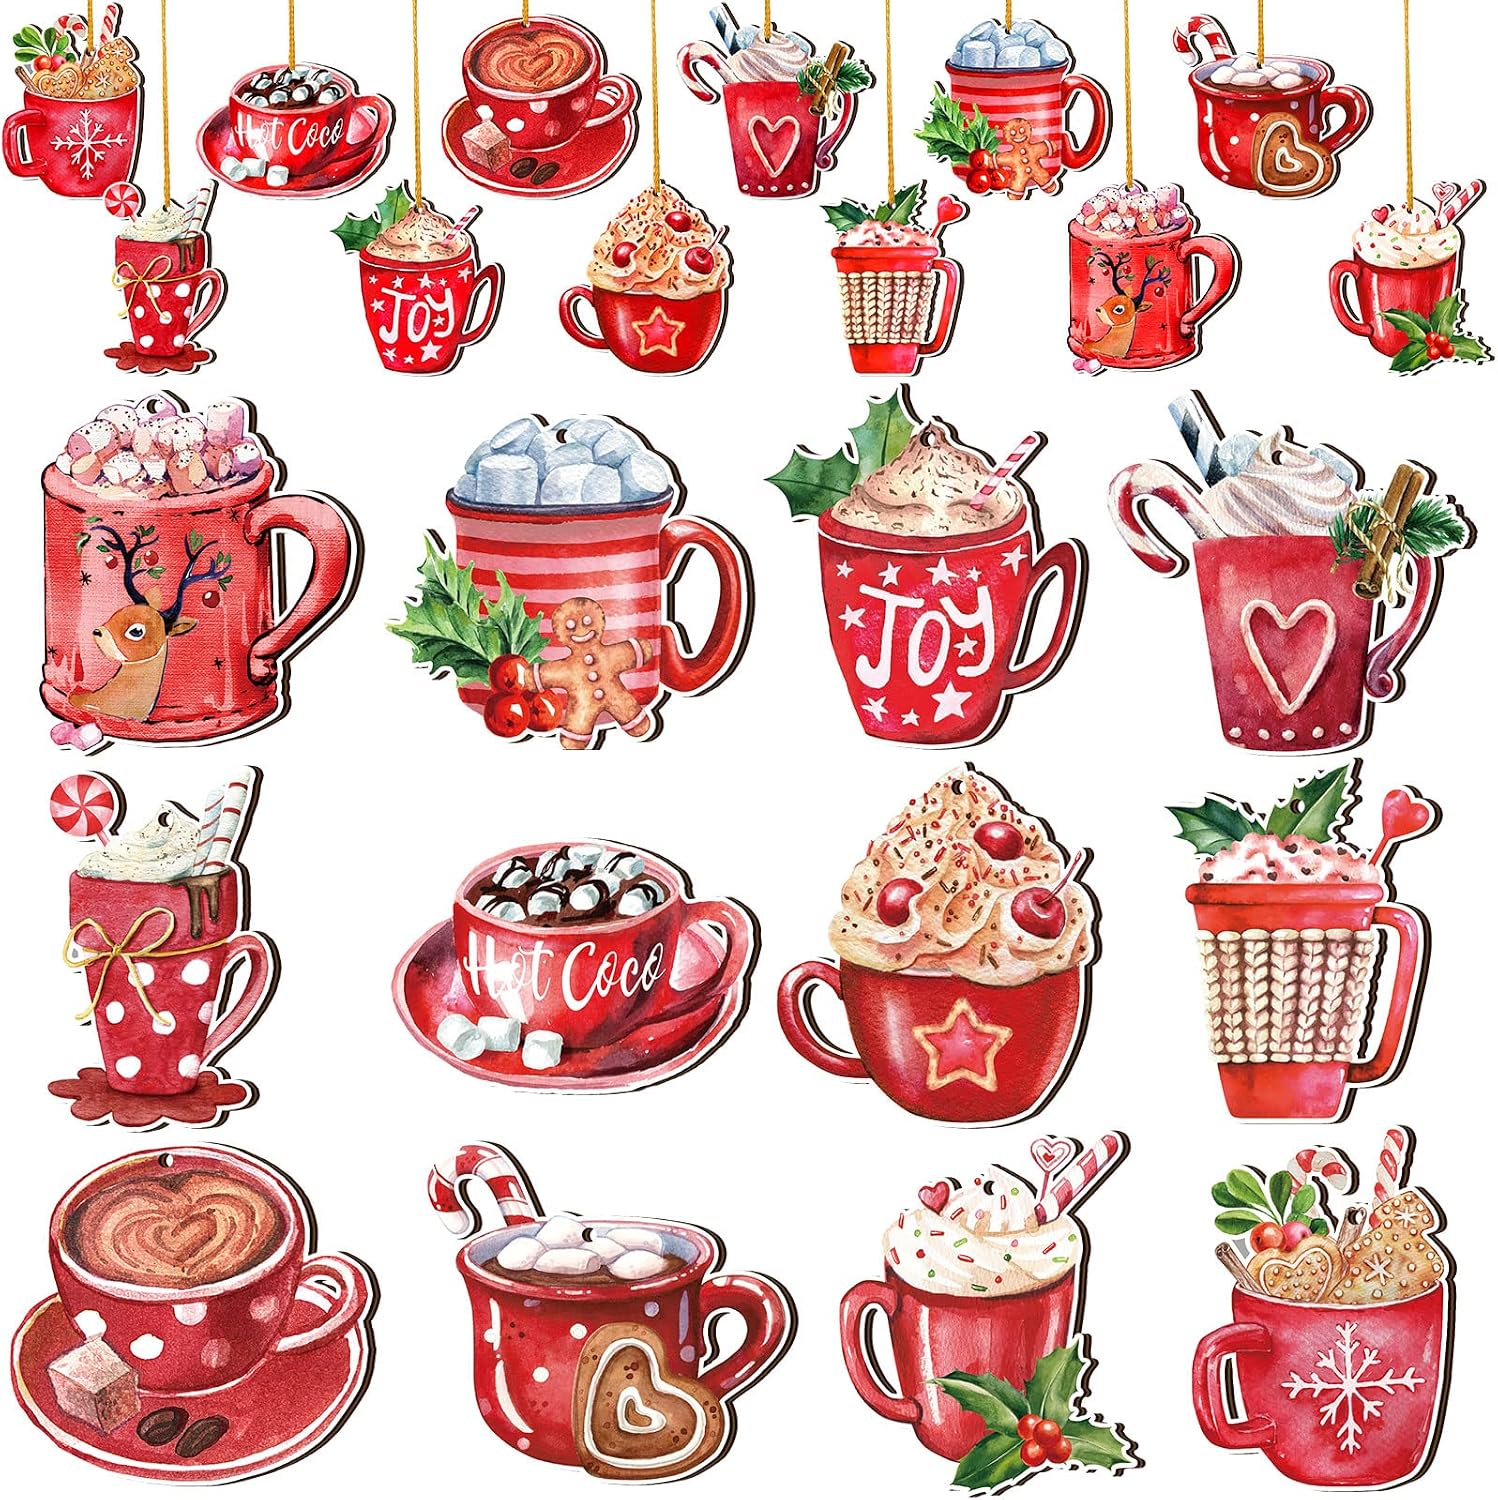
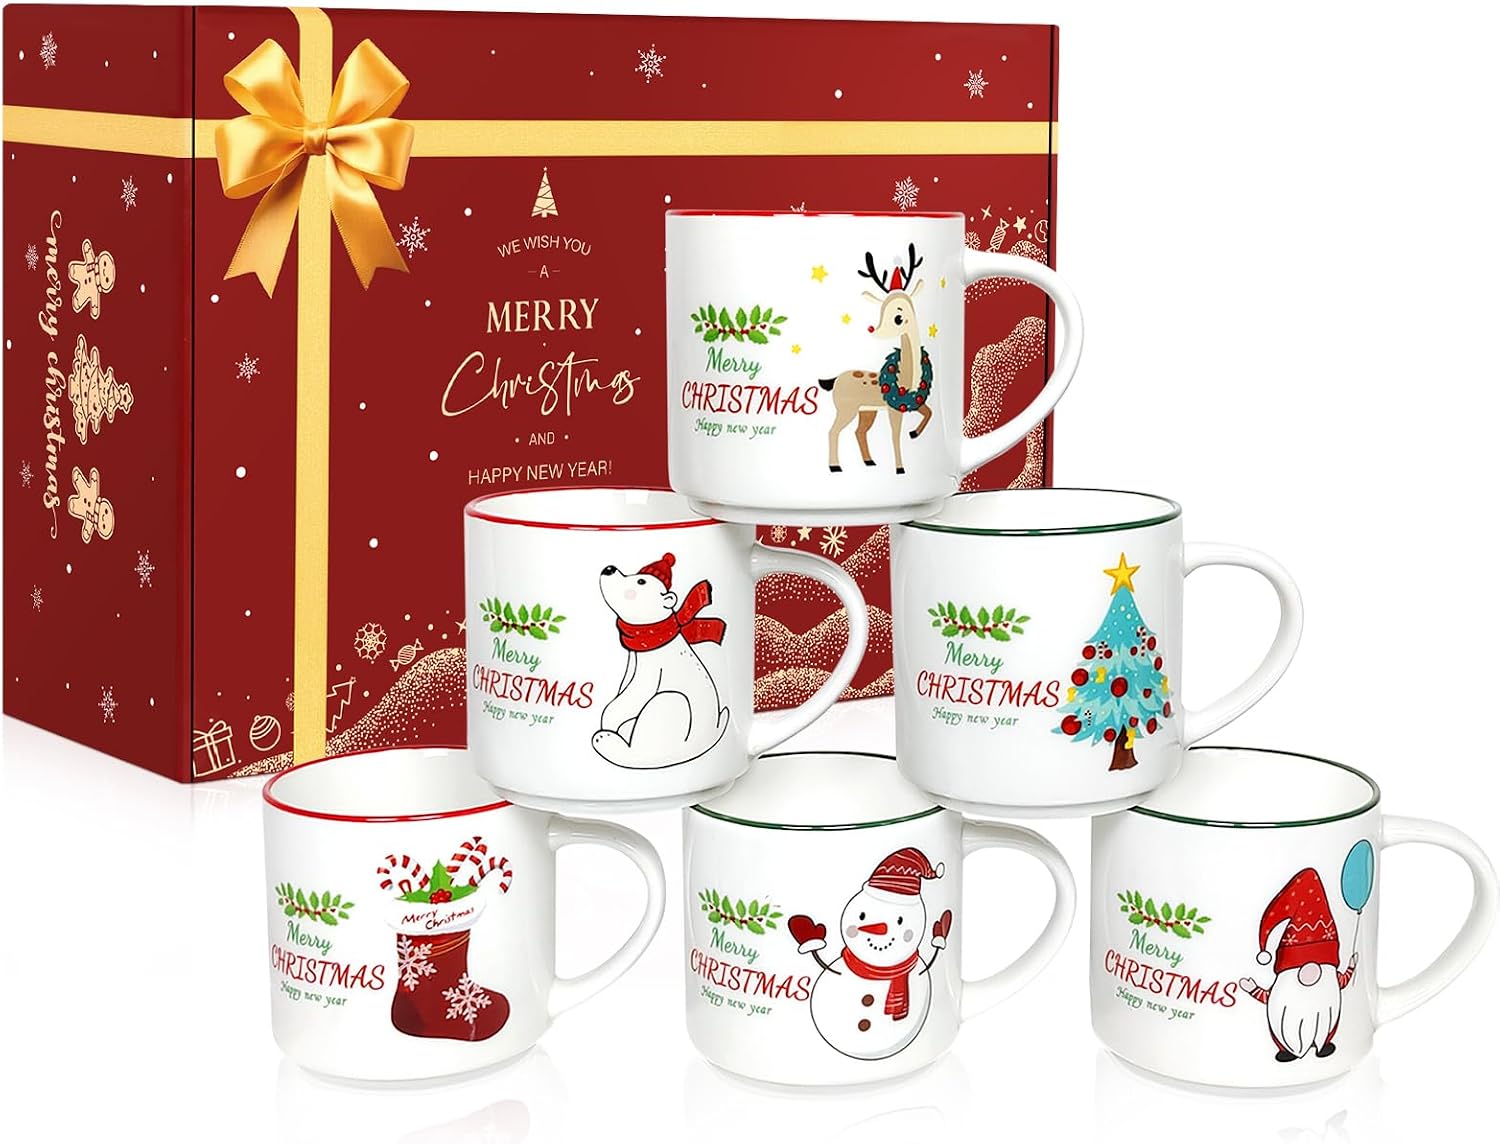
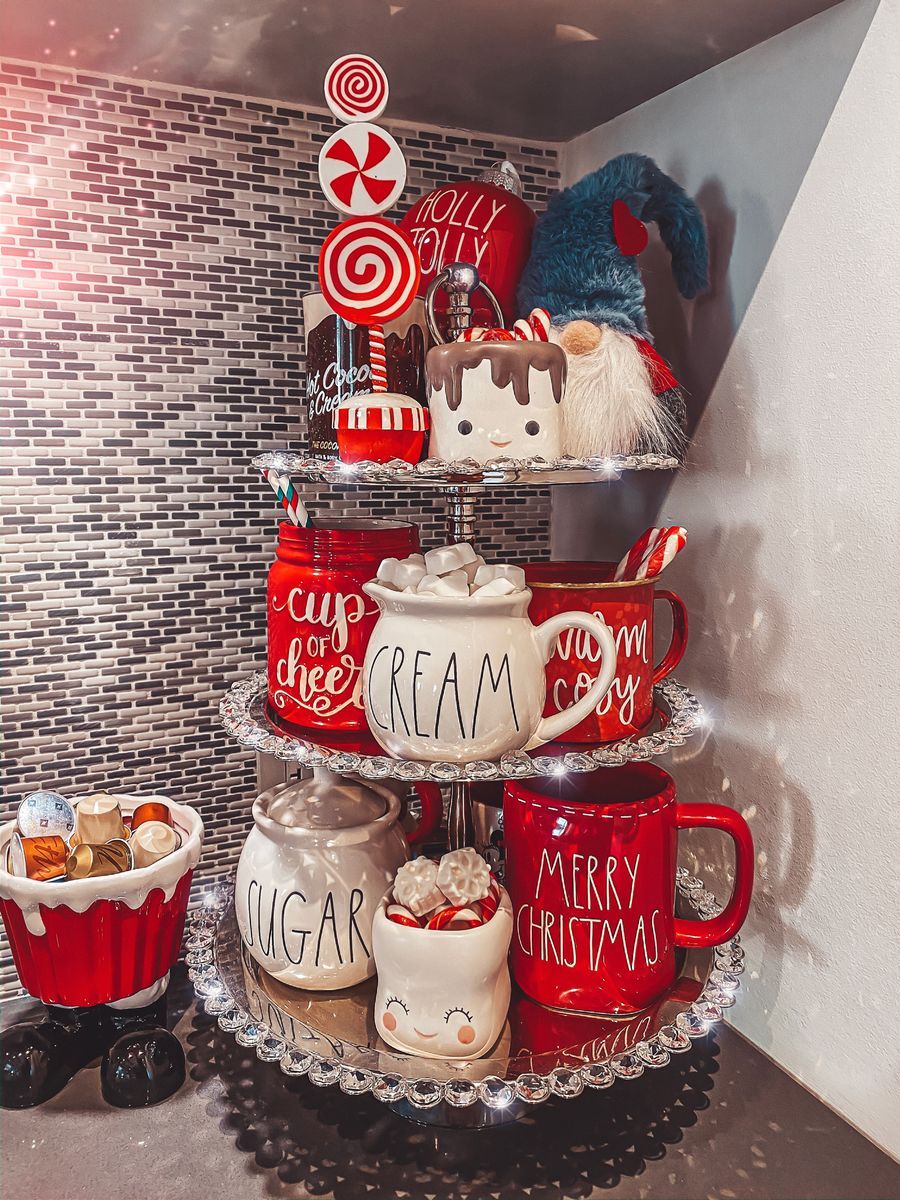
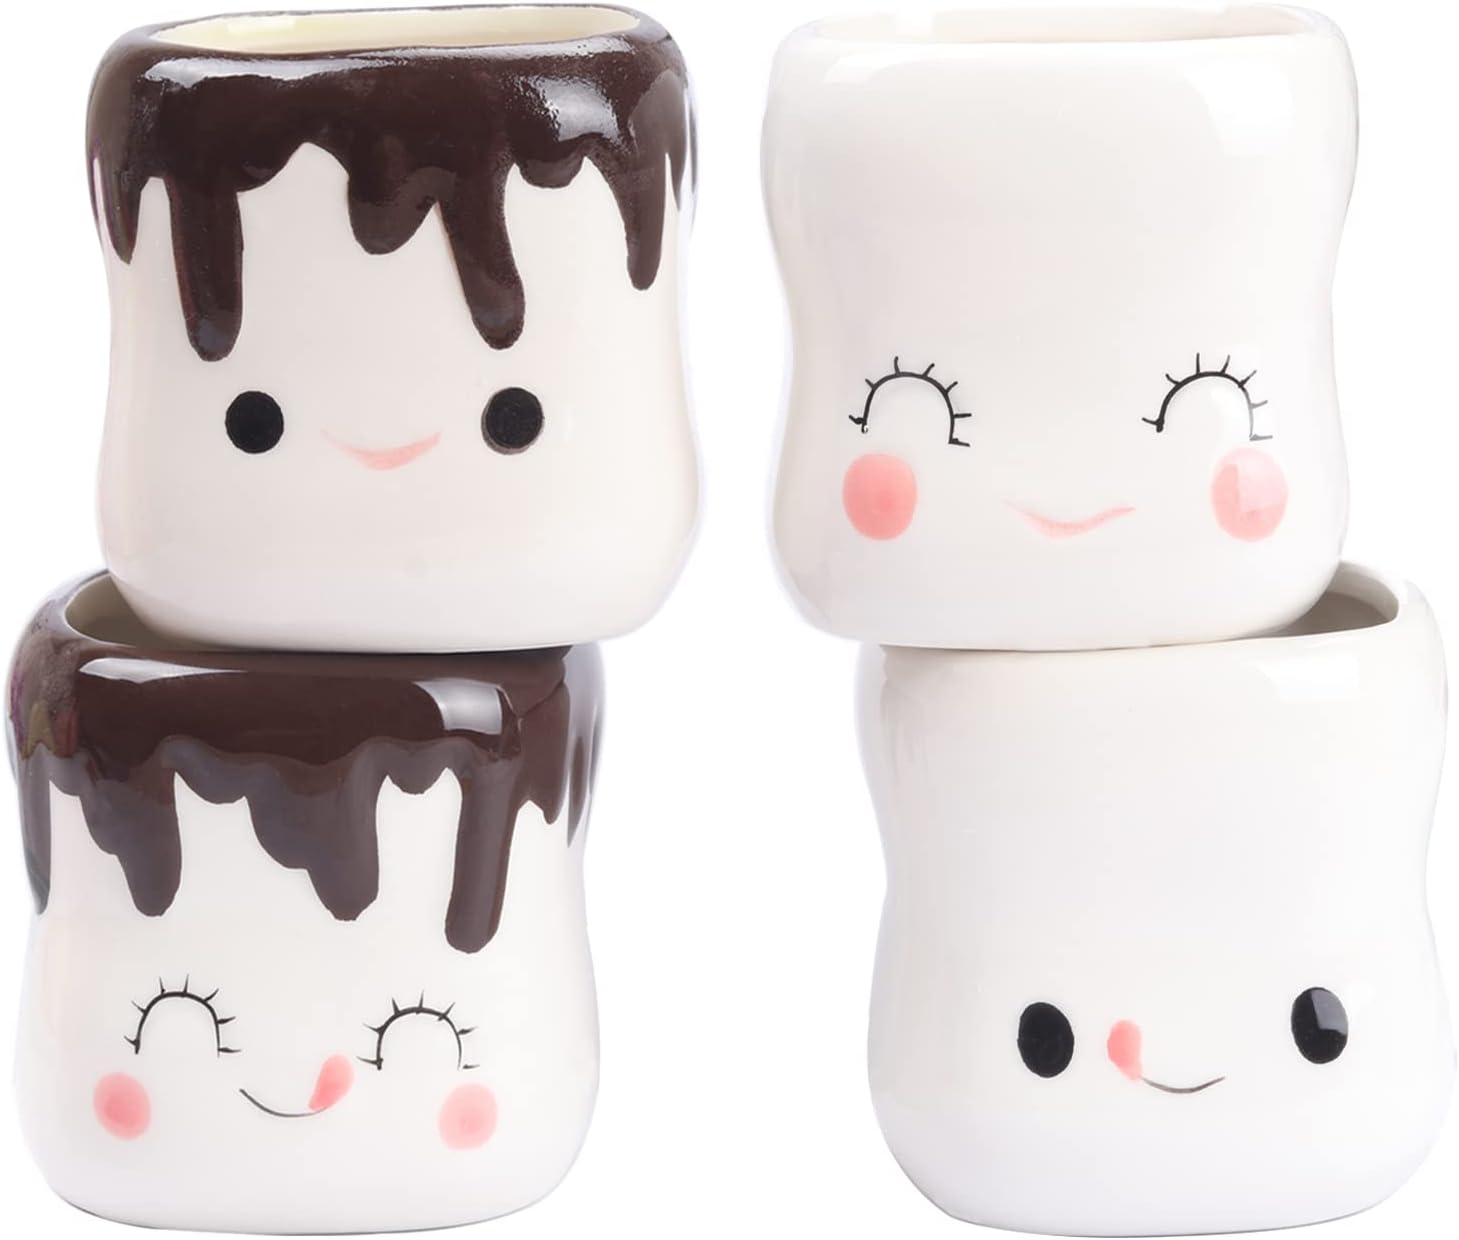
Here is a stylist's cheat: nobody wants real whipped cream sitting out for a week. Faux whipped cream and marshmallow toppers, like the ones on these red mugs, keep the cups looking full all season and never spoil.
Pair every topped mug with a plain one so the eye gets a place to rest. A tray with nothing but details starts to feel noisy.
A gnome and a couple of lollipops on top make it playful without adding bulk.
8. Break the Red and Green Habit
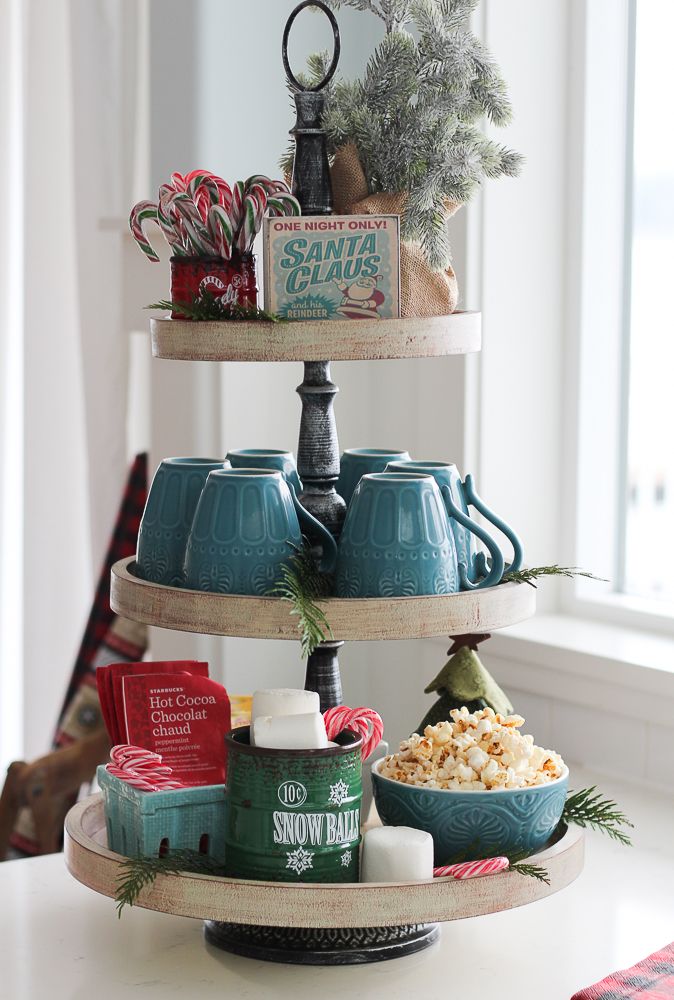
If every Christmas display in your house is red and green, try a different second color.
Teal mugs against warm wood give this tray a vintage diner feel. The red appears only in the cocoa packets and the candy canes, which is just enough to keep it unmistakably Christmas.
- Choose a color your kitchen already has. A teal bowl, a blue enamel mug or a sage dish towel works the same way.
- Then add one small red thing so the season still shows up.
9. Show Off Your Mug Collection
Your everyday mugs are decor. They just need a stage.
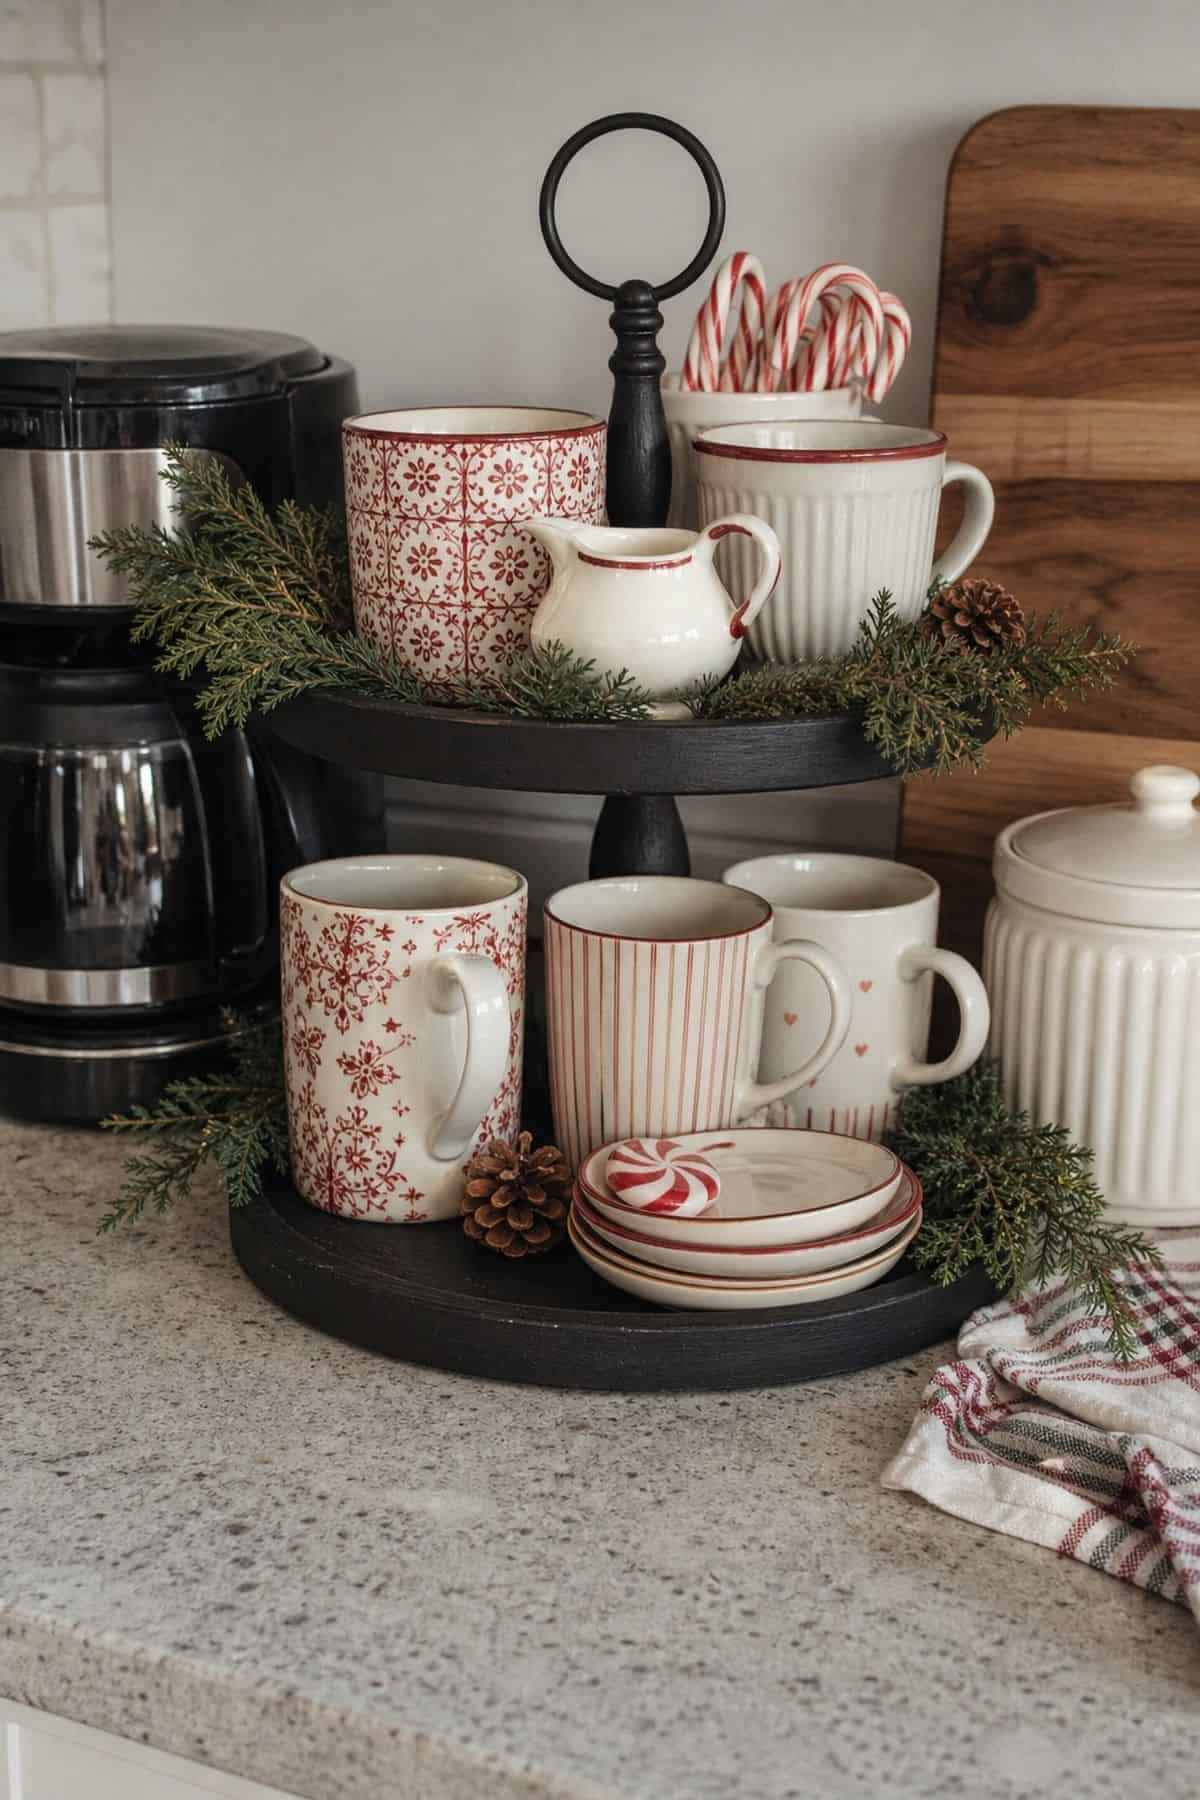
Two black tiers beside the coffee maker turn this collection of red and white mugs into the display. The black base makes the pale china pop, and a creamer and a few small plates fill the gaps.
Mix the patterns, but keep one thing consistent. Here it is the color story. Different shapes and prints are fine as long as the palette holds. Turn the handles outward so people can grab a cup without rearranging anything.
10. Make Gingerbread Look Collected, Not Crowded
Gingerbread is the easiest theme to overdo.
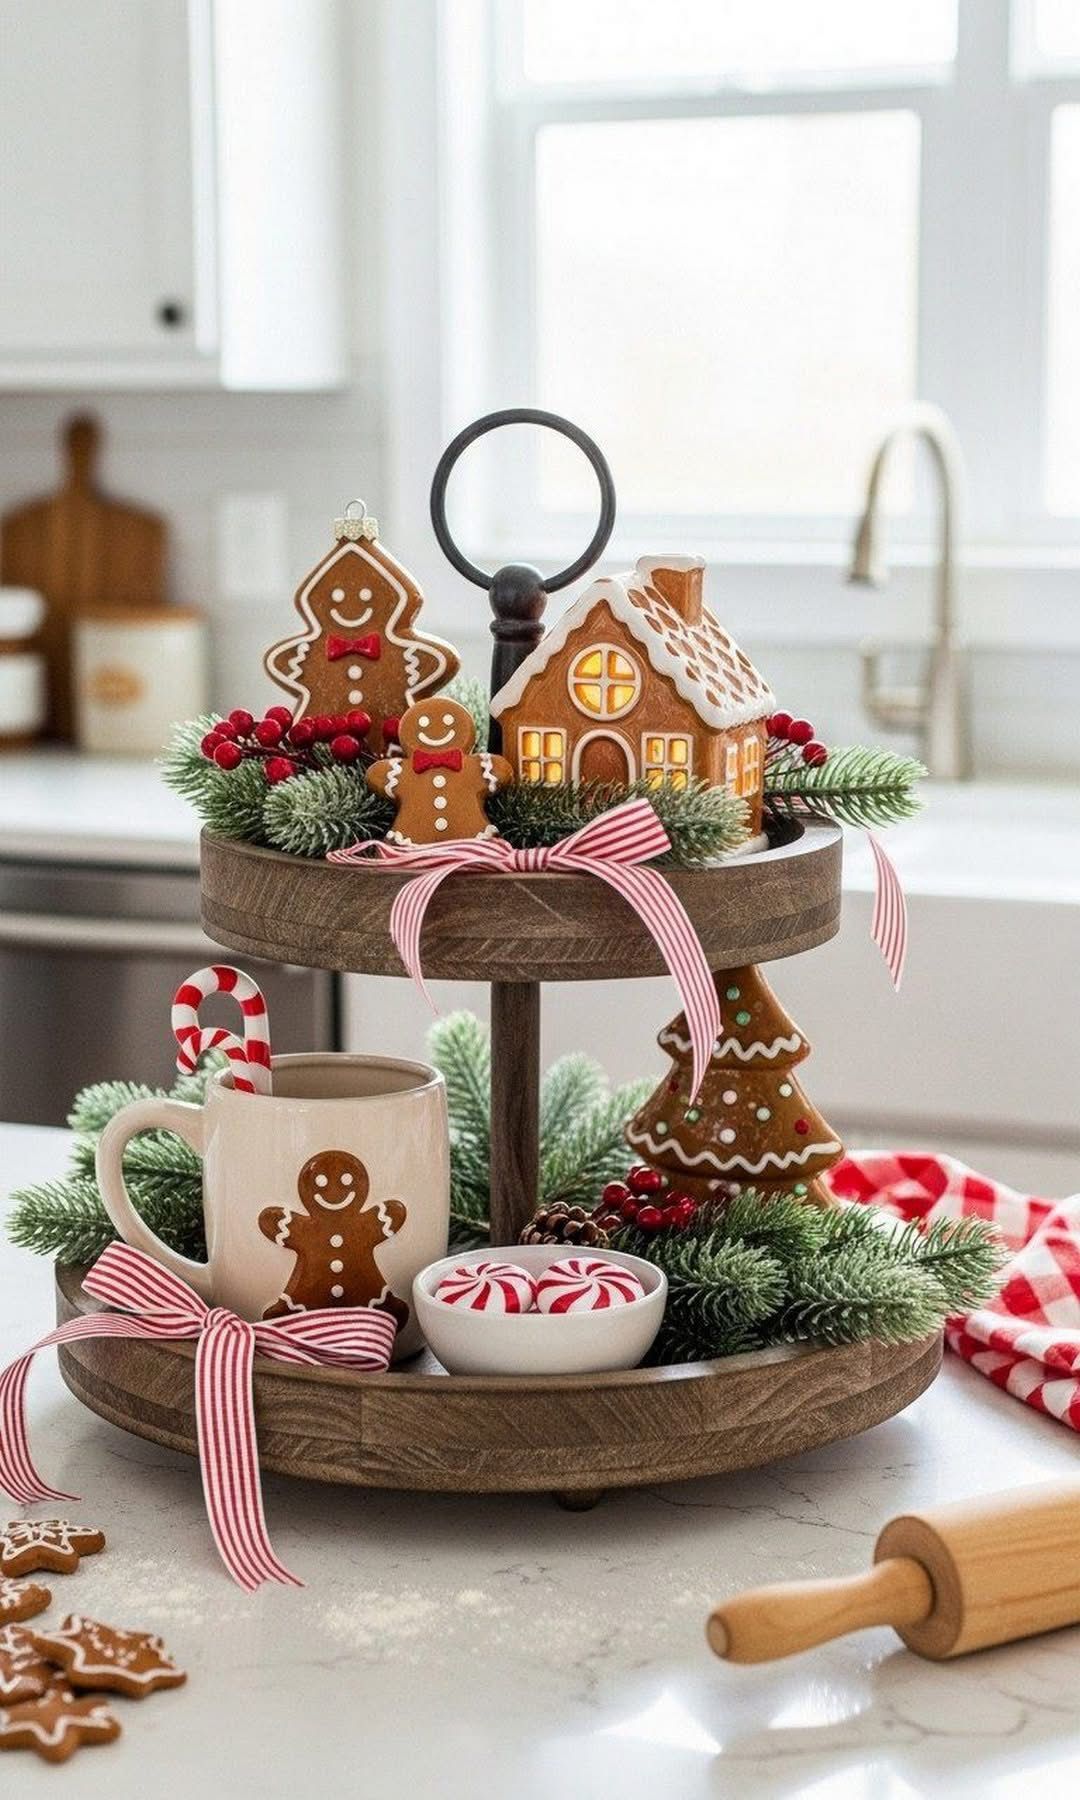
Think of the house as the star and everything else as supporting cast. This tray has a gingerbread house on top, two gingerbread men guarding it and a single striped ribbon wrapped around the lower tier.
Quick tip: That ribbon is worth copying. One stripe repeated in two places ties the tiers together for the price of a spool.
Faux cookies are a safer bet than real ones, which go stale in a week and attract the family dog.

11. Put It Where People Gather
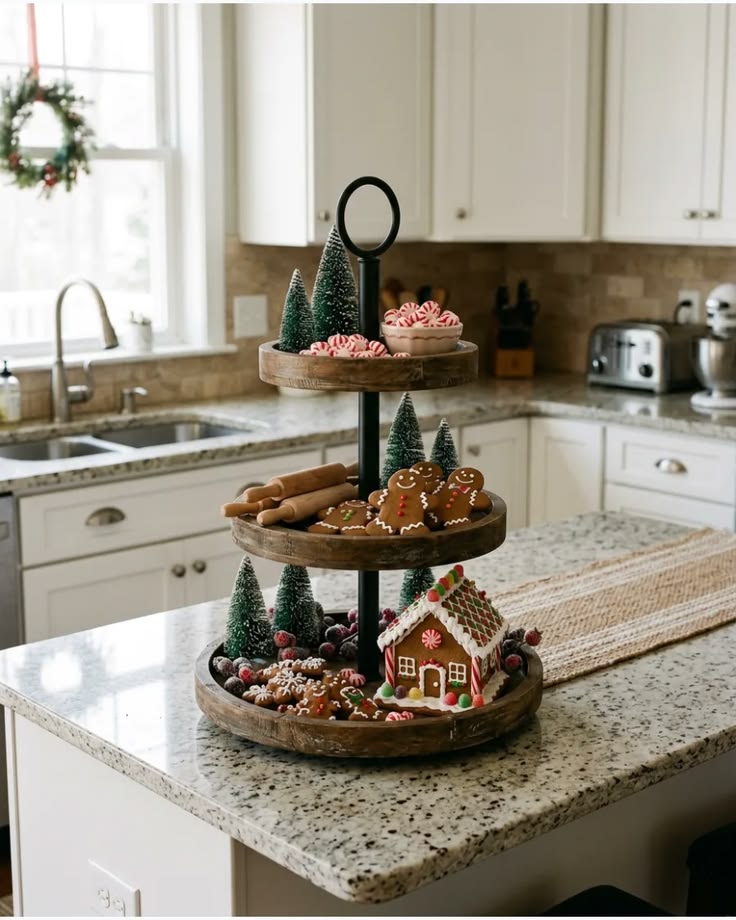
Where you place the tray matters as much as how you style it. This gingerbread tray sits on the corner of a granite island, right where everyone ends up with a coffee. The same tray in a quiet corner would never get the same audience.
Stack it so the top tier is the lightest. Here the top holds peppermints and bottle brush trees, the middle has cookies and rolling pins, and the house sits low where it is steadiest.
Before you commit, check that you can still reach the sink and stove without moving it.
12. Let Bright Color Do the Talking
A white tray is a blank page for saturated color.
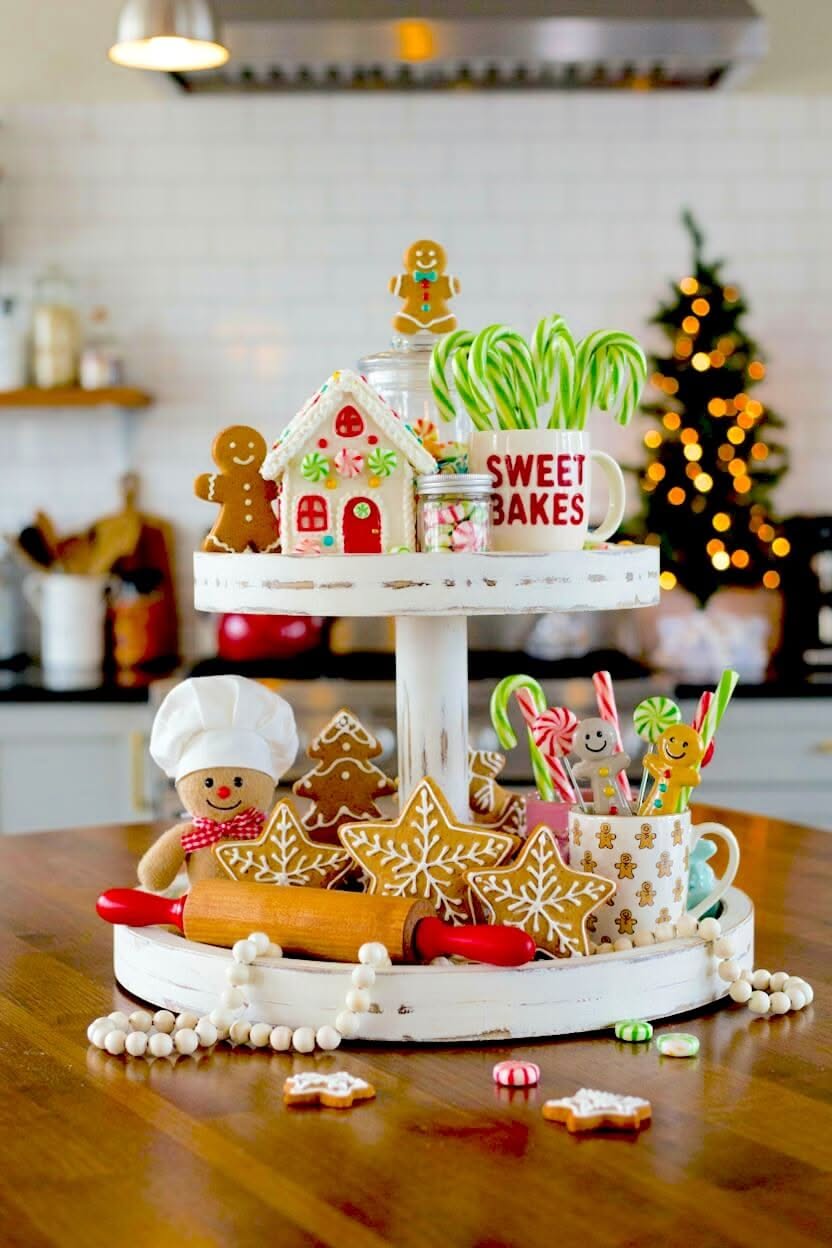
Red and green candy canes in a Sweet Bakes mug, a gingerbread house and golden star cookies all stand out against this chalky white stand. Nothing else is competing. That is the advantage of whitewashed wood: it hides nothing and flatters everything, so only bring in colors you love.
A bead garland around the base adds a soft, round texture to balance all those angles.

13. Add a Joke to Lighten the Look
A little humor keeps a tray from feeling precious.
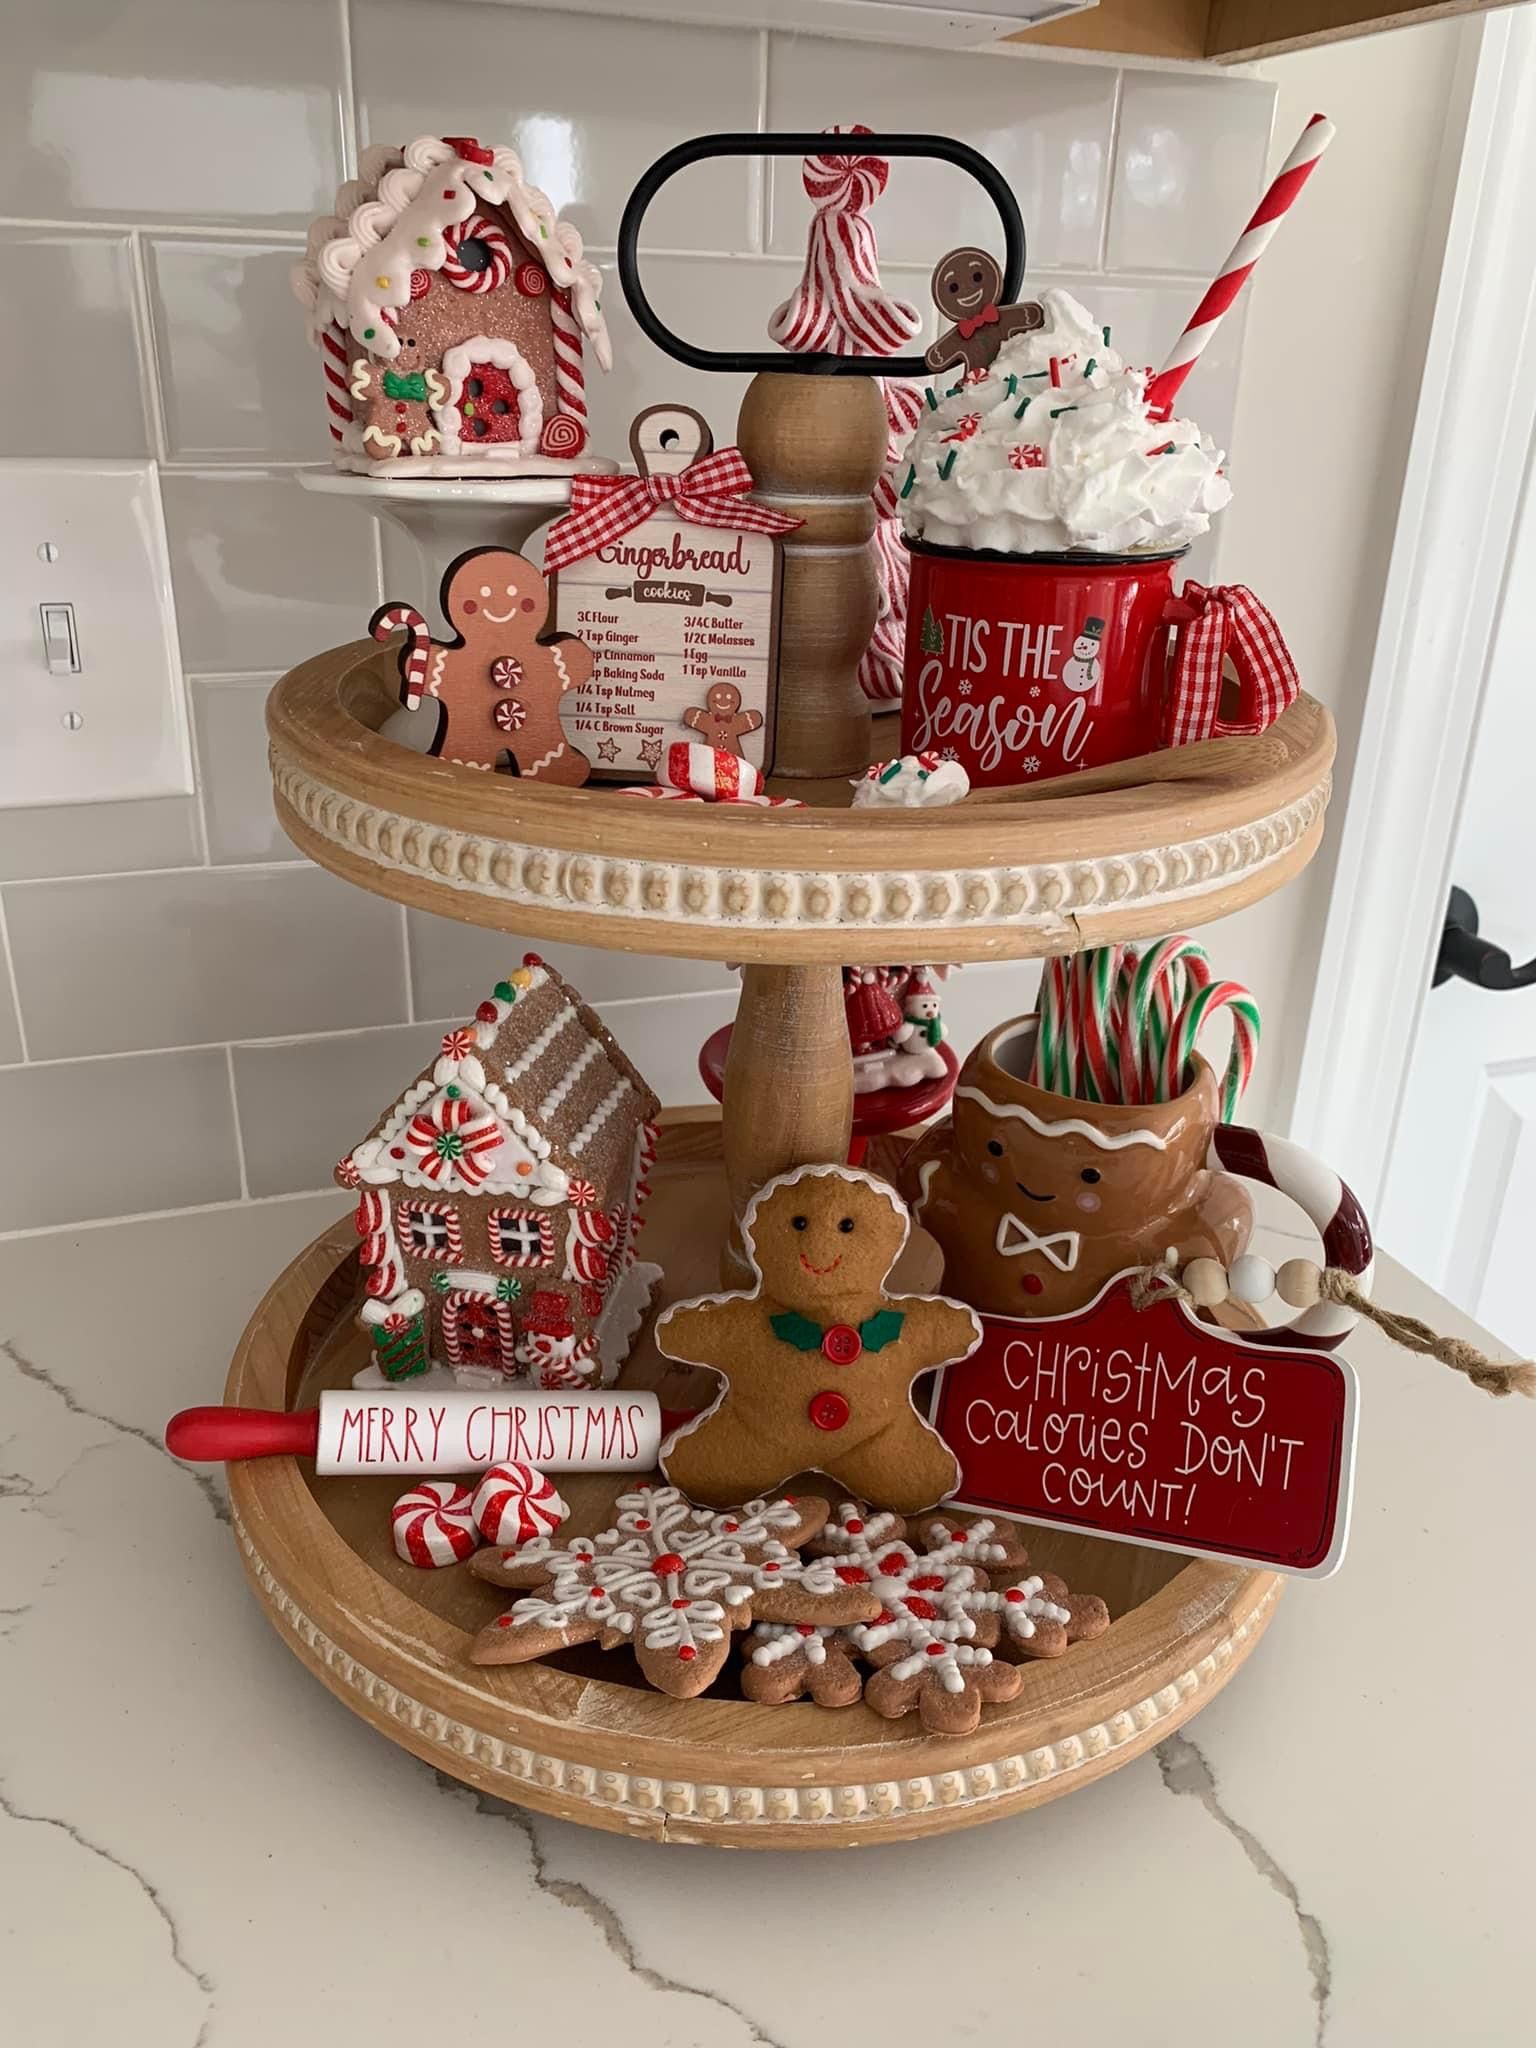
The Christmas Calories Don't Count sign is the line guests will repeat. It works because the rest of the tray is genuinely pretty: a beaded wood stand, gingerbread houses and a mug with a whipped-cream topper.
- Limit yourself to one joke per tray. After that it becomes a gift shop.
- Lean the sign at a slight tilt rather than setting it square, which looks more relaxed.


14. Tell a Little Story
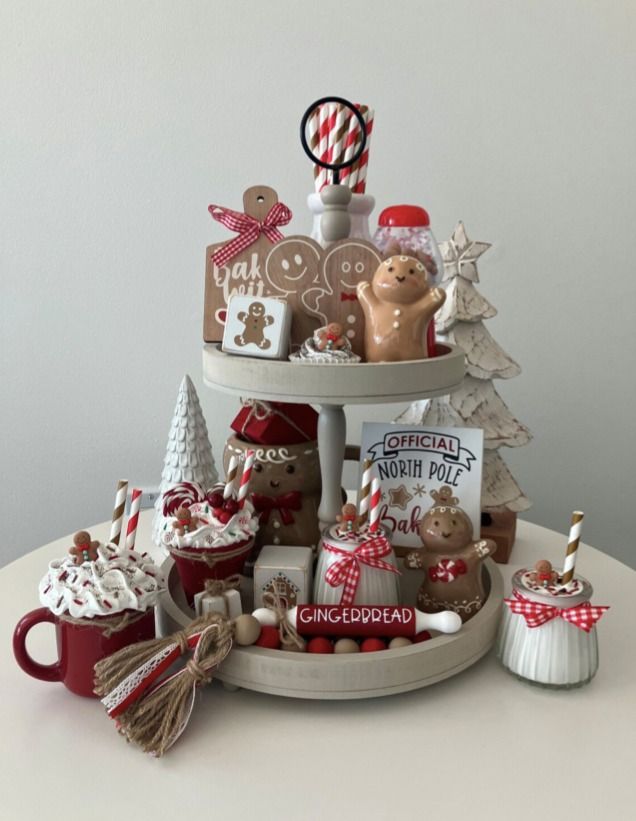
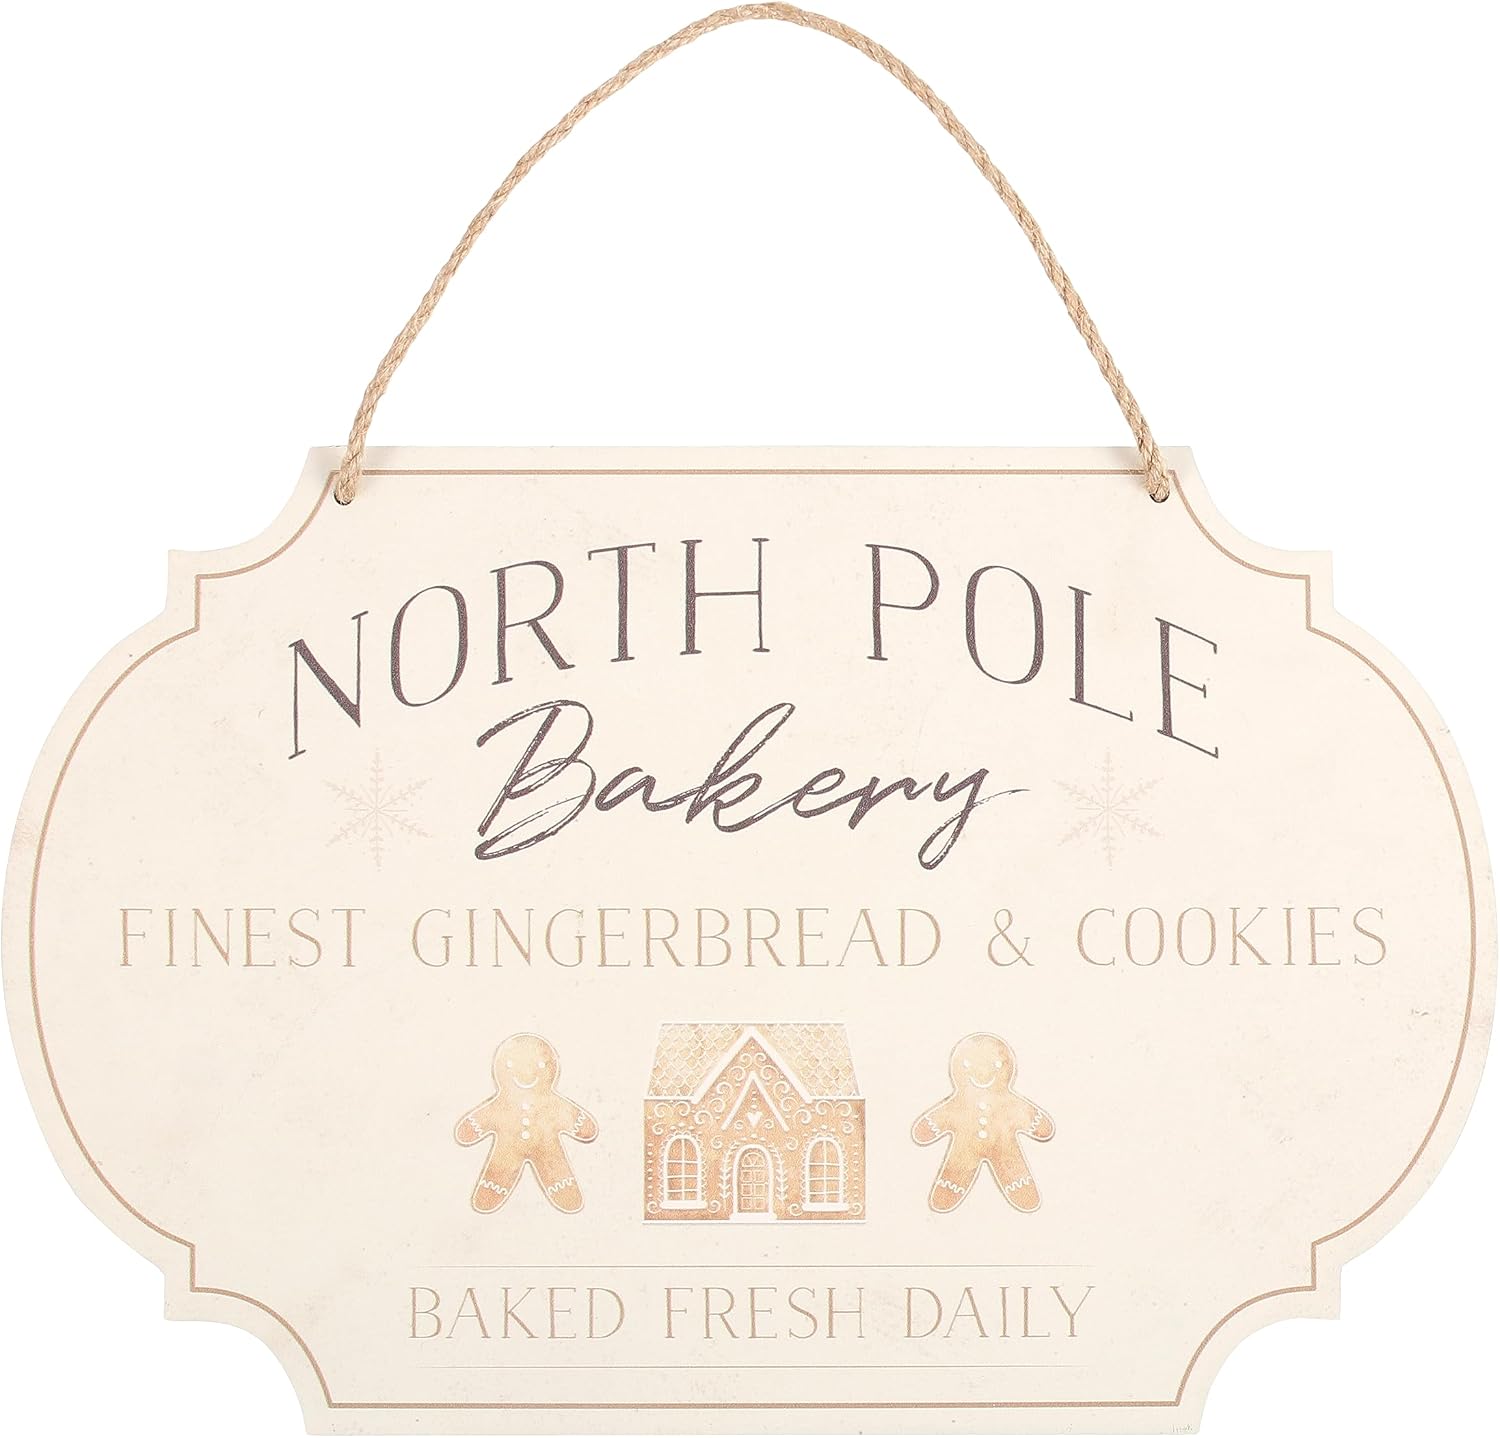
The best themes have a story you can say out loud. This one is a bakery at the North Pole. There is a sign saying so, gingerbread figures, cupcakes with striped straws and a tiny rolling pin, and every piece belongs in a baker's world.
- Ask yourself whether the objects would really share a room. If they would, you have a story. If not, cut what doesn't fit.
- And stay with odd numbers. Three gingerbread figures look right. Two or four look arranged.

15. Anchor the Bottom With Something Heavy
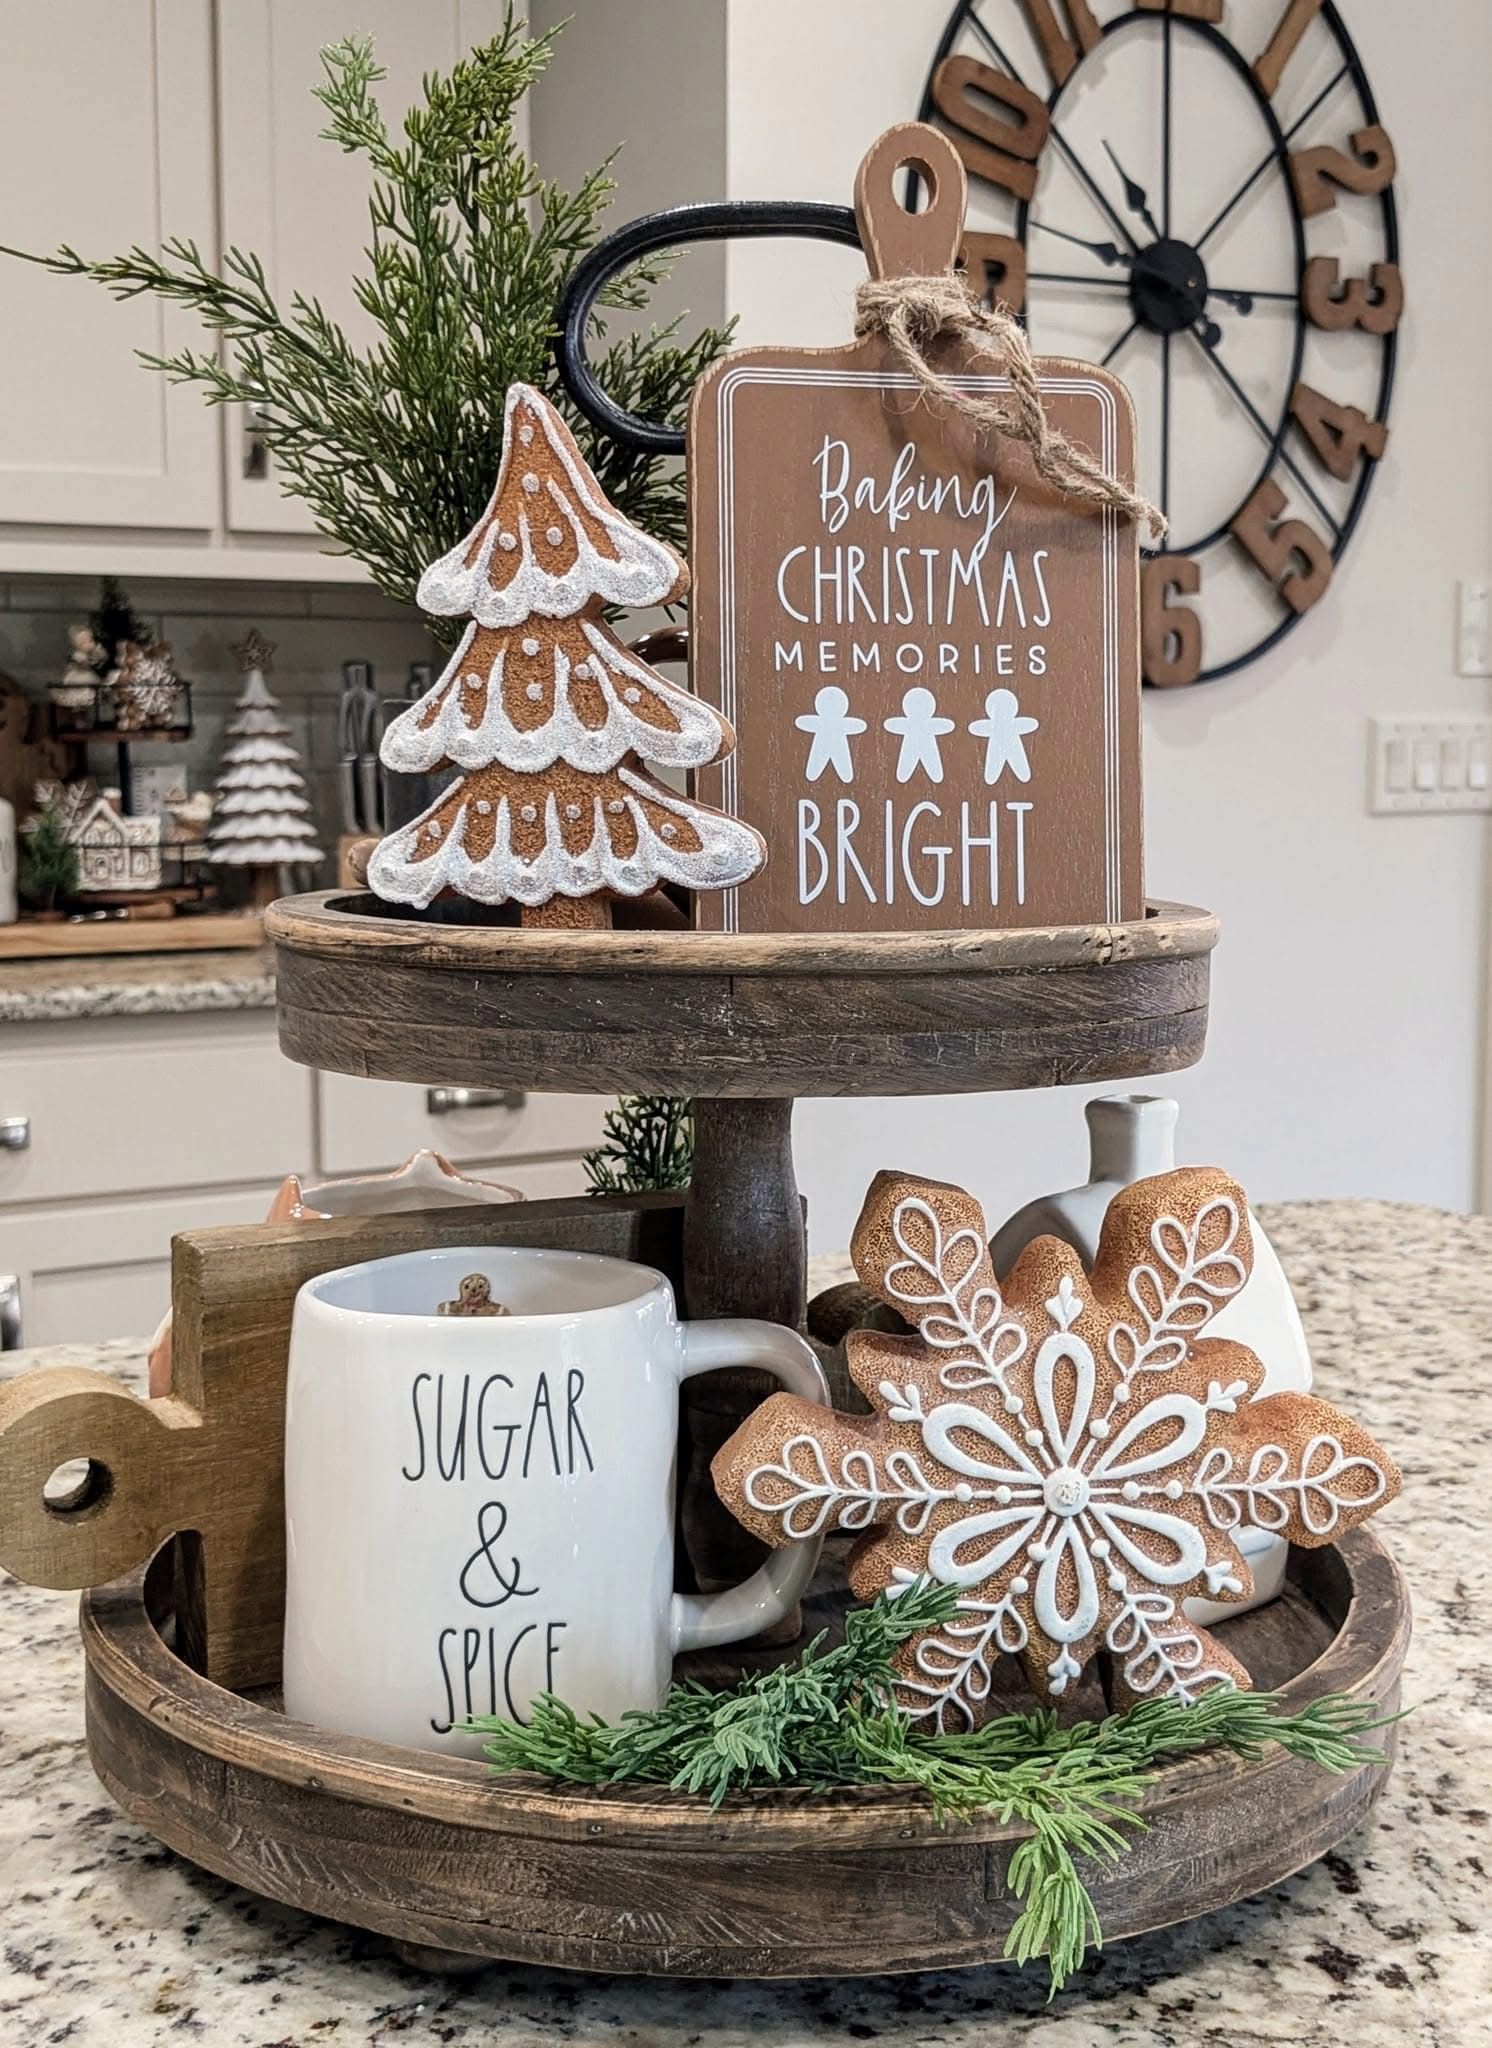
Every tray needs one visual weight. On this dark wood stand it is the big Sugar and Spice mug and a snowflake cookie. Lighter, patterned pieces, like the tree cookie and a Baking Christmas Memories board, can float above them.
Put your largest and darkest pieces low, and let the airy things rise. A sprig of fresh cedar tucked at the front adds scent and free green. Swap it every week or so before it dries out.
16. Pair Cool Metal With Warm Wood
Contrast in material is the quickest upgrade for any tray.
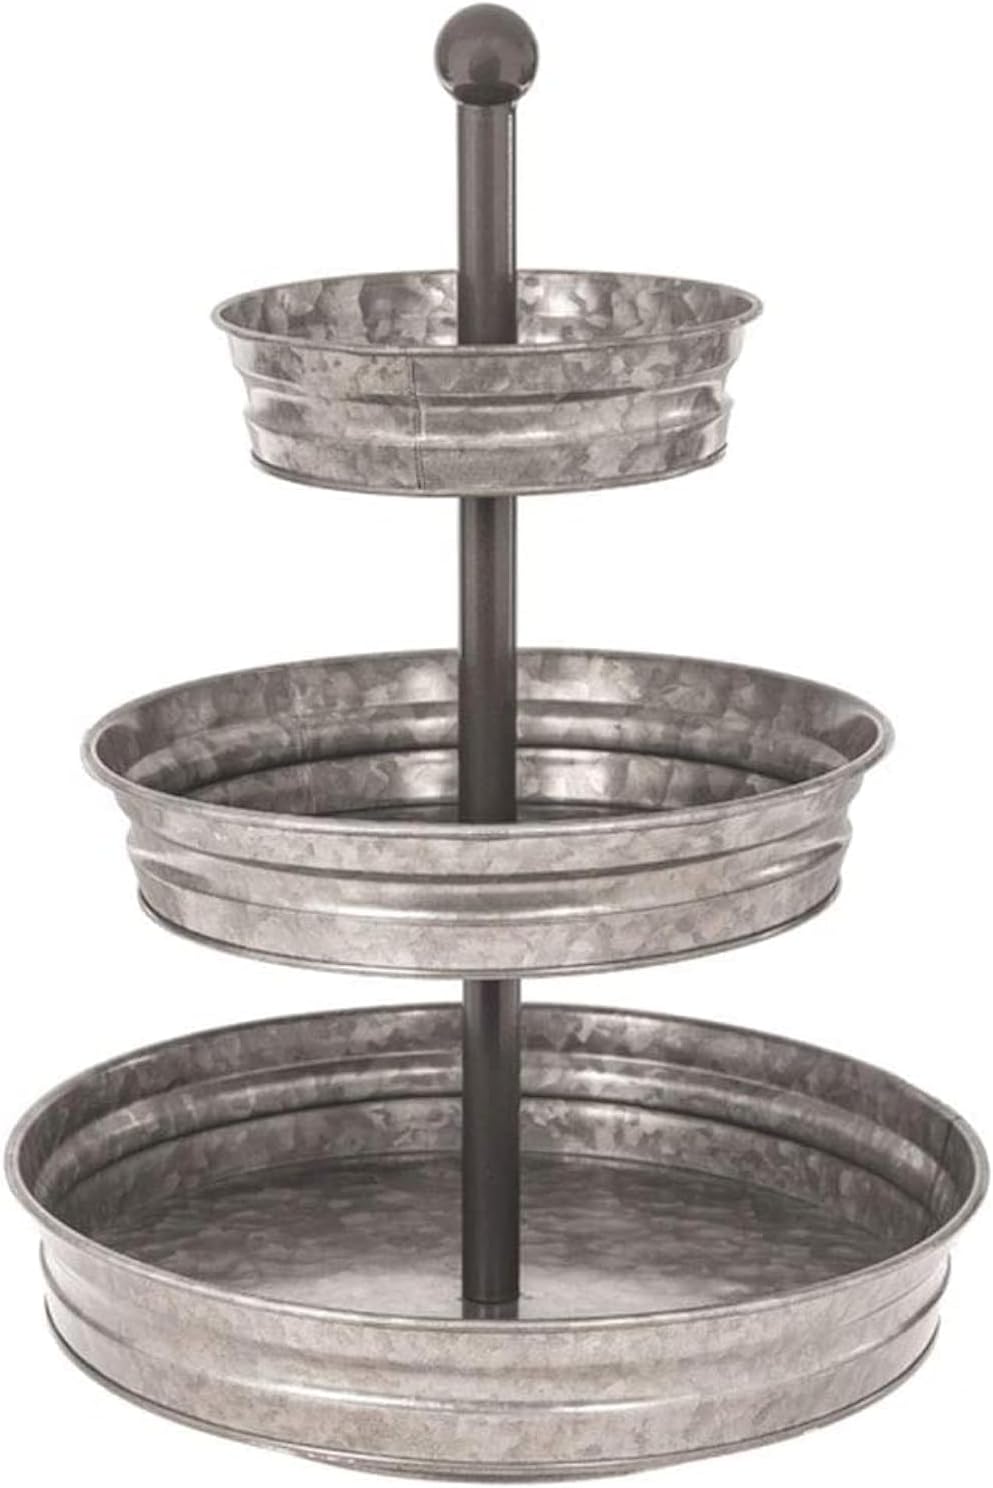
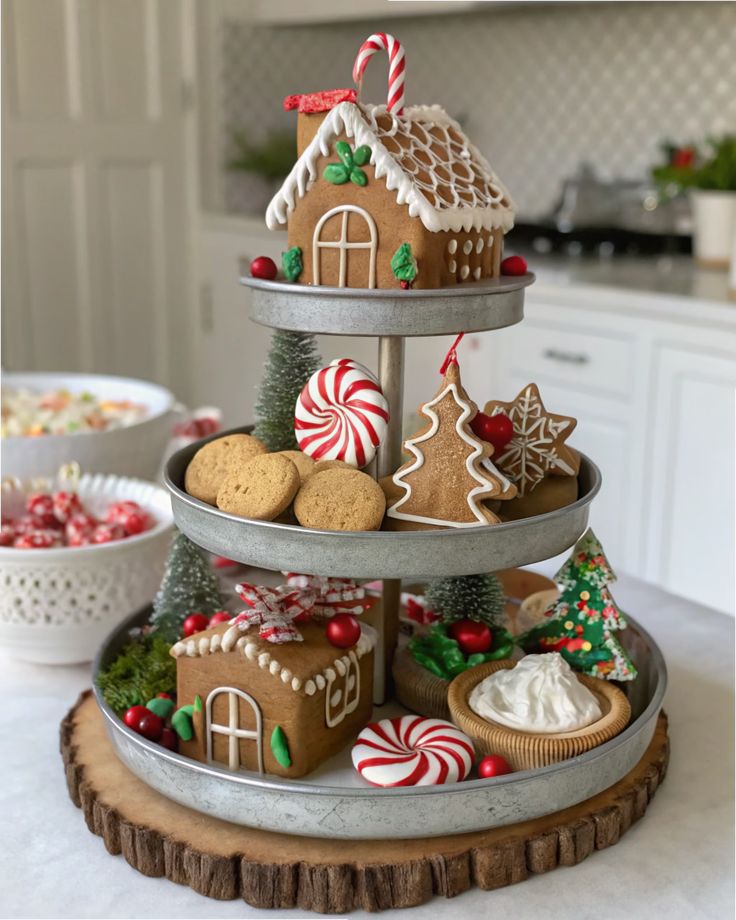
A galvanized three-tier sitting on a thick slice of wood gets two textures before a single decoration goes on. A gingerbread house tops the stack, cookies fill the middle and peppermints and bottle brush trees tuck around a second house below.
If you don't own a wood slice, a cutting board or a woven mat under the tray does the same job.
Raising the whole stand off the counter makes it read as a centerpiece.
17. Group Figures in Threes
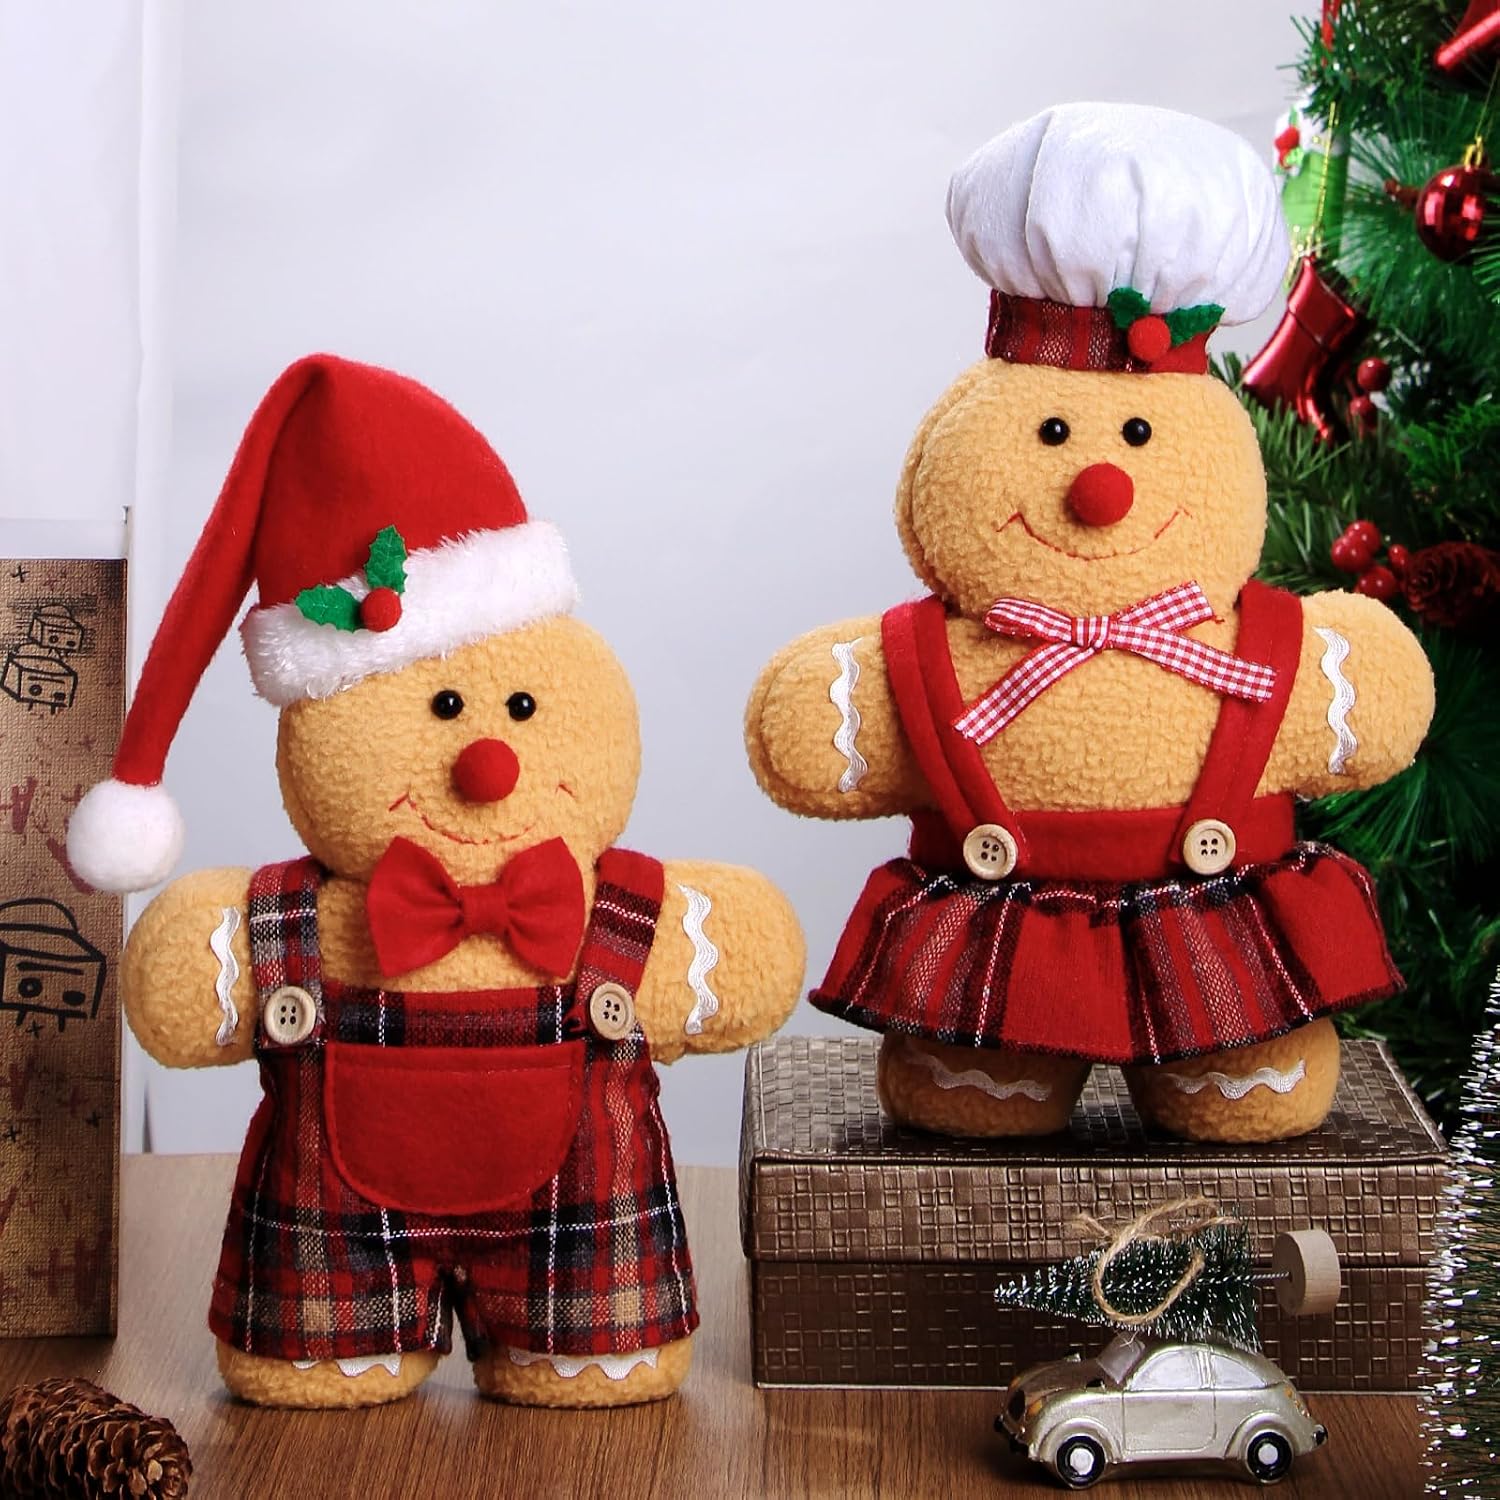
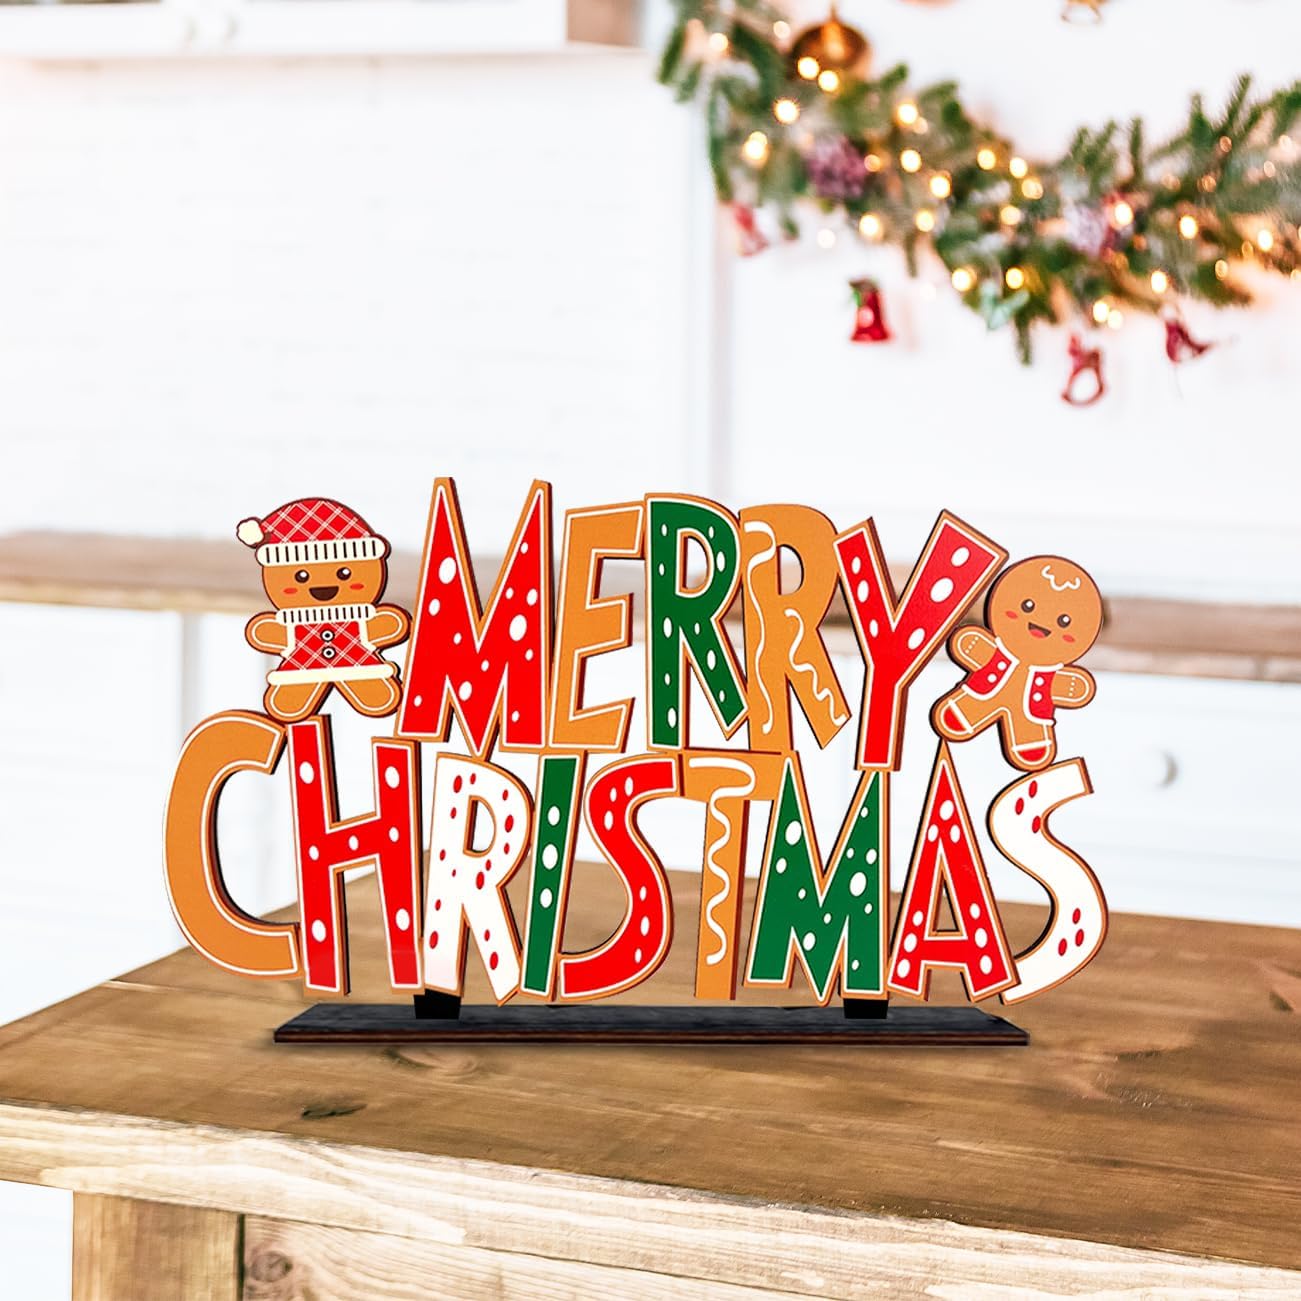
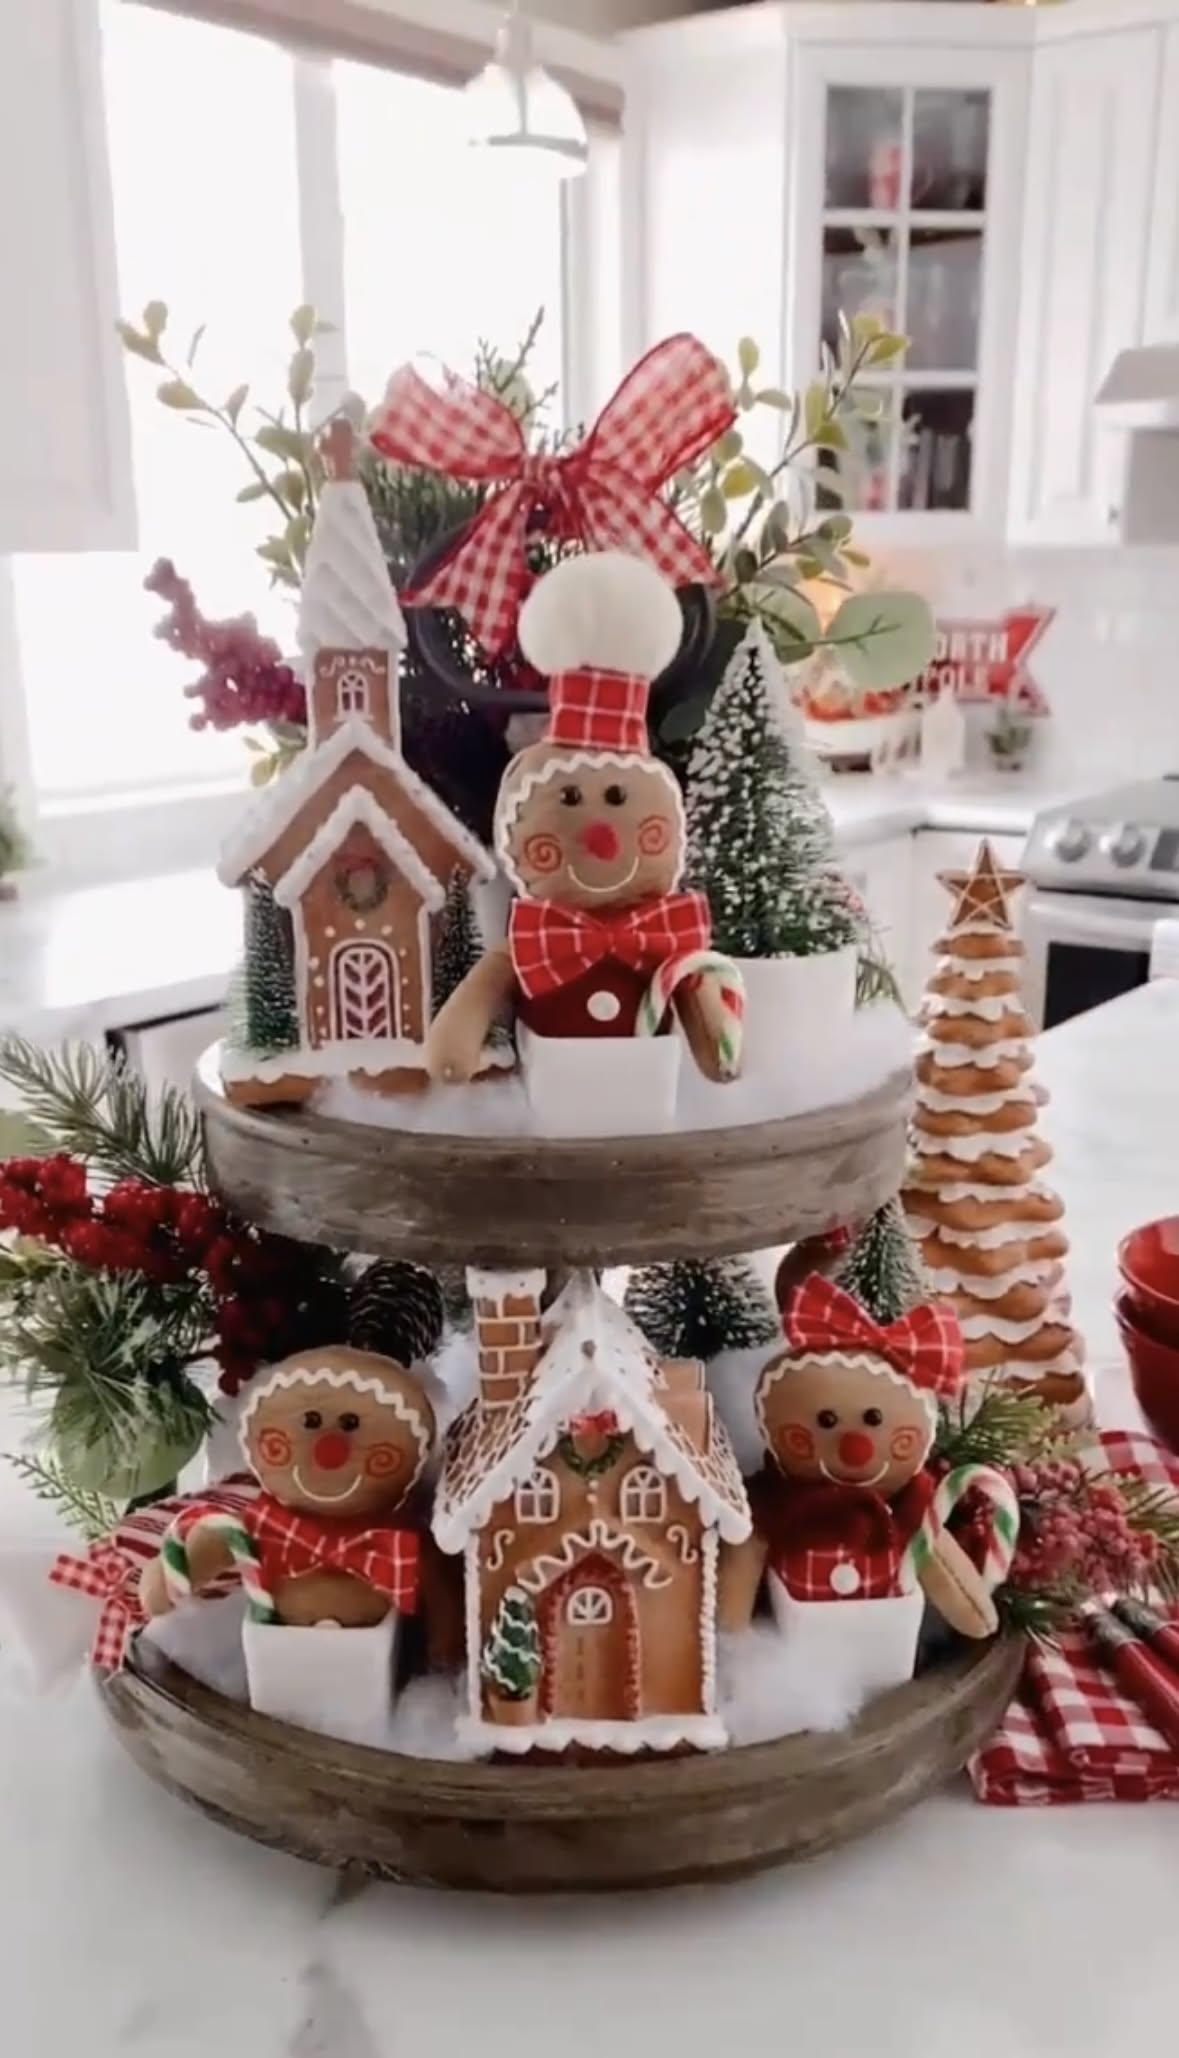
Designers return to the number three for a reason. Count the gingerbread figures on this tray. A chef in a red hat leads on top, two more guard the houses on the bottom, and everything repeats in small groups. The eye moves naturally from one cluster to the next.
Place your biggest figure off-center. Dead center looks stiff.
A red check cloth under the base ties the whole thing back to the kitchen.

18. Choose Words You Actually Mean
Pick signs that say something true for your home.
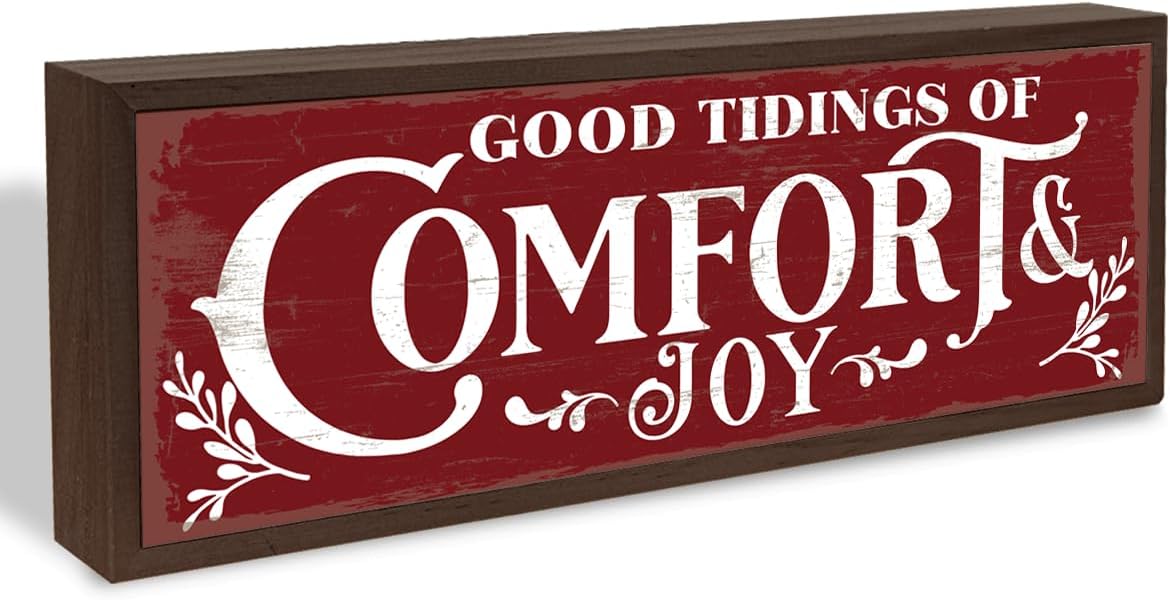
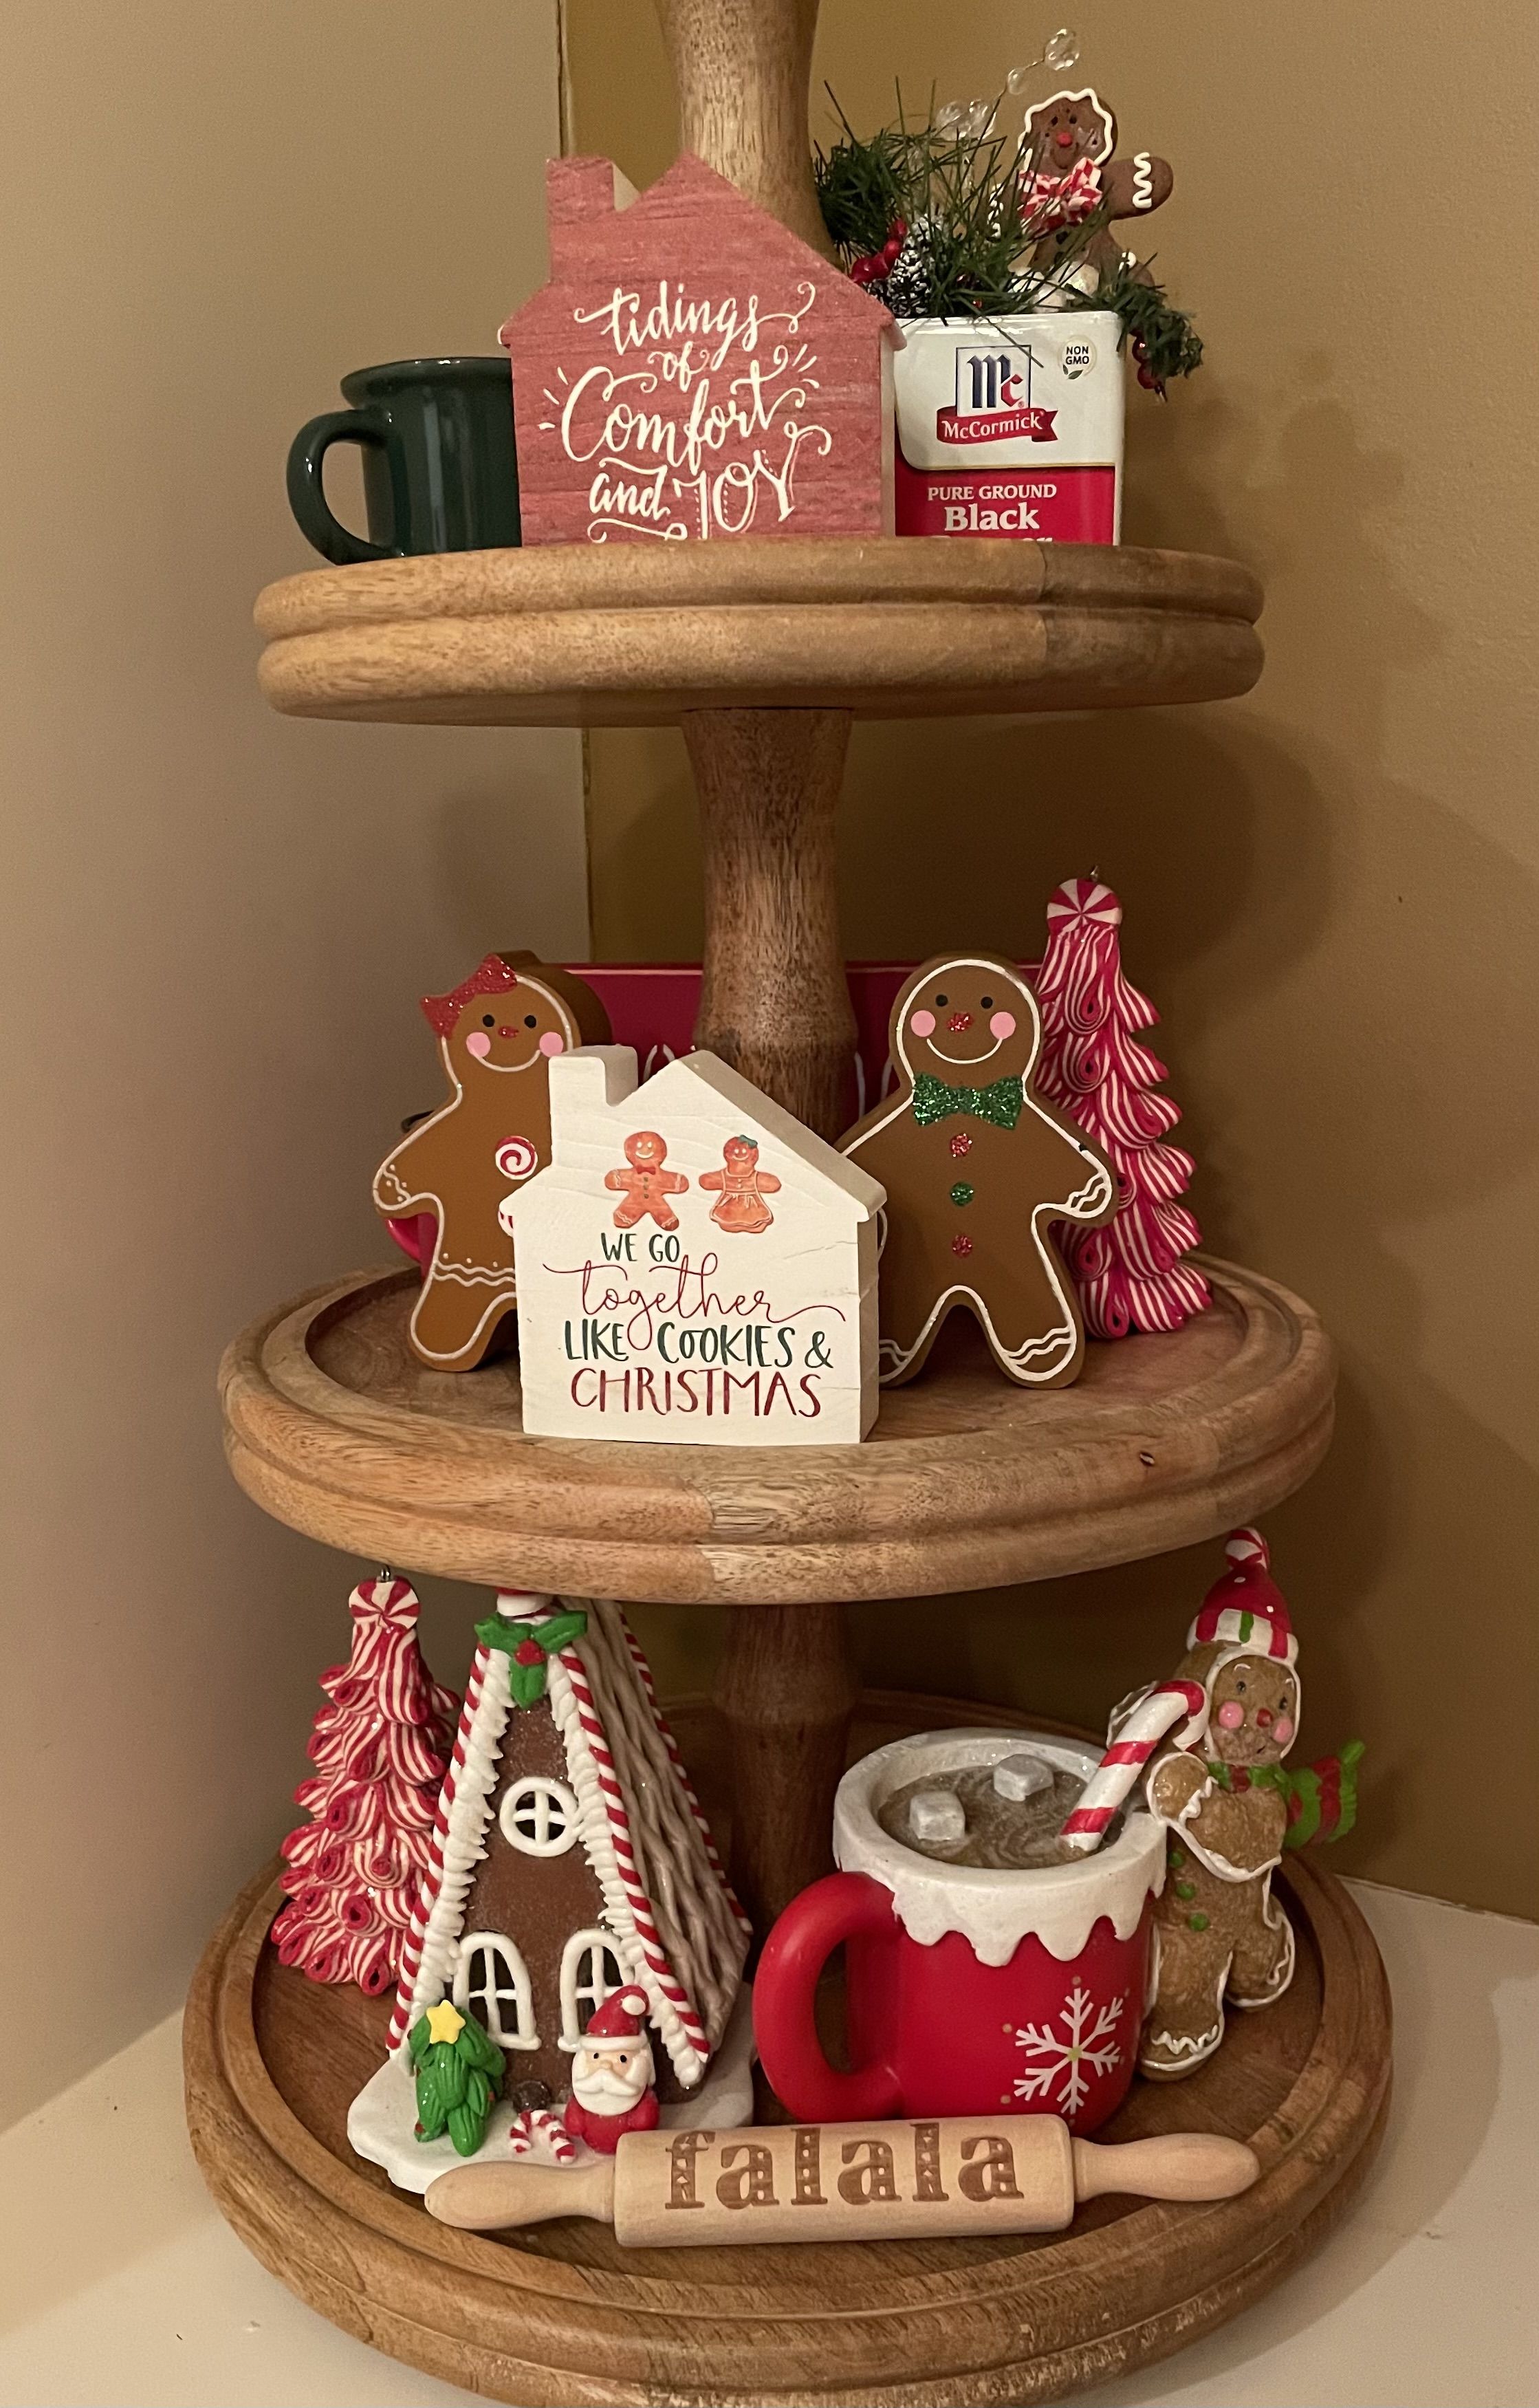
Tidings of Comfort and Joy sits at the top of this three-tier, and We Go Together Like Cookies and Christmas stands on a little wooden house in the middle. Both are short, warm and easy to read from across the room.
- Two signs per tray is the sweet spot. Three starts to look like a shop display.
- A rolling pin stamped with falala adds a bit of lettering without feeling wordy, because it is a prop first and a sign second.
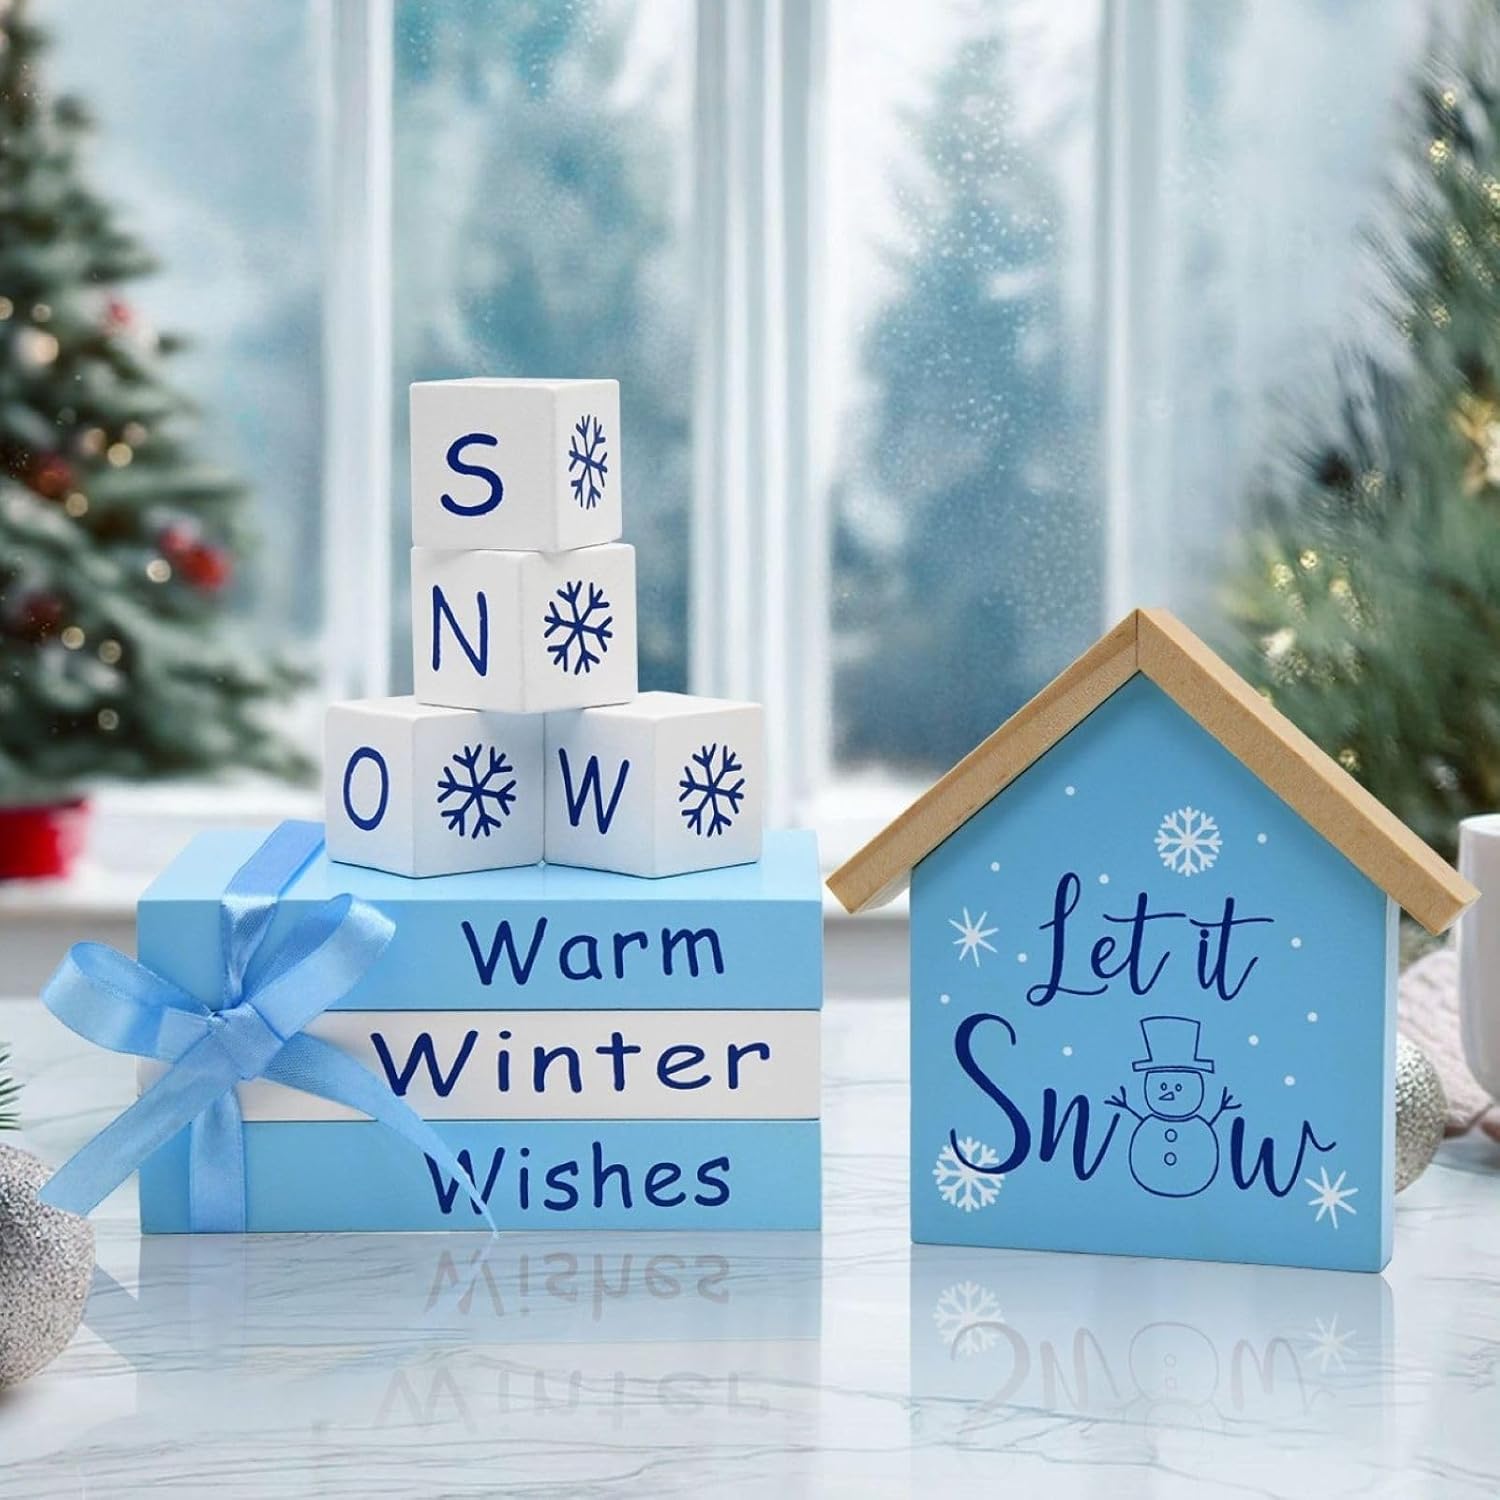
19. Try Blue for a Fresh Take on Snowmen
Blue is a calm break from the usual red.
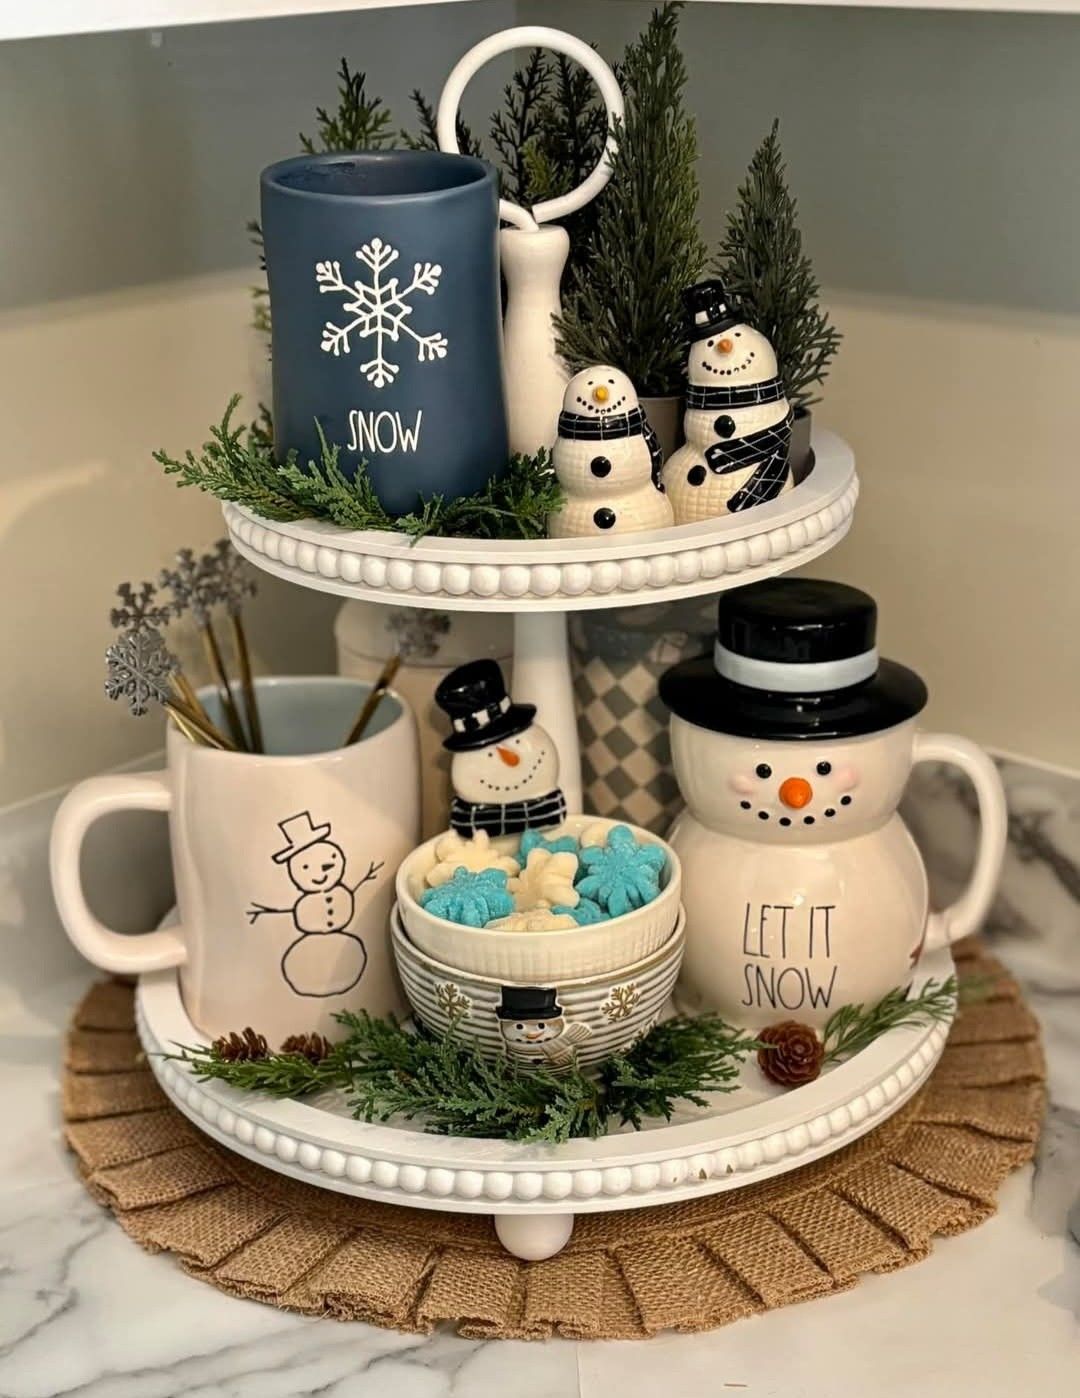
A navy snowflake mug anchors this white beaded tray, and snowman salt and pepper shakers keep the mood light. A bowl of icy blue candies picks up the color again.
Snowmen can stay out until the end of February, since they celebrate winter and not just Christmas. That's a good reason to spend on pieces you will use for months. Put a burlap mat under the stand to protect the counter and warm up all that white.
20. Let Painted Wood Do the Heavy Lifting
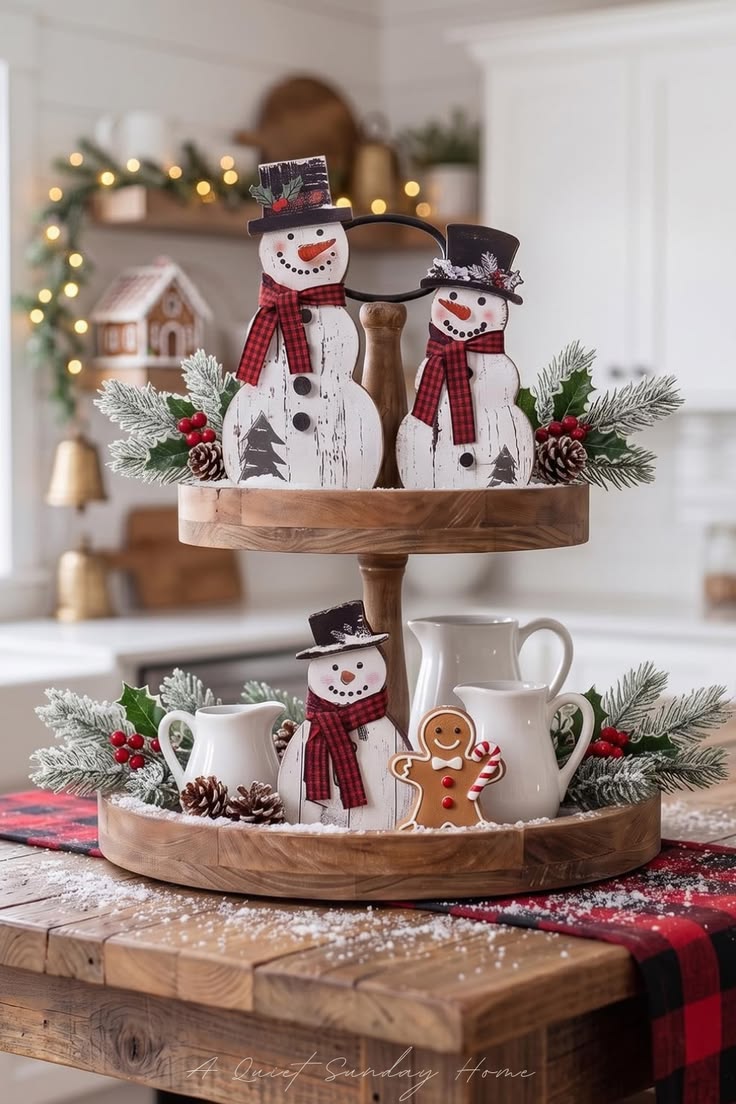
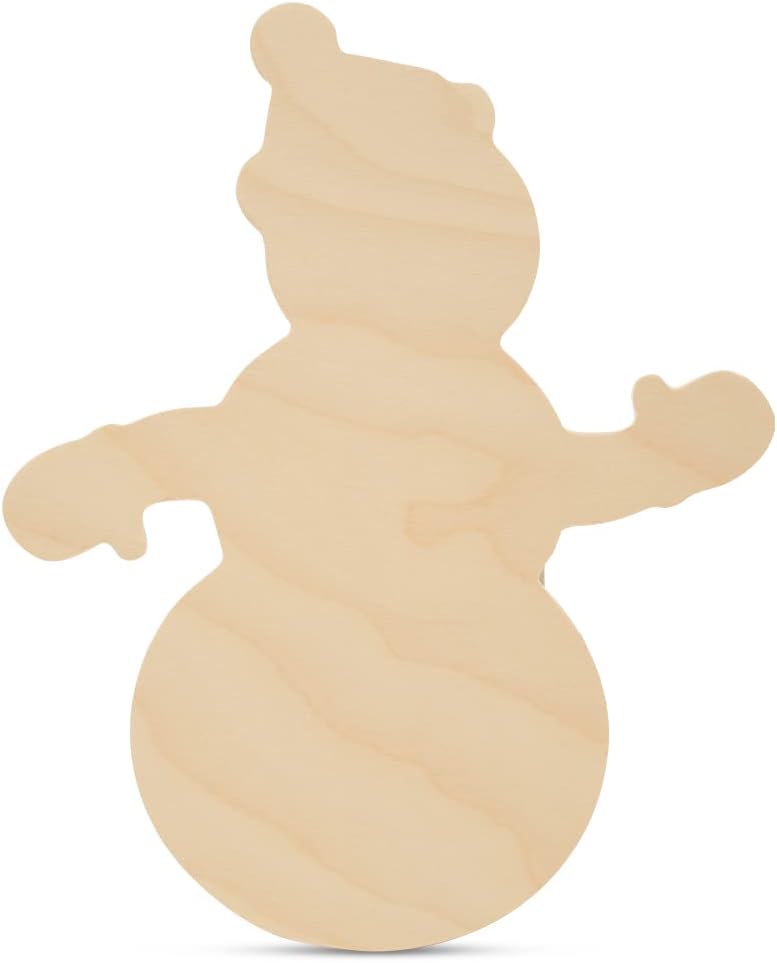
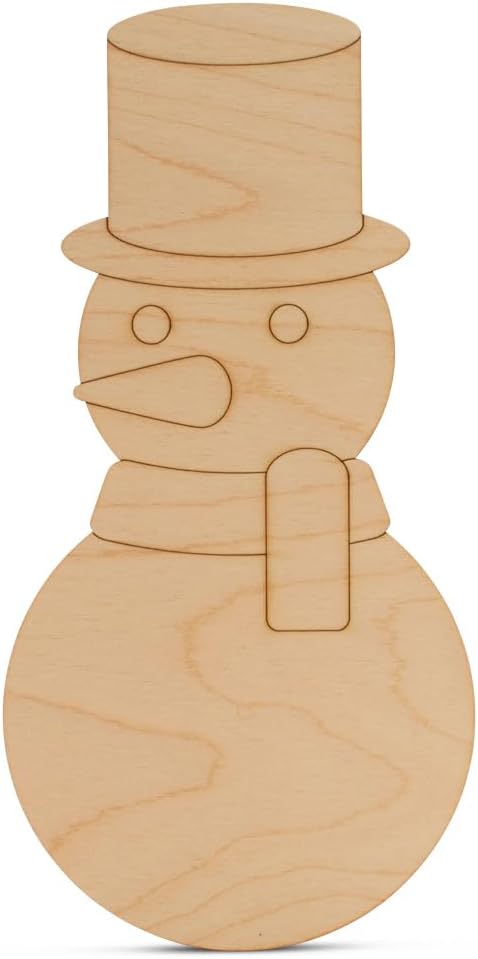
Wood cutouts are inexpensive, light and nearly unbreakable, which makes them ideal in a house with kids or pets.
Two snowmen in plaid scarves stand upright on this pedestal tray. Because they are flat, they take almost no space, and there is room left for white pitchers and a gingerbread cookie.
Quick tip: Prop cutouts against the center post so they don't topple.
A plaid runner under the tray repeats the scarves. That small echo is what makes it look styled.
21. Treat Your White Dishes Like a Collection
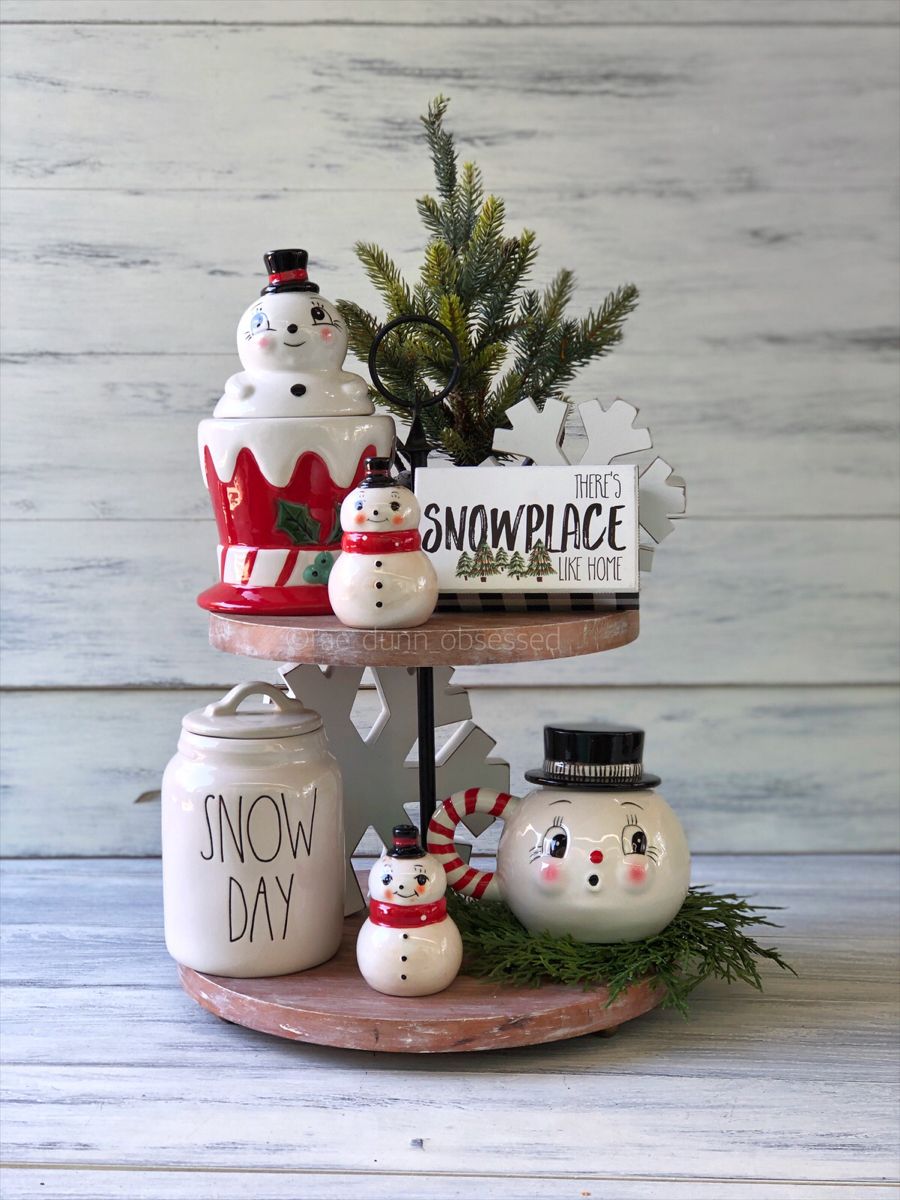
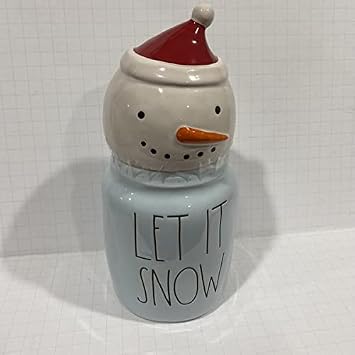
White ceramics are the secret weapon of winter decor. A snowman cookie jar, a Snow Day canister and a few little figures read as one family here because they share a color, even though the shapes are all different.
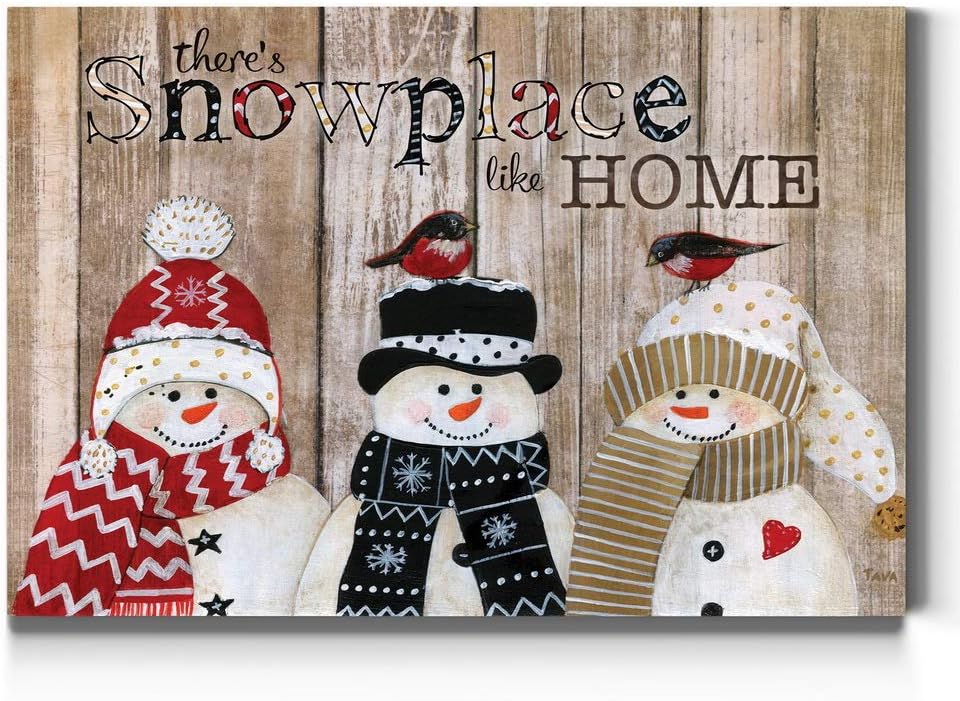
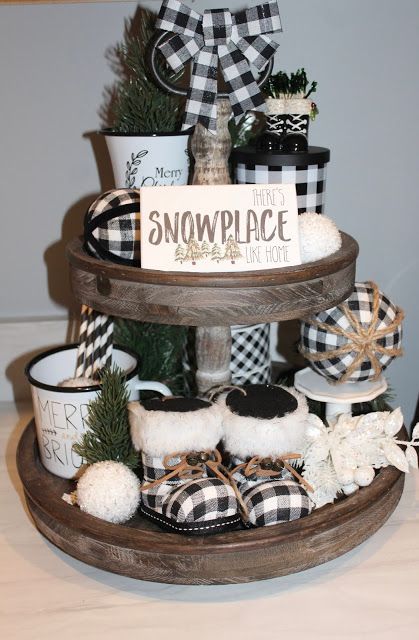
Keep the sign small and let the ceramics lead. A There's Snowplace Like Home block does the job.
A mini tree adds a pop of green so the whole thing doesn't wash out.
22. Make Your Own Sign
A handmade sign is worth more than anything off a shelf.
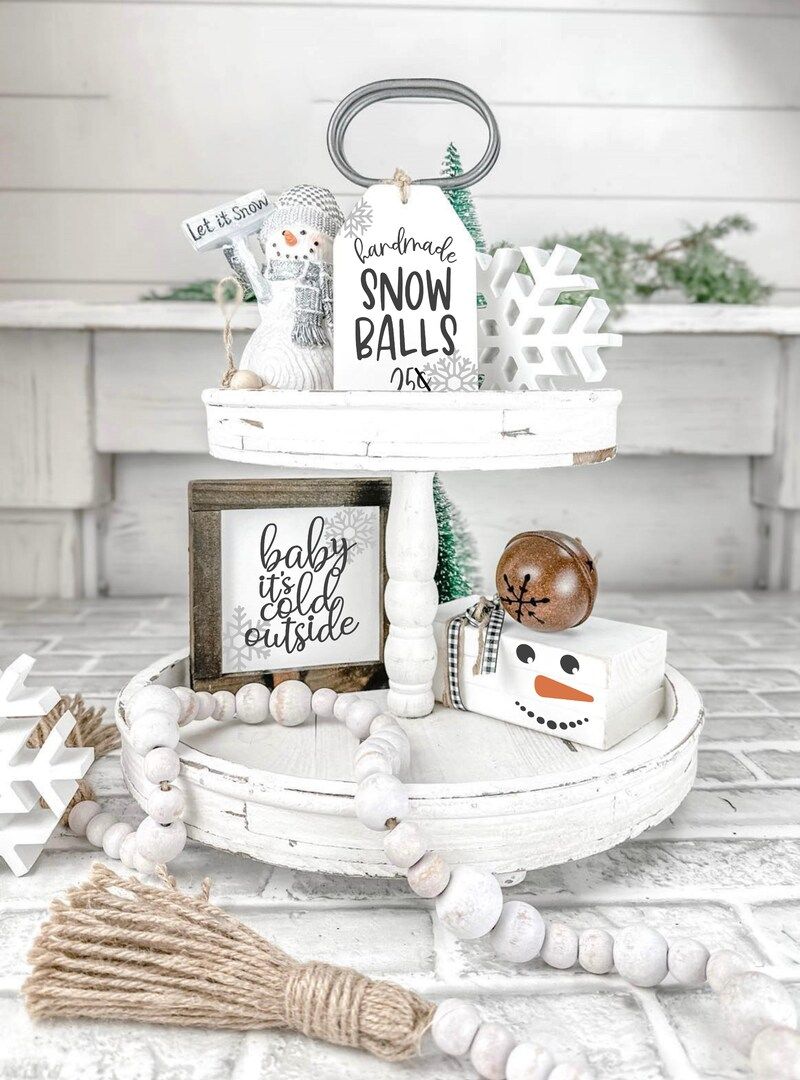
The Snow Balls 25 cents tag here is the star, and it is the easiest piece in the whole tray to copy. A scrap of wood, a marker and a loop of twine will take you ten minutes. Bead garlands are the cheapest way to soften a tray. Wrap one loosely around the base and let the tassel hang.
Keep the palette to white, natural wood and a little black, and nearly any sign will fit.

23. Light It From Within
Tiny lights turn a nice tray into a memorable one.
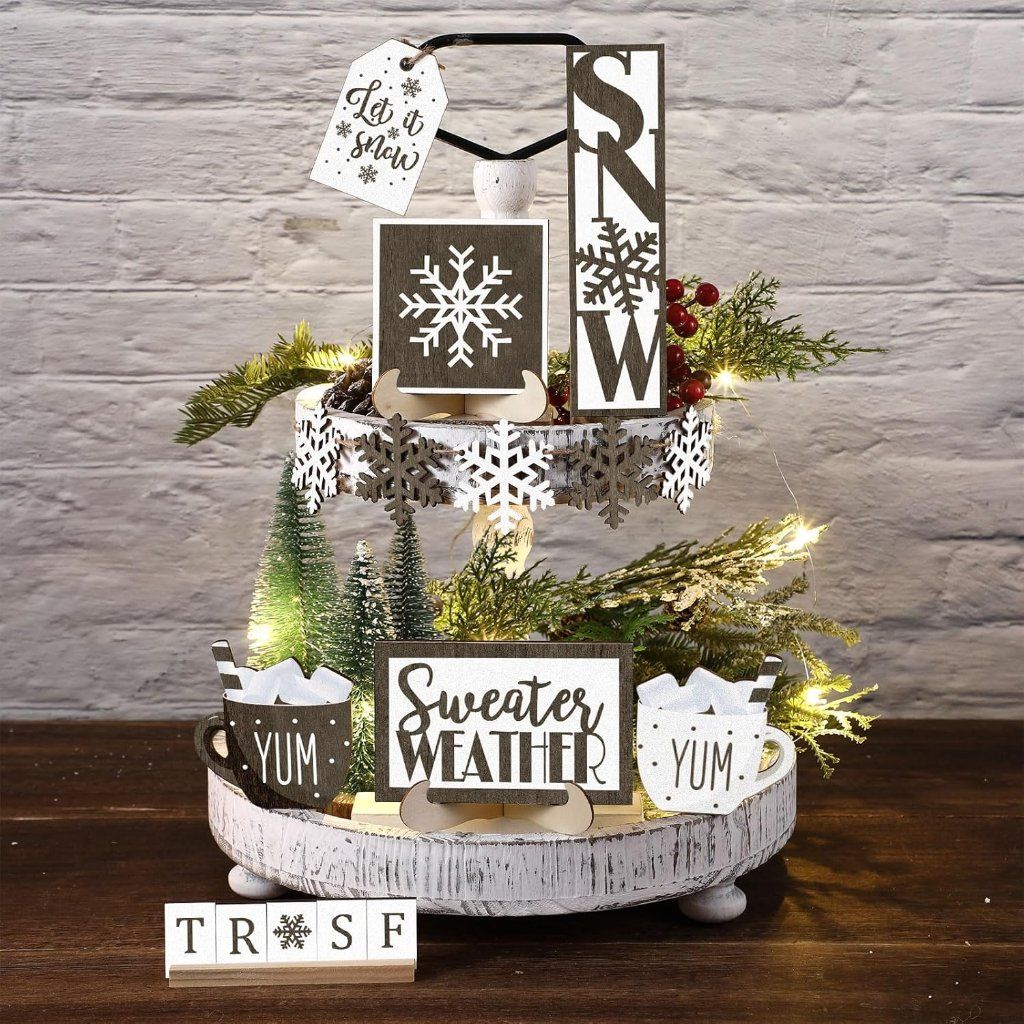
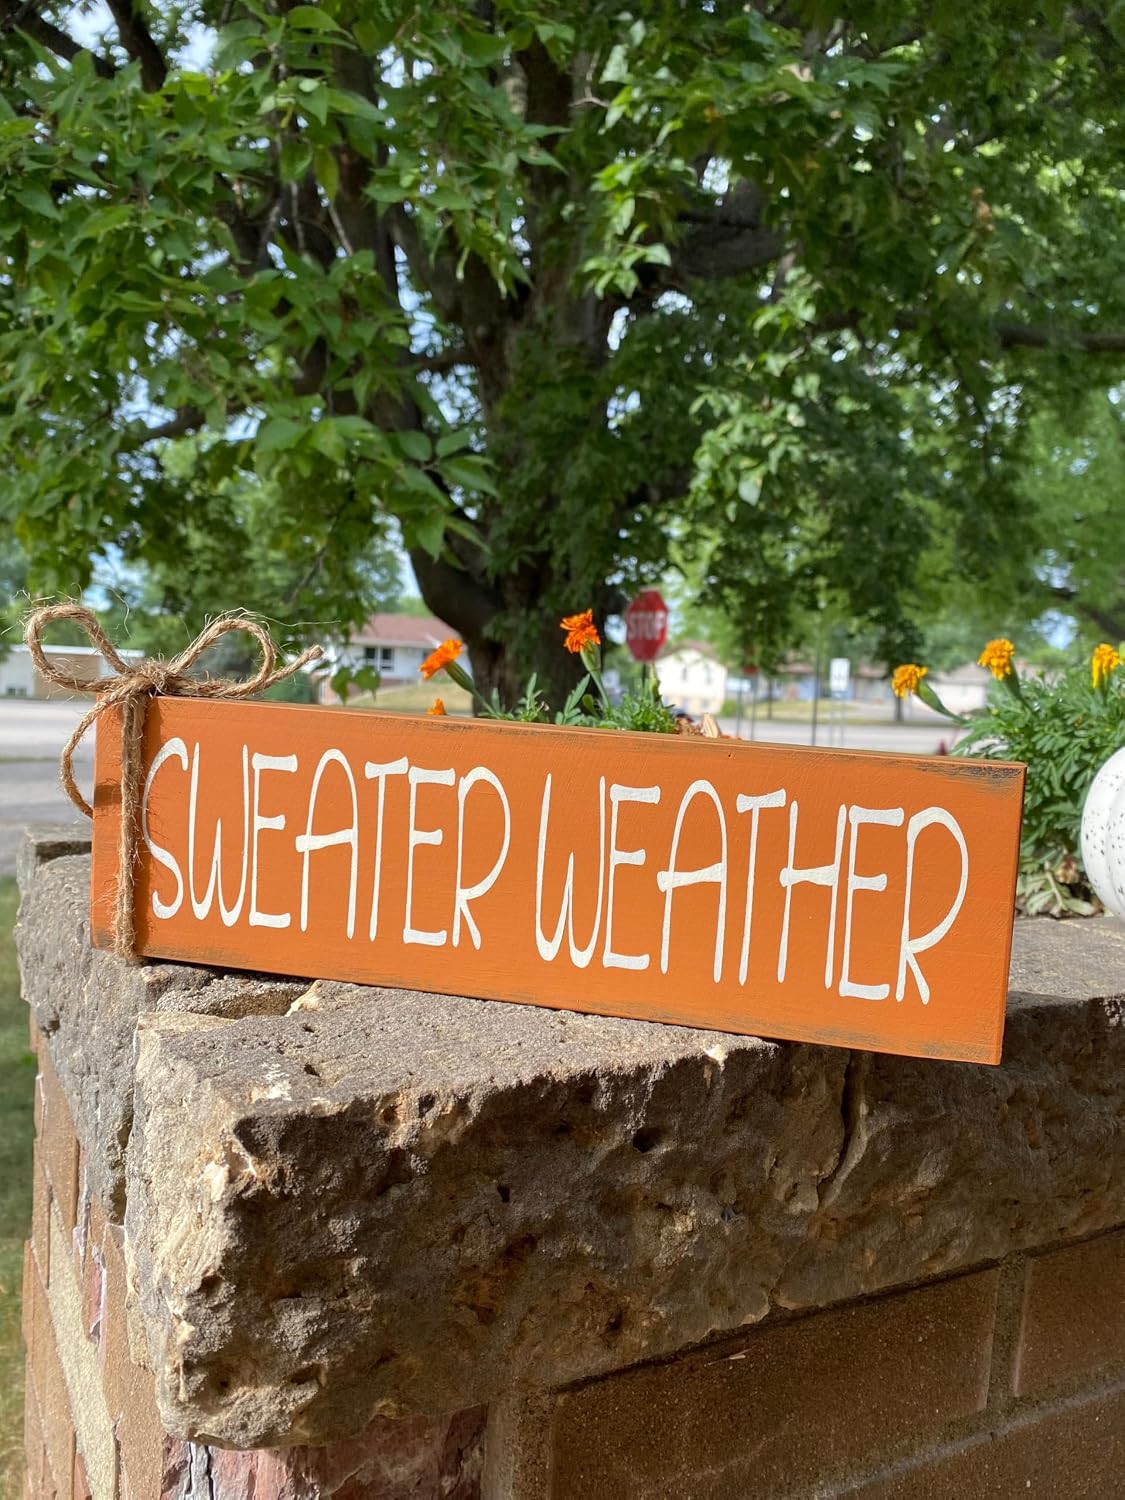
A string of warm lights hides in the greenery of this whitewashed stand, so the SNOW letters and the Sweater Weather sign glow against the brick wall.
- Choose copper-wire lights with a built-in timer, so they come on at dusk without you remembering. Warm white only. Cool white looks like an office.
- The tall letters give you height. The lights give you mood.
24. Add a Gnome for Height
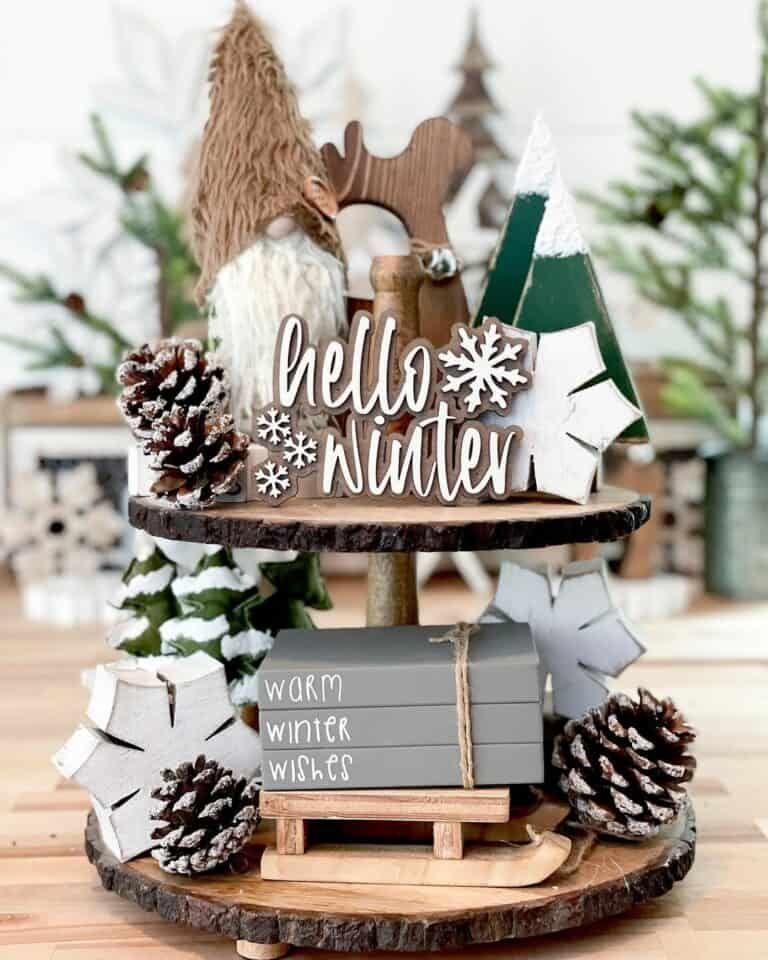
The easiest way to add height is a tall, soft shape. The long felt gnome on this wood-slice tray stretches the design upward, while pinecones keep the base heavy.
- Soft textures like felt and faux fur make a good counterpoint to wood and plastic. Choose a gnome with a hidden face if you can, which looks calmer than a smiling one.
- Stack a few small books at the front and the tray gets a layer for free.
25. Crown It With a Statement Piece
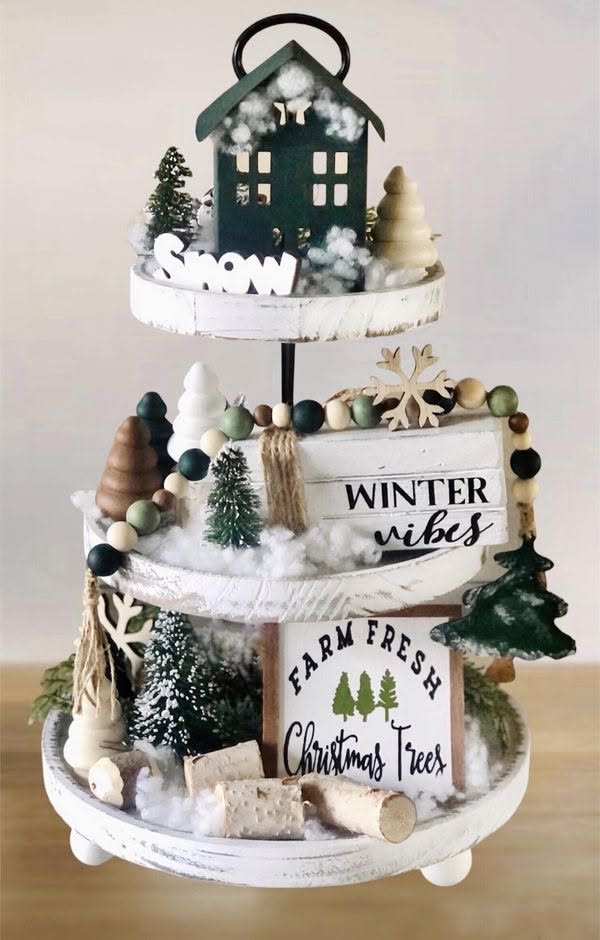
Every tiered tray needs a finial. A dark green house dusted with snow sits on top of this whitewashed stand like the cherry on a sundae. Signs, wooden beads and cotton snow below support it without competing.
A dark piece on top draws the eye first, so use your best item there. Fluff cotton batting around the base for snow, but keep it well away from any candle.
26. Say What Your Palette Is in Three Words
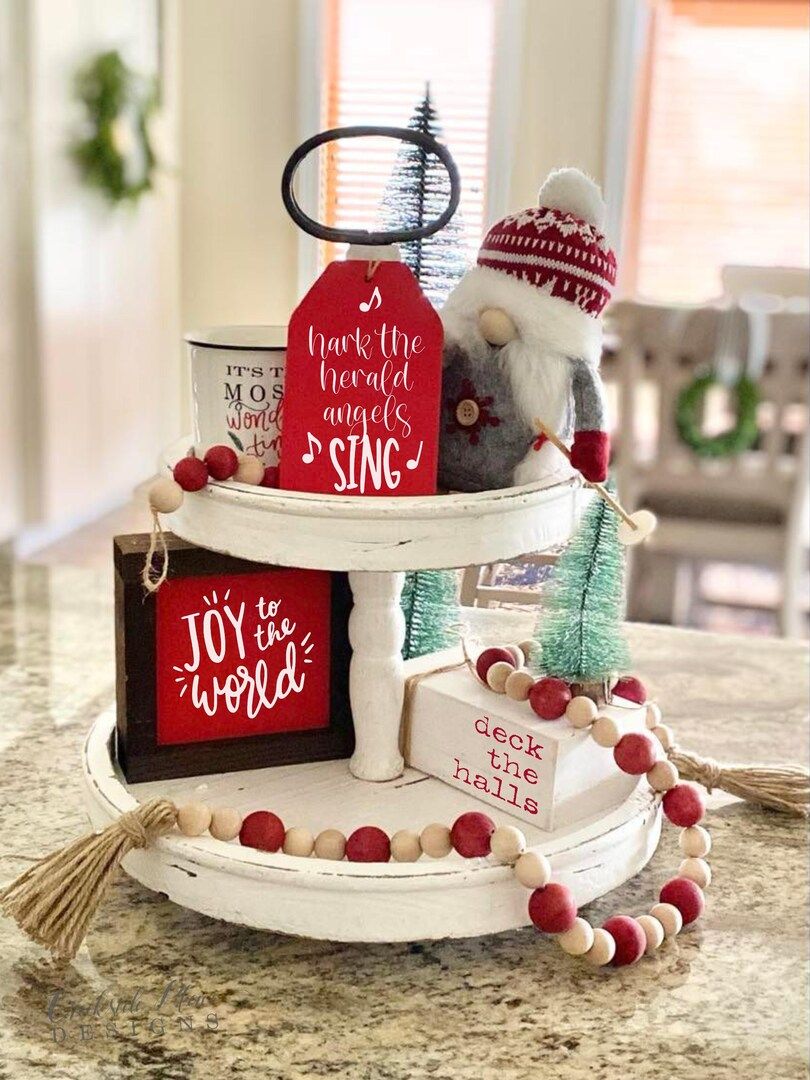
Count the colors on this tray: red, white and a touch of green. That is it.
A Hark the Herald tag, a Joy to the World sign and a red and cream bead garland all share the same two colors, so the carol theme feels like one idea and not several.
Beads are an easy way to repeat your palette. Wind them around the stand and let the tassel fall over the edge.
If you can't name your palette in three words, there are probably too many colors.

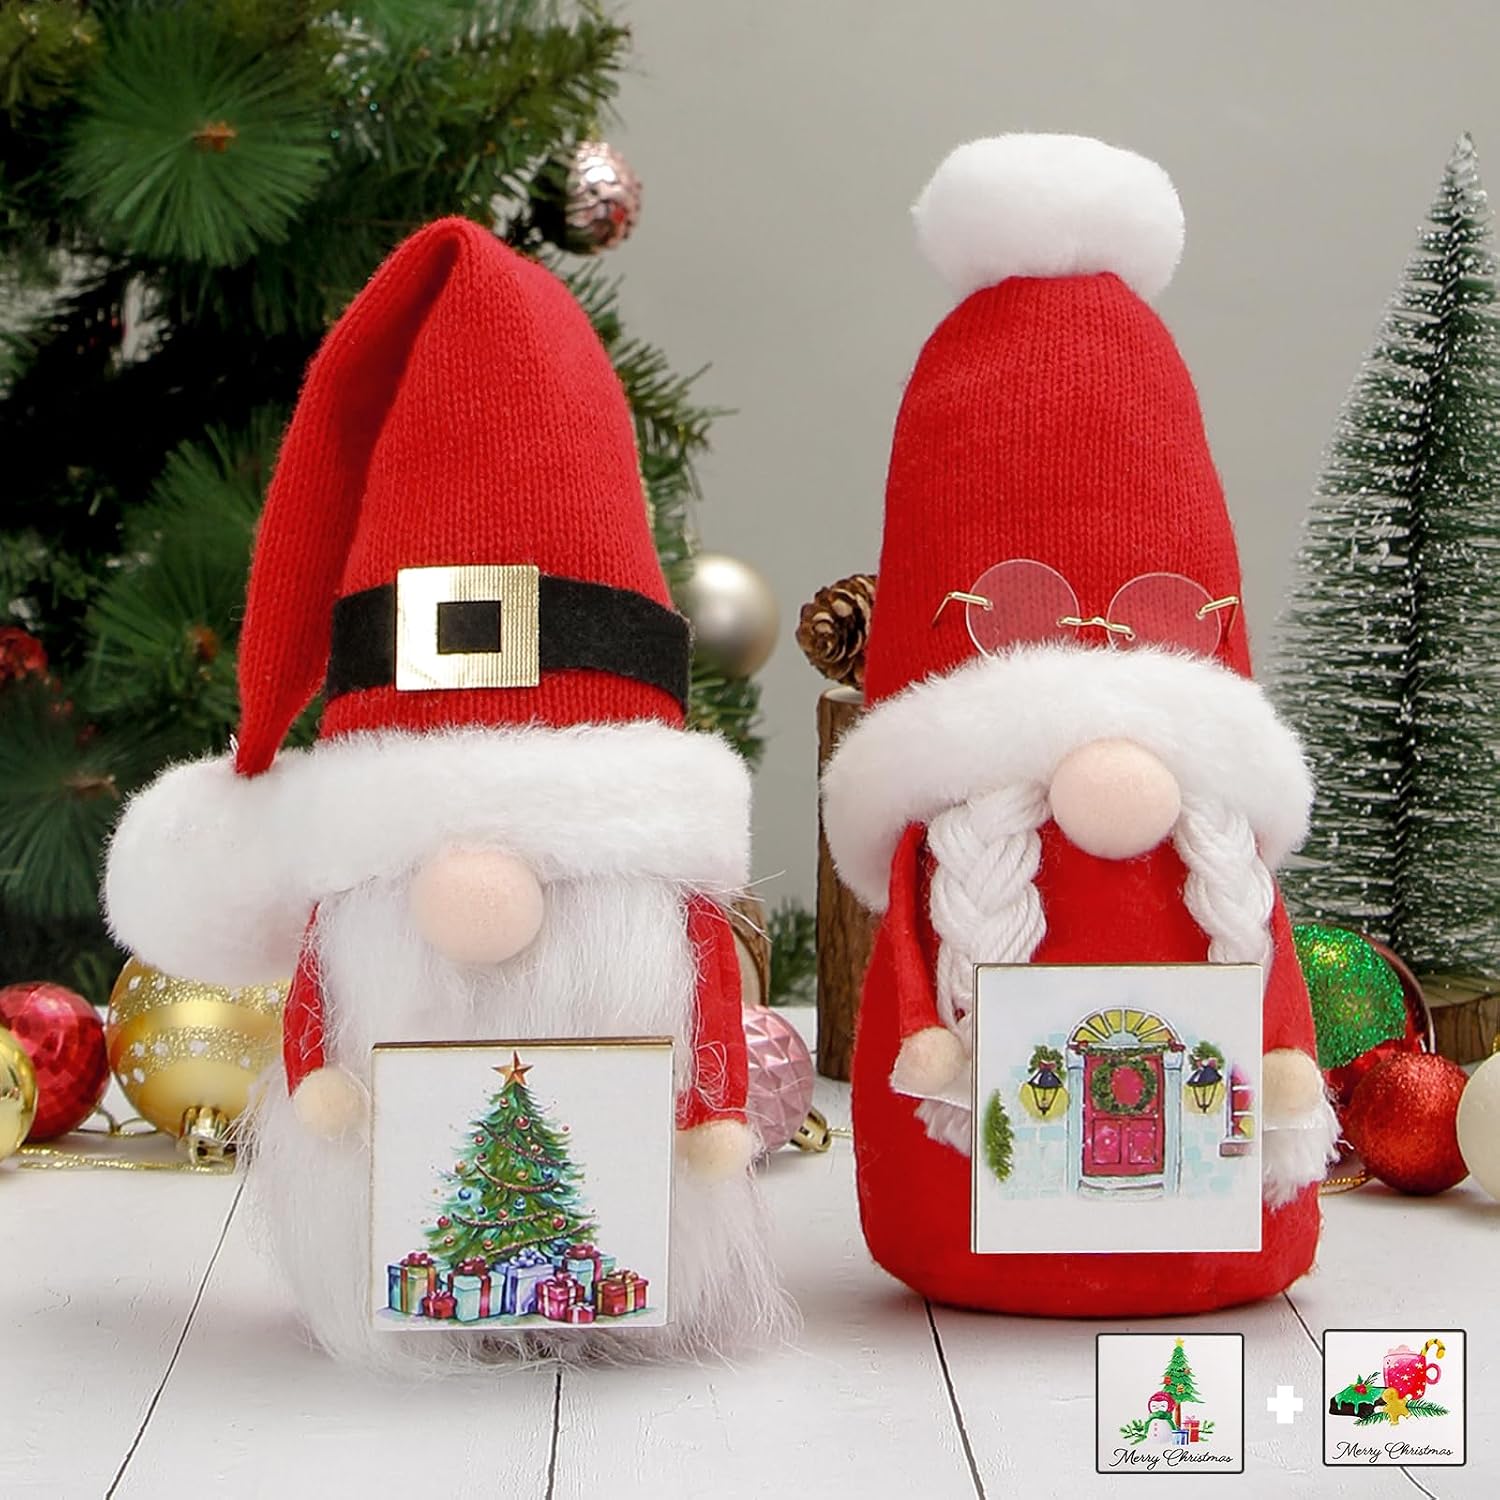
Christmas Tiered Tray Decorations Set, 13 Pcs Farmhouse Decor with Gnome and Wooden Signs
Shop on Amazon27. Keep Your Piece Count Low
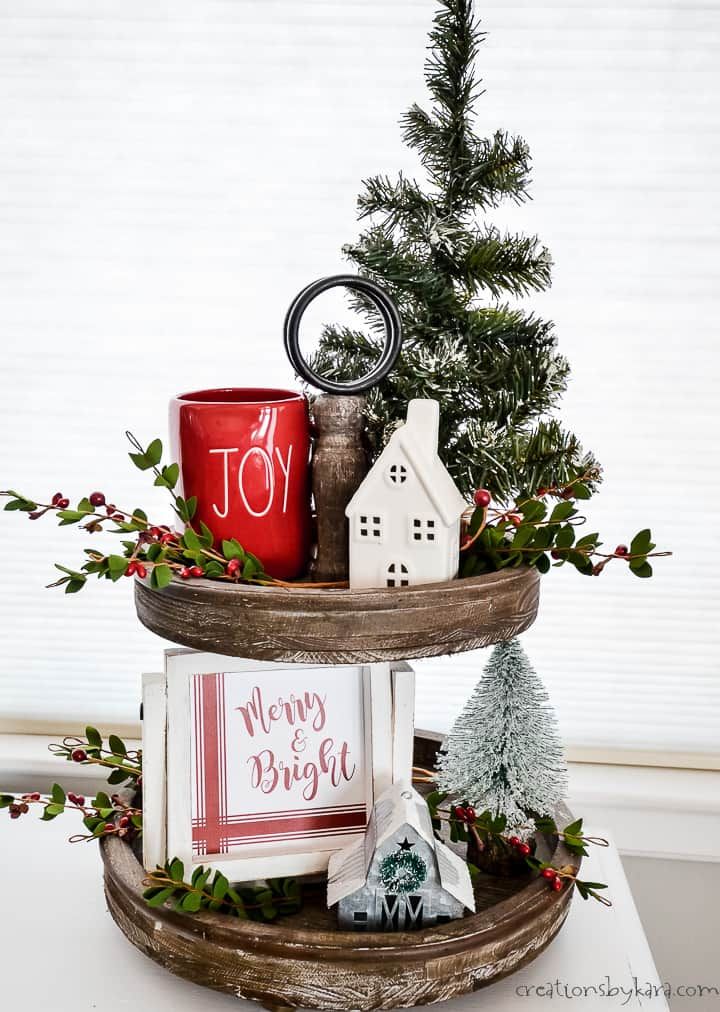
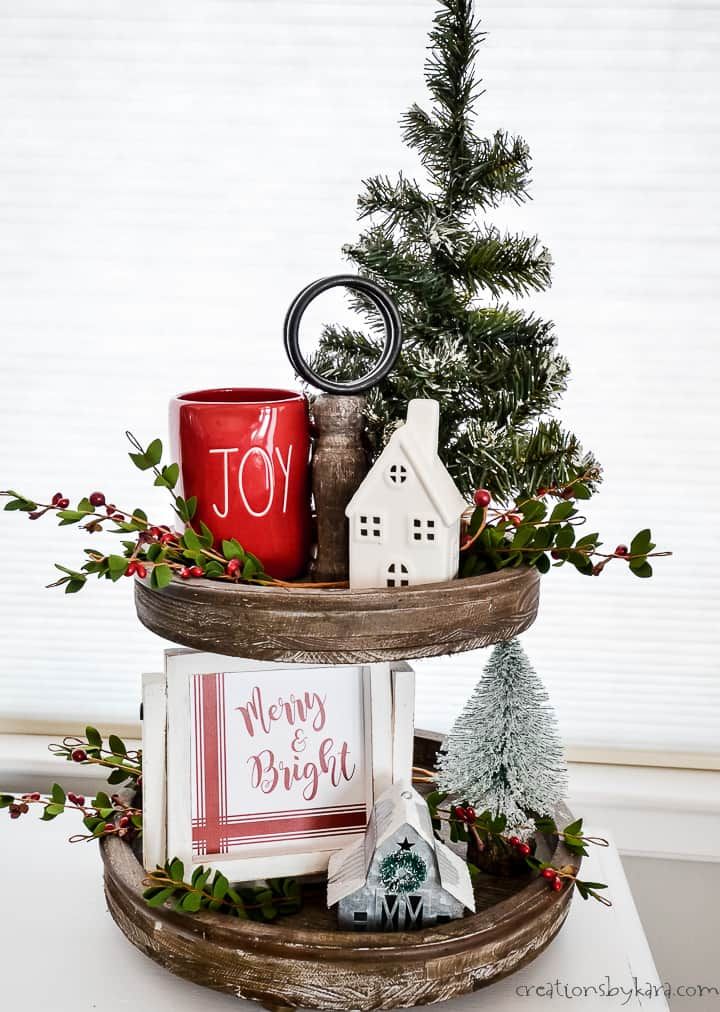
You can count every object on this tray with your hands, and that is the secret. A red mug, a white house, a framed sign, a bottle brush tree and a few berry sprigs each have room to breathe, and the dark wood frames them.
Aim for four to six items per tier. If you can't see the tray between objects, take one out.
Greenery counts as an object, so don't let it bury the sign.

Christmas Village House Lighted Indoor Decoration, White Ceramic House with LED Light
Shop on Amazon
28. Put It by a Window
Natural light is a tray's best friend.
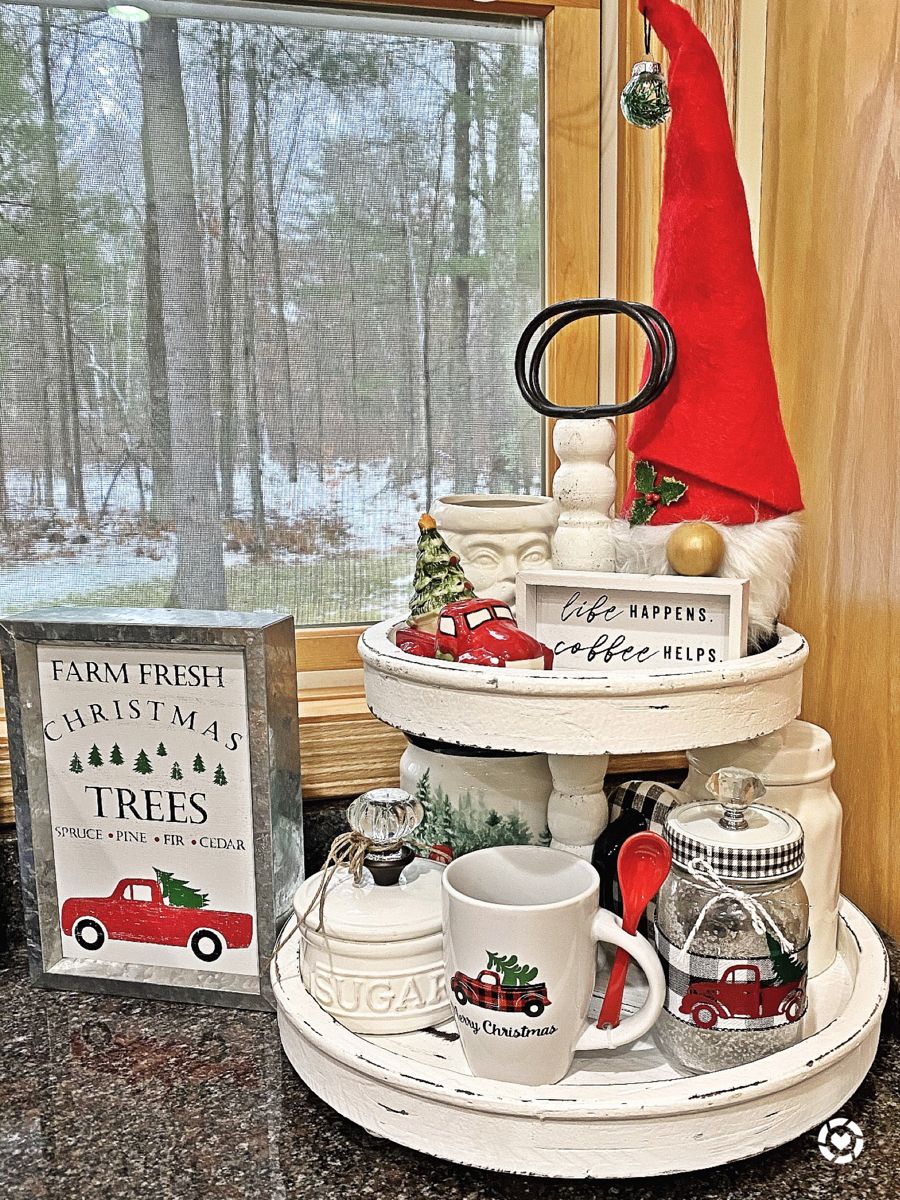
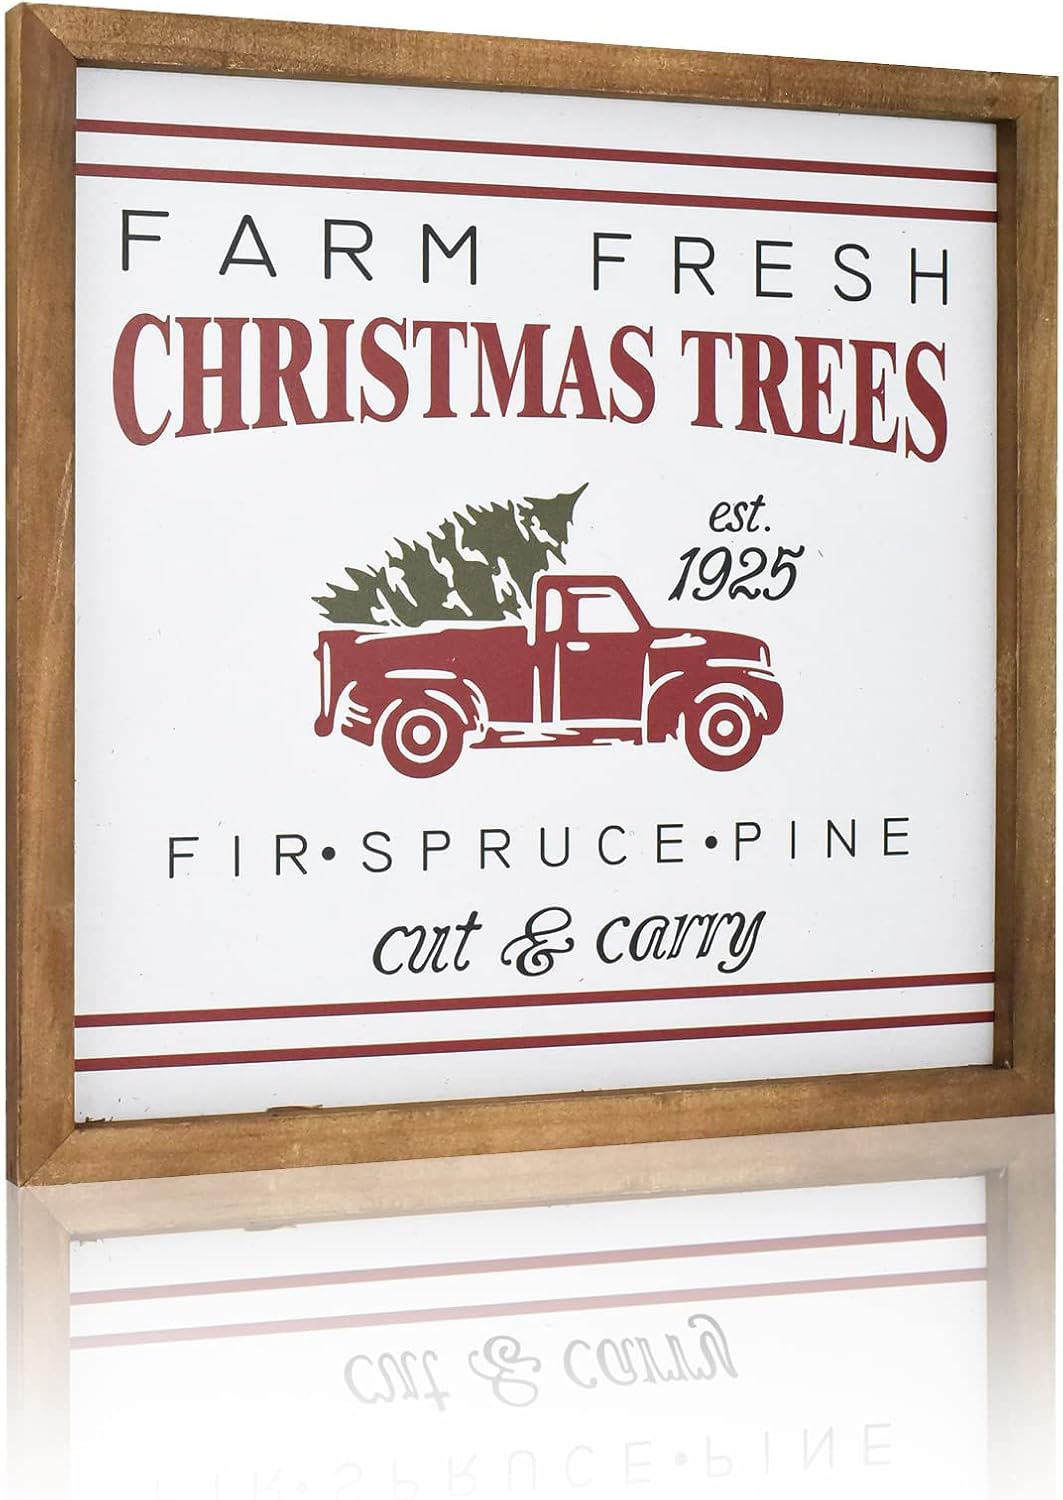
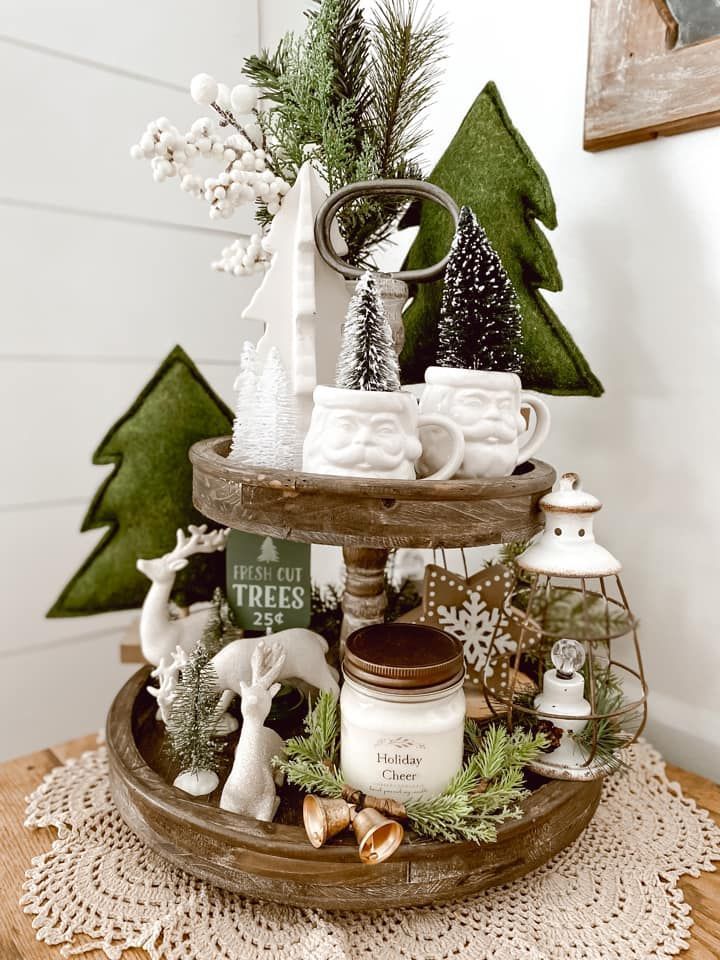
This one sits at a snowy window, so the red truck mug, the framed Farm Fresh sign and the tall red gnome hat look vivid against the soft white outside.
- Avoid strong afternoon sun on painted or glued pieces. It fades them over a season.
- A leaning frame behind the tray adds depth without taking tier space.
29. Lead With One Word
A single word on top can anchor a whole tray.
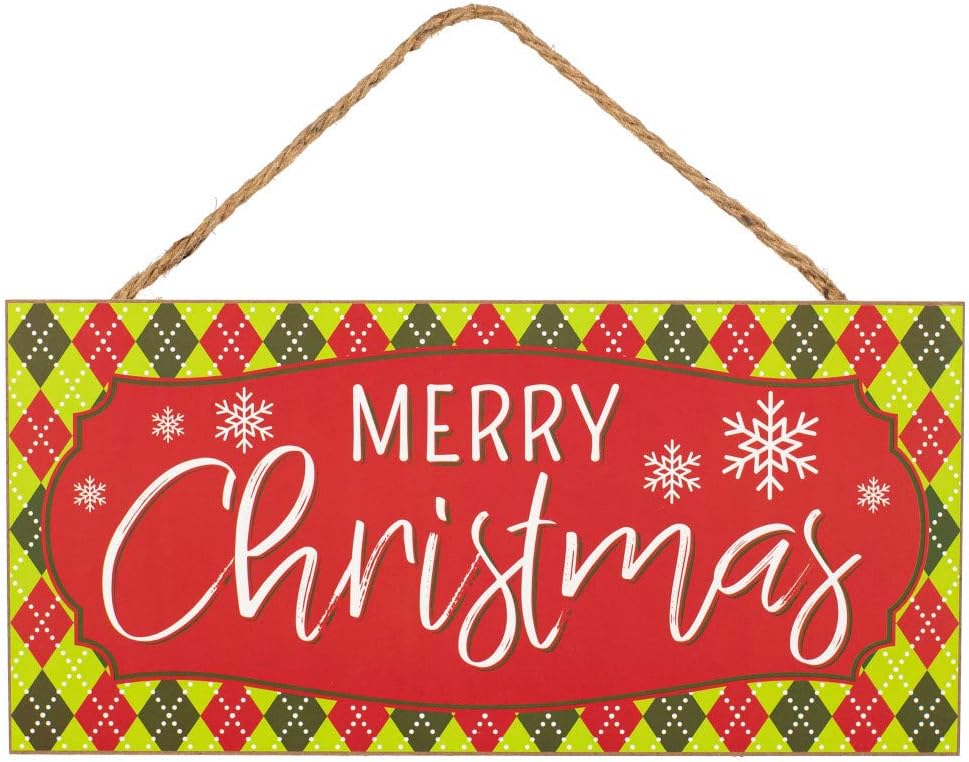
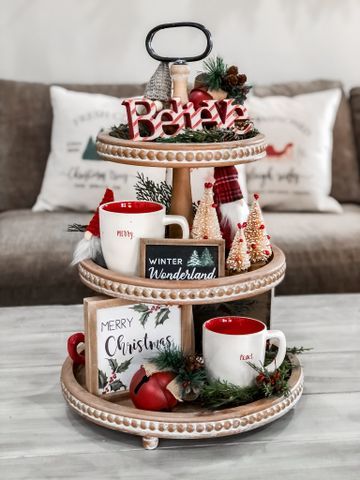
A red Believe sits at the top of this beaded stand, a Merry mug and a gnome in the middle, and a Merry Christmas sign at the base. Every tier has one piece of text, so nothing fights for attention.
Mix lettering styles. Block, script and handwriting look better together than three of the same. Pine sprigs at the edges soften all that print.
30. Let Green Carry the Season
Not every Christmas tray needs red.
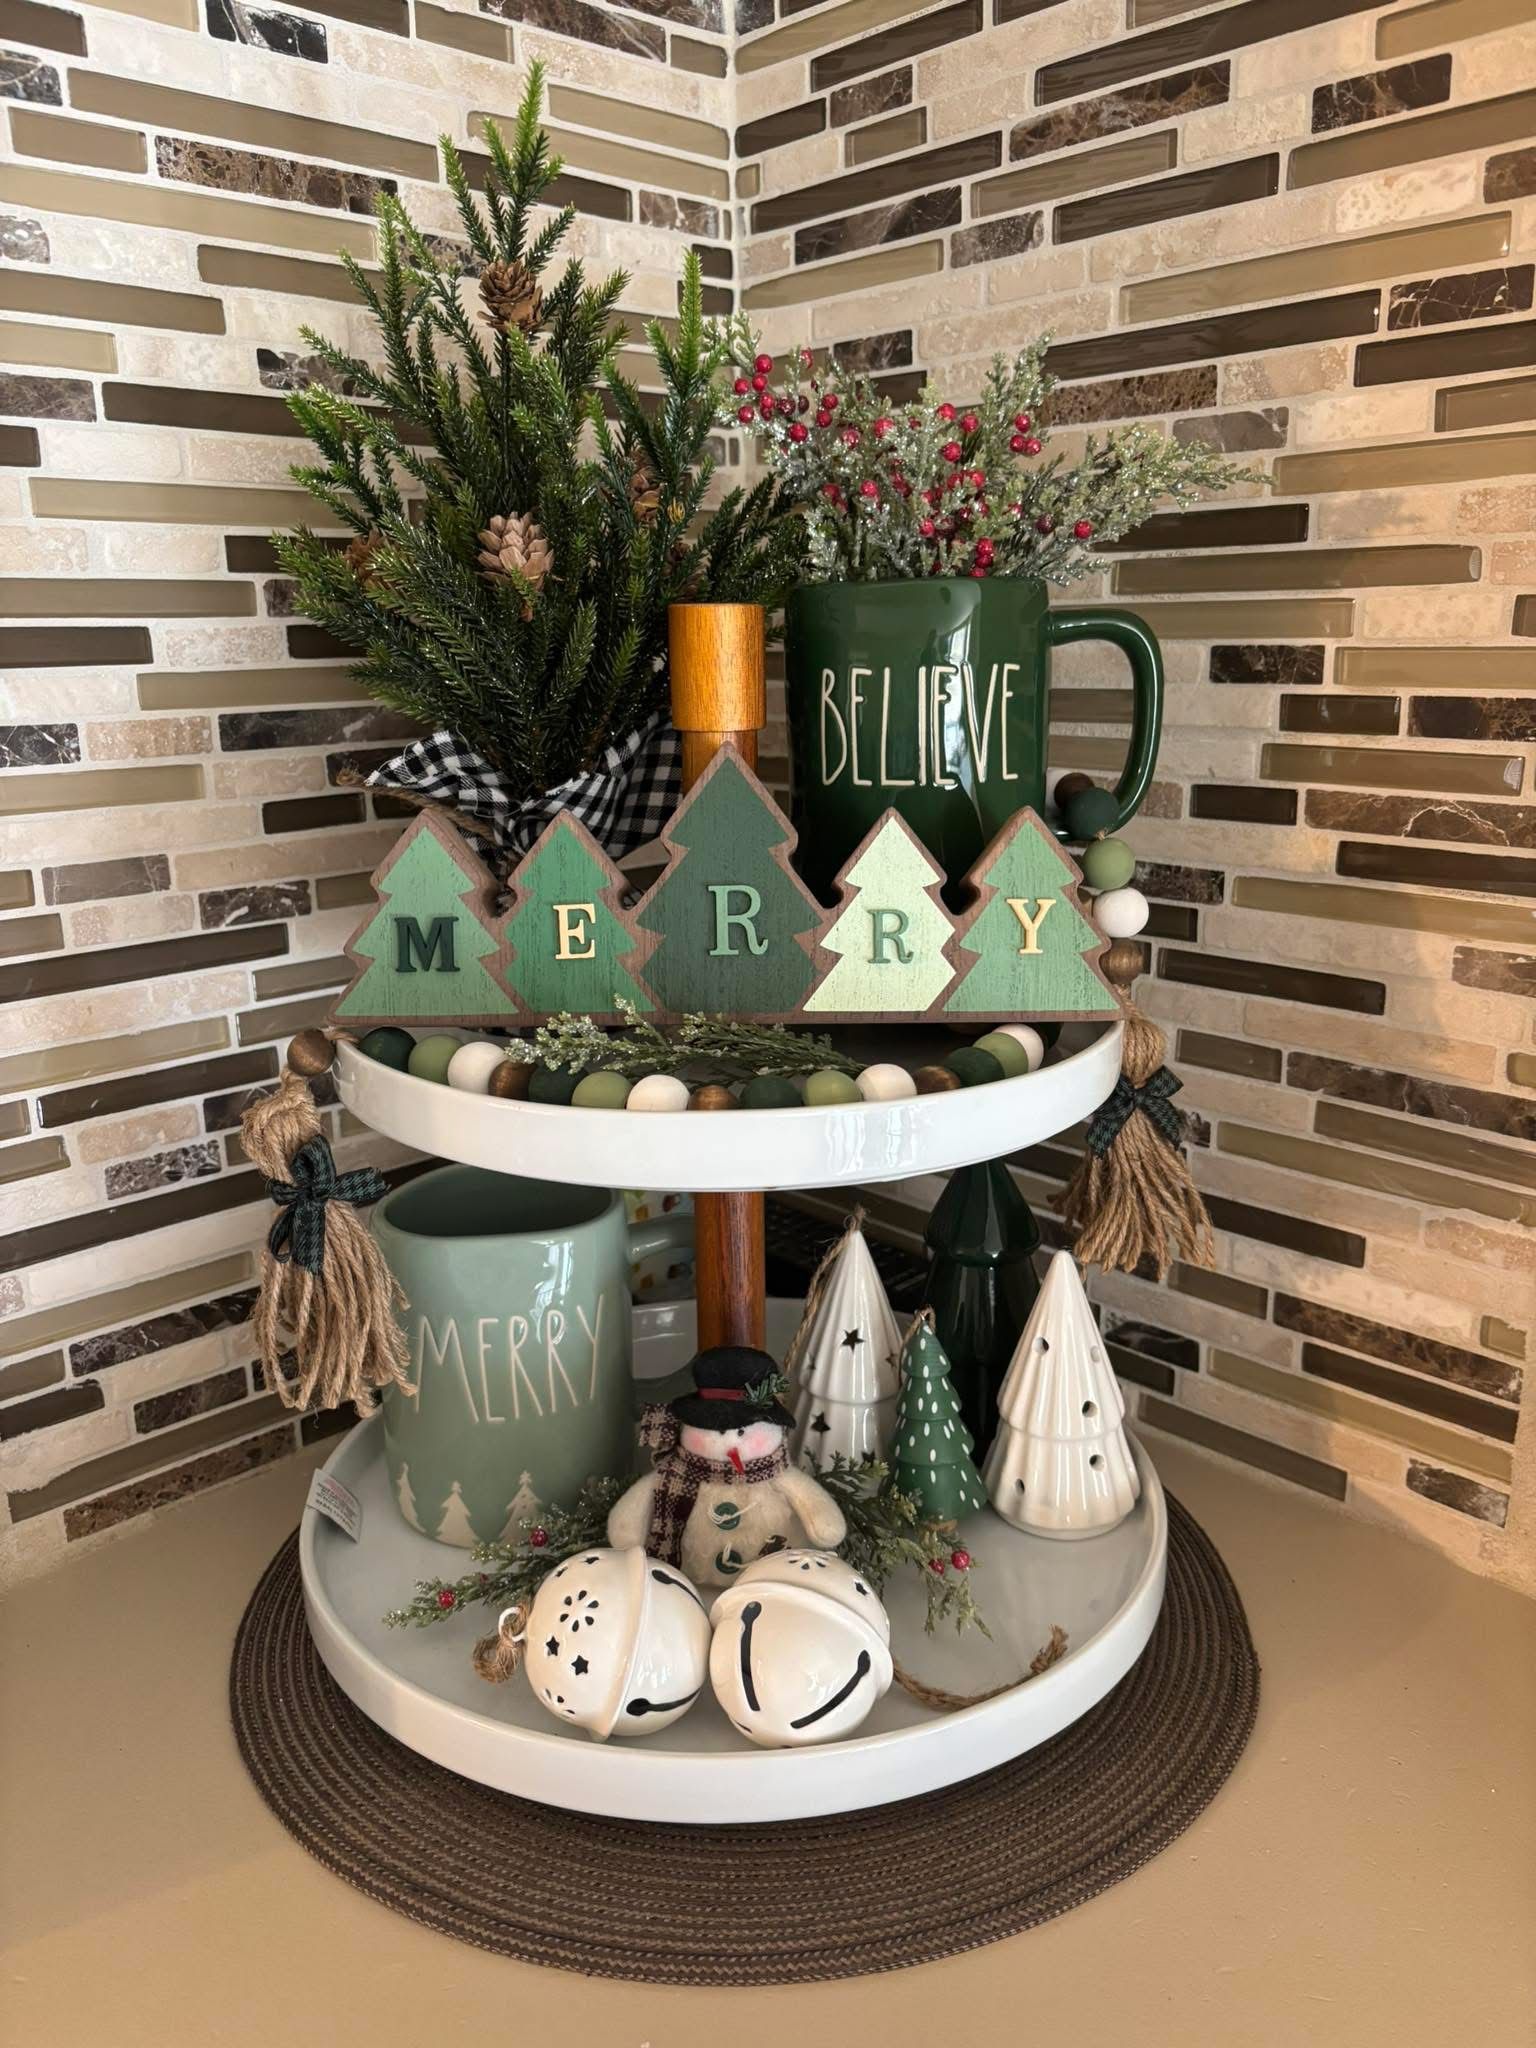
Green mugs, green wooden trees and green felt do the work here, with white trees and jingle bells adding some sparkle. The Believe mug looks right at home against the brick backsplash.
Quick tip: Cool greens like sage and pine are easy to live with all winter long.
Pick wood letters over plastic. Wood ages gracefully, and plastic only looks cheaper over time.

31. Mix Handmade, Vintage and New
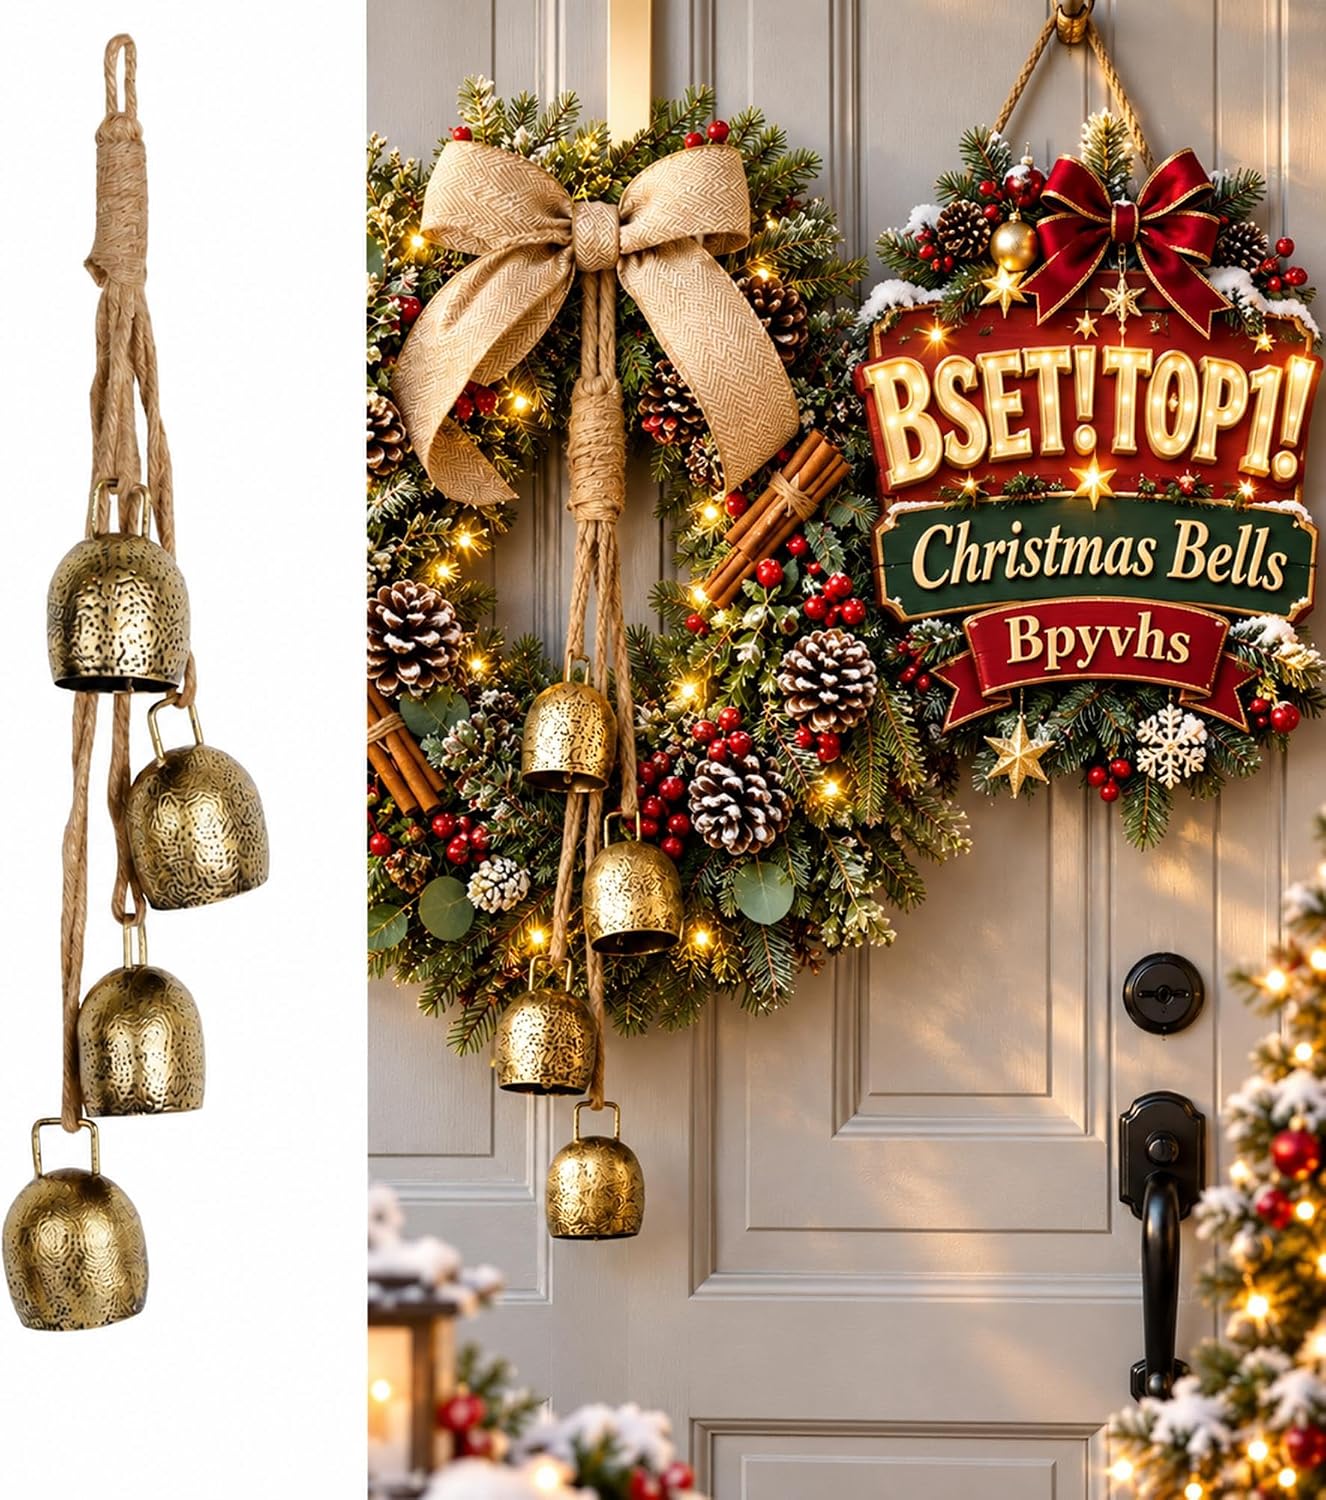
A tray looks collected when its pieces come from different places. Felt trees, a jar candle, ceramic deer, Santa mugs, a little lantern and a lace doily sit together here and still agree, because the colors are limited to white, green and warm wood.
The doily is the unsung hero. Lace under a tray makes everything look inherited.
A cloth napkin works just as well if you don't own one.
32. Let a Toy Be the Star
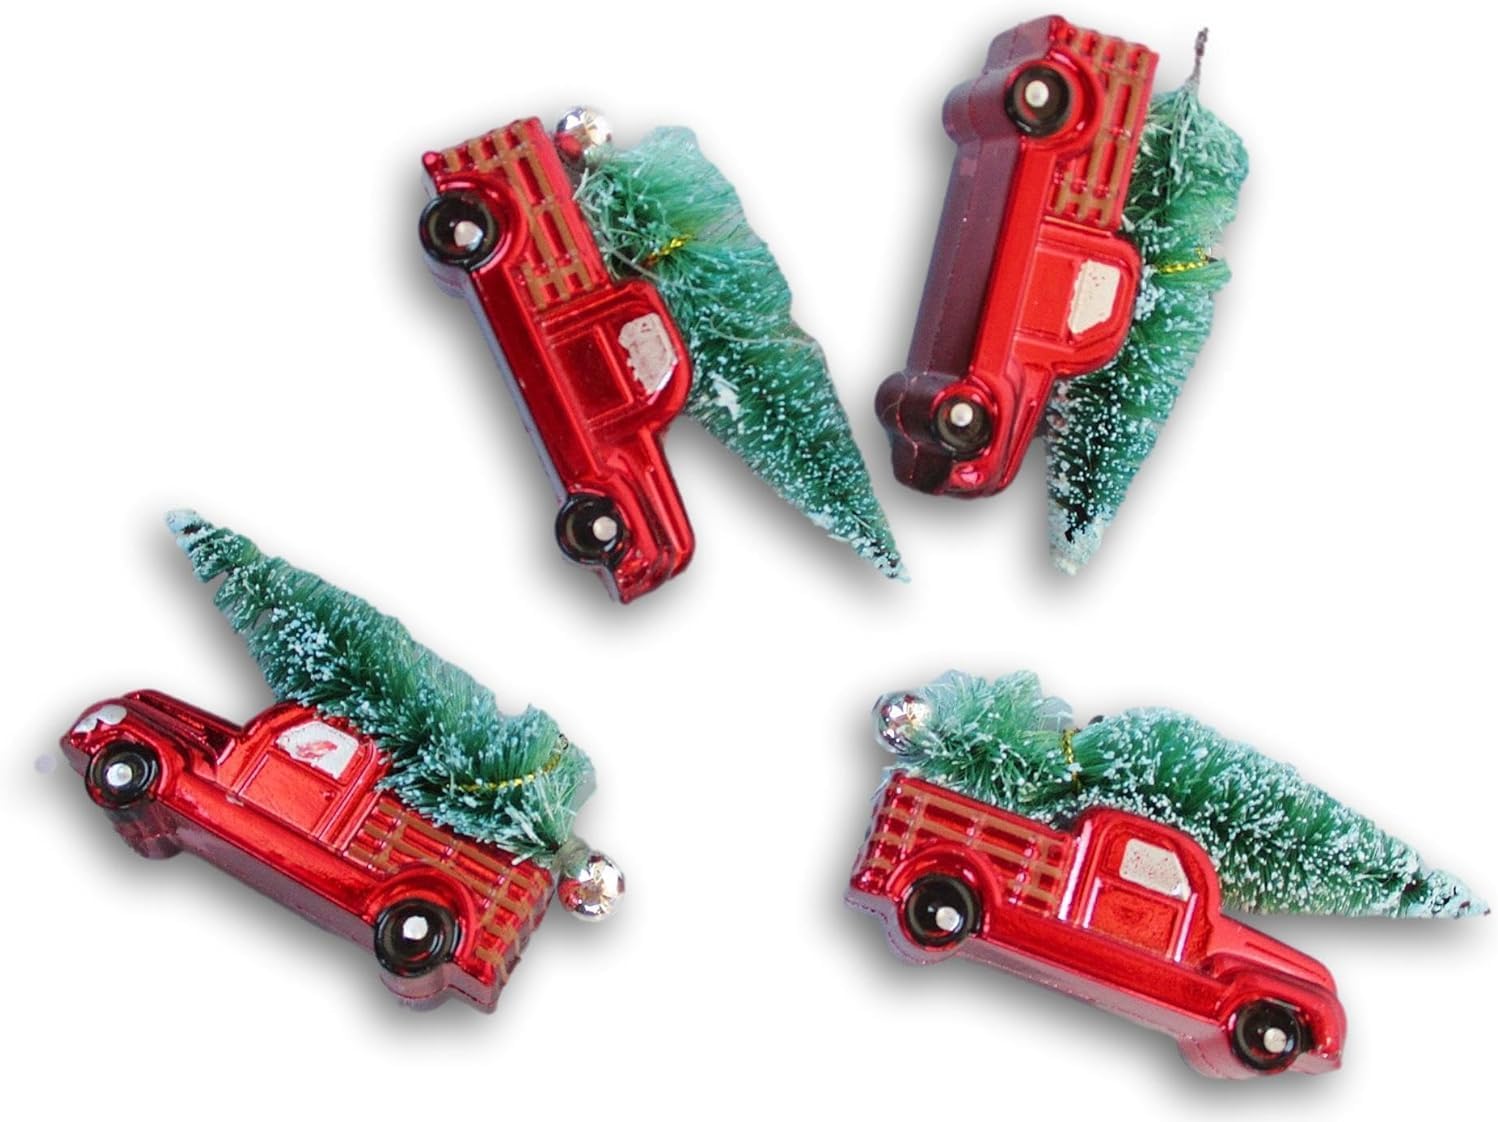
A little red truck is the shortcut to farmhouse Christmas.
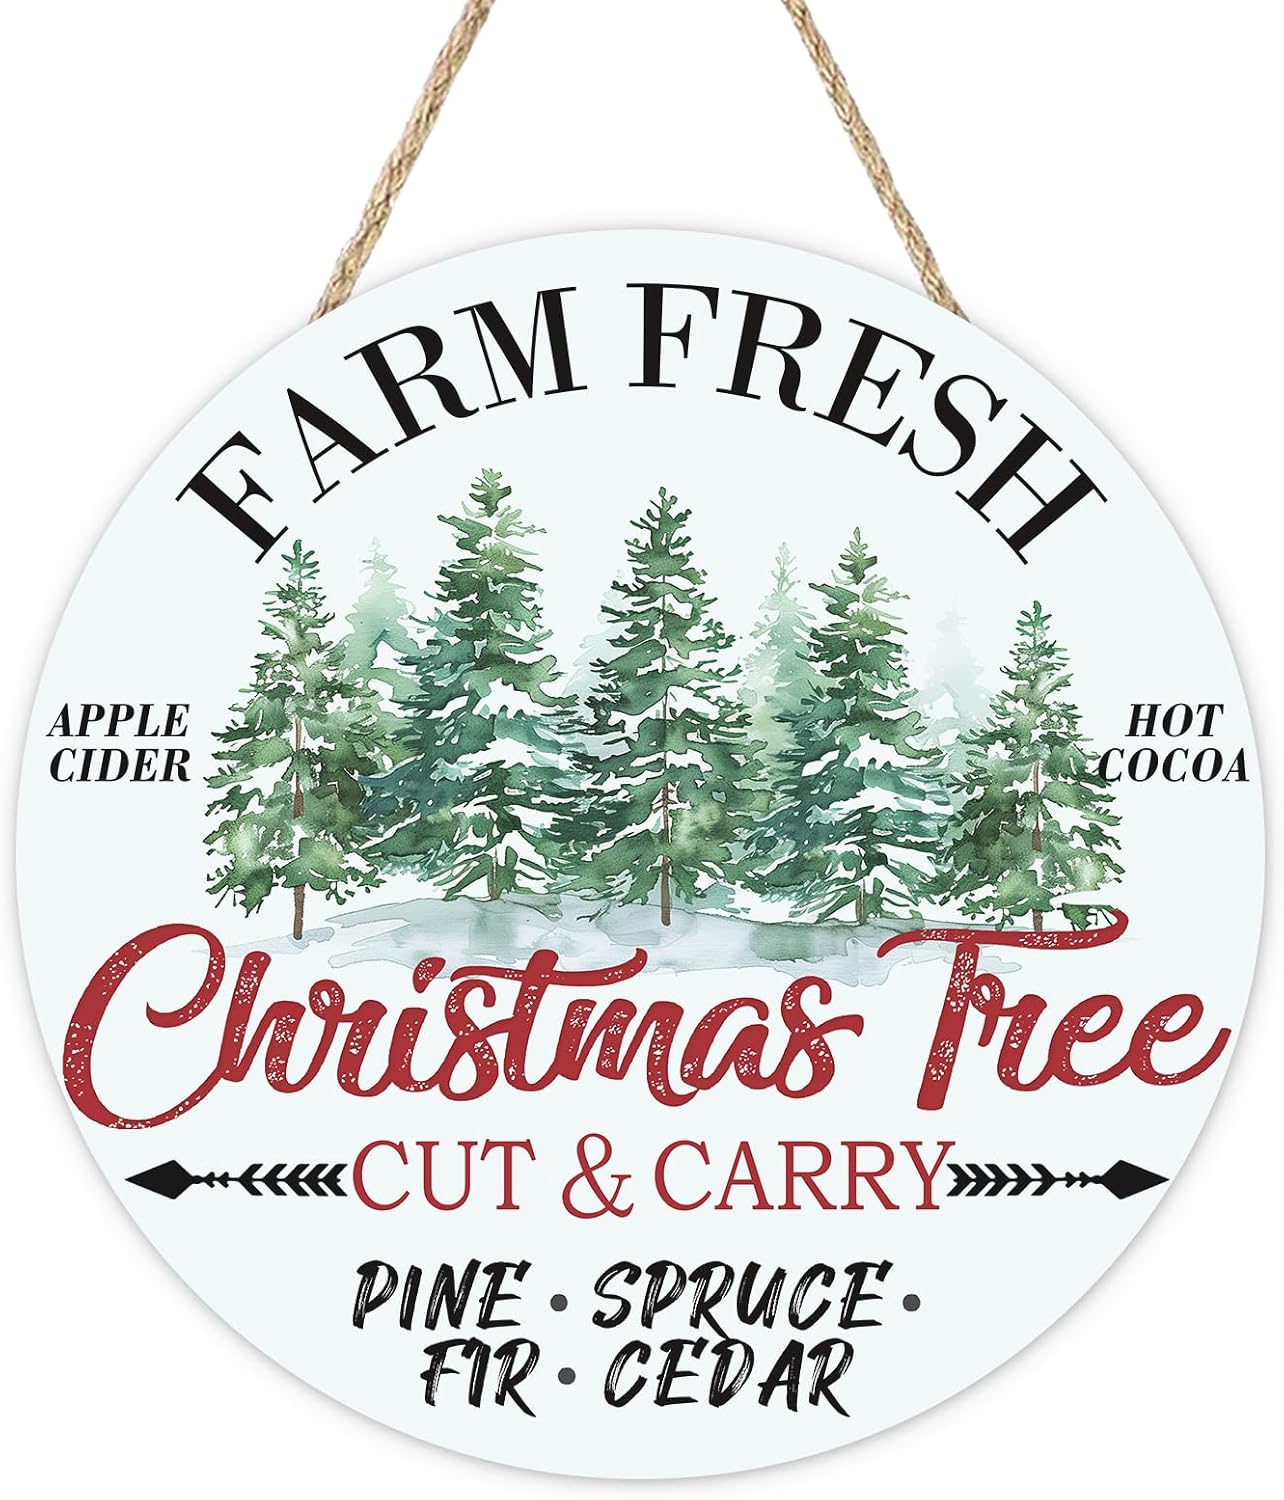
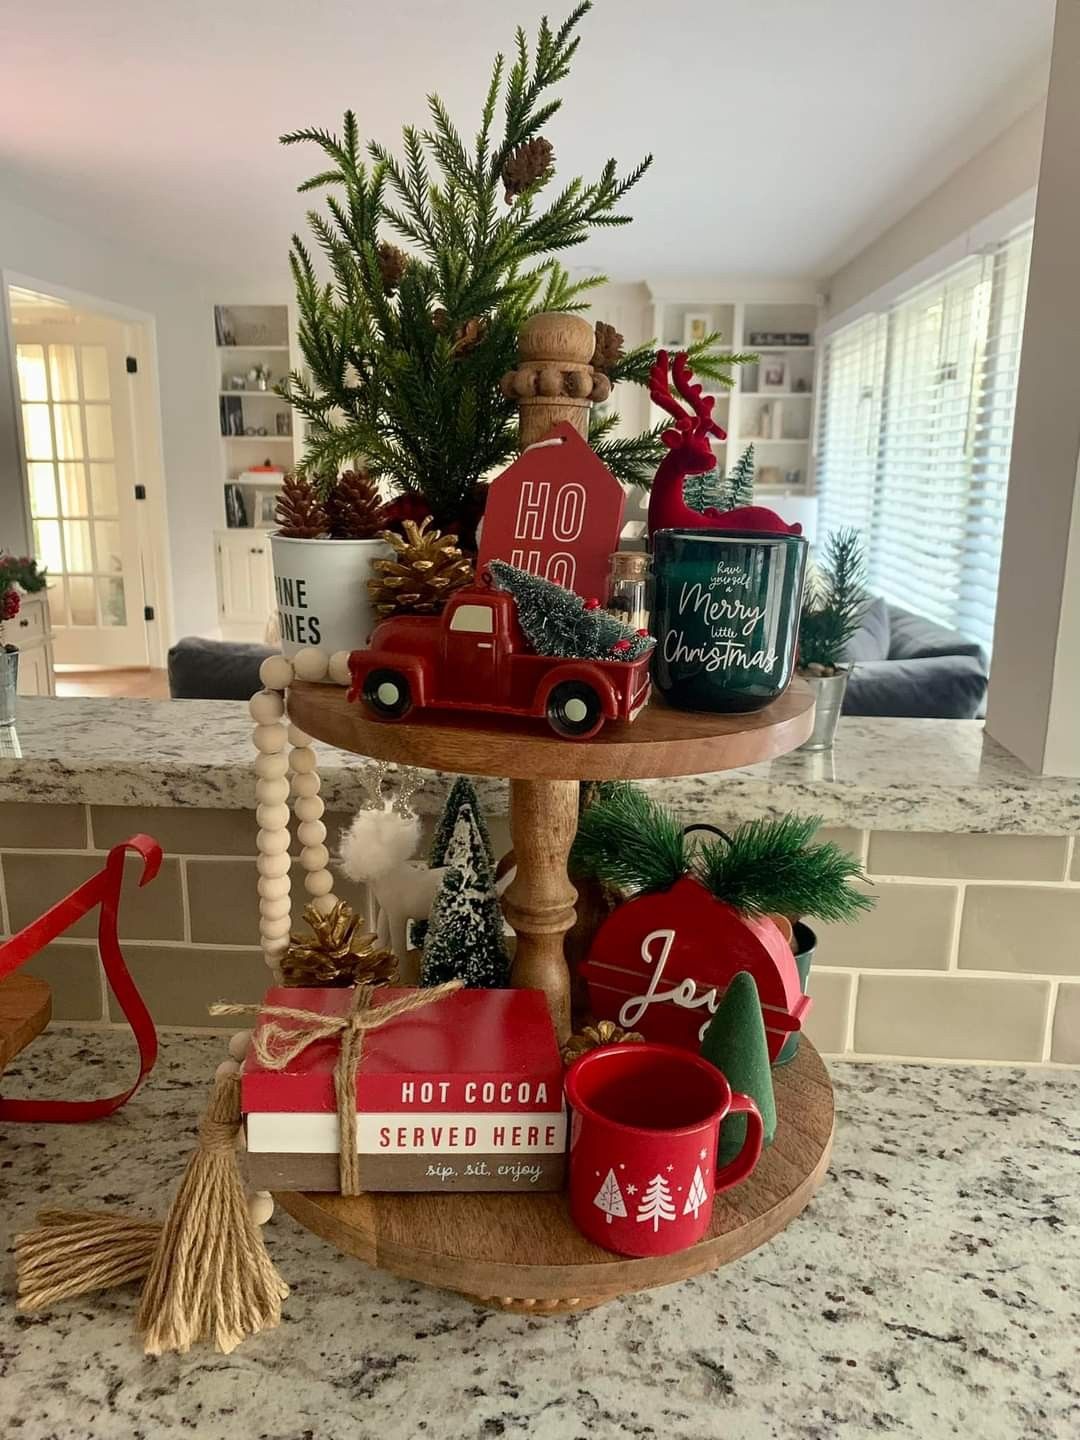
This one carries a mini pine on its bed, which adds a small story and keeps the eye moving up the stand. Mind the scale when you use toys. A truck that is too big dwarfs the mugs, and one that is too small disappears.
Lay everything on the counter first, stand back, and edit before it goes on the tray.
33. Use Silhouettes for Clean Lines
Silhouettes survive a busy room.
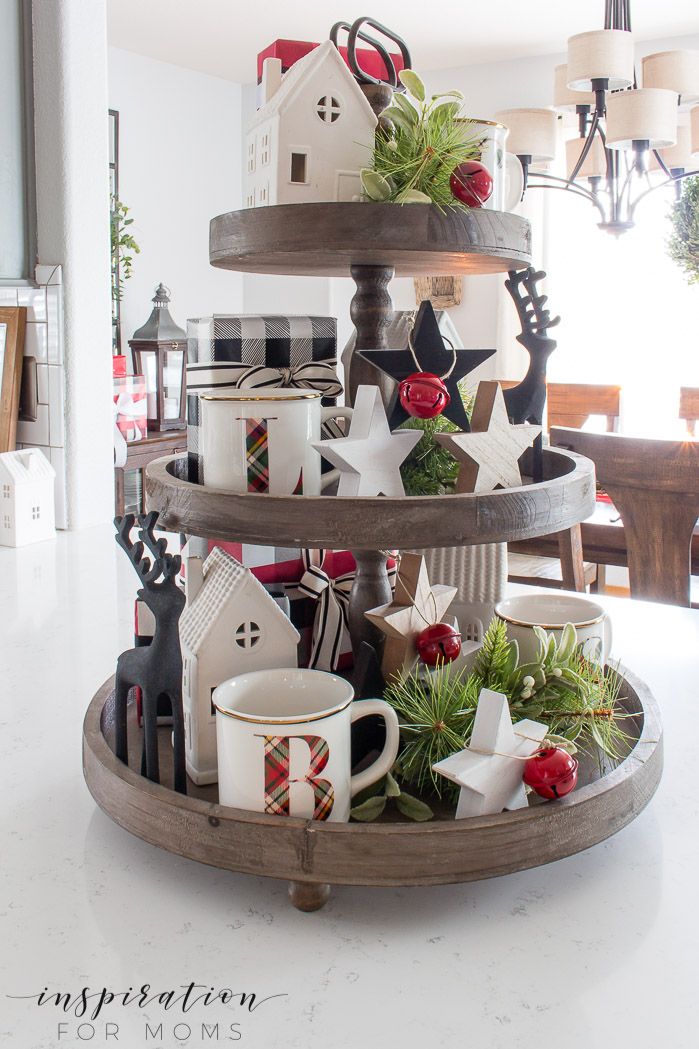
Black reindeer cutouts and white houses give this wood tray a crisp, graphic look. A plaid mug and a red ornament add just enough warmth.
- Flat shapes read from across an open-plan space, which is where a tray like this tends to live.
- Stand the cutouts slightly apart, so each outline stays clear.
34. Pick a Dark Tray for Drama
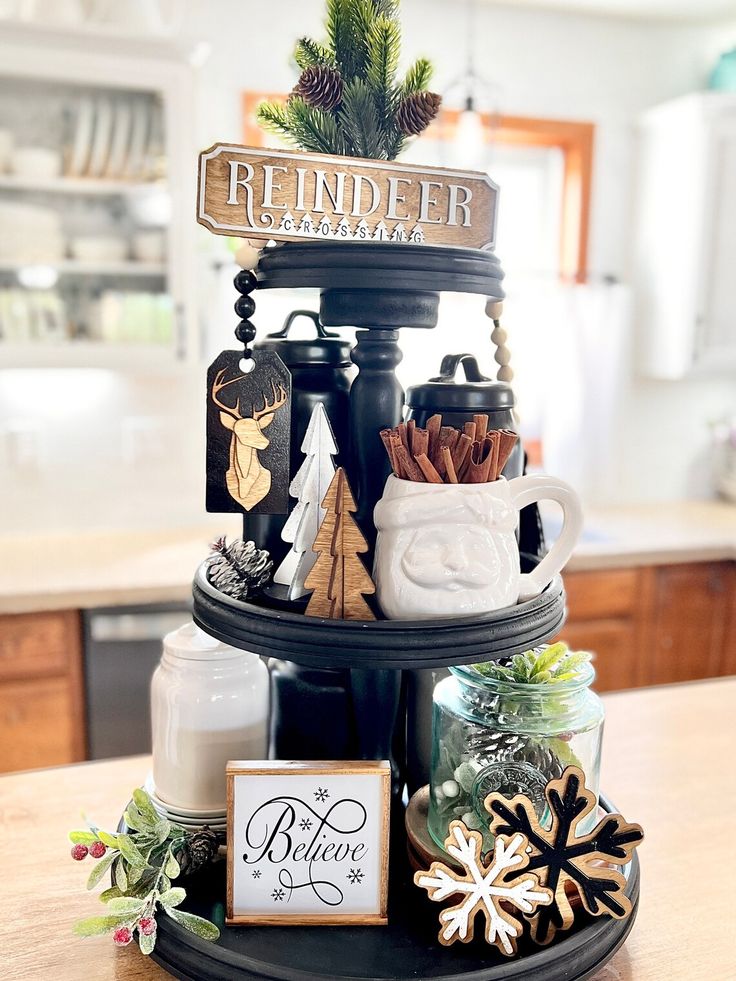
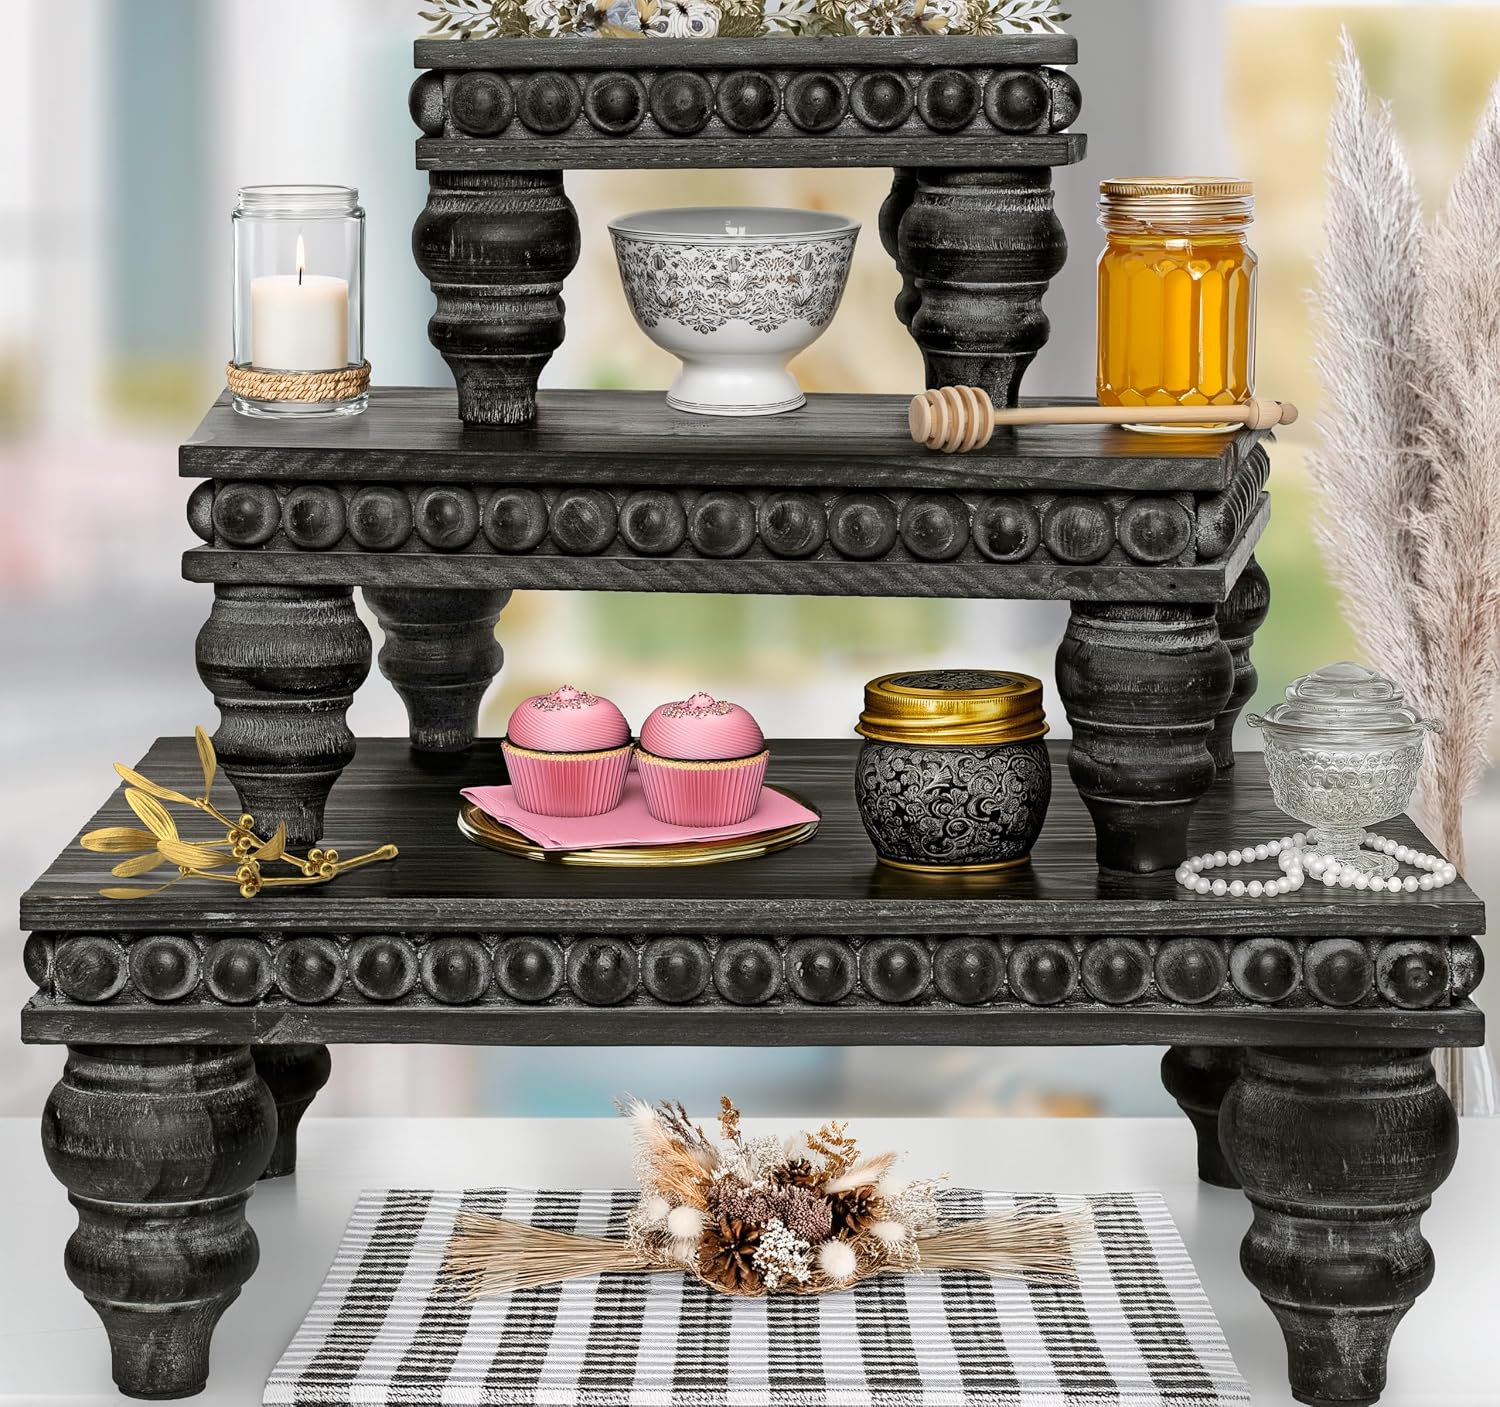
A black tray turns everything up a notch. Pale pieces glow against it. Look at how the cinnamon sticks, white wooden trees and snowflake cookies stand out on this one.
- Match the tray to your counter: a dark one adds weight to a pale surface, while a light one lifts a dark counter.
- Cinnamon sticks tied in a jar scent the kitchen and cost almost nothing.
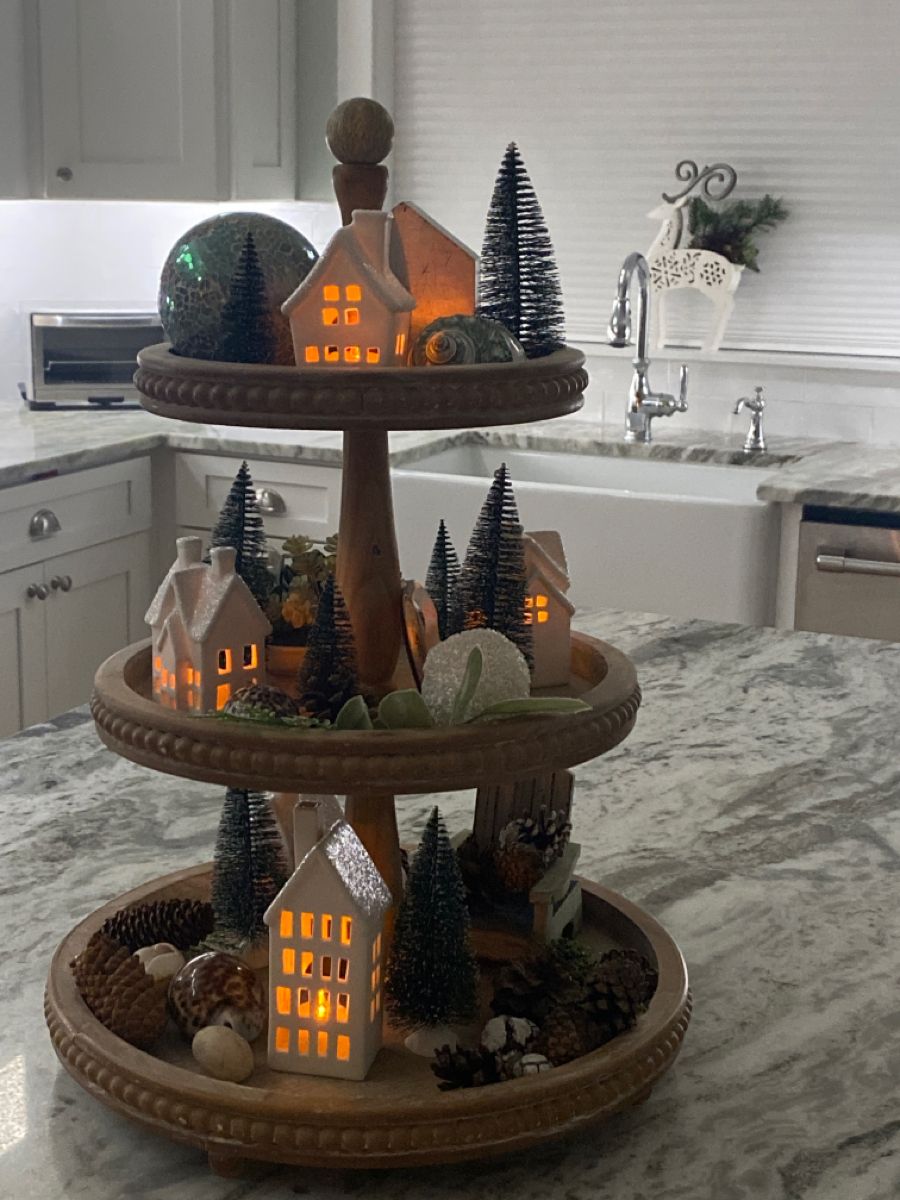
35. Build a Village in Layers
Depth is what separates a village from a row of houses. Houses sit on all three levels here, with bottle brush trees in front and behind them. Because everything overlaps, your eye reads it as a town on a hillside.
Use at least three sizes of house, and keep the smallest at the back. Battery tea lights are safer than flames, and you can hide the switch behind a tree.
Christmas Village House Lighted Indoor Decoration, White Ceramic House with LED Light
Shop on Amazon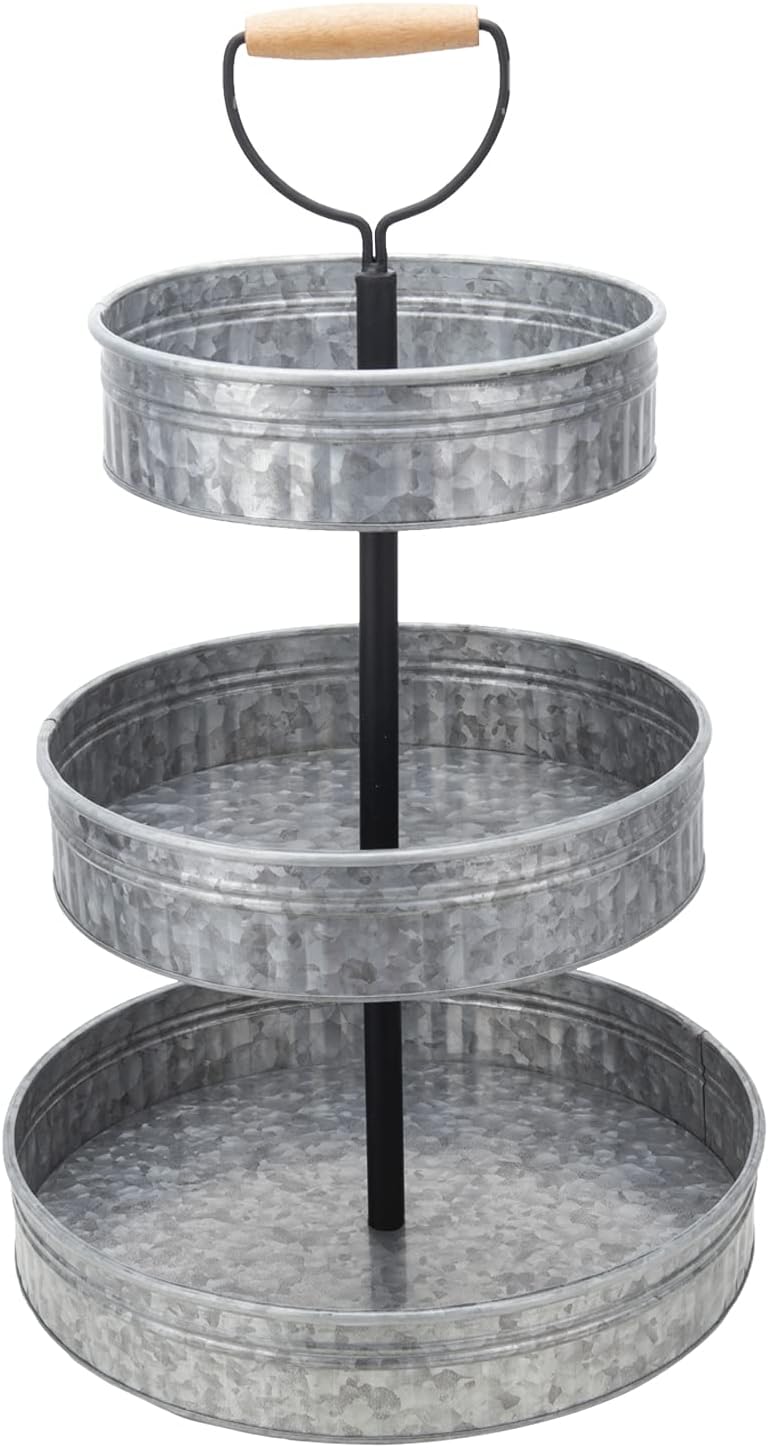
36. Let a Mirror Double the Glow
A mirrored tray doubles every light that touches it.
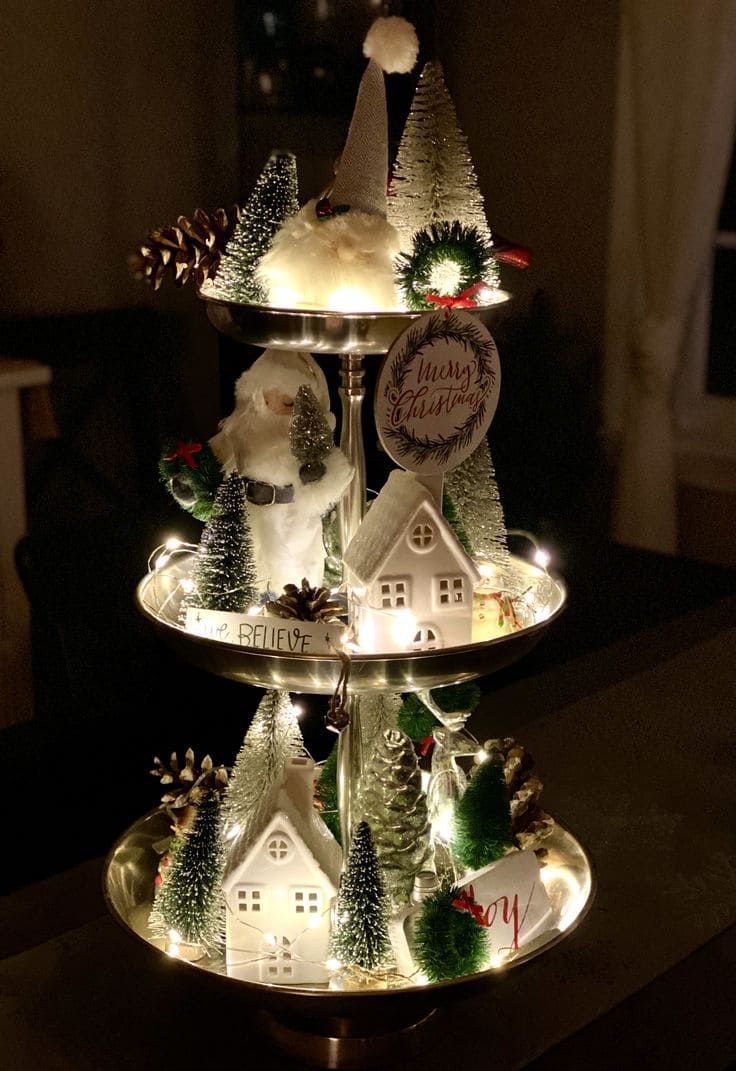
Lit houses, bottle brush trees and a tiny Santa sit on this reflective stand, wrapped in fairy lights, and the whole thing looks like a snow globe at night.
Mirrors show fingerprints, so wipe it with a microfiber cloth before guests arrive.
Dim the room lights and let the tray be the lamp.

Christmas Village House Lighted Indoor Decoration, White Ceramic House with LED Light
Shop on Amazon37. Repeat One Pattern, Not Three
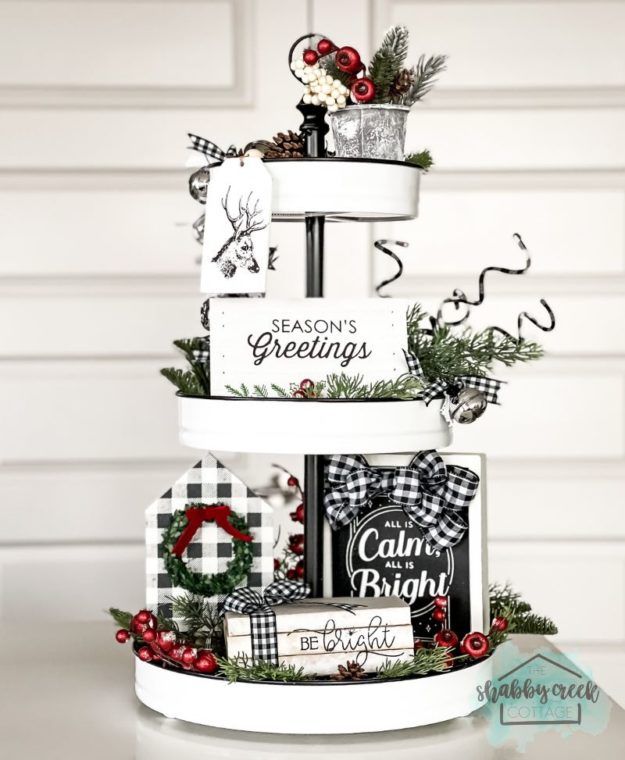
Buffalo plaid is bold, so use it with discipline. On this white three-tier the check appears on a house, a bow, a tag and a block, but always in black and white, and everything else is solid.
If you do mix plaids, change the scale: one large check, one small.
A few red berries keep the black and white from feeling stark.

38. Use Ornaments as Your Filler
Ornaments are decor you already own.
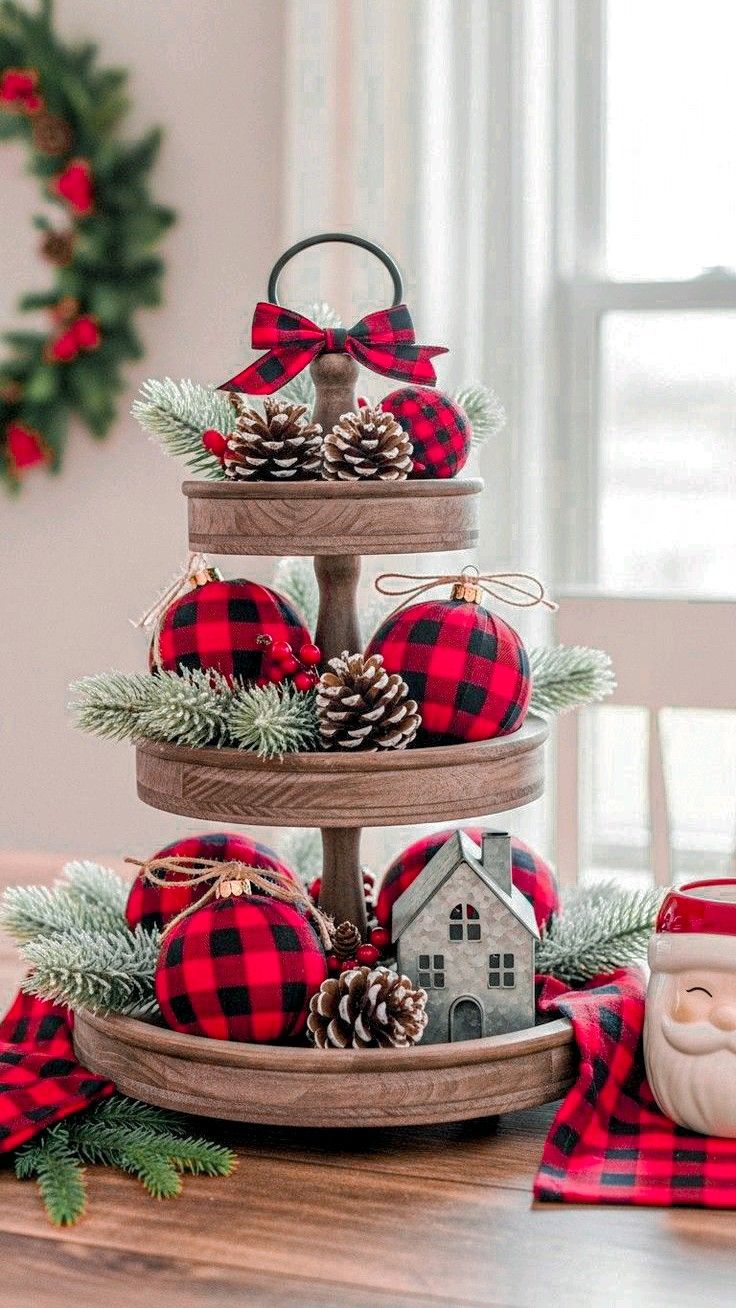
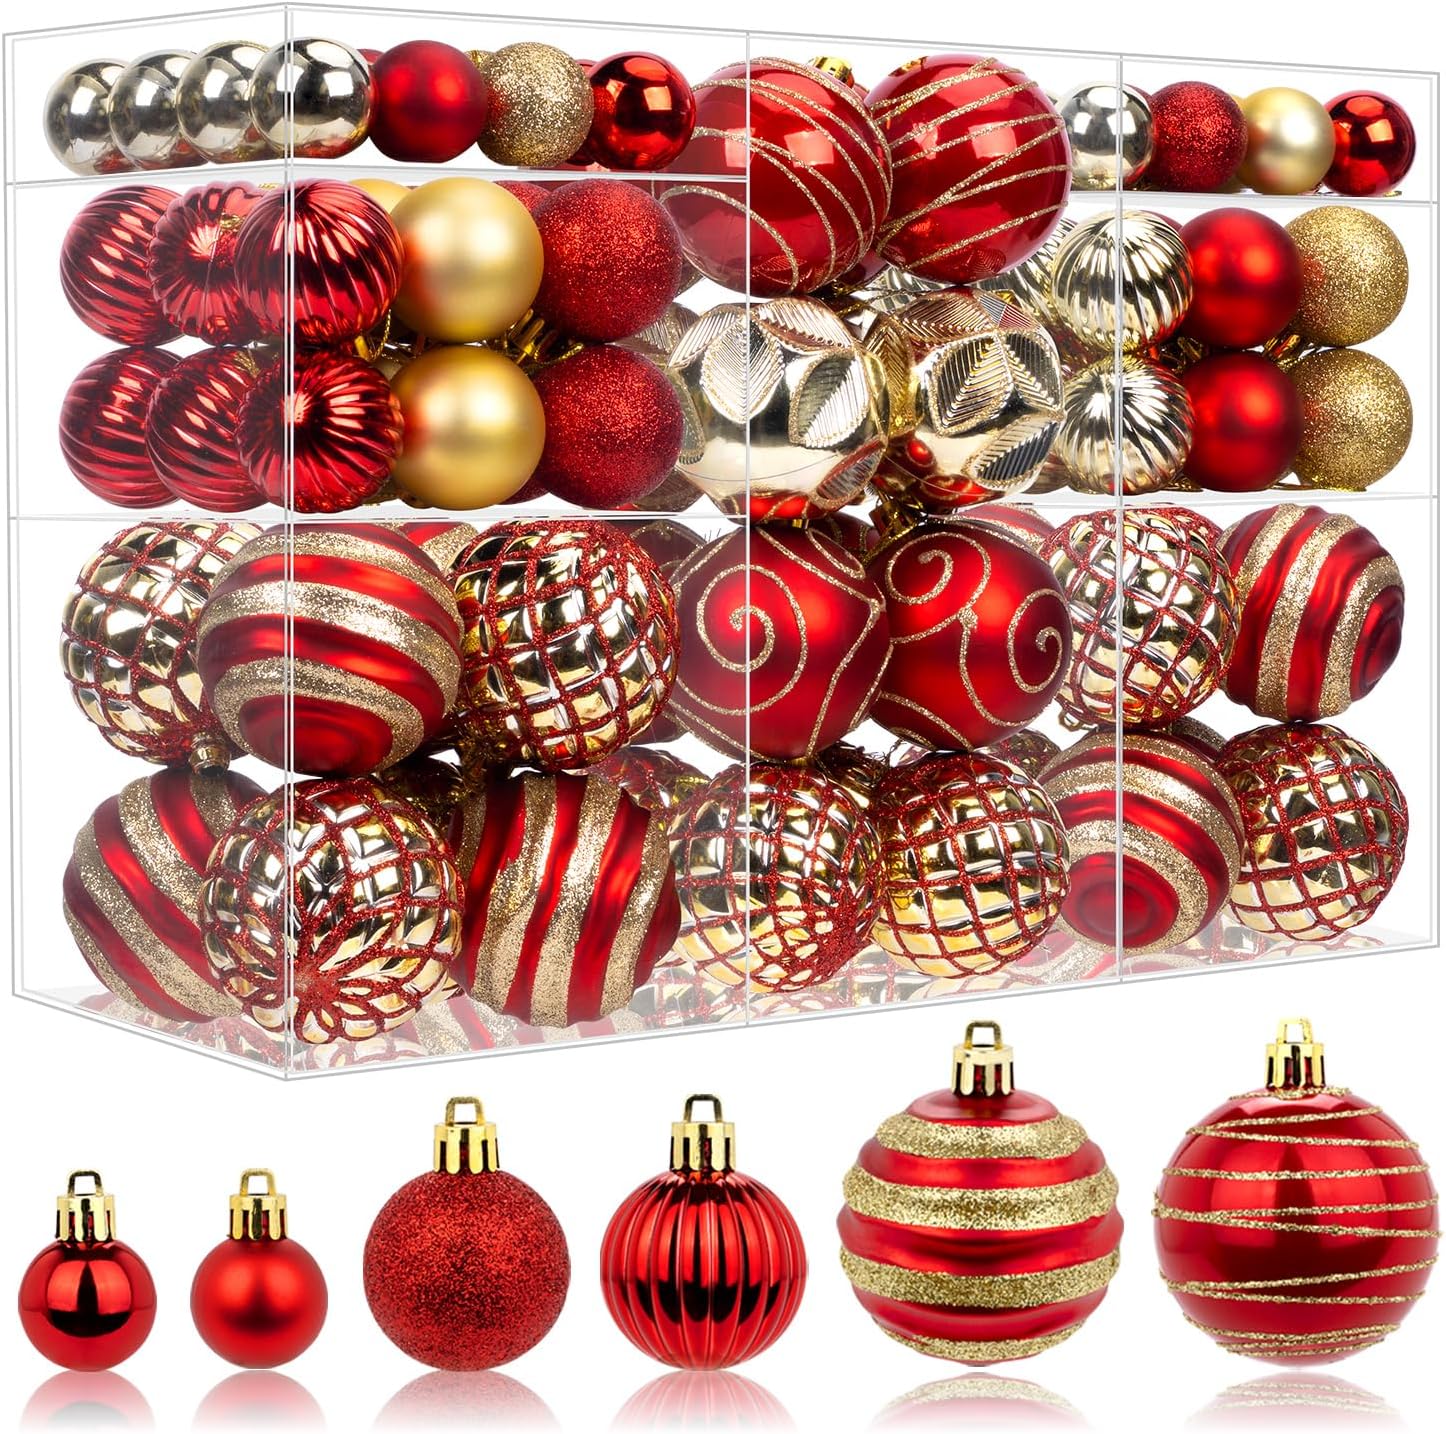
Red and black buffalo check balls fill the tiers of this wood stand with pinecones and greenery, topped with a plaid bow. There isn't a sign anywhere, and it still says Christmas.
- Shatterproof balls are the right choice for kitchens.
- Cluster by size: largest at the bottom, smallest on top.
39. Add Height With a Gift Box
A wrapped box is the simplest height cheat there is.
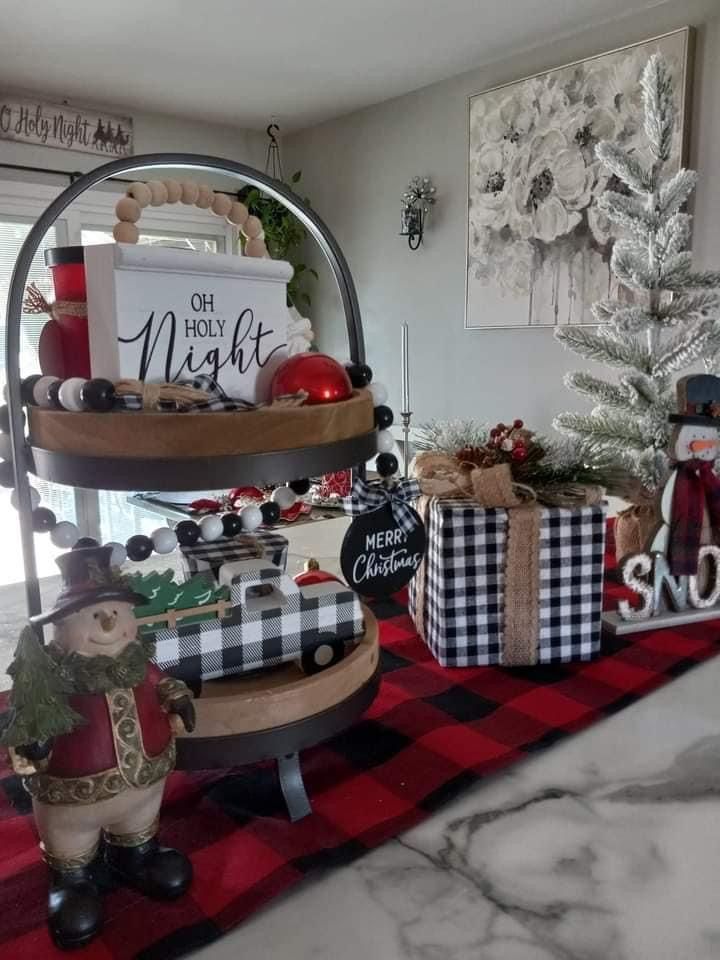
A buffalo check gift sits on a plaid runner just beside this black tray, adding a block of pattern at a different level than the sign and the snowman.
Wrap an empty box so it stays light, and tie it with thick ribbon. Two or three boxes stacked beside a tray look like a pile of presents.

40. Add One Surprising Object
Every great tray has one thing guests ask about.
Here it is the fuzzy plaid booties at the base. Nobody expects them, and they make the whole tray feel cozy.
Quick tip: Use something soft, like slippers, mittens or a knit ornament, to balance all the hard surfaces.
Stop at one surprise. A second one starts to look random.

41. Make the Bow Big
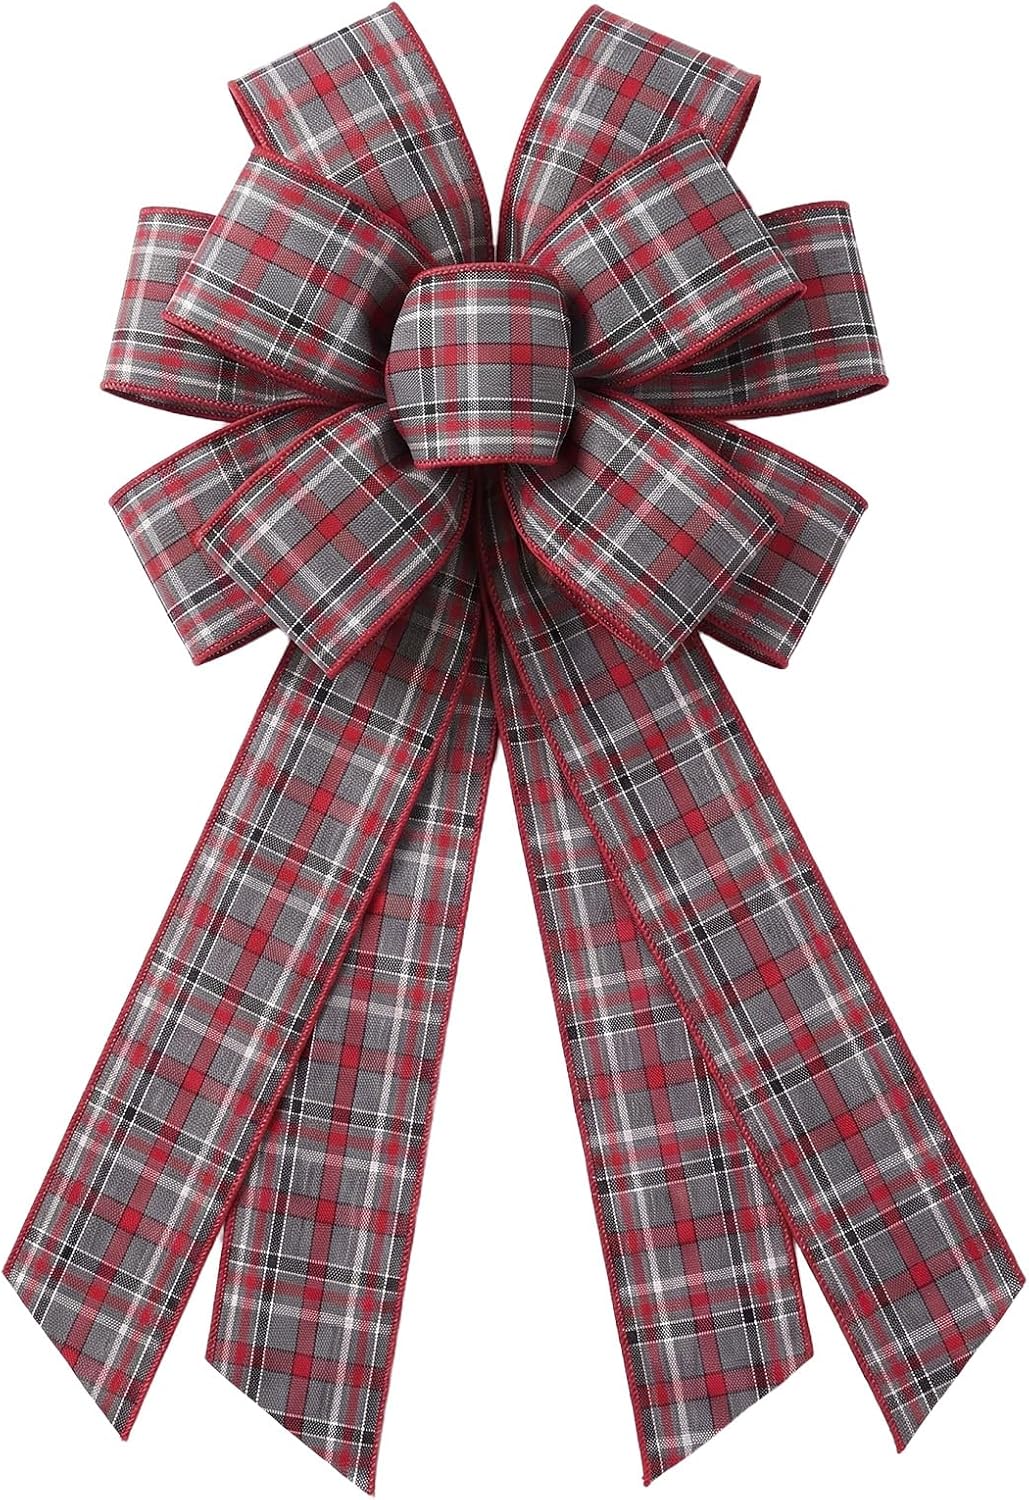
A big bow can pull an overloaded tray together. A wide plaid bow crowns this ornament-heavy stand and wraps the whole thing up like a gift.
Buy wired ribbon at least two and a half inches wide. It holds its shape and looks fuller.
Make the loops large and even, then fluff them with your fingers.

42. Soften It With Knit Texture
Texture matters more than people think.
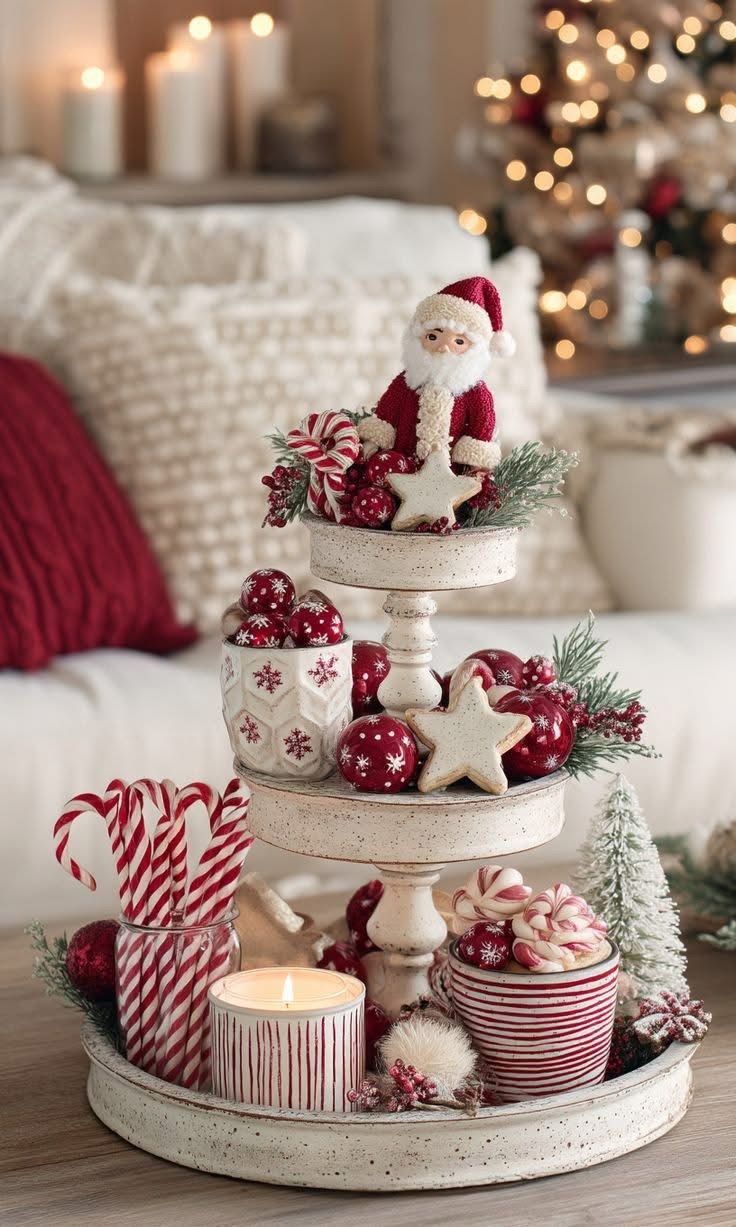
A knit Santa on top makes this white tray feel softer, and it echoes the knit pillows on the sofa behind it. Choose items that share a material with your room: a knit throw nearby, a knit figure on the tray.
A candle on the bottom tier is the finishing touch.
43. Edit Until It Feels Elegant
Elegance usually means taking something away.
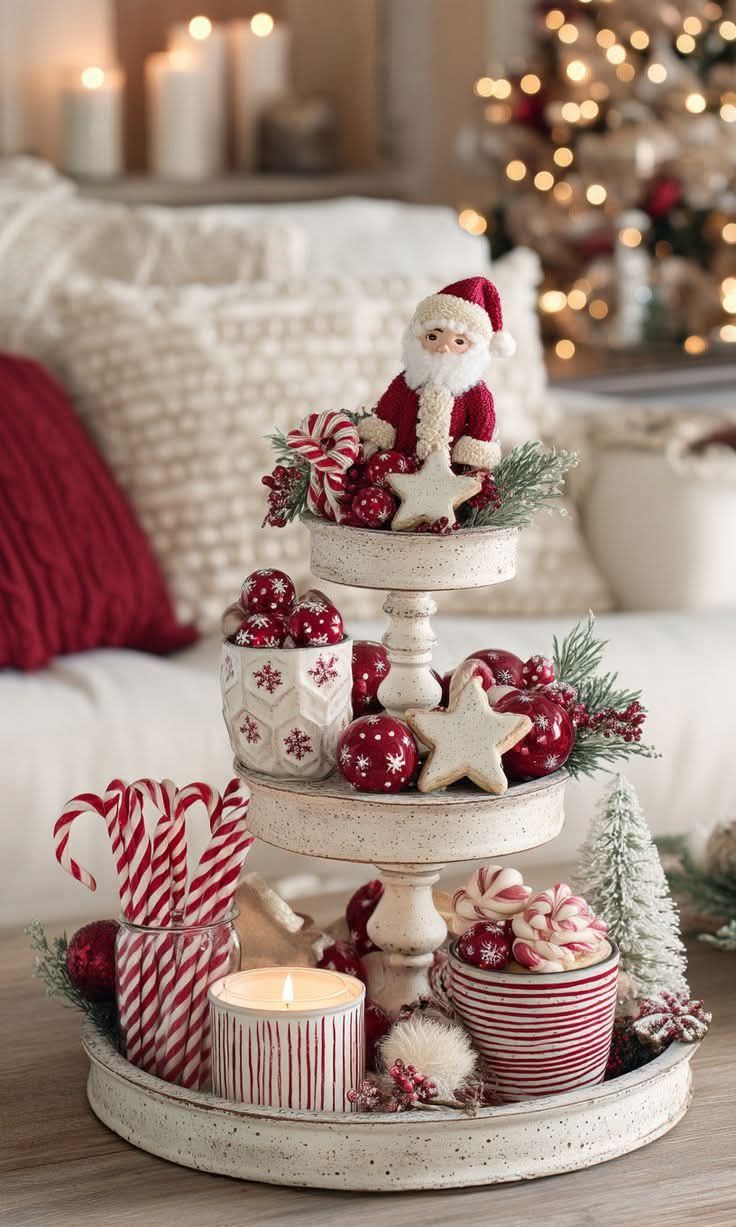
This tray is nearly the same as the one before it, with a knit Santa, ornaments, a star cookie and candy canes, but it has fewer pieces and feels calmer for it.
- When you think you are done, remove one item. That is a stylist's last step, and it improves almost every tray.
- Then step back and look again before you add anything back.
44. Make It Edible
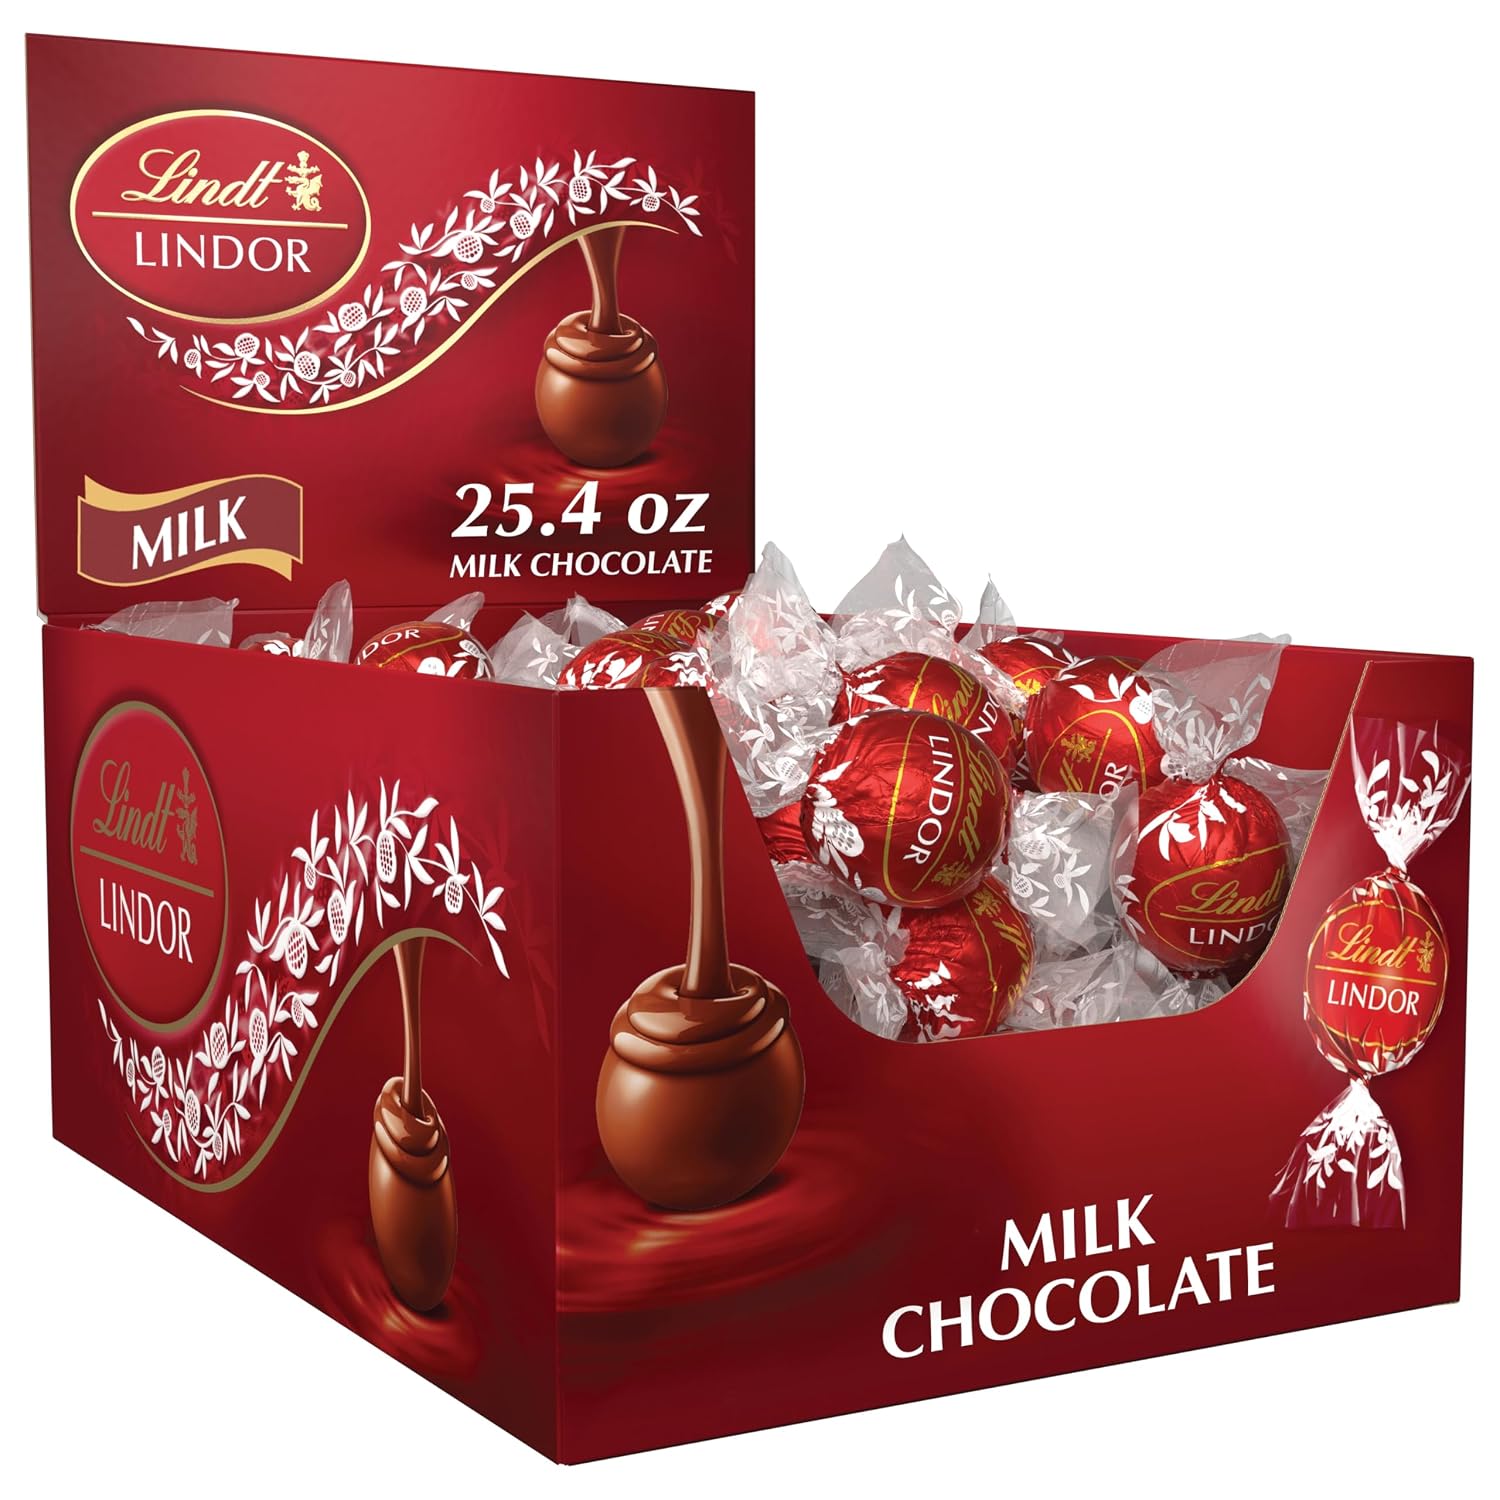
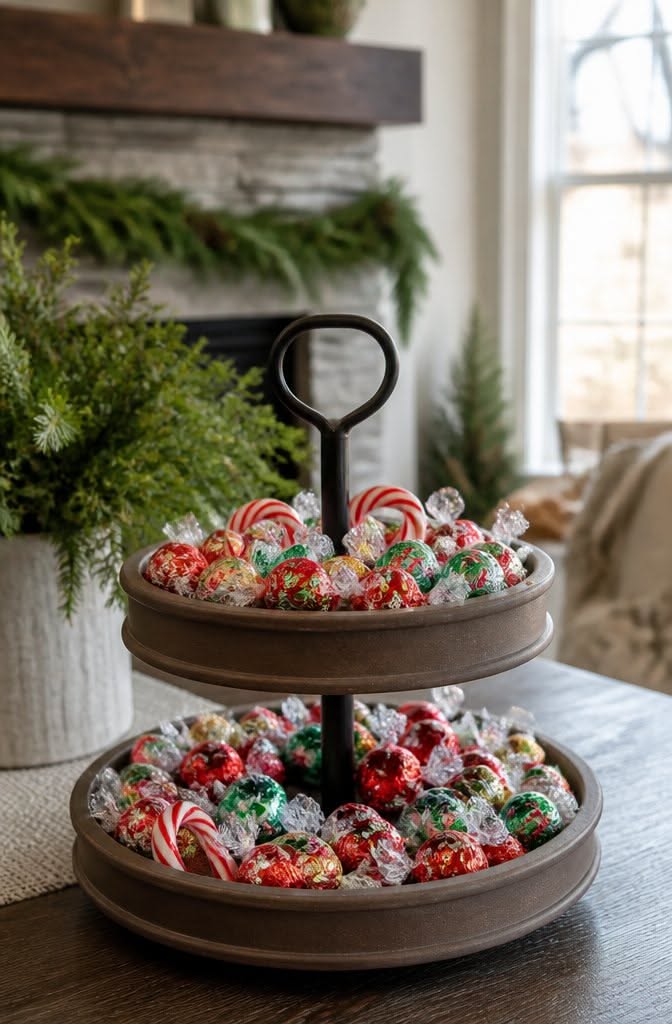
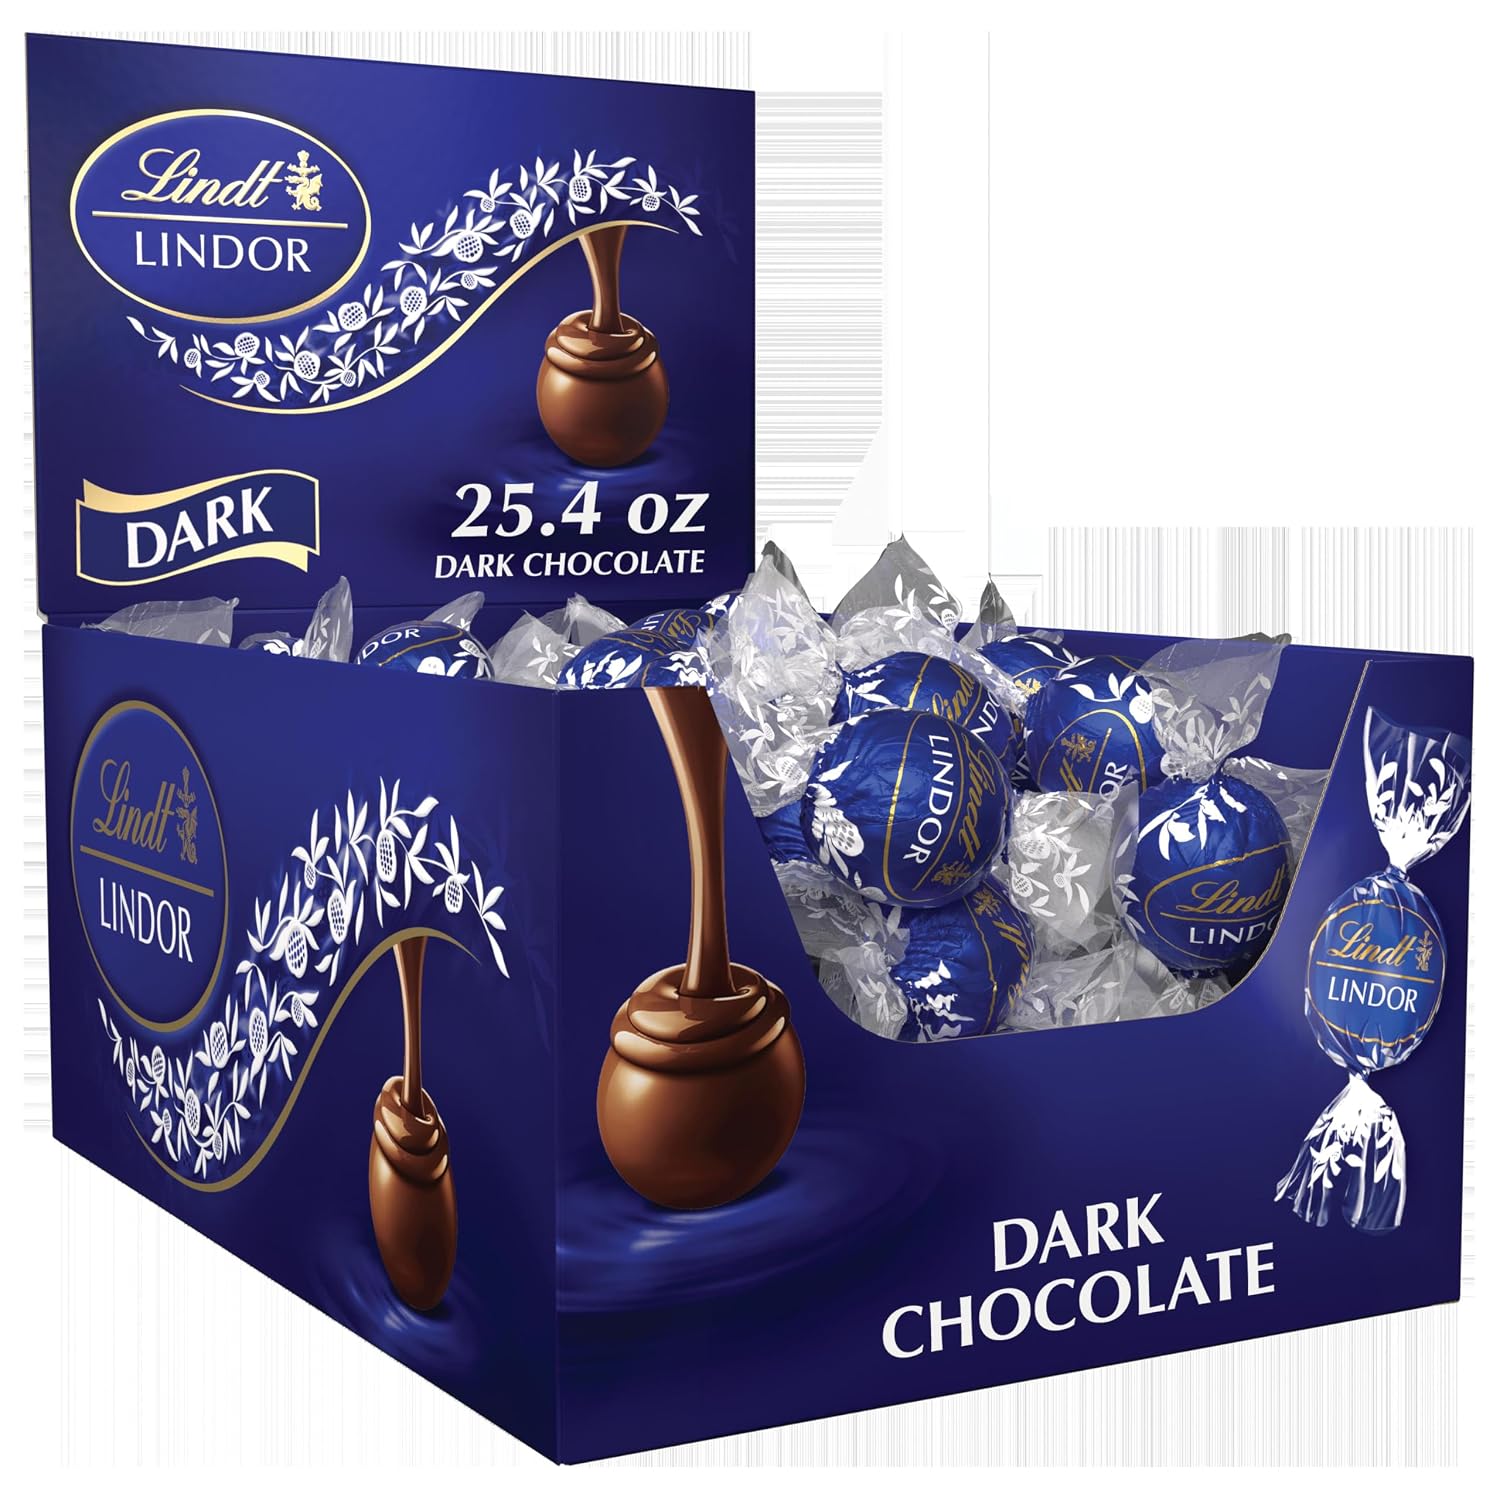
Candy is decor with a built-in refill. Foil-wrapped truffles in red, green and gold fill both tiers of this simple dark tray, with a few candy canes poking out. The metallic wrappers sparkle when the light hits them.
- Choose individually wrapped candy for hygiene, and top up as it disappears.
- Set it by the front door and it becomes a small welcome for anyone who walks in.
Common Mistakes (and Quick Fixes)
Crowding every tier. It's the most common one. Remove a single item from each tier and the tray immediately looks more expensive.
Everything at the same height. A tray of equal-height pieces looks flat. Add a tall candle, a tree or a stack of books to break it up.
Ignoring the kitchen. Keep trays away from the stove, where heat and grease will ruin them. Use battery candles near greenery and cotton snow.
Forgetting to look from the side. Most of us see the tray from across the room or from the doorway. Stand where you usually stand before you call it finished.
Packing it away too early. Swap the red and gold for winter pieces, like snowflakes, pinecones and white ceramics, and the same tray can stay out through February.
Start with one tray, one theme and one corner of your kitchen. You can always add more next year.