
The kitchen is where everyone ends up during the holidays, so it deserves more than a single wreath on the fridge.
A few well-placed touches, like garland over the cabinets, a styled mug shelf or a gingerbread house on the counter, can change the whole room.
The catch is that a kitchen has to keep working: there is heat, grease, splashes and food. So before the 36 ideas, here is how I decorate one without getting in the way of cooking.
Five Rules for a Kitchen That Still Works
Go vertical first. The tops of cabinets, the windows and the walls are free. Counters aren't, so decorate those last.
Respect the heat. Keep paper, fabric and dry garland well away from burners and the range hood. Wreaths belong above the hood, not over the flame.
Use trays. A tray turns scattered decor into one object you can lift and wipe under in a second.
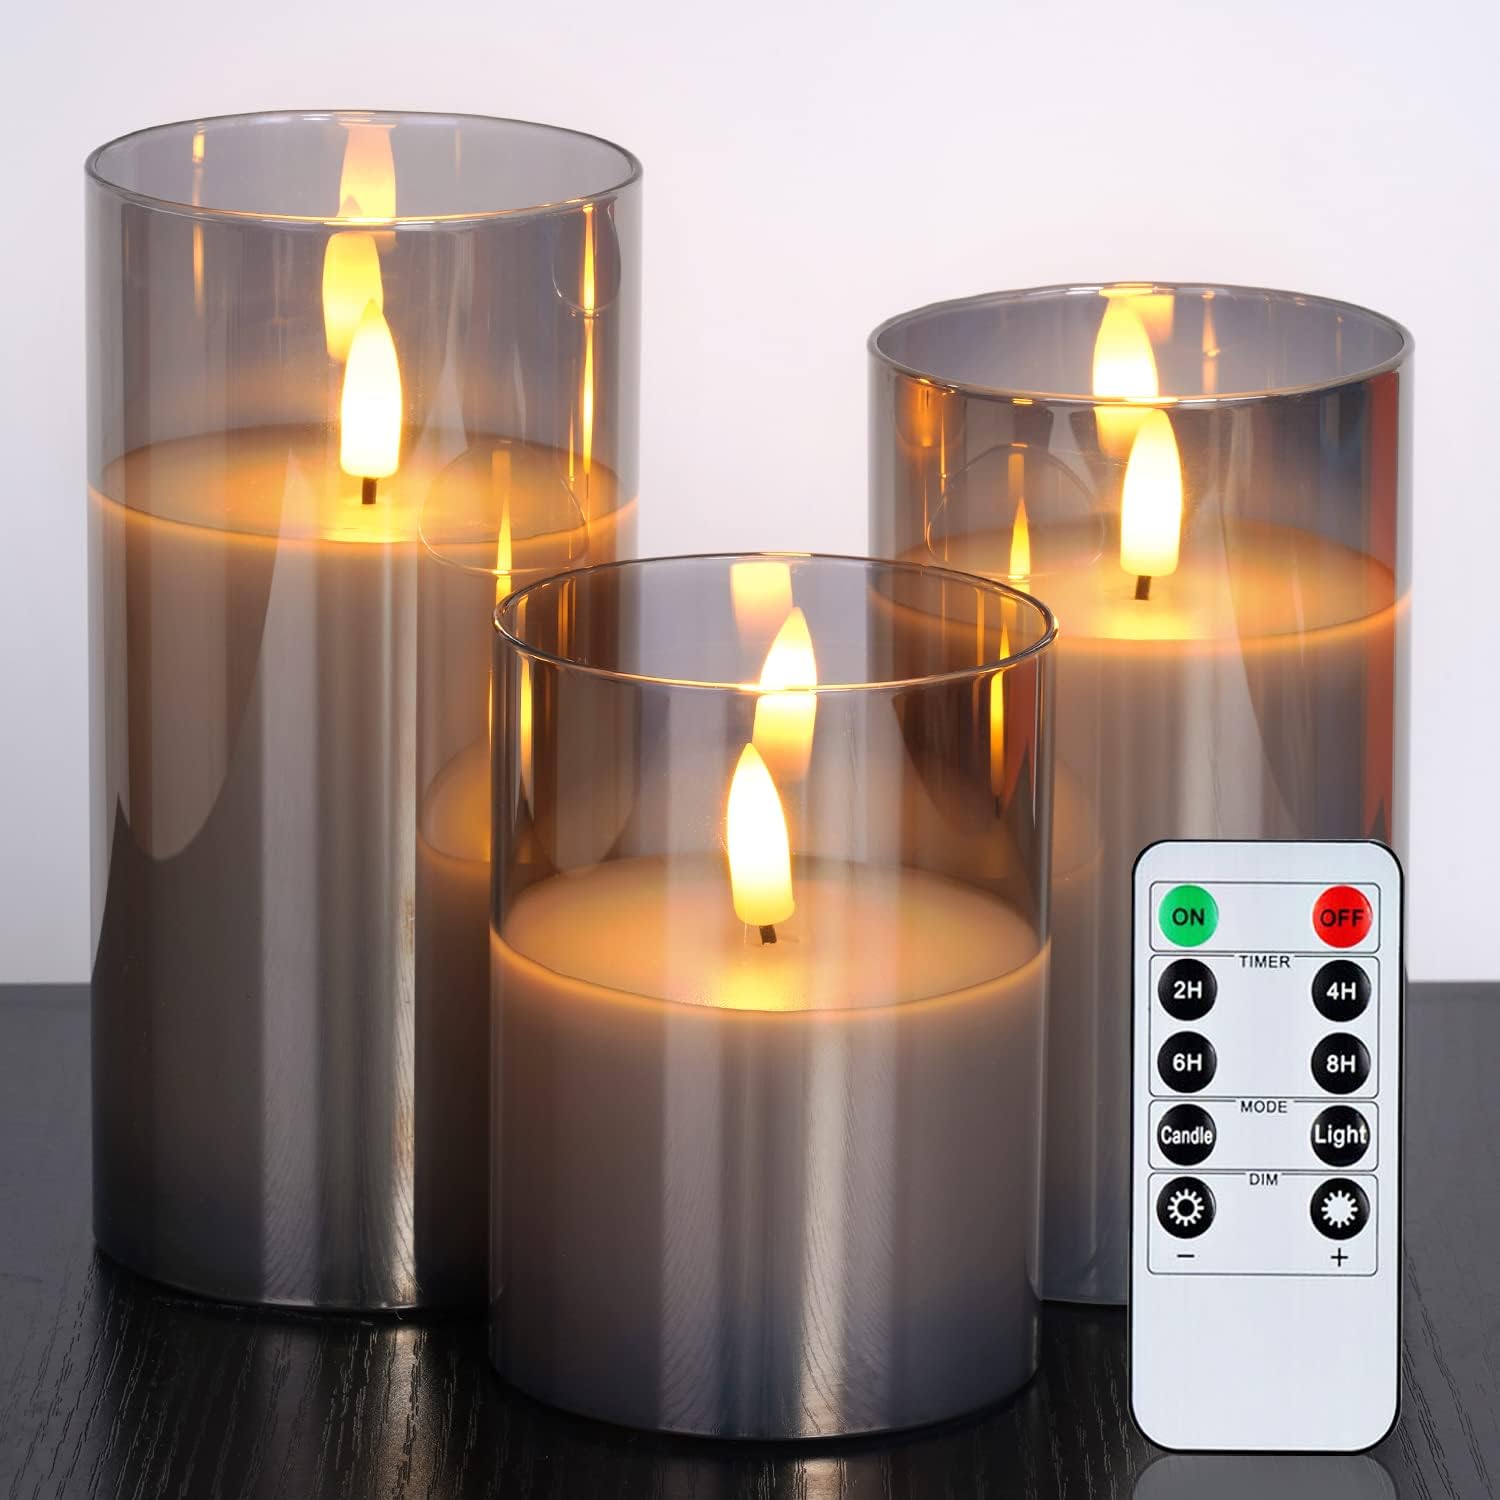
Light it with batteries. Battery candles and fairy lights mean no outlet hunting and no open flame.
Repeat one color. Red, gold or green. Three repeats at different heights is enough to look planned.
1. Light Up the Space Above the Cabinets
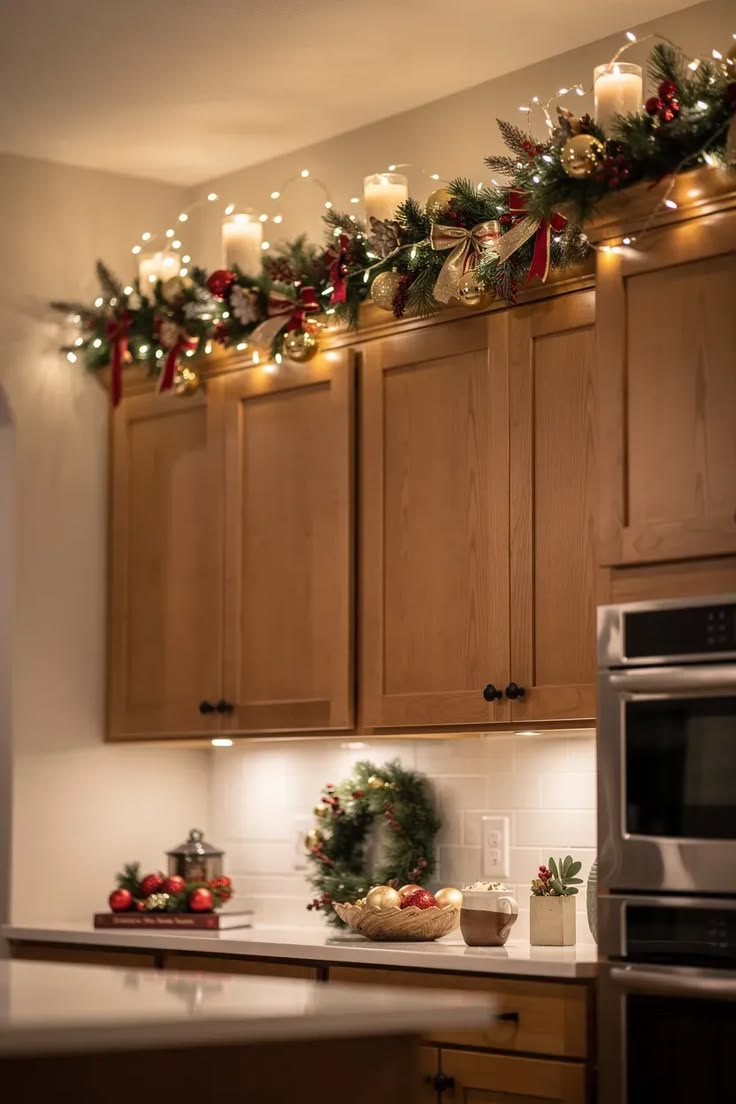
The dead space above kitchen cabinets is the easiest place to add Christmas.
Garland with tiny lights, candles and gold ornaments runs along the top here, so a warm glow spills down the wall after dark.
- Clip it to the cabinet top with removable hooks, and skip the nails.
- Use battery candles, since real flames beside dry garland are a fire risk.
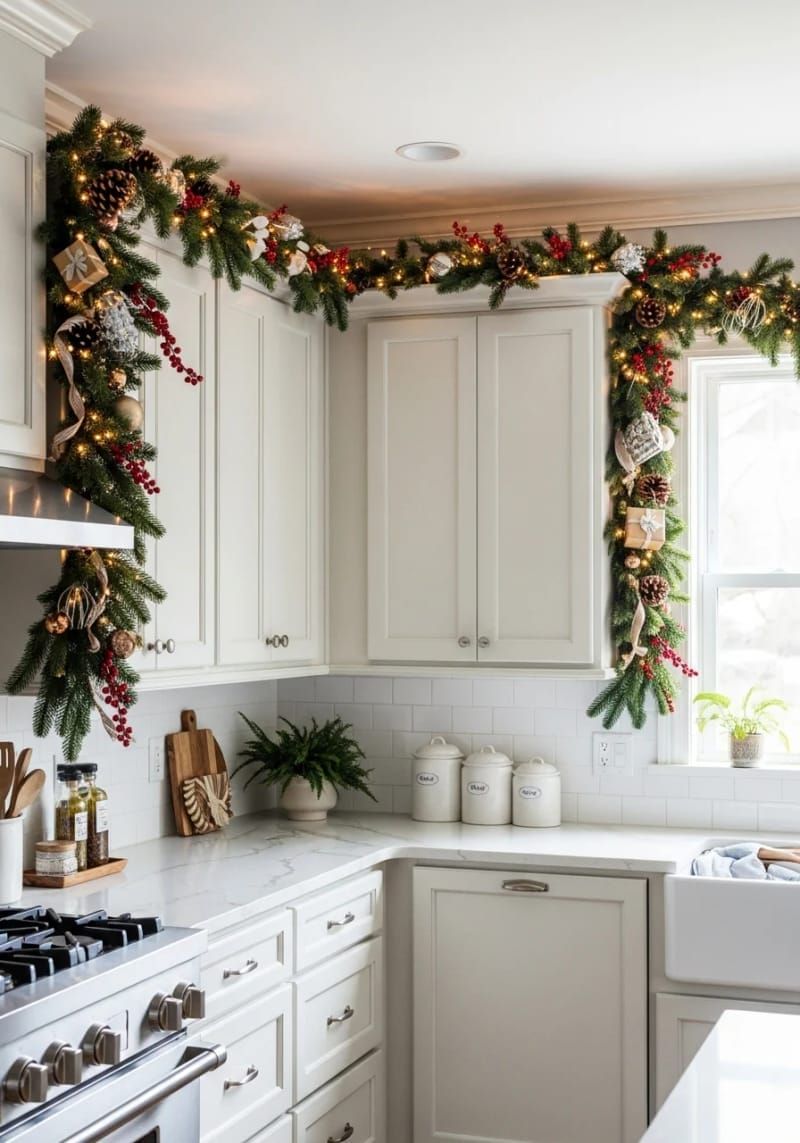
2. Wrap the Corner and Let the Garland Drop
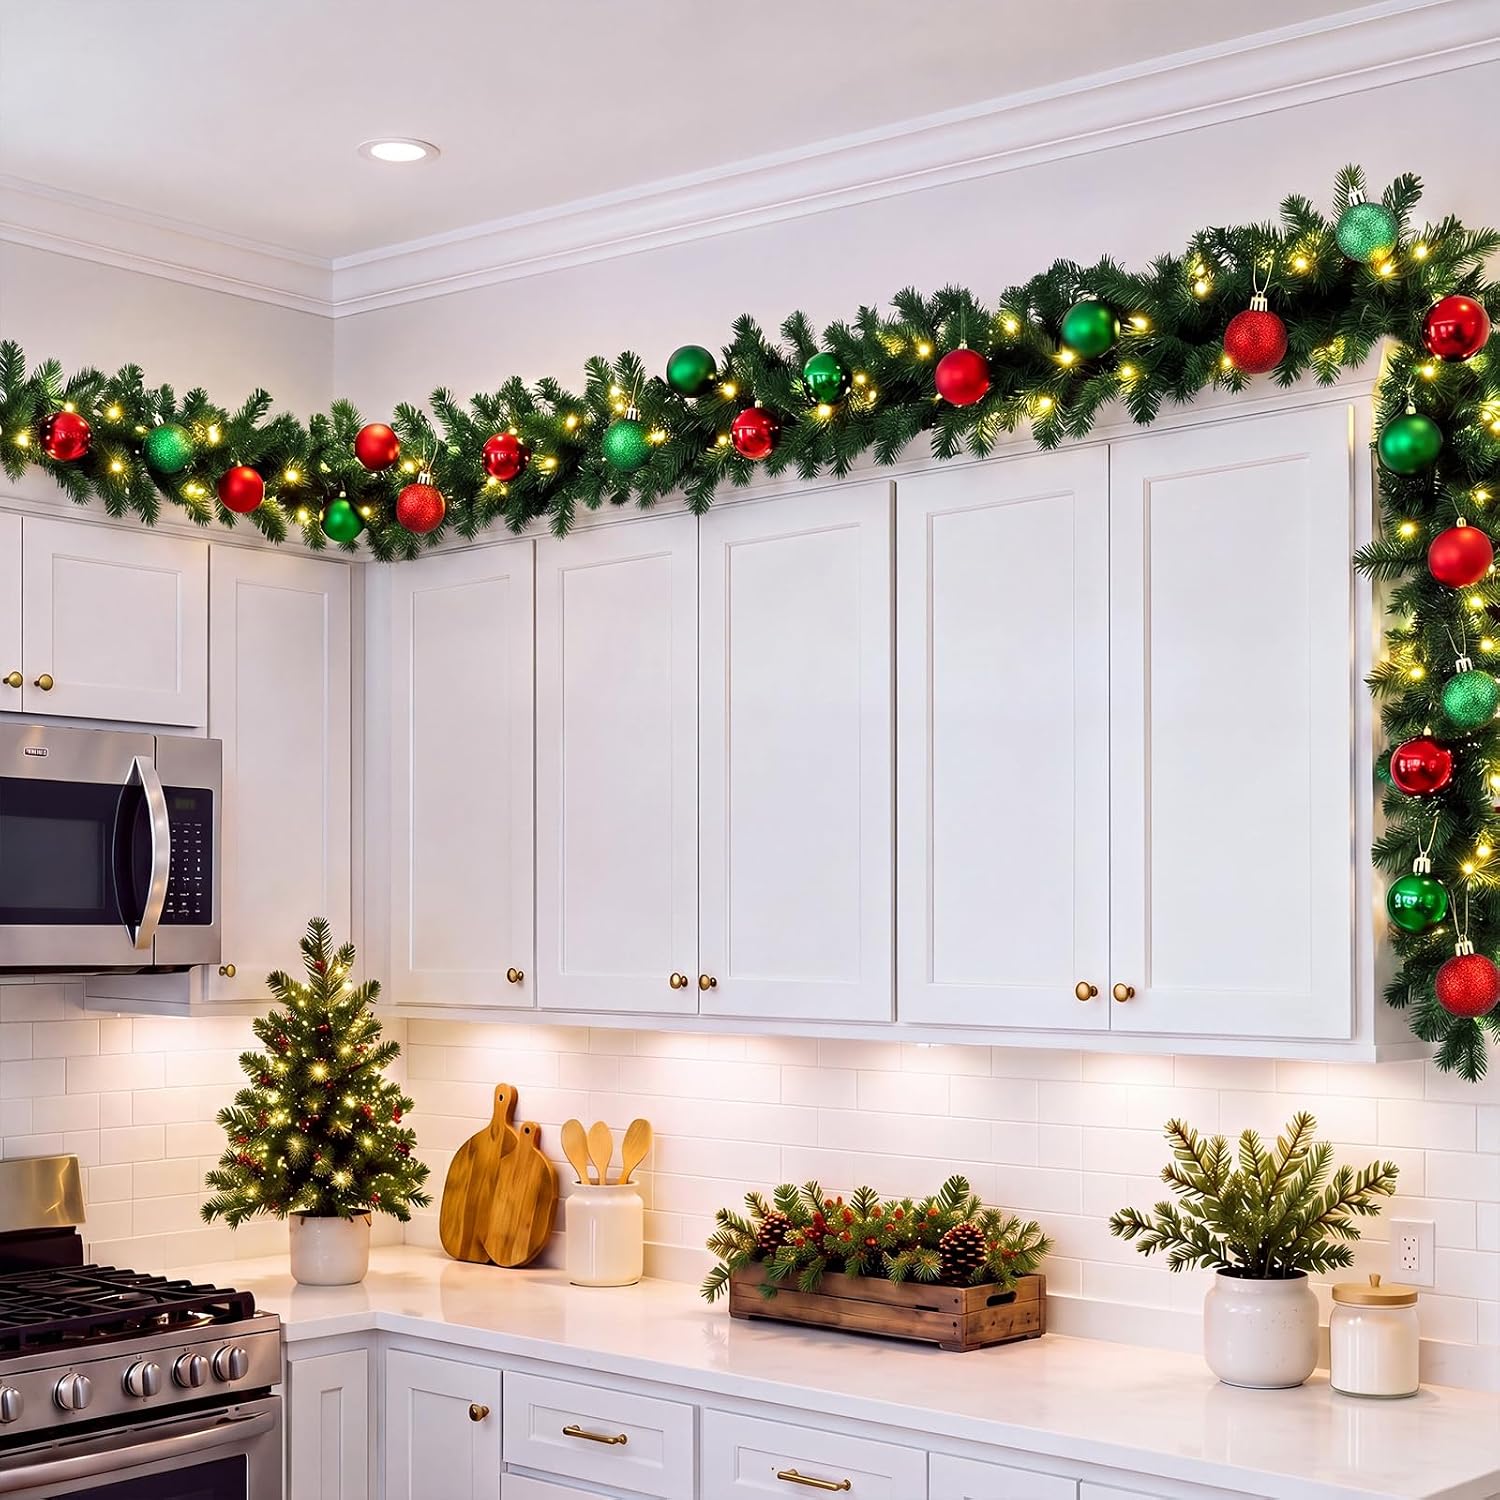
Garland looks best when it has somewhere to go. This one wraps the corner and drops down the side of the cabinet run, studded with ornaments, pinecones and little gift tags.
- The drop is what makes it look designed. A straight line across looks like an afterthought.
- Buy garland about a foot longer than the cabinet run.
3. Pick a Corner and Start There
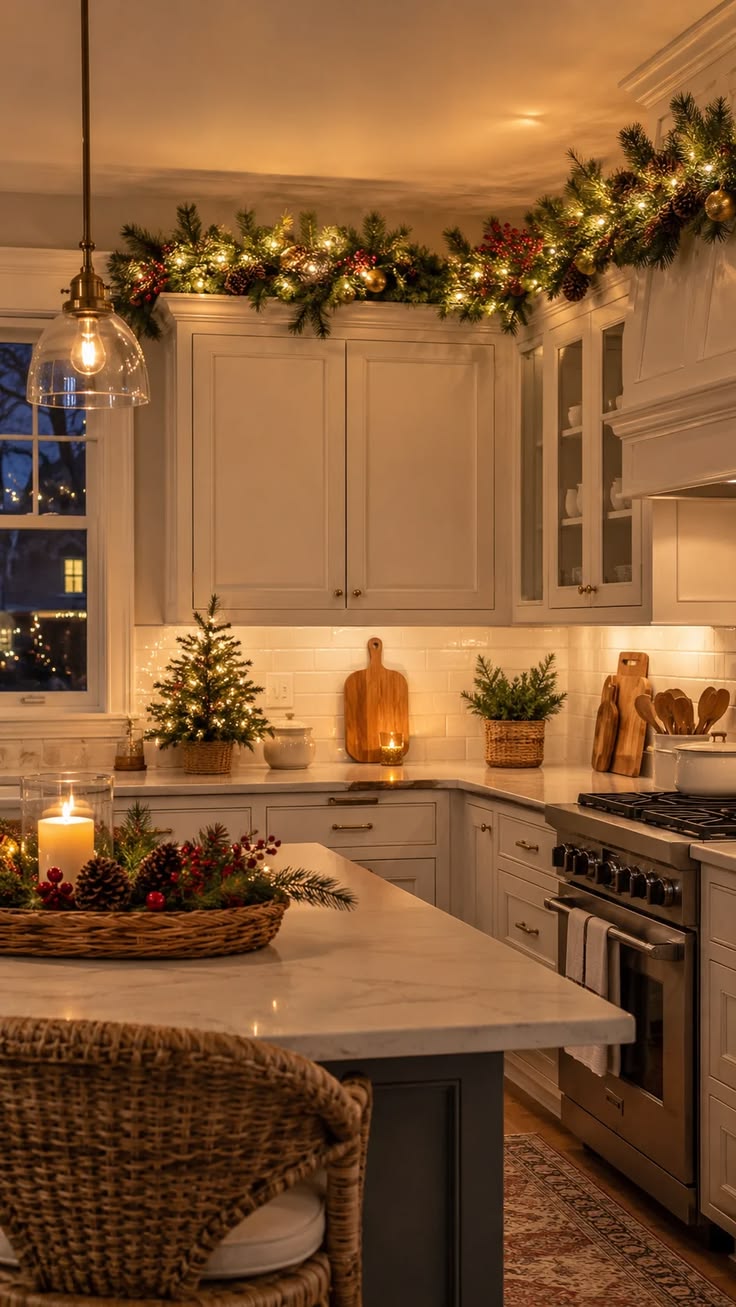
Corners are where garland looks most generous. A lit garland follows the cabinet corner here, with a small tree and a basket of greenery on the island below.
Place a pendant light or lamp nearby so the garland glows at night. Make sure you can still open the cabinet doors.
4. Frame the Window
A window is a ready-made picture frame.
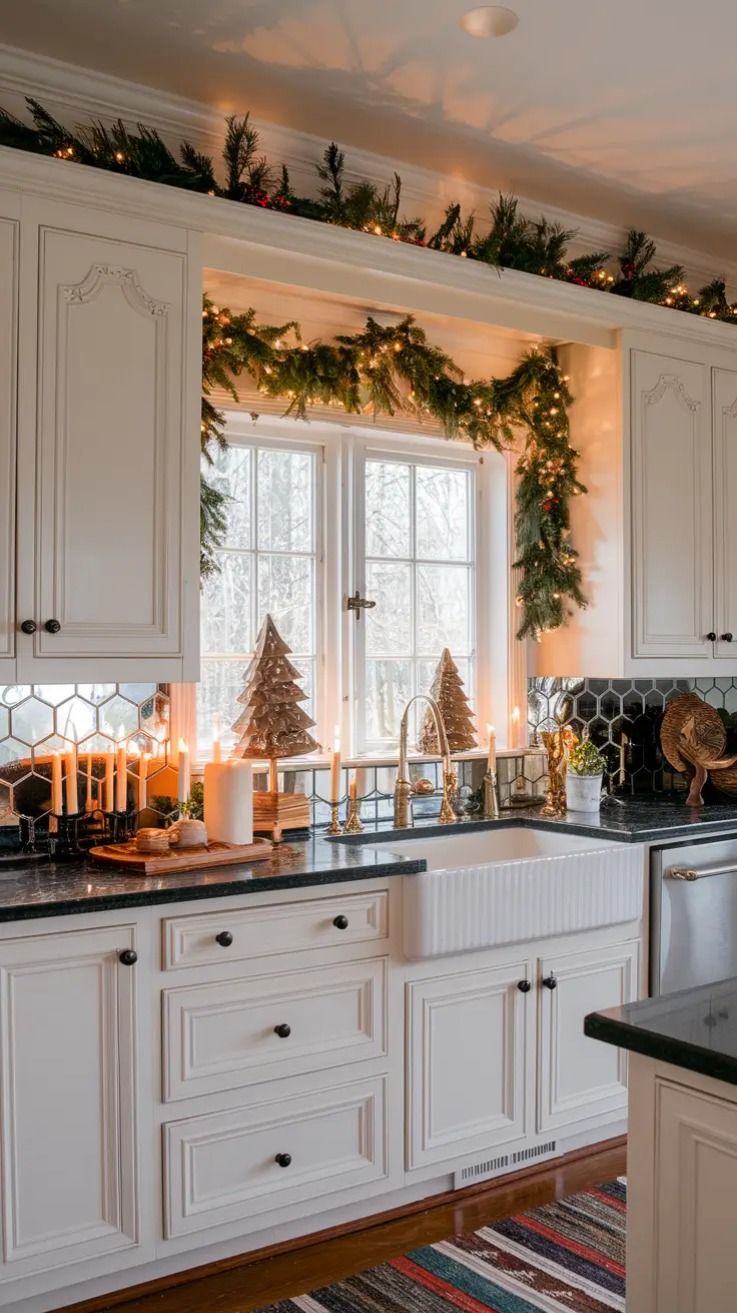
Garland with lights outlines this kitchen window, and brass candlesticks and little trees stand on the counter below.
Fix it with small clear hooks, and keep the latch and the blinds clear.
Use warm white lights, which feel like candlelight and flatter the garland.

5. Line Up Little Trees at the Sink Window
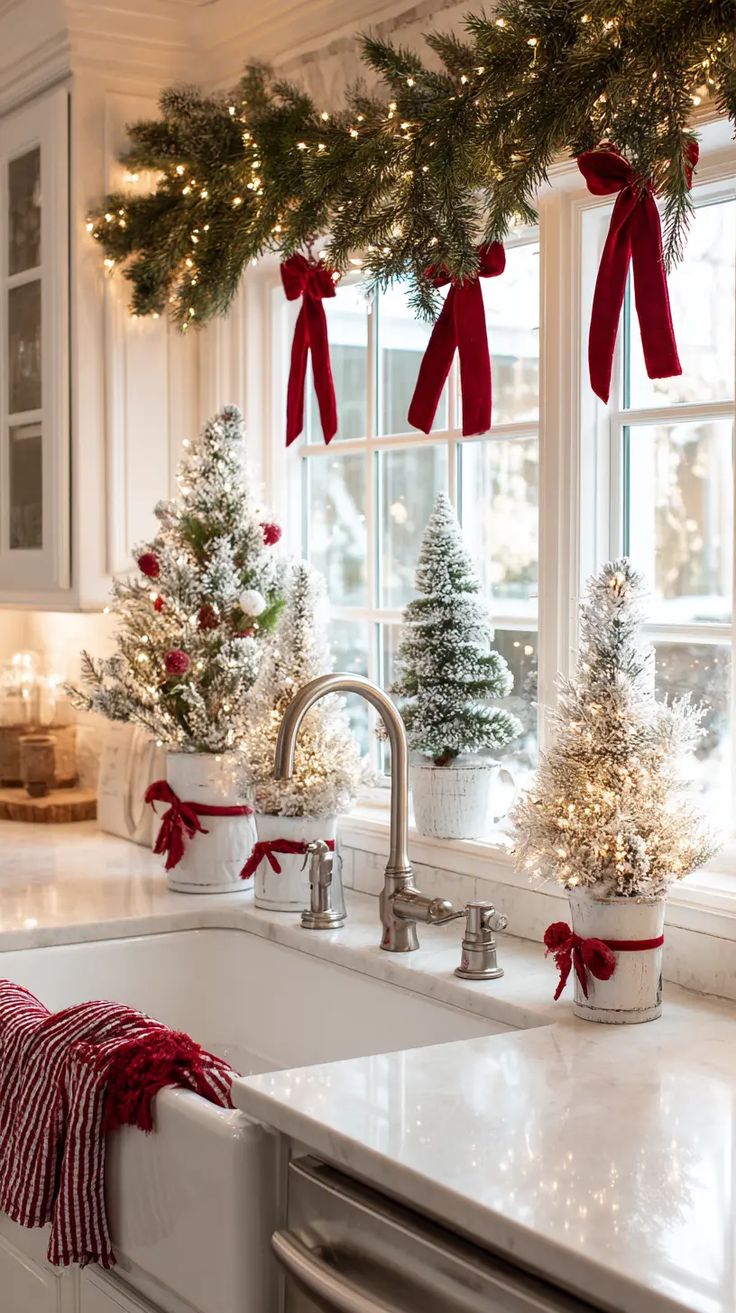
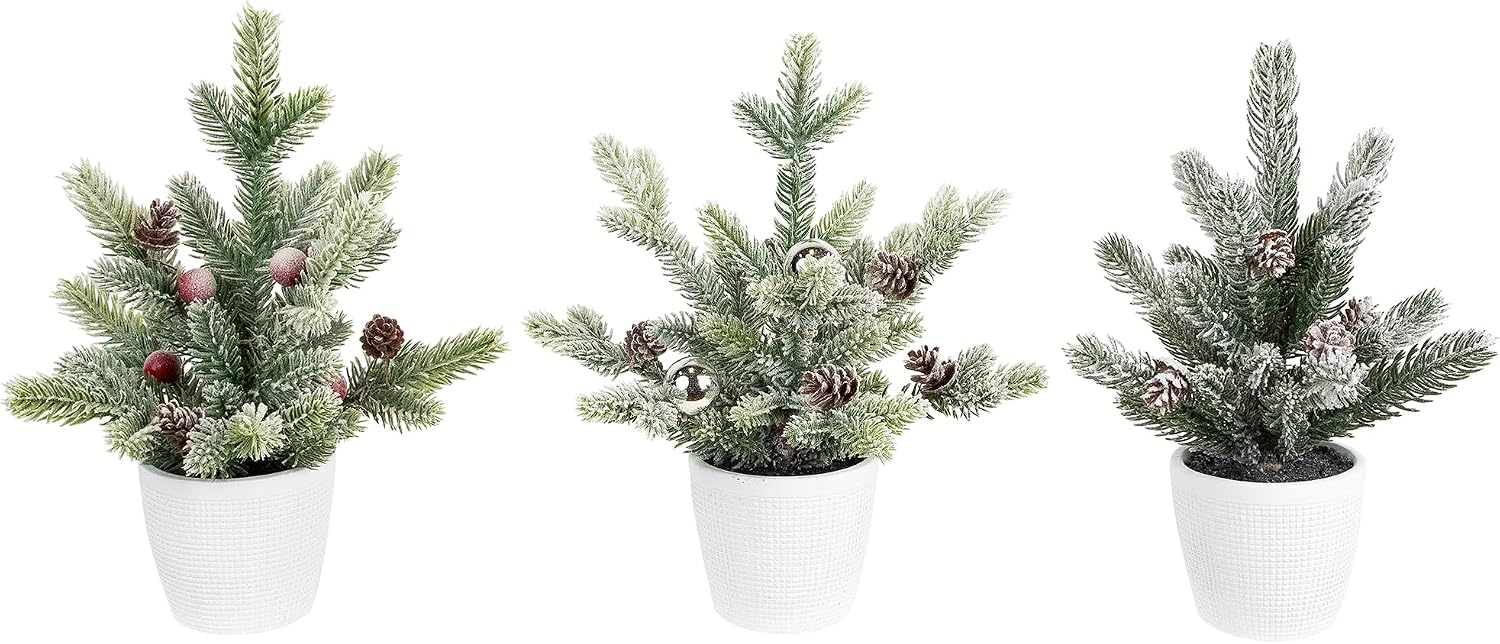
The sill above the sink is prime Christmas real estate. Flocked mini trees in white pots, each tied with a red bow, stand shoulder to shoulder here, with garland and red ribbons above.
Odd numbers and mixed heights look natural. Rows of identical trees look like soldiers.
Choose faux, because sink windows get splashed.
6. Hang a Banner, but Mind the Heat
Paper and fabric belong far from a burner.
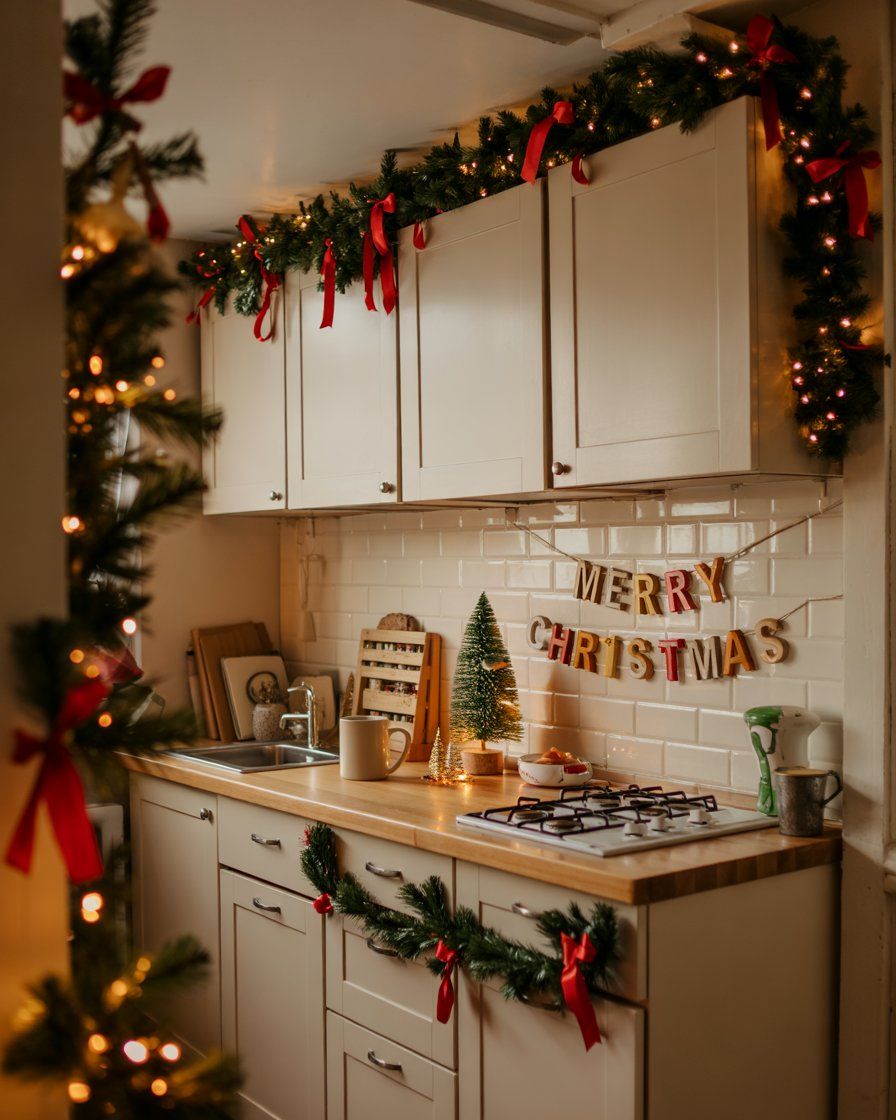
A red Merry Christmas banner is strung along this backsplash, with garland tied with red ribbons along the cabinet tops.
- Hang it at the far end of the run, as far from the cooktop as you can.
- If you don't have space, spell it out on the wall with removable letters instead.

7. Hang One Big Sign Above the Cabinets
One large statement beats ten small ones.
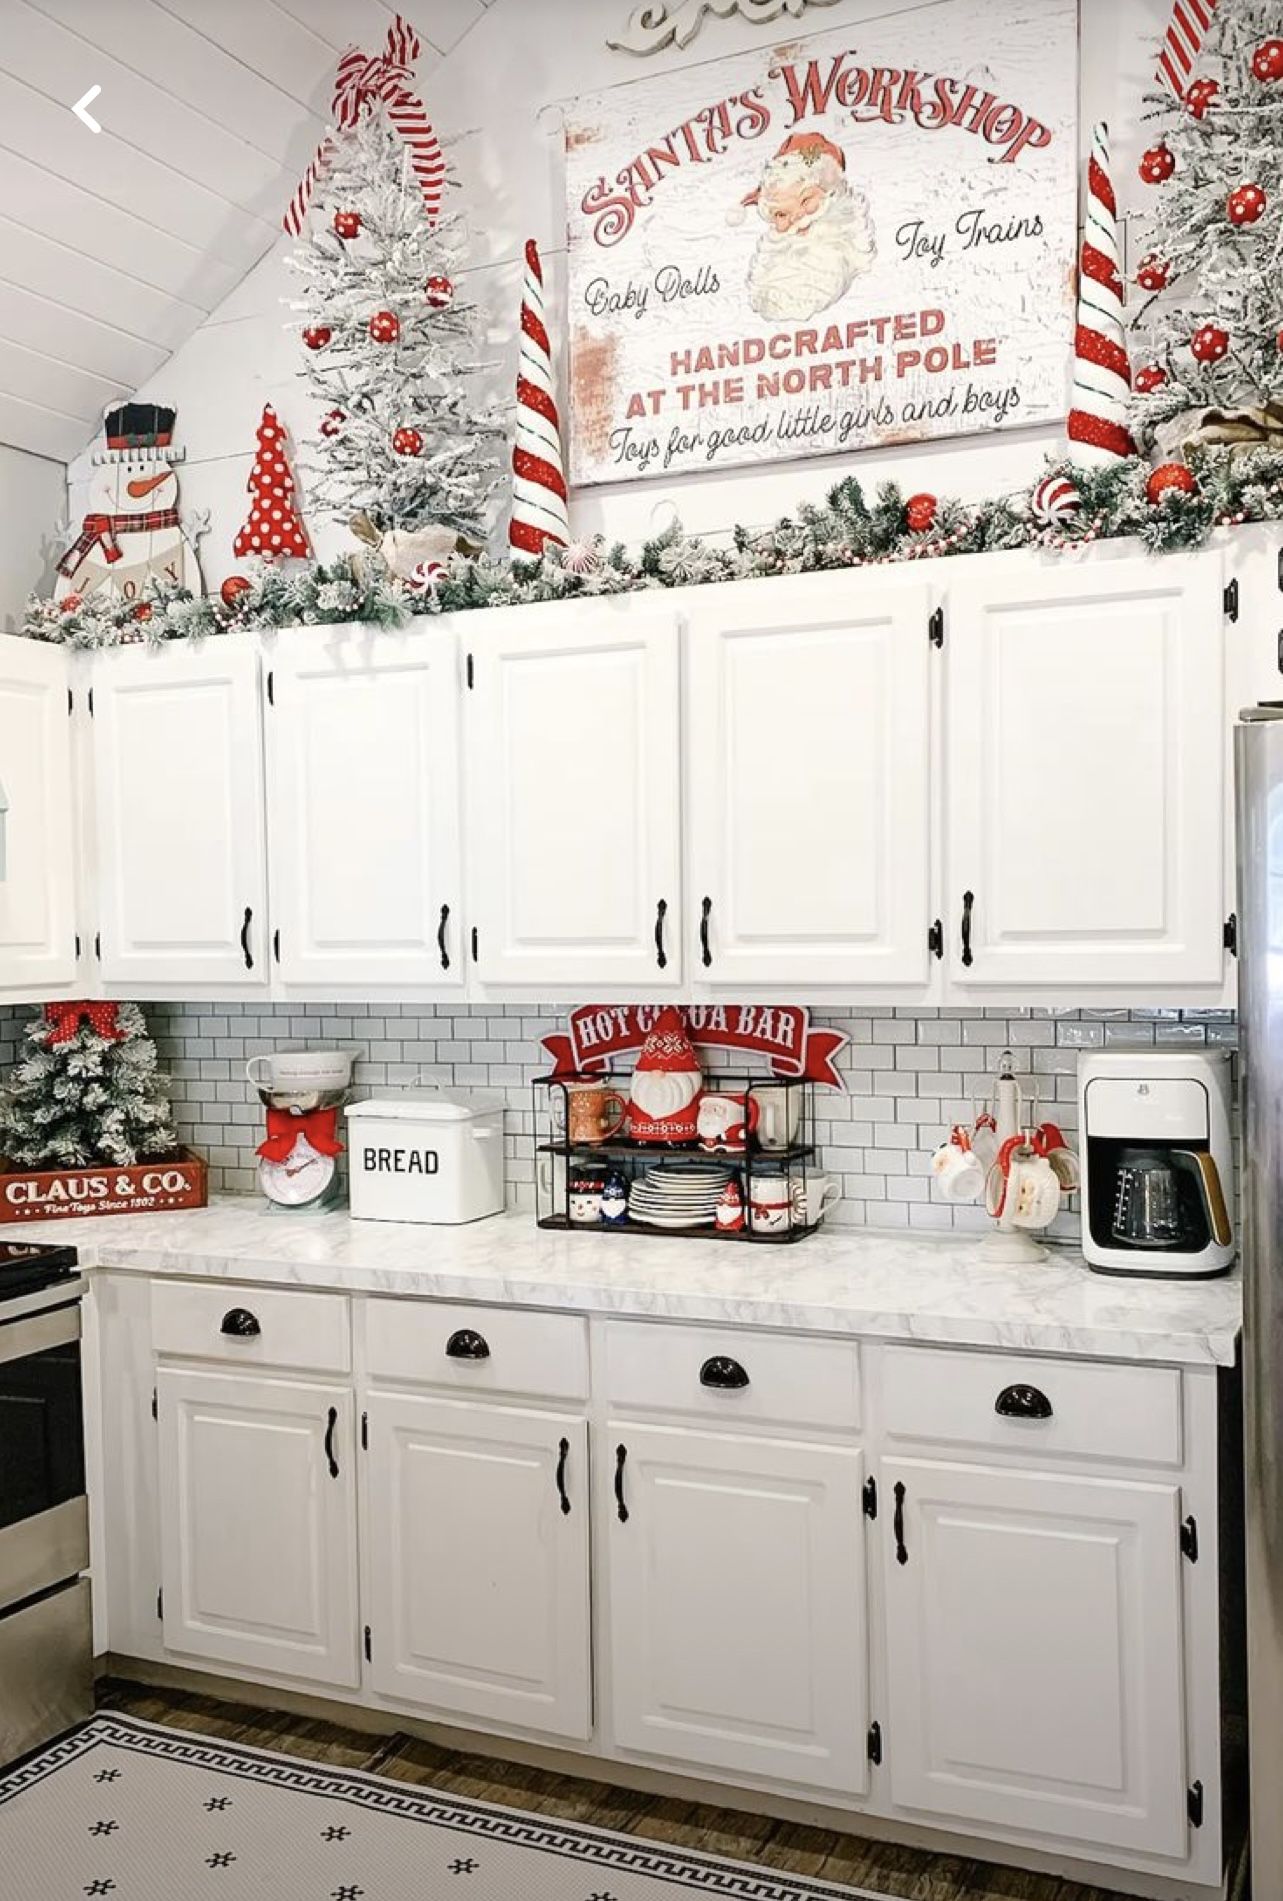
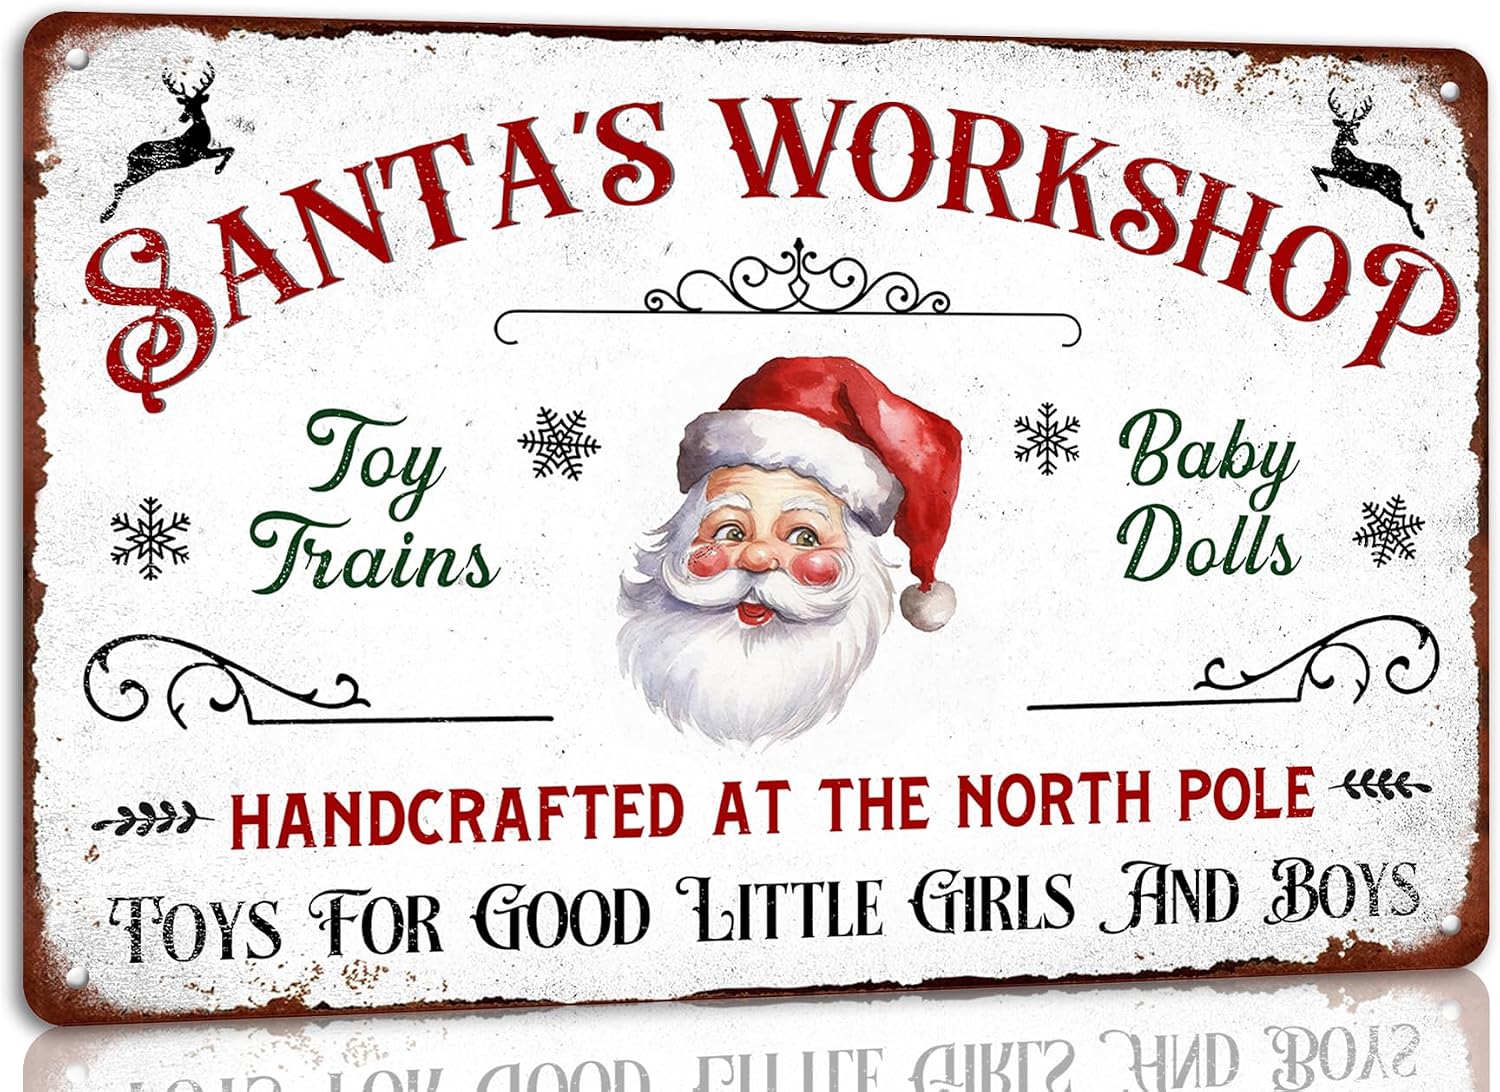
A Santa's Workshop sign fills the wall above these white cabinets, with flocked trees and candy-striped cones along the top, and a hot cocoa sign on the counter below.
Use a lightweight tin or wooden sign, and screw it into the wall or a stud. Pick a sign that matches your kitchen's color so the rest of the decor can stay simple.
8. Hang Baby's Breath Wreaths on the Cabinet Doors
Small wreaths on cabinet doors are one of my favorite low-effort ideas.
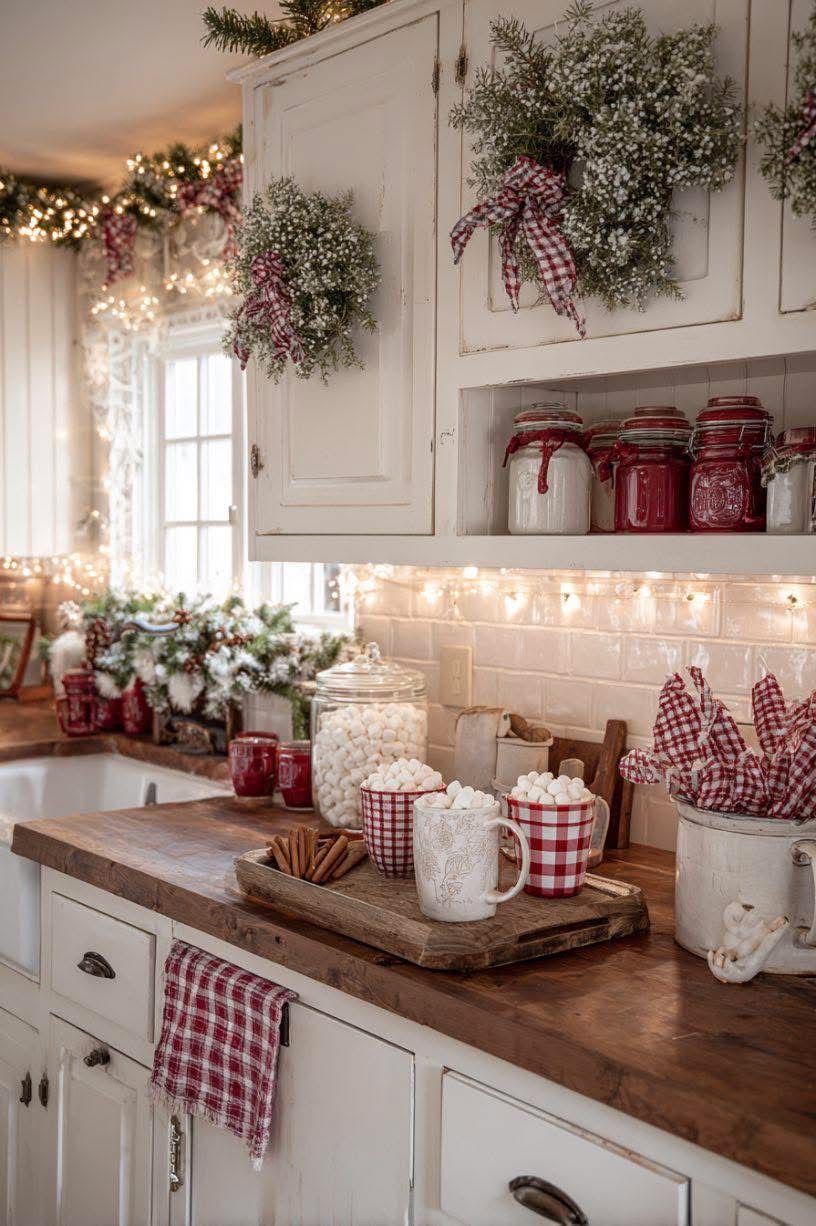
Baby's breath wreaths with plaid bows hang on these upper cabinets, while a butcher-block counter holds mugs of cocoa on a wood board with cinnamon sticks.
Quick tip: Use a ribbon loop over the top of the door, so nothing marks the finish.
Dried baby's breath is delicate, so make sure the door doesn't slam it.
9. Swag the Island Edge With Big Bows
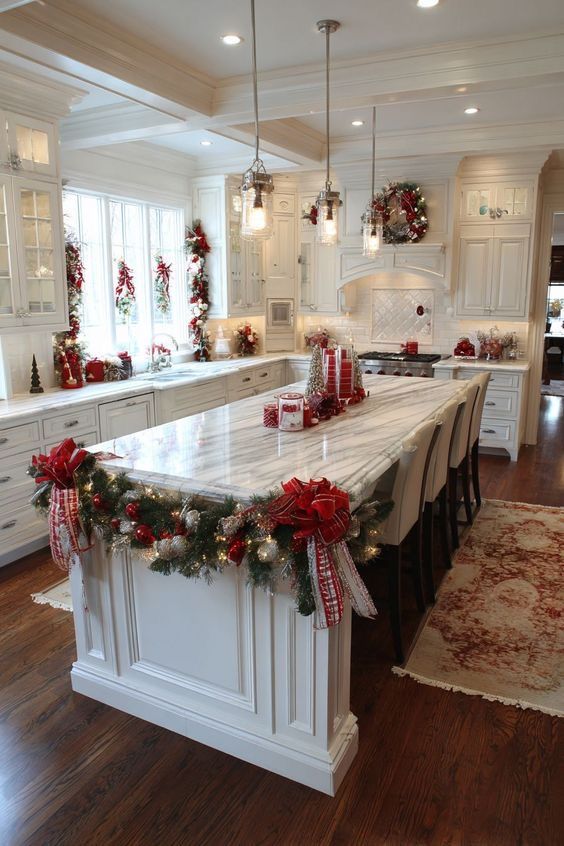
Dress the island and the whole kitchen looks finished. A thick garland with oversized red and plaid bows hangs from the edge of this long island, and wreaths in the windows echo it.
Attach the garland with removable clips under the lip of the countertop.
Keep the bows at the corners and the end so stools still tuck in.
10. Dress the Pendant Lights
Pendants over an island are the perfect hanging spot.
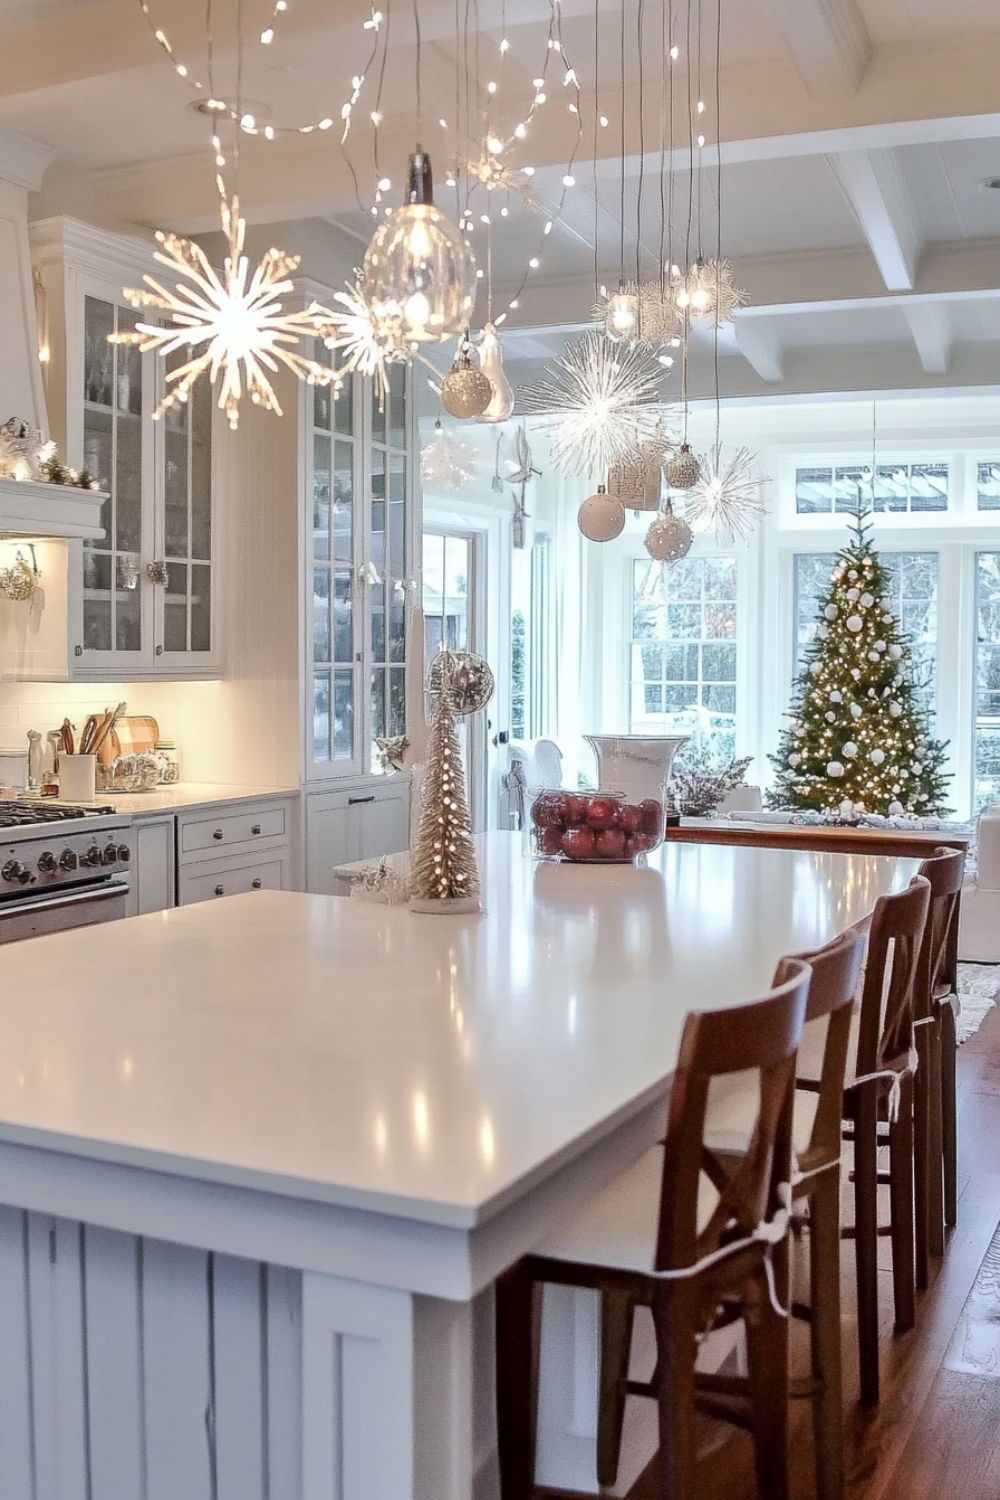
Snowflake and ornament decorations drift among the pendant lights here, with a lit tree glowing in the window beyond. Never hang flammable pieces on hot bulbs. LED or lightweight ornaments hung from the cord are safer.
Use clear fishing line, and vary the lengths so they don't look in a row.
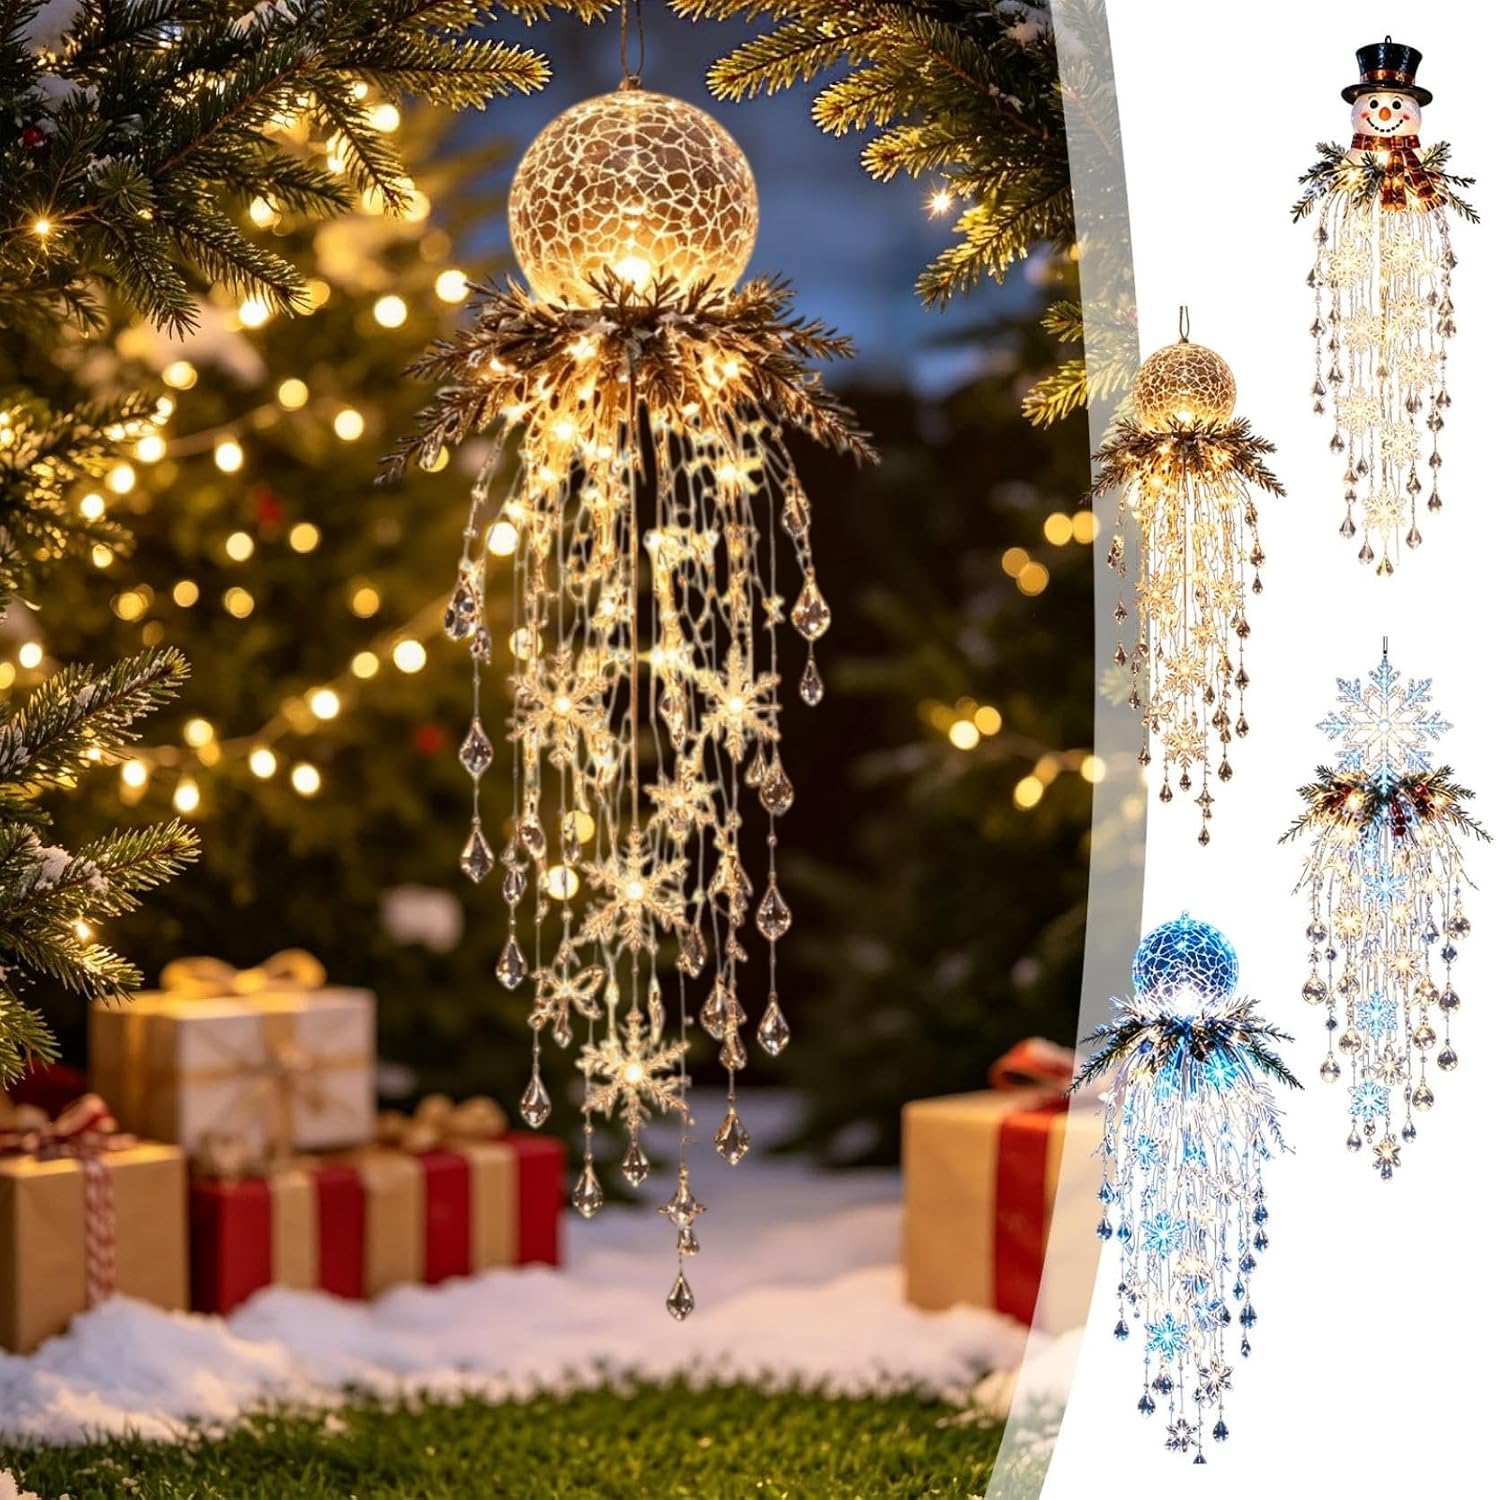
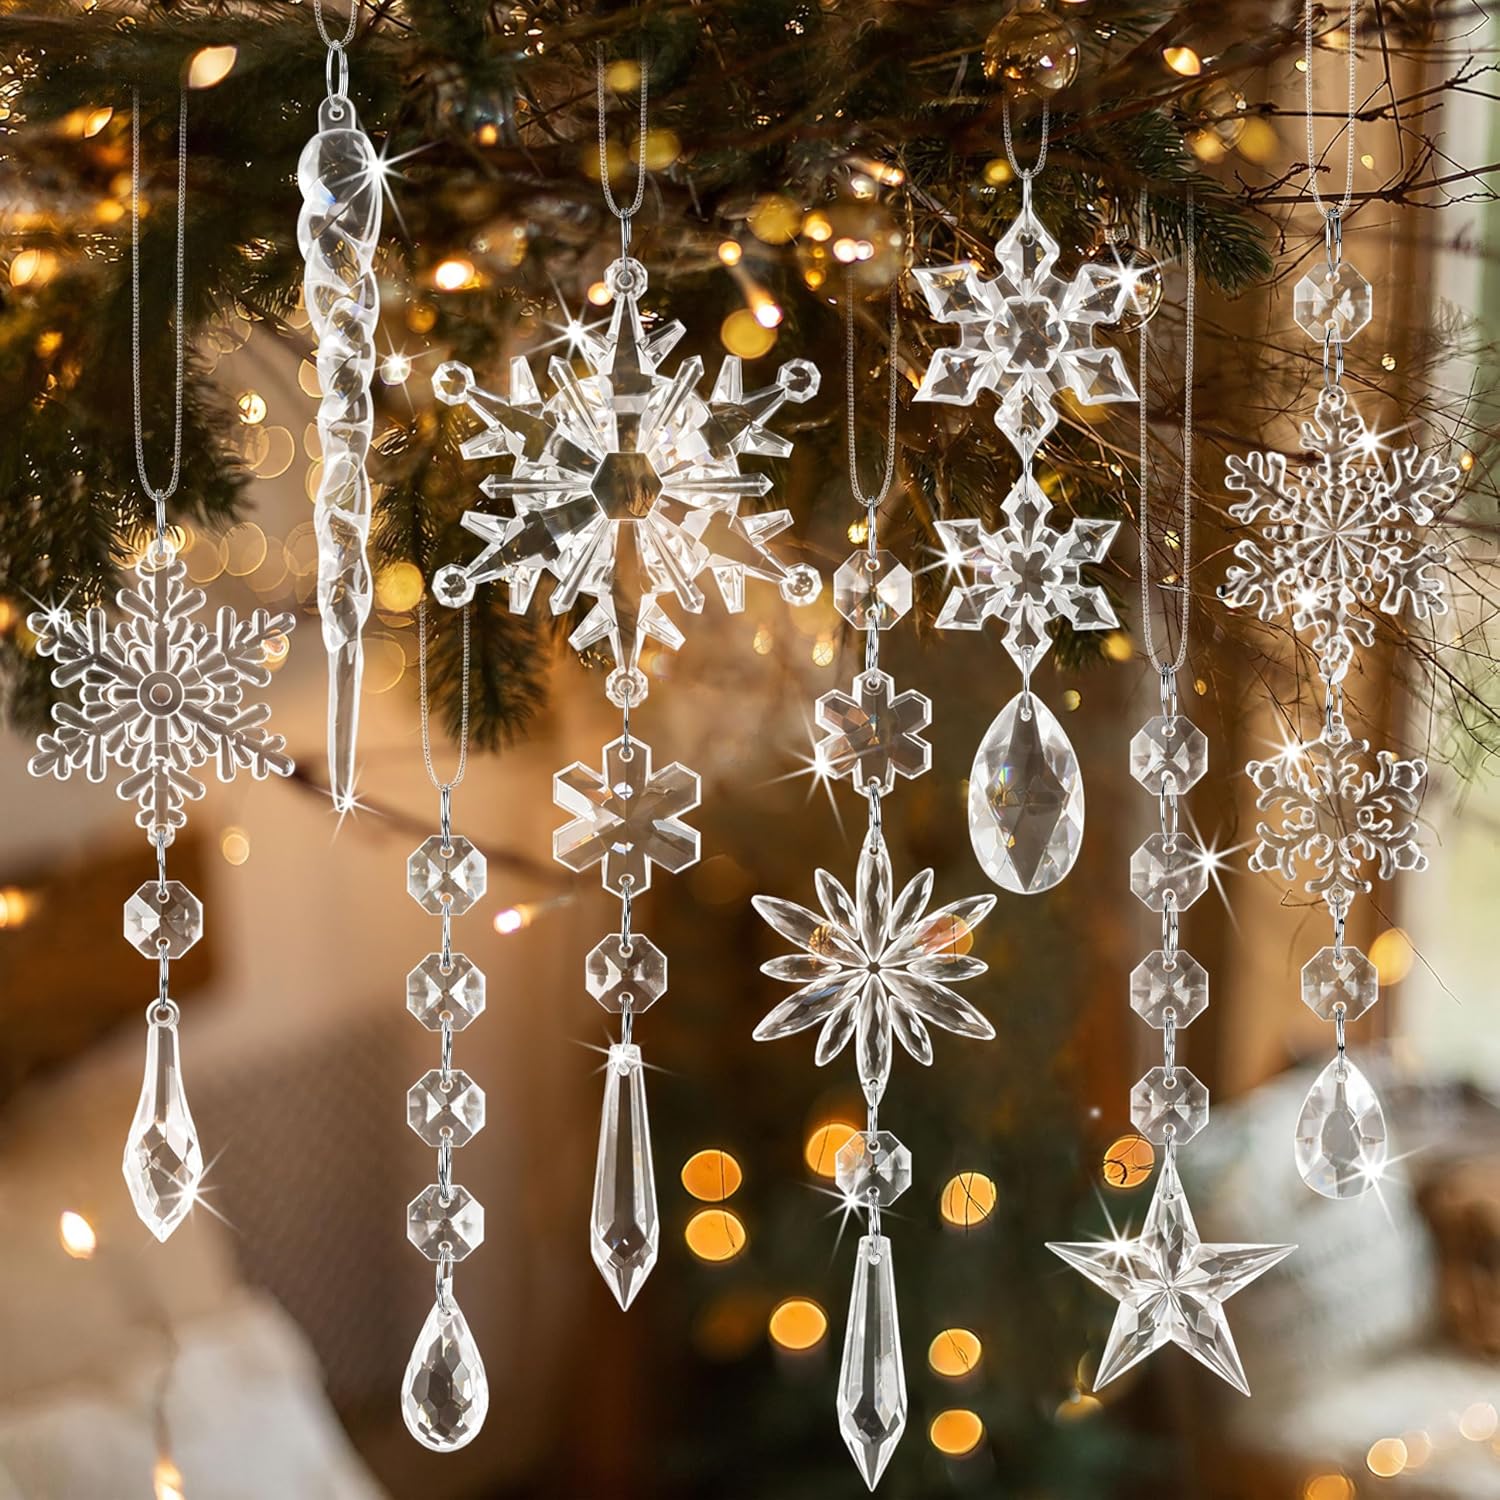
Crystal Snowflake Ornaments for Christmas Tree, Winter Wonderland Decorations, 18 Pcs
Shop on Amazon11. Warm Up Marble With Gold
Marble can look cold in winter. Gold fixes that.
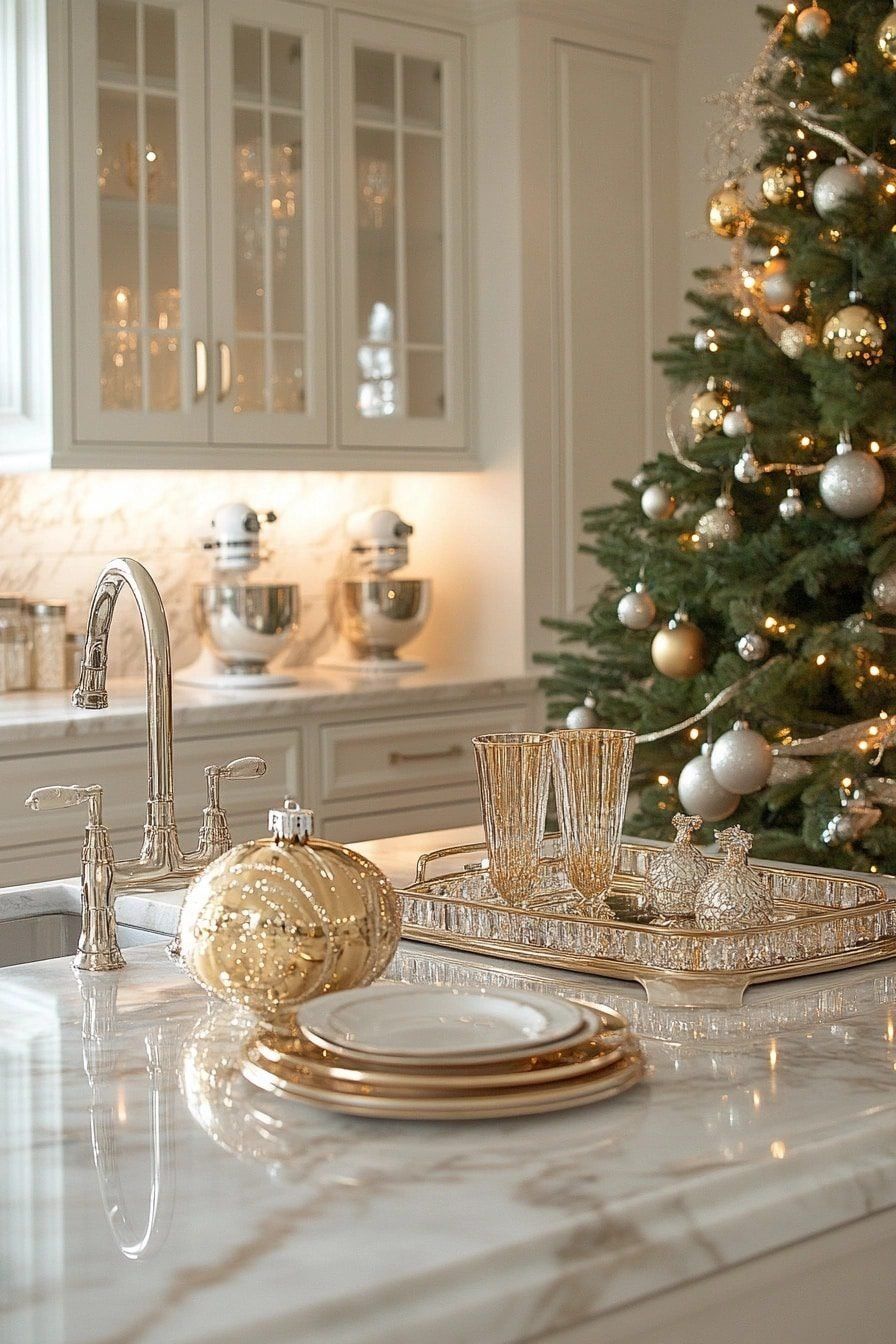
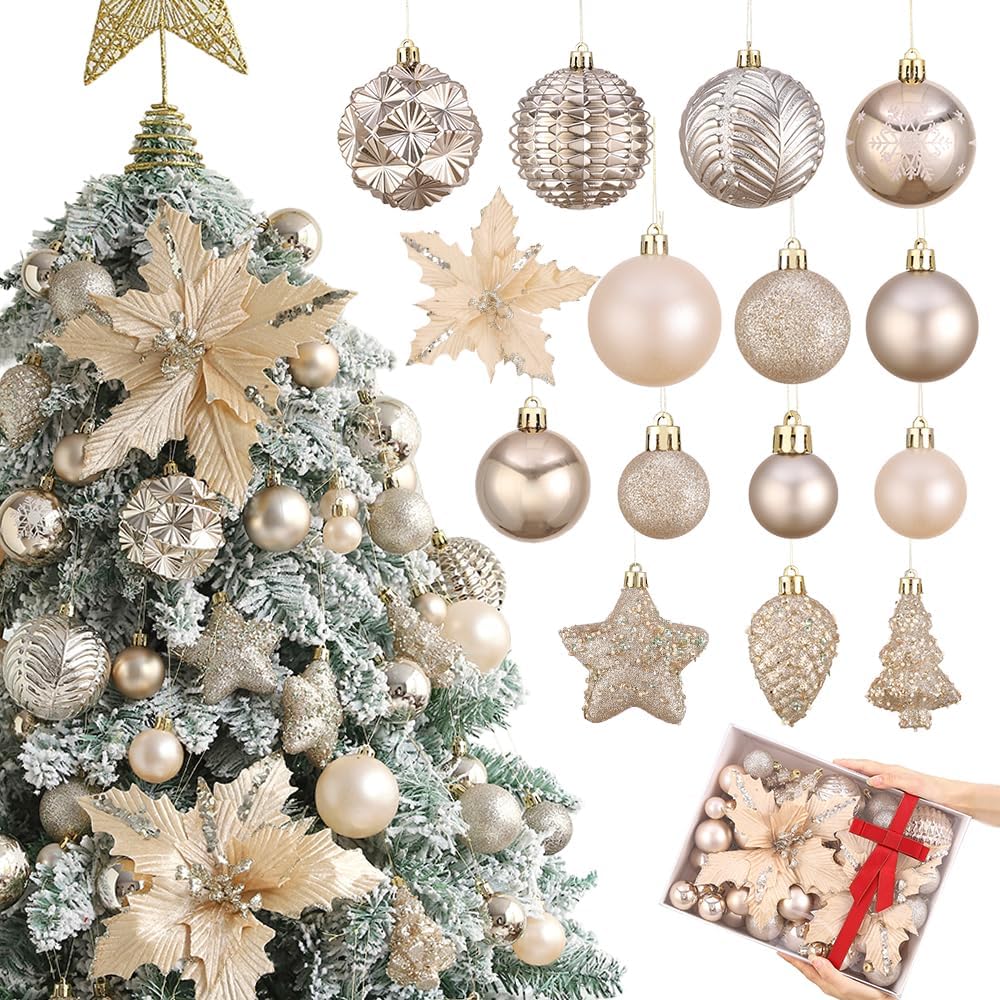
A gold and champagne tree stands beside a white island here, with gold plates and glasses on a mirrored tray in front.
- Put your gold things on a tray. It groups them and protects the stone.
- Match the tray's metal to your faucet so it looks like it belongs.
12. Fill Apothecary Jars With Peppermints
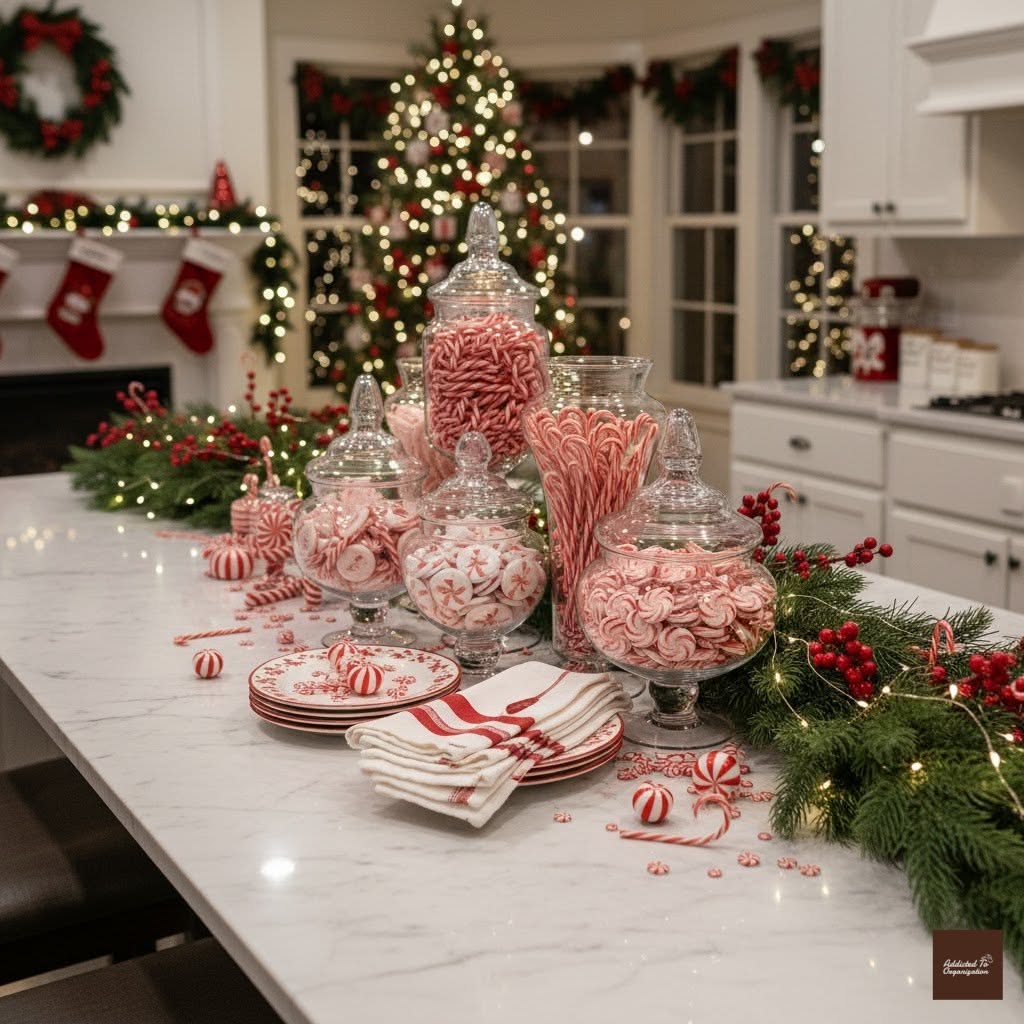
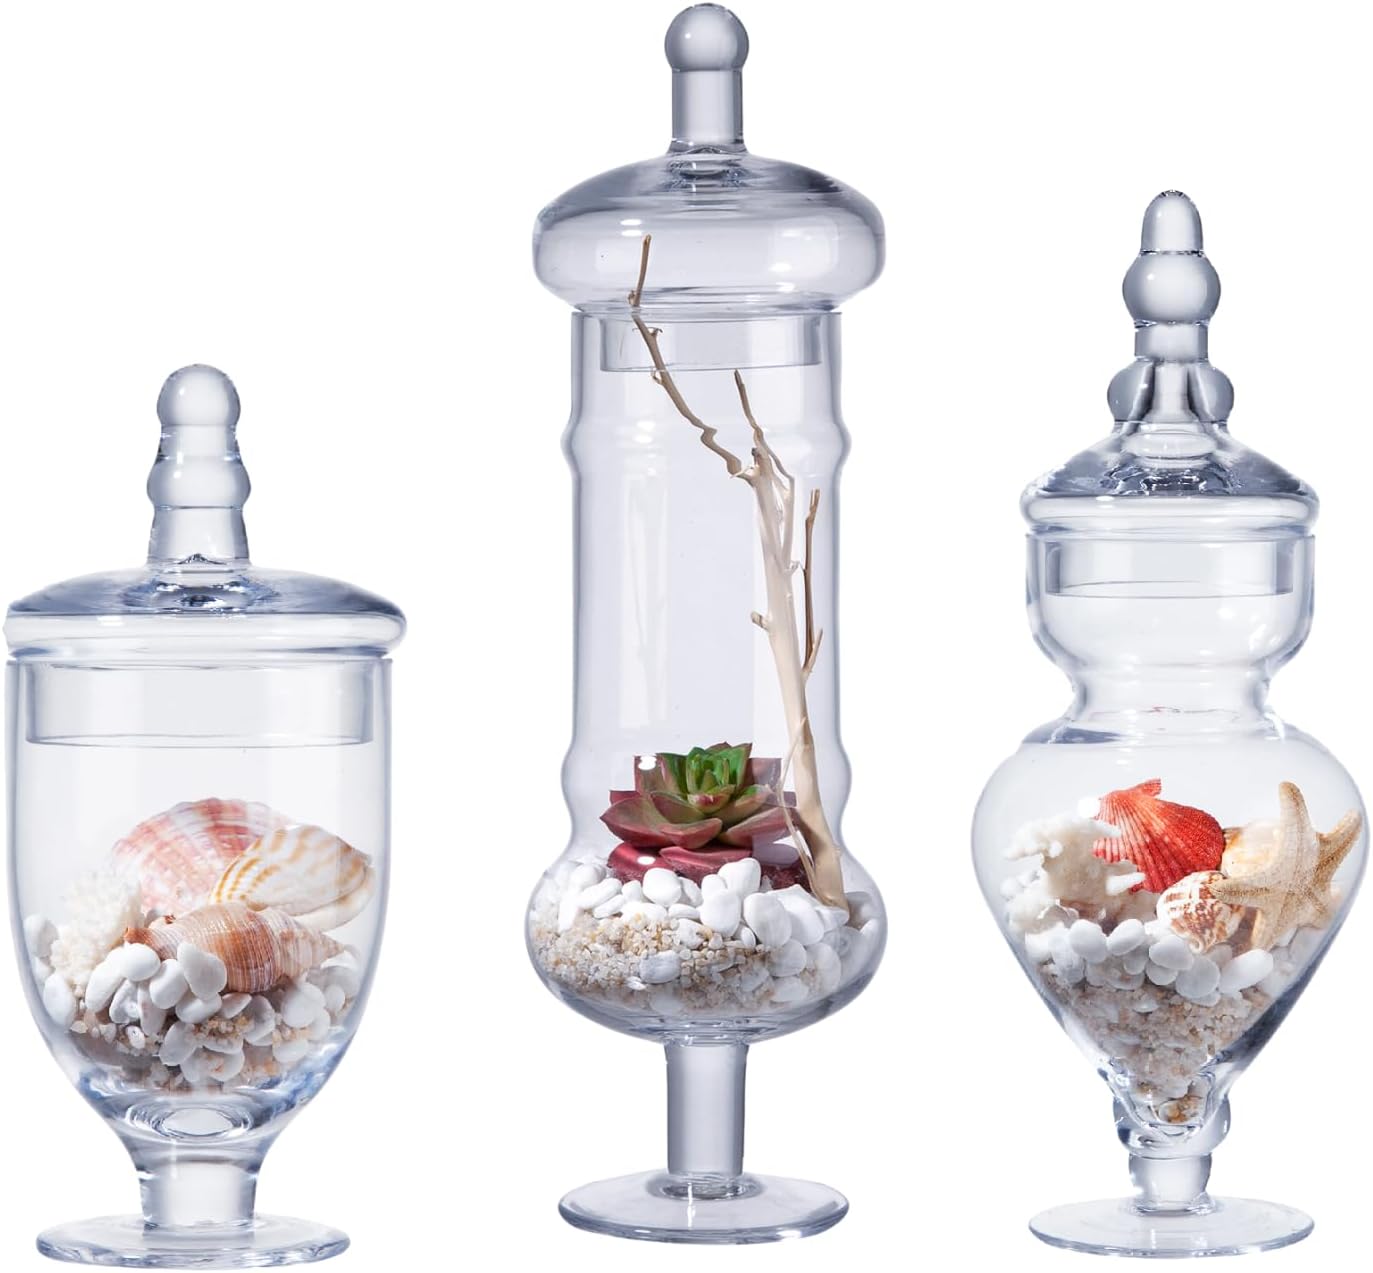
Candy is decor with a built-in color palette. Glass apothecary jars hold peppermint candy on this marble island, with red-striped plates and towels and a long garland beside them.
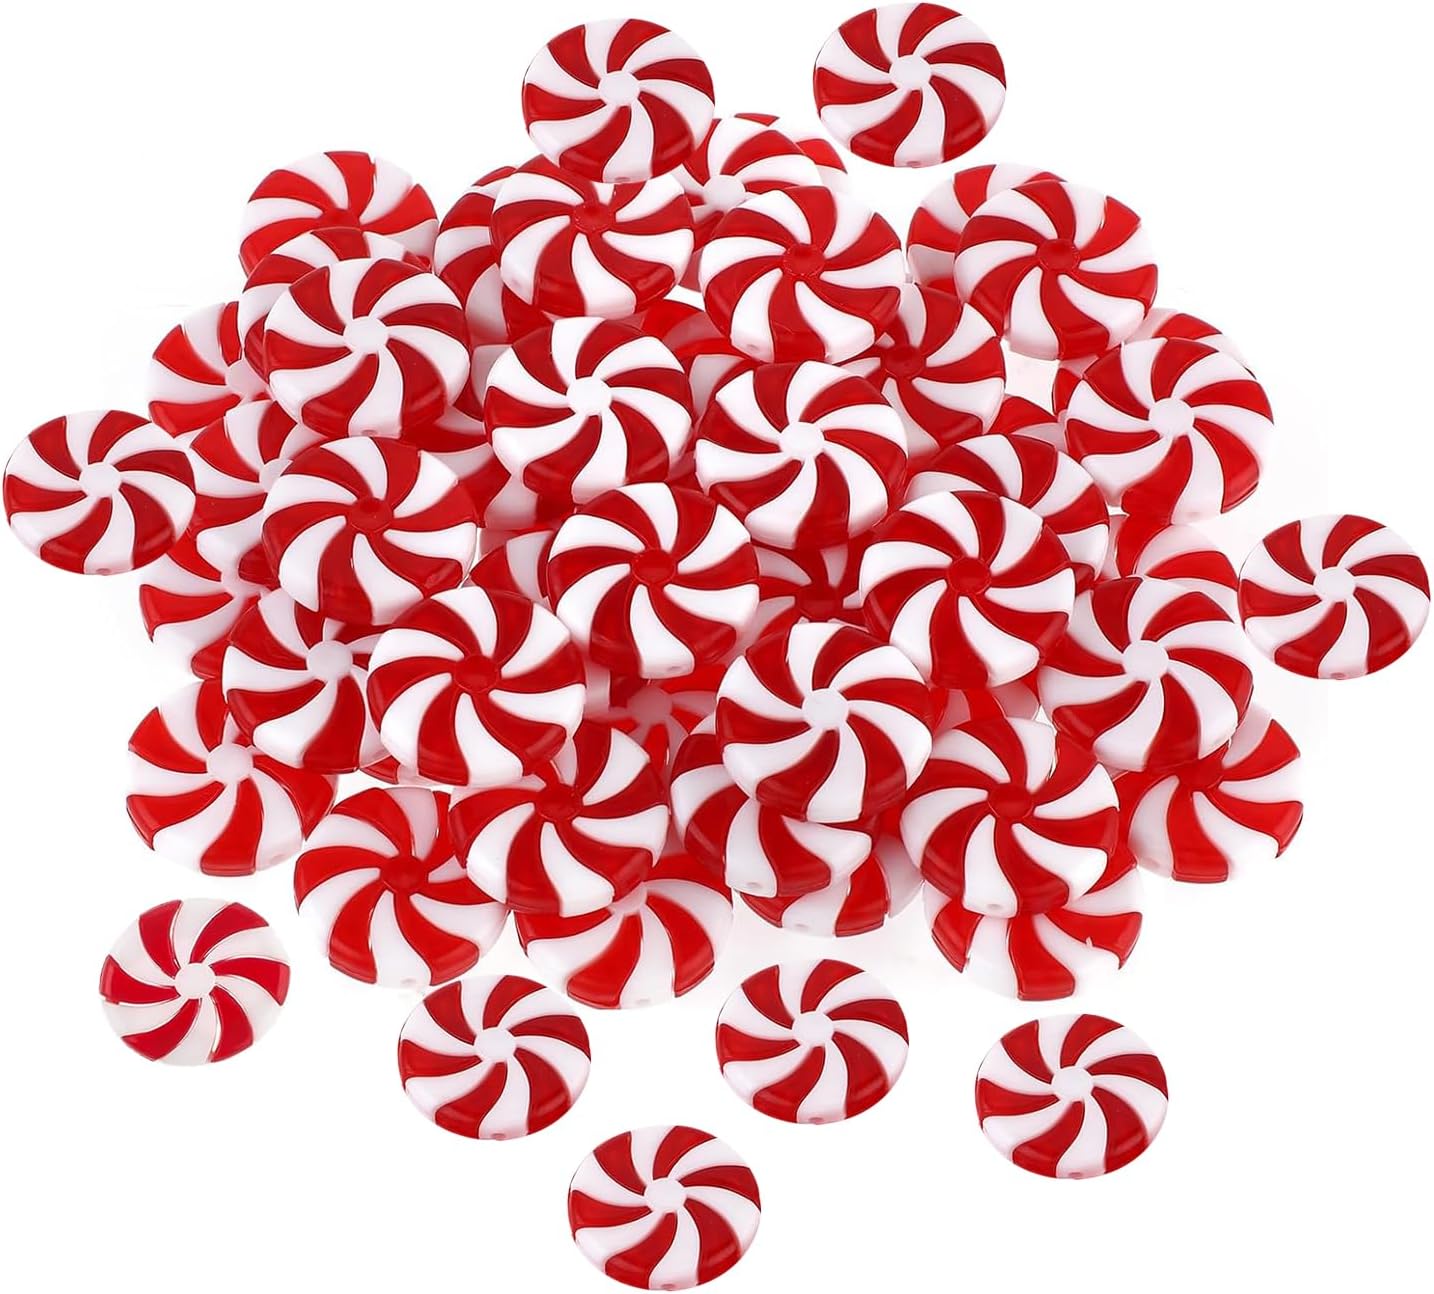
- If the jars will sit for weeks, choose faux peppermints. Real ones get sticky.
- Use three jars in different heights, and tuck garland around the base.
13. Run Berries Down the Island
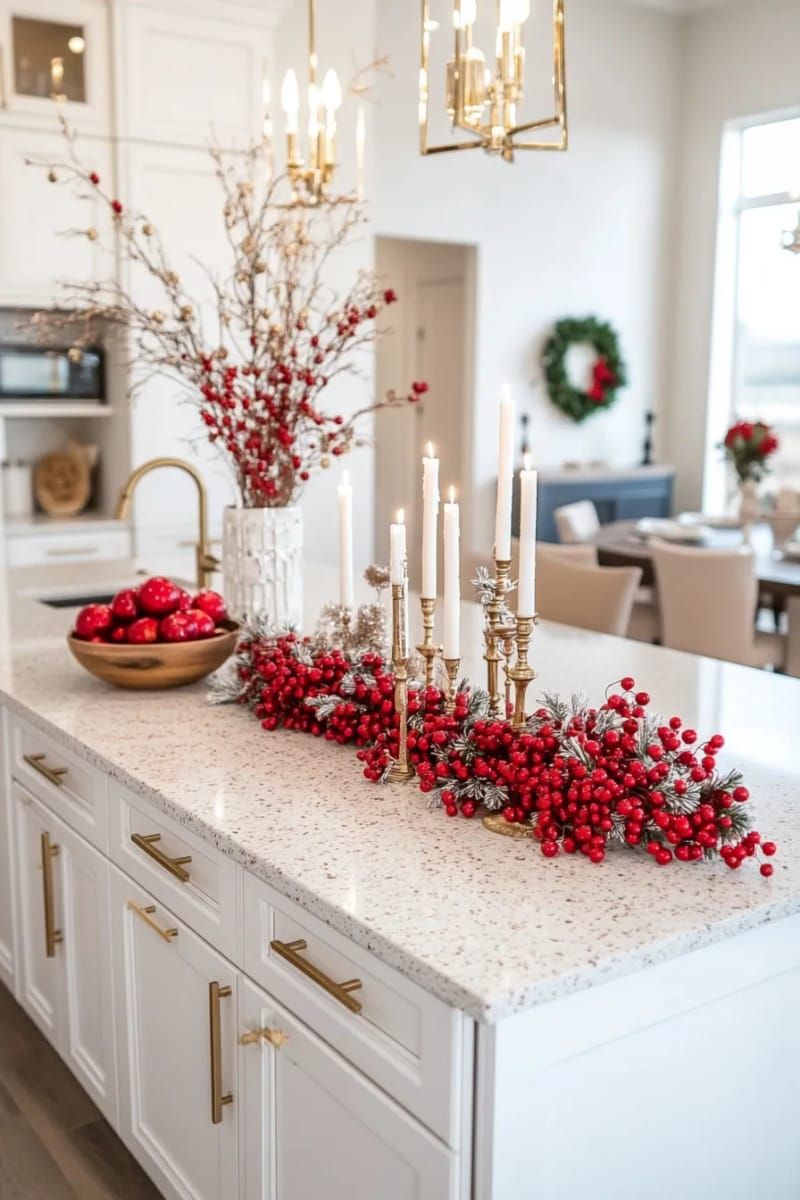
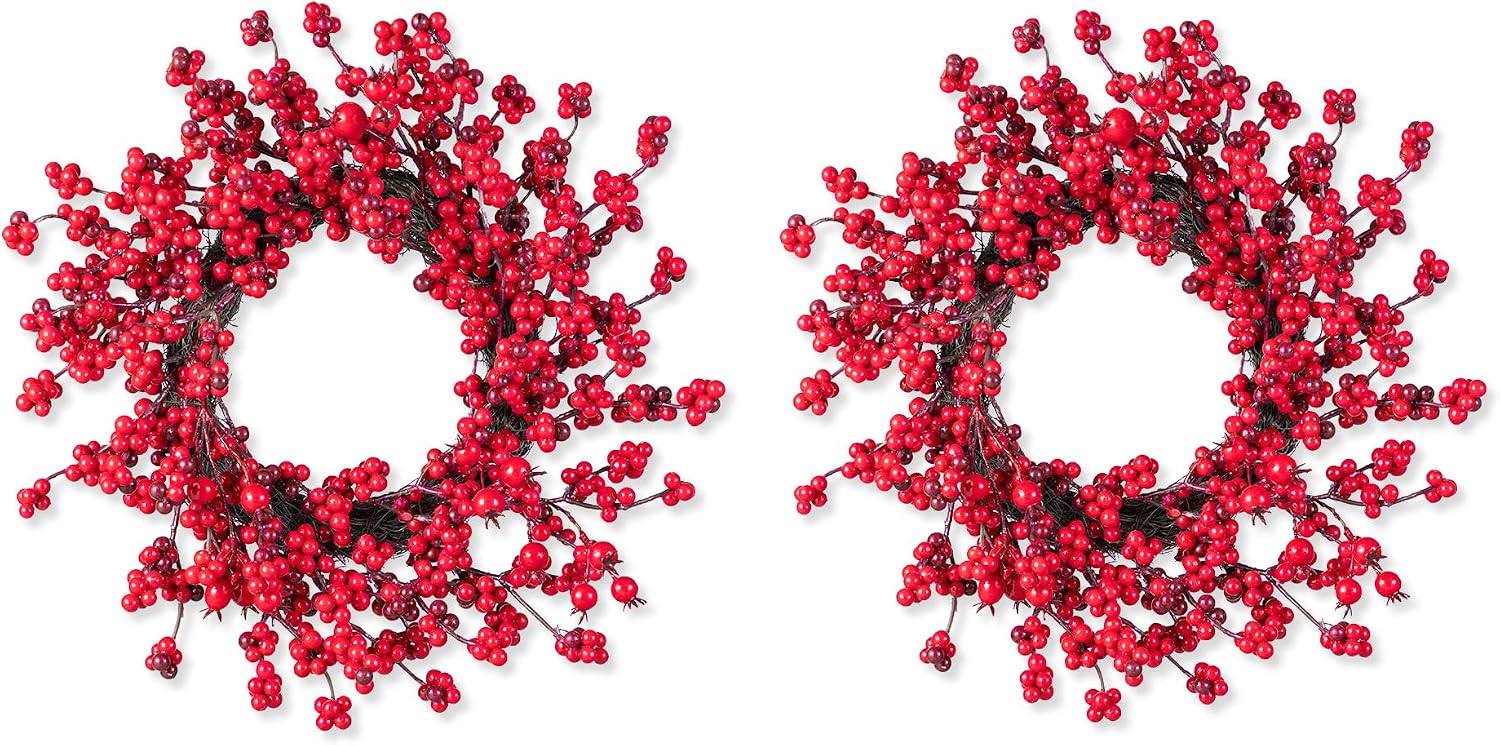
A runner is the fastest way to dress an island. Red berries and brass candlesticks with white tapers run along this island, with a bowl of apples at one end.
Keep the runner narrower than the island so you still have working space. Vary candlestick heights, and use battery tapers if the kids are around.
14. Make a Small Centerpiece With One Vase
A small centerpiece leaves your counter usable.
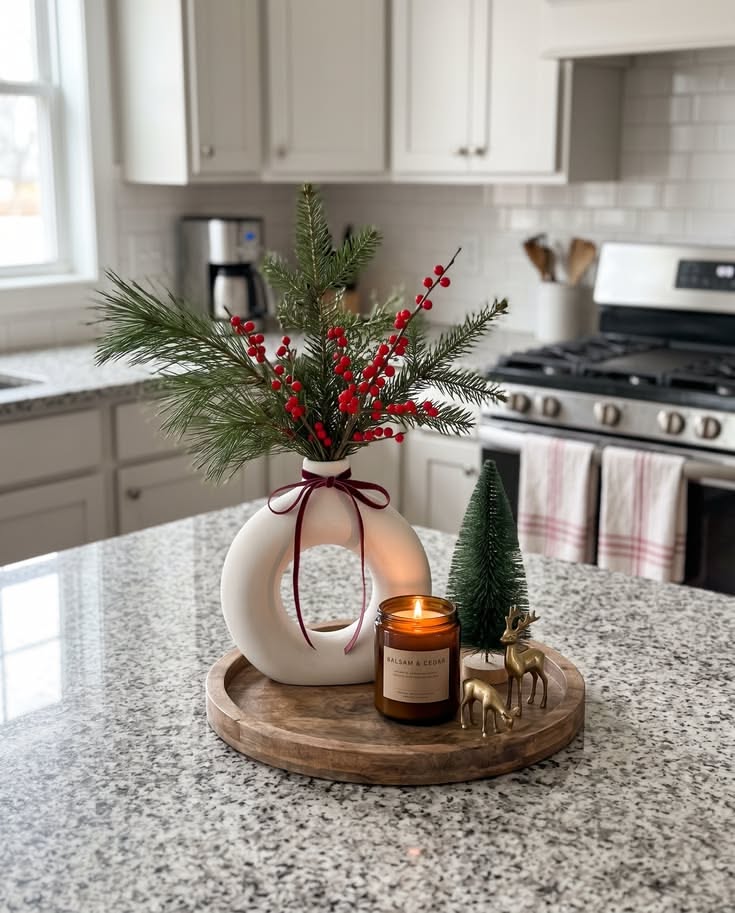
A white ring-shaped vase holds pine and red berries on a round wooden tray here, with an amber candle, a small tree and a gold deer.
Keep it under twelve inches tall, so people can see each other across the island.
A tray protects granite from candle rings.
15. Stagger a Nutcracker Trio
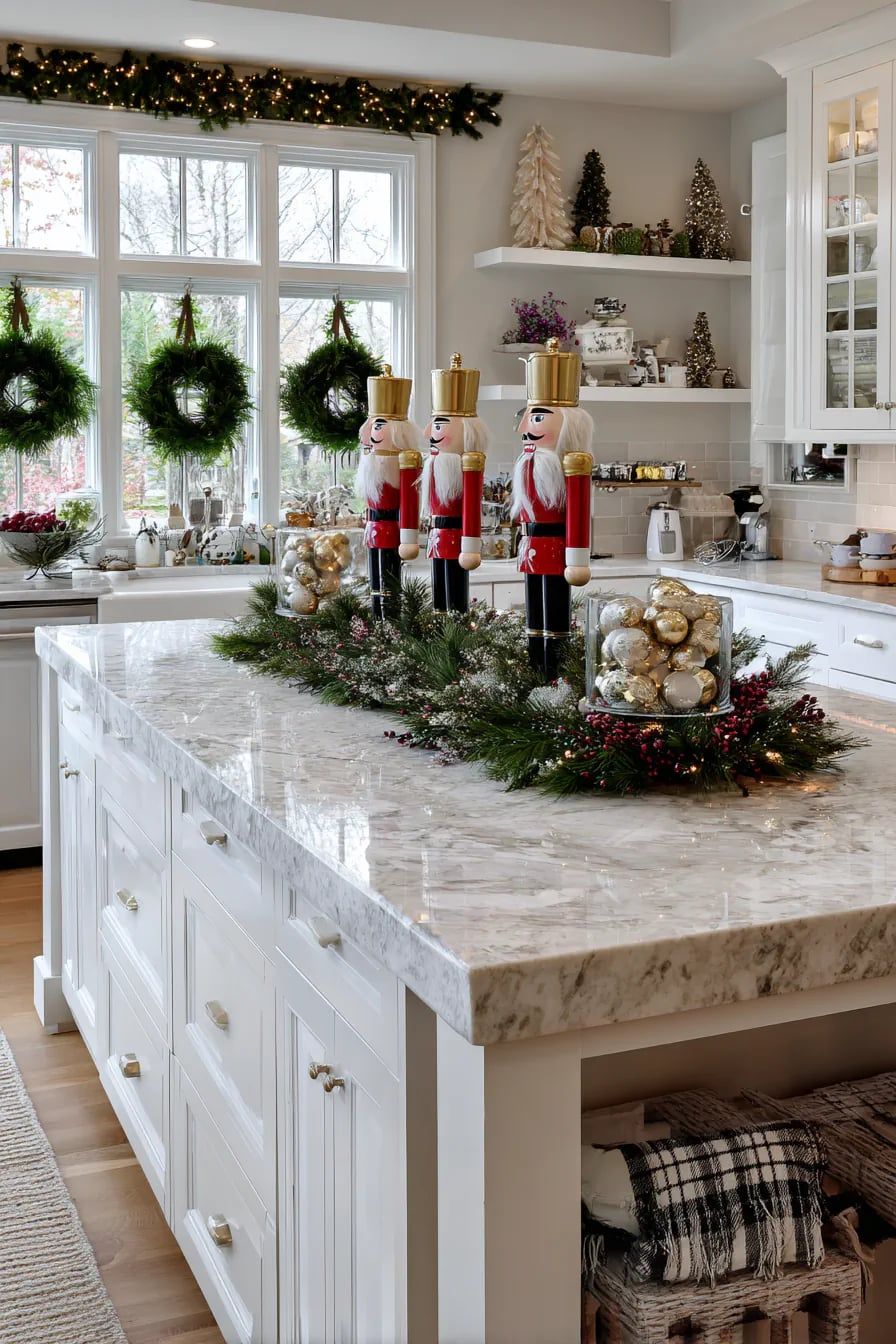
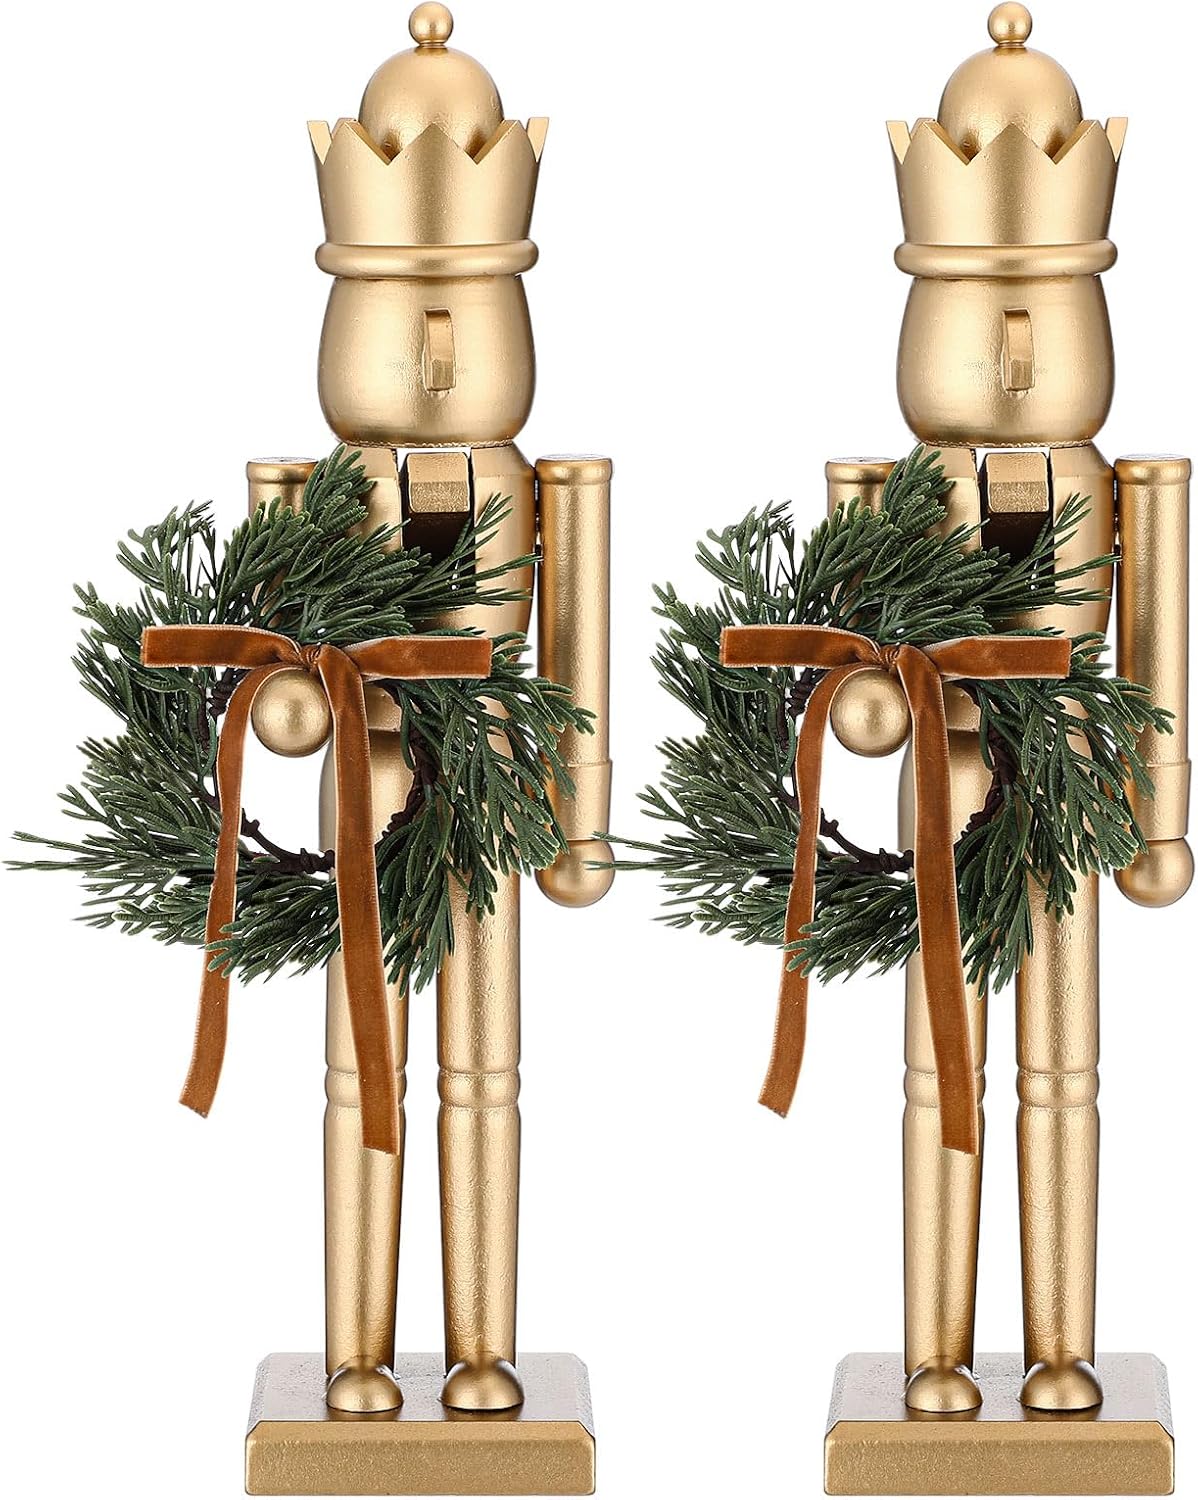
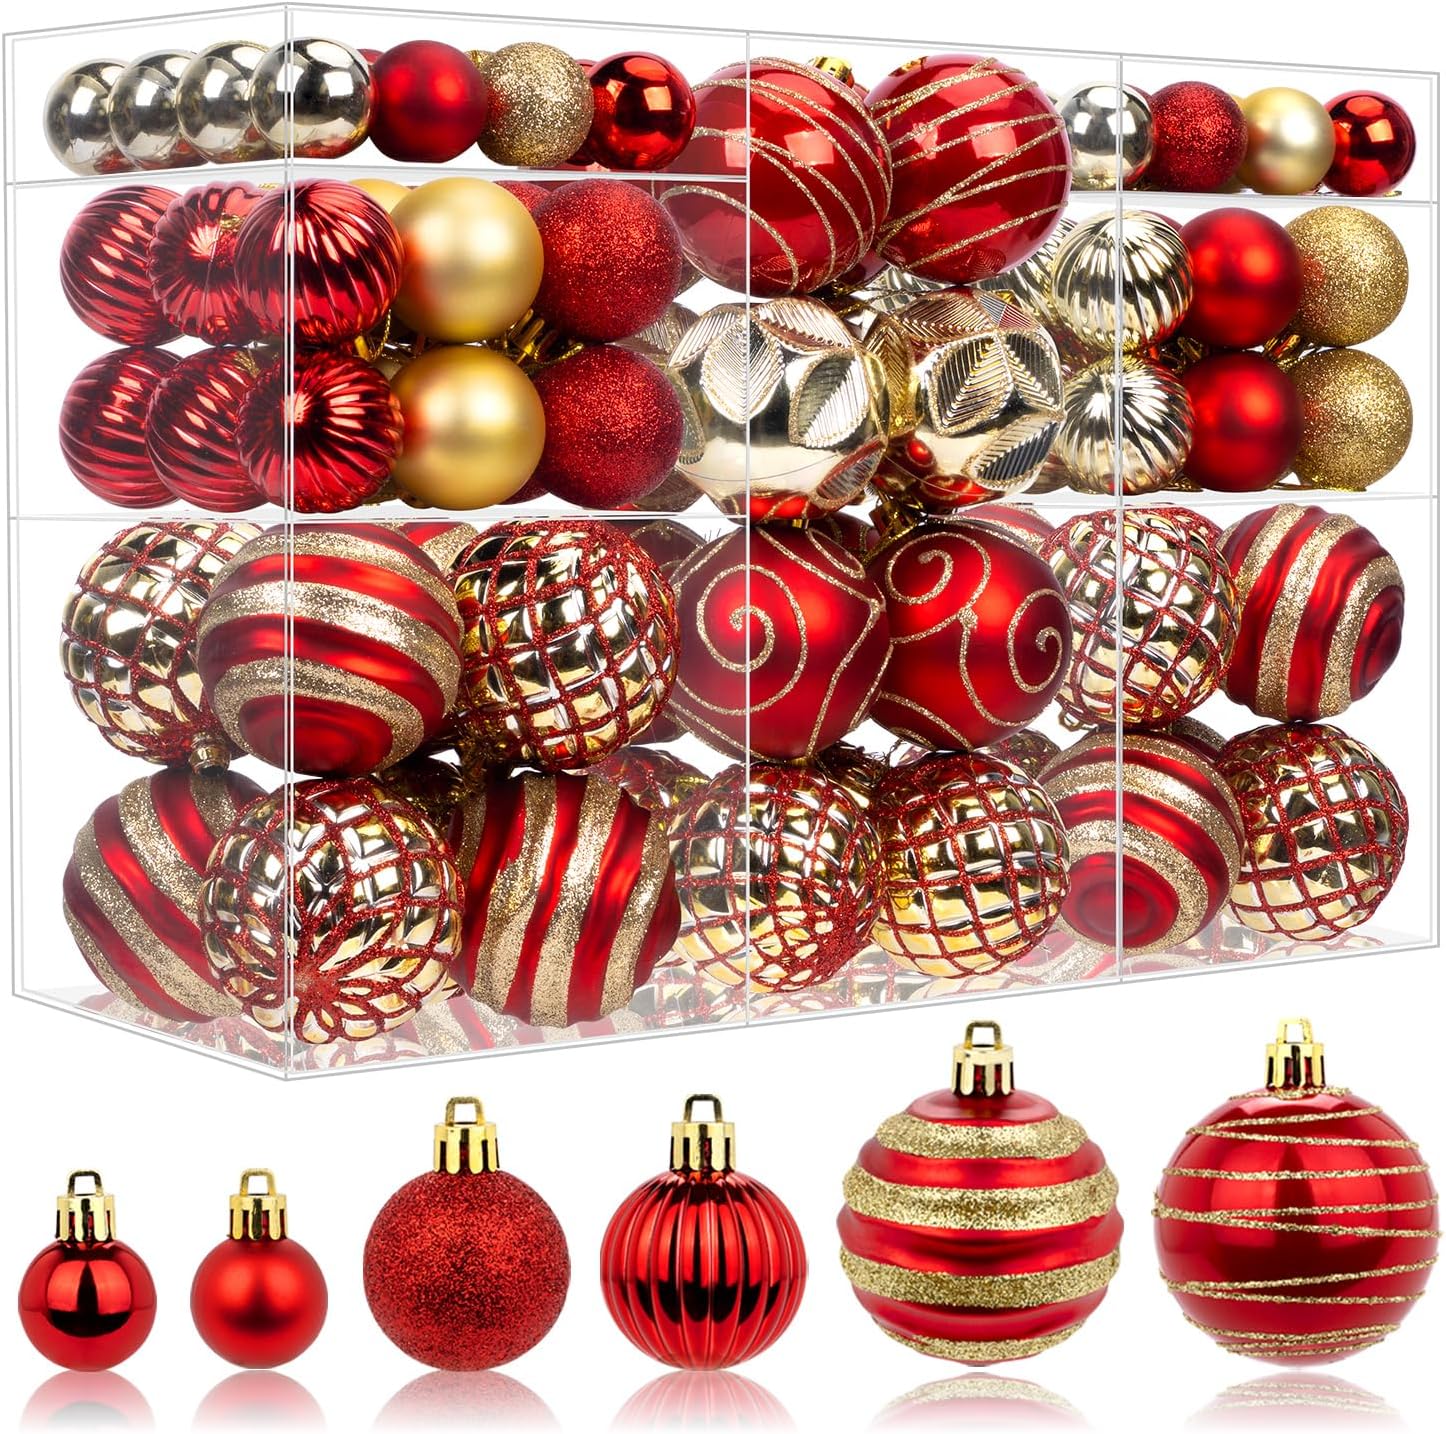
Odd numbers always look better. Three wooden nutcrackers stand along the middle of this island among greenery and gold ornaments, with wreaths in the windows behind.
Stagger them slightly instead of in a perfect line.
Leave the island edges clear for homework and snacks.
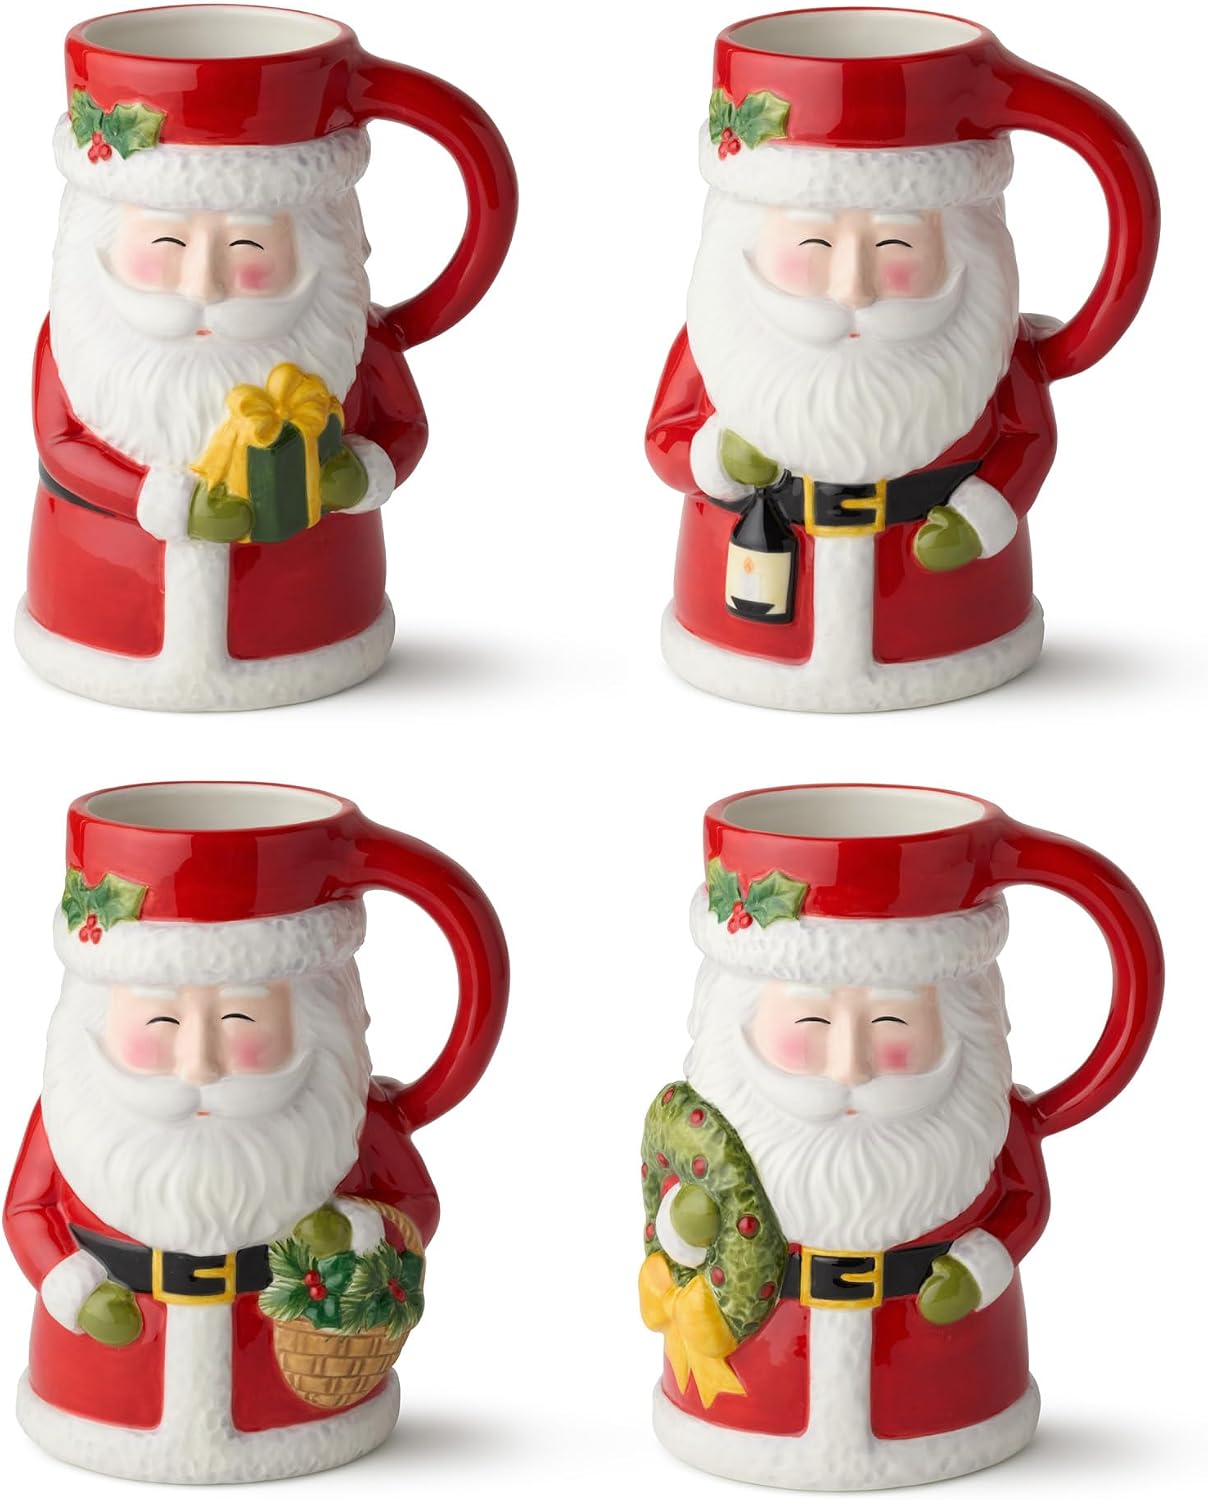
16. Use a Santa Mug as a Vase
Mugs make charming vases.
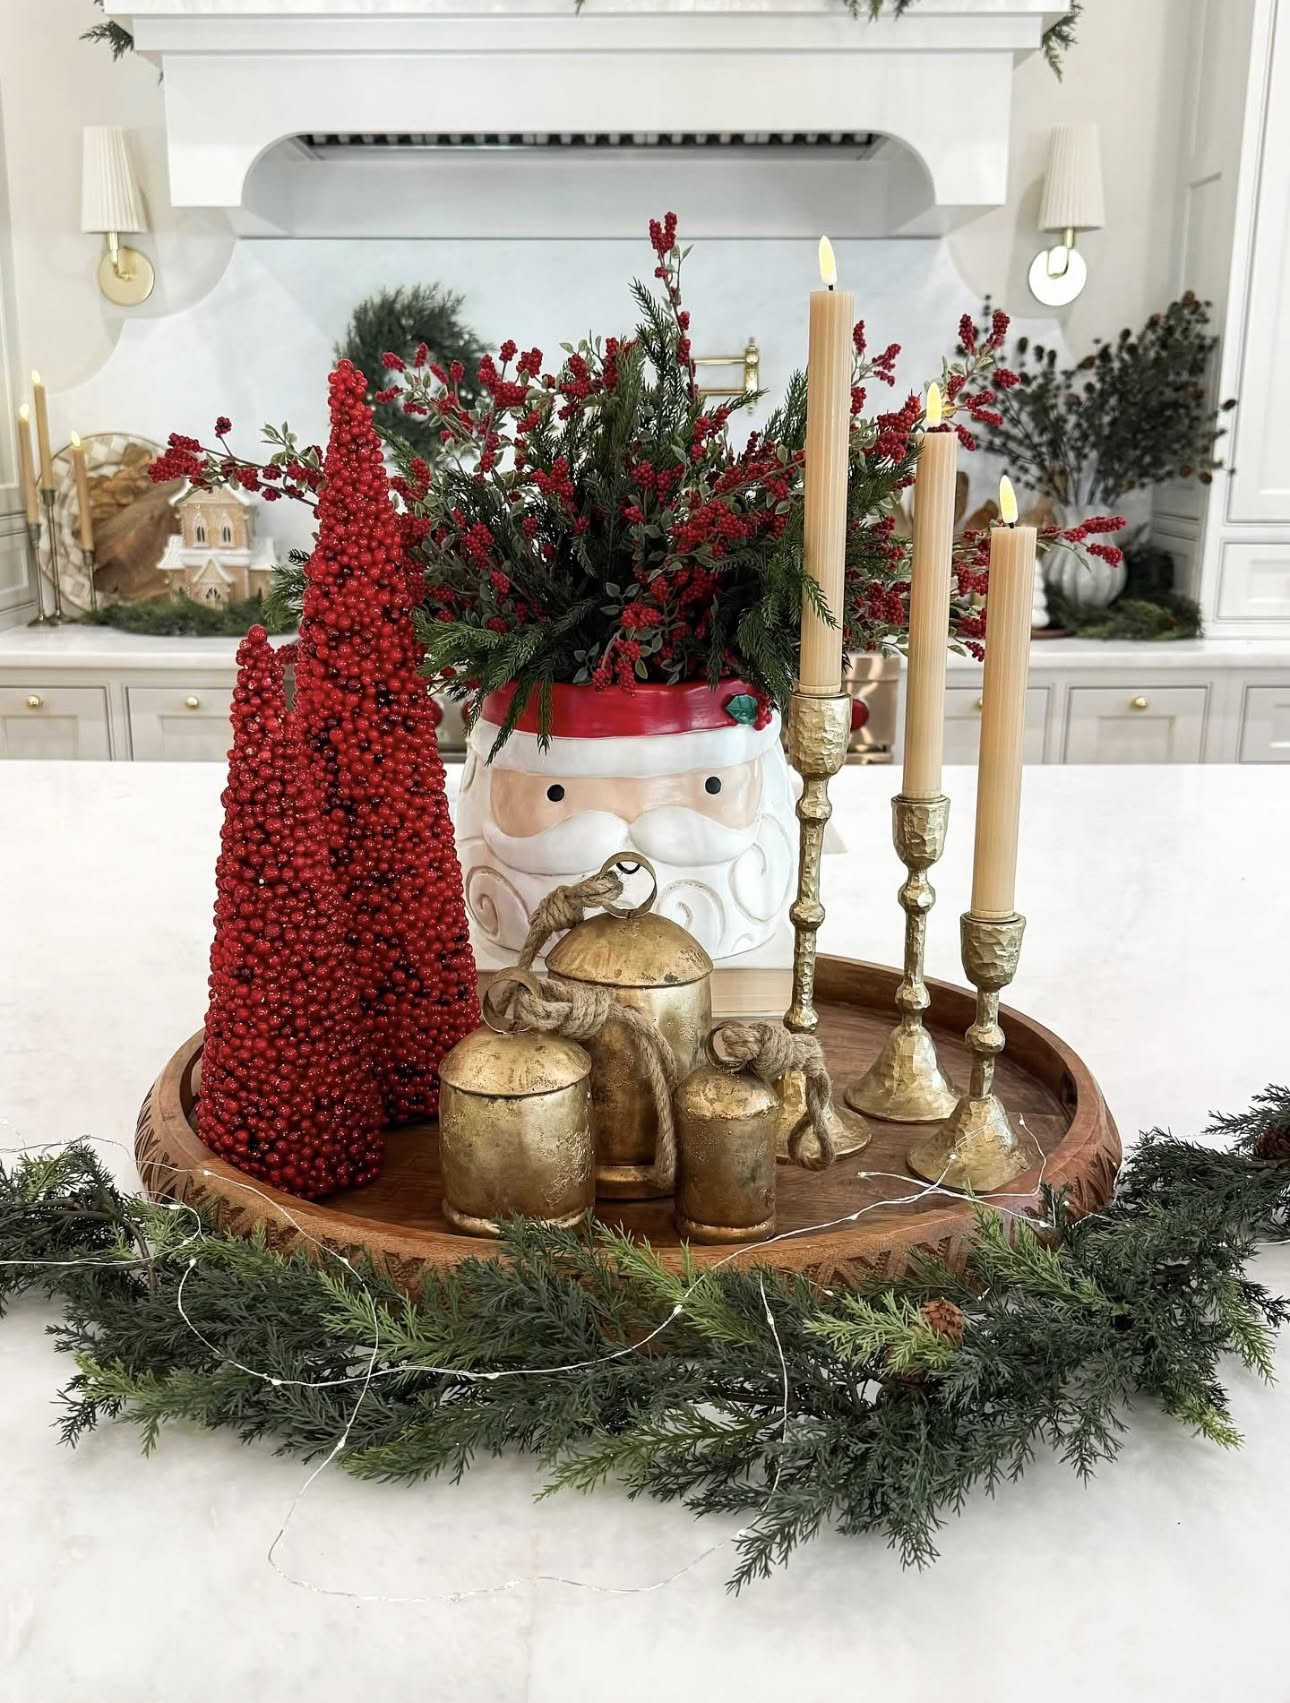
A Santa mug holds red berries and pine on this round tray, with red berry cone trees, brass bells and candlesticks, set in a ring of garland.
- Line the mug with a small jar for fresh stems, or use faux ones.
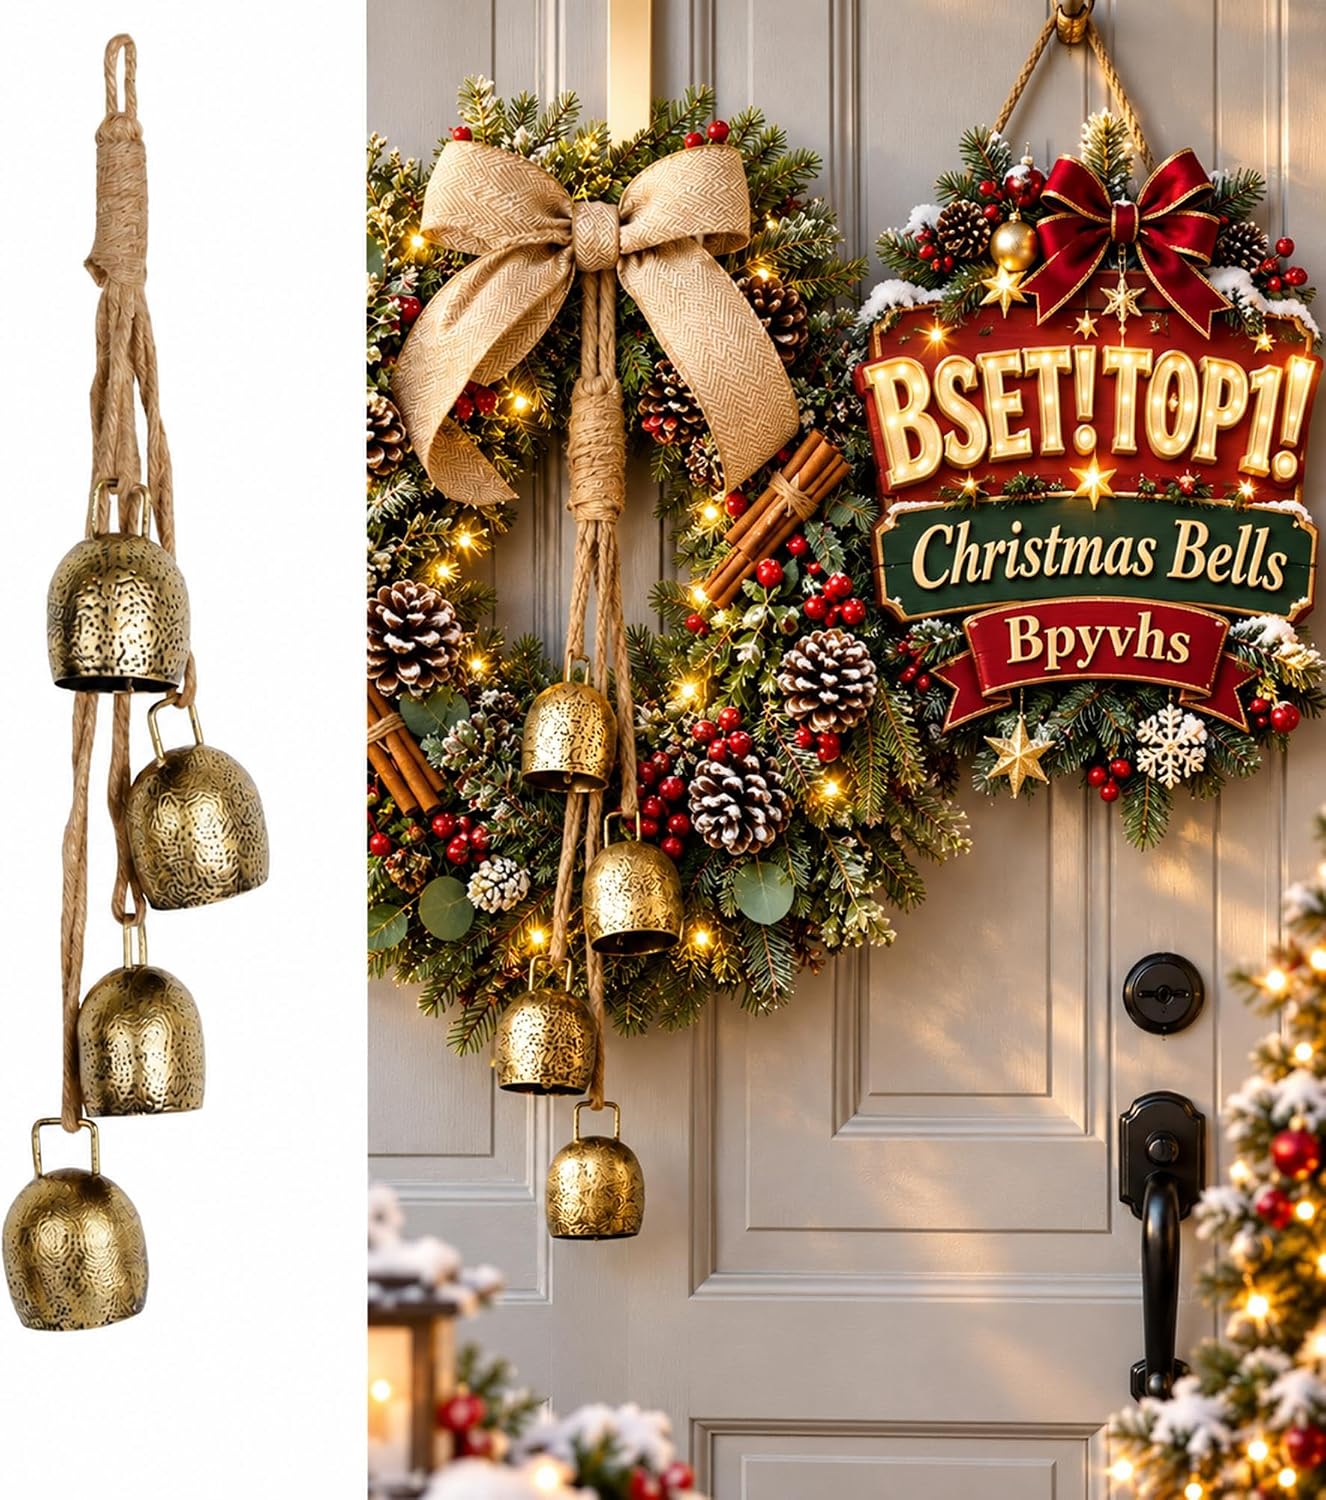
- Group the bells in odd numbers and let one lie on its side.
17. Nestle Gingerbread Houses in a Basket
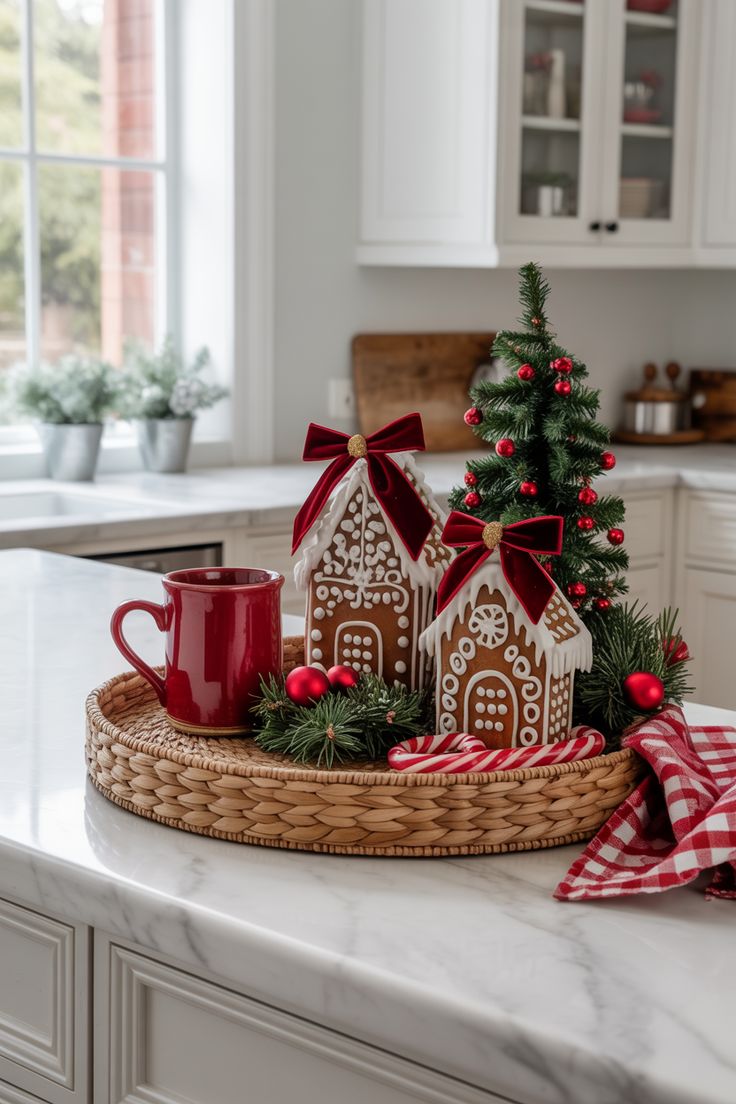
A basket gathers a scene and moves in one lift.
Two gingerbread houses with red bows sit with a red mug and mini trees in a woven tray here, with candy canes and a check cloth.
Use a washable cloth, since things will get splashed. Hide the cords for battery lights under the greenery.
18. Build a Tiny Scene on a Round Tray
One small tray can say Christmas.
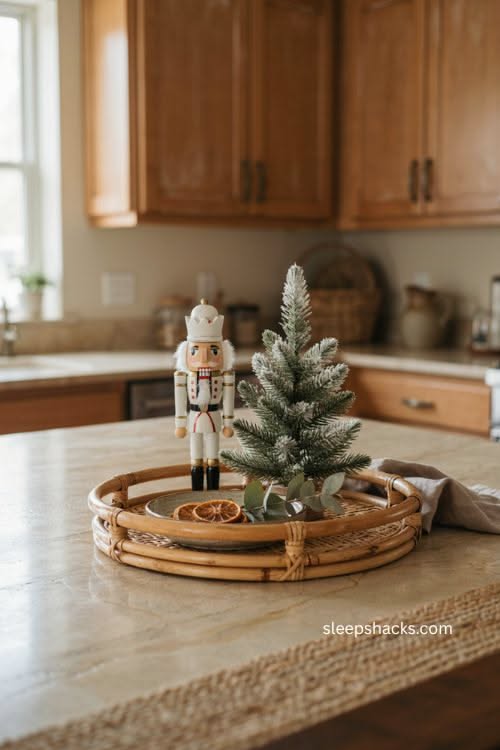
A rattan tray holds a white nutcracker, a flocked tree and a few dried orange slices on this stone counter.
Quick tip: Three pieces are plenty. Add a fourth and you start losing the scene.
Keep the scale right. A big tray with a tiny scene looks lost.
19. Set a Little Tree on the Island
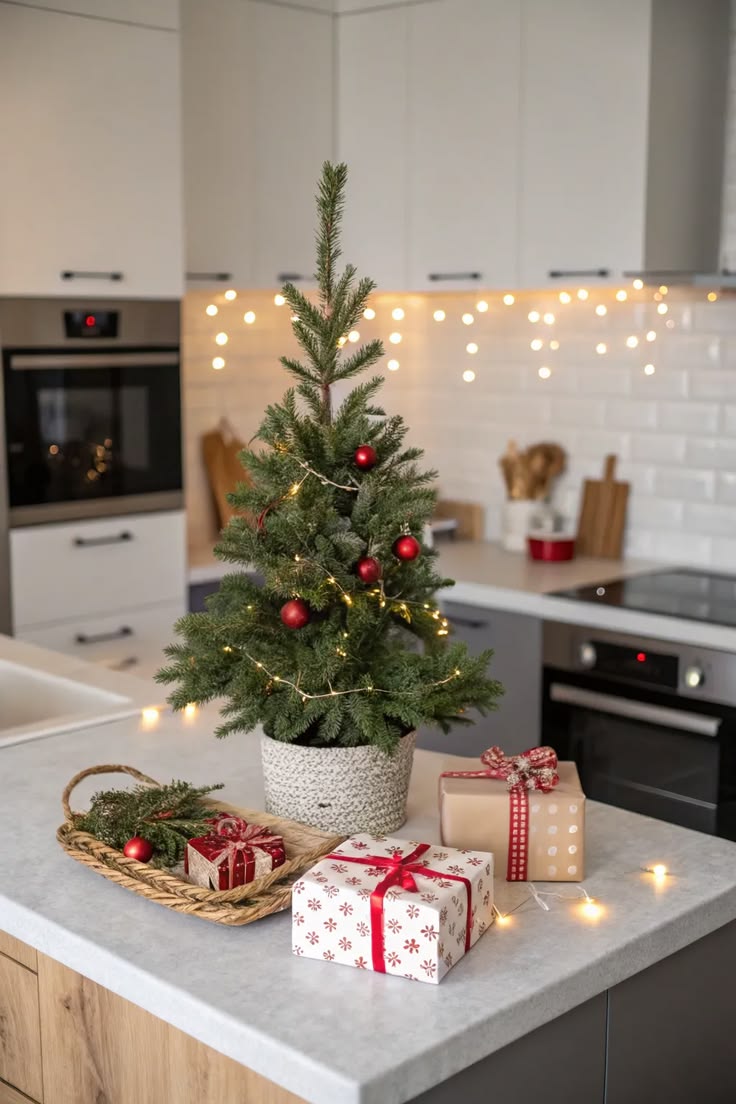
You don't need a big tree to feel Christmas. A small potted tree with lights and red ornaments stands next to wrapped gifts and a basket here, with tiny lights behind on the backsplash.
Choose a battery-lit one so you don't need an outlet.
Wrap empty boxes, which look the part and weigh nothing.
20. Hang a Wreath Where You Cook
A wreath is a gift for a plain wall.
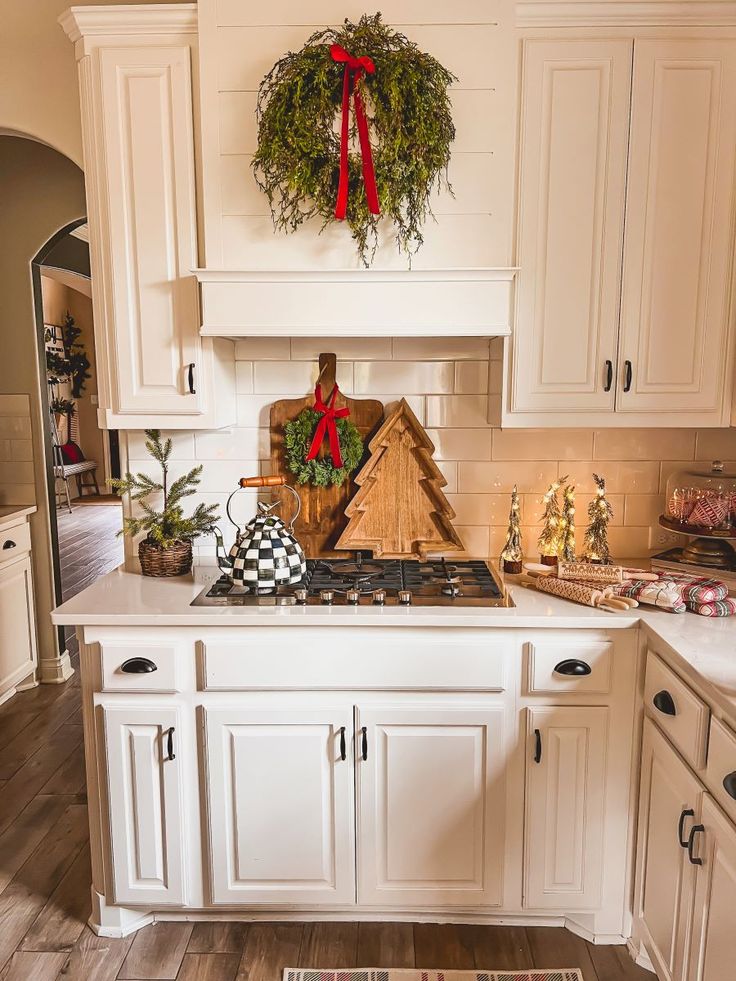
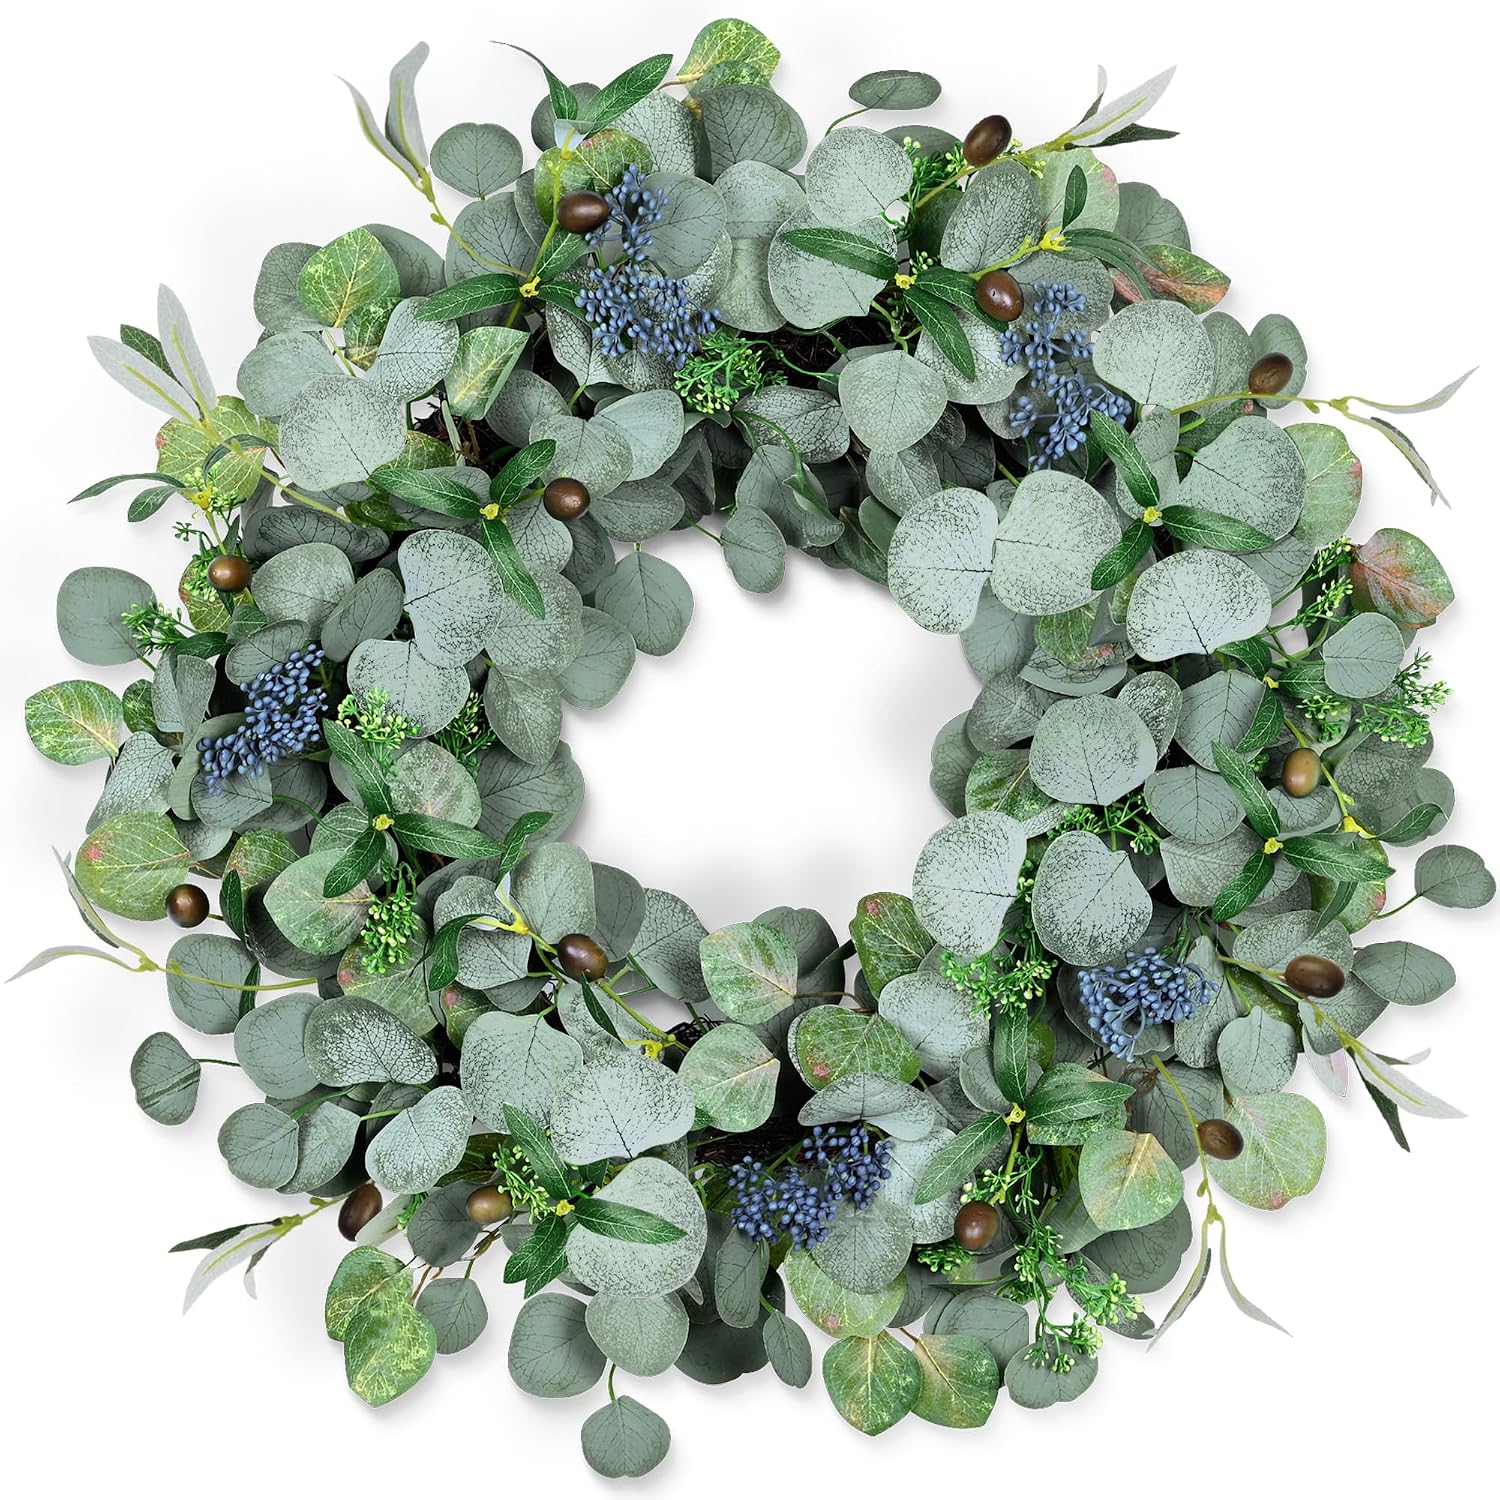
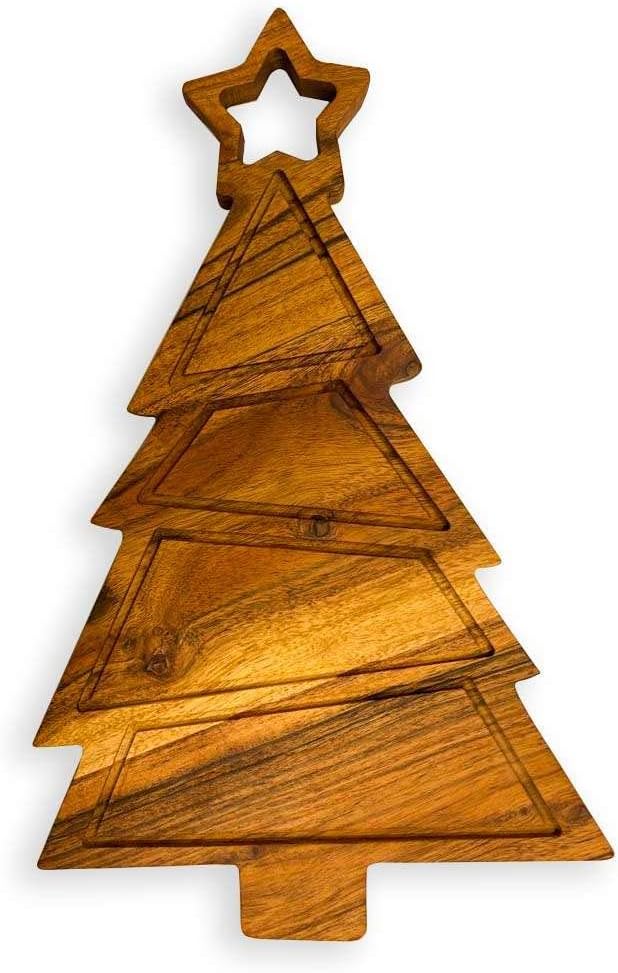
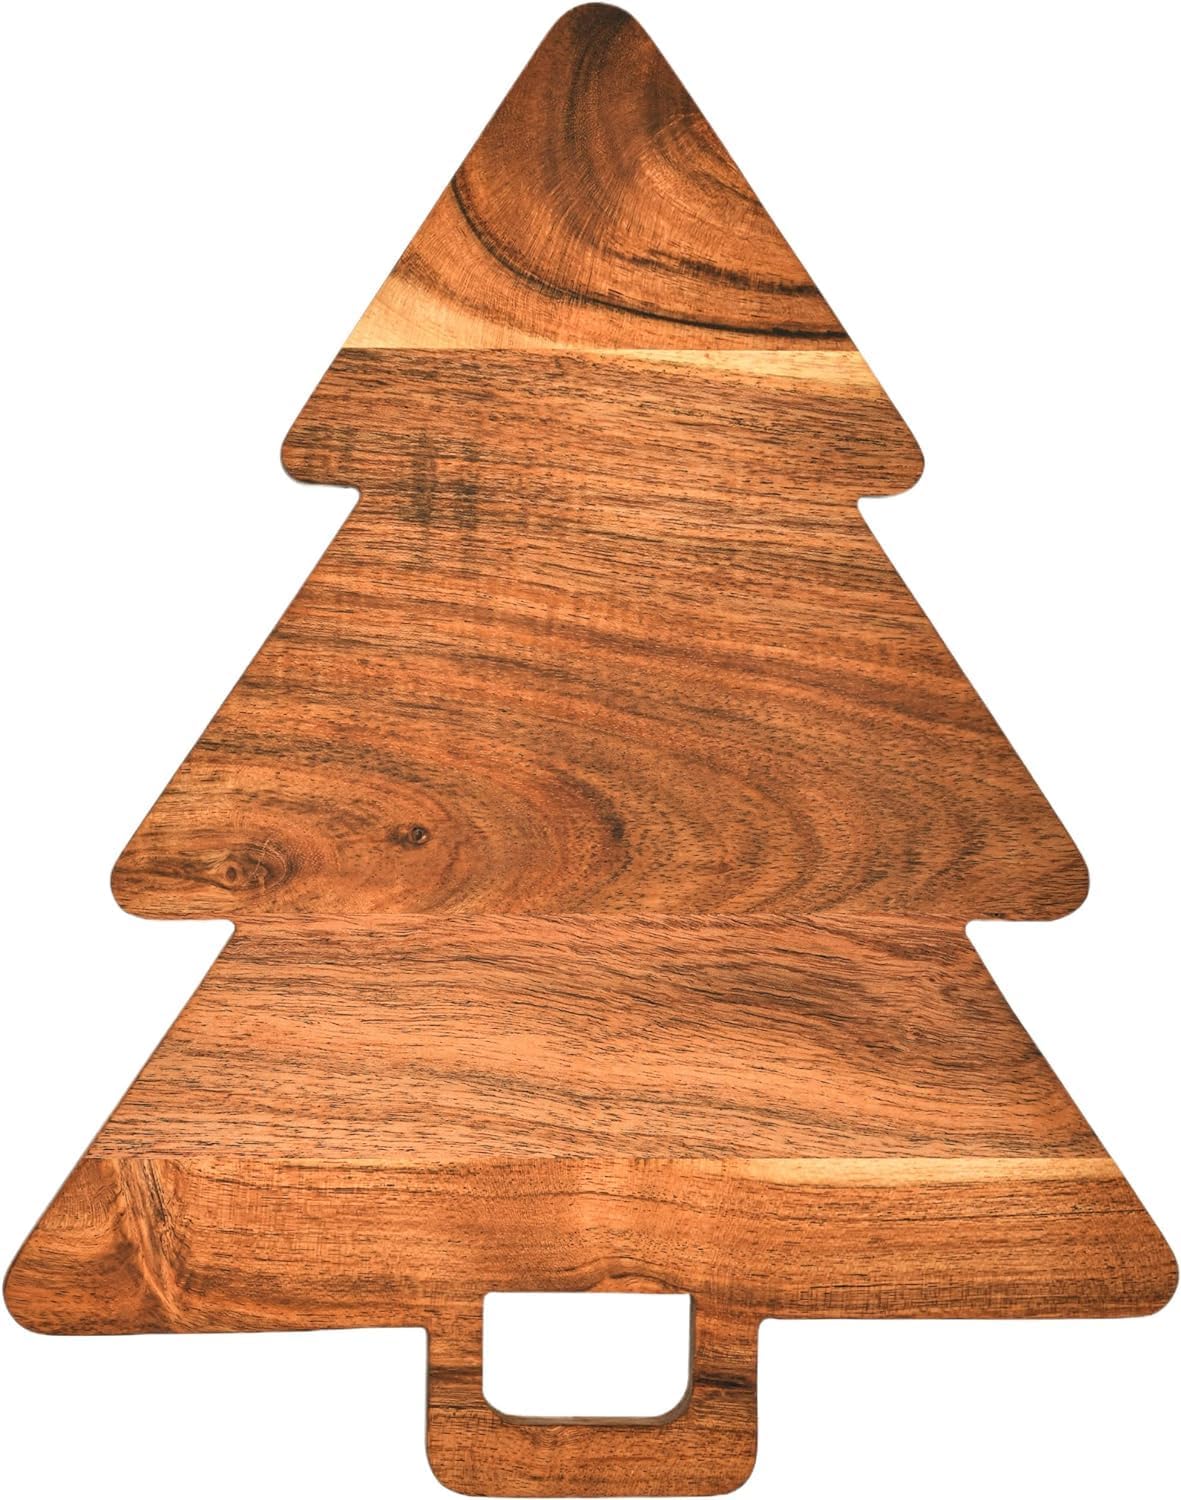
A greenery wreath with a red bow hangs above this range hood, with tree-shaped cutting boards leaning on the backsplash below. Keep it well above the burners. Heat and grease dull real greens, so choose faux.
Cutting boards are decor that you can still use.
21. Spell Out Merry on the Backsplash
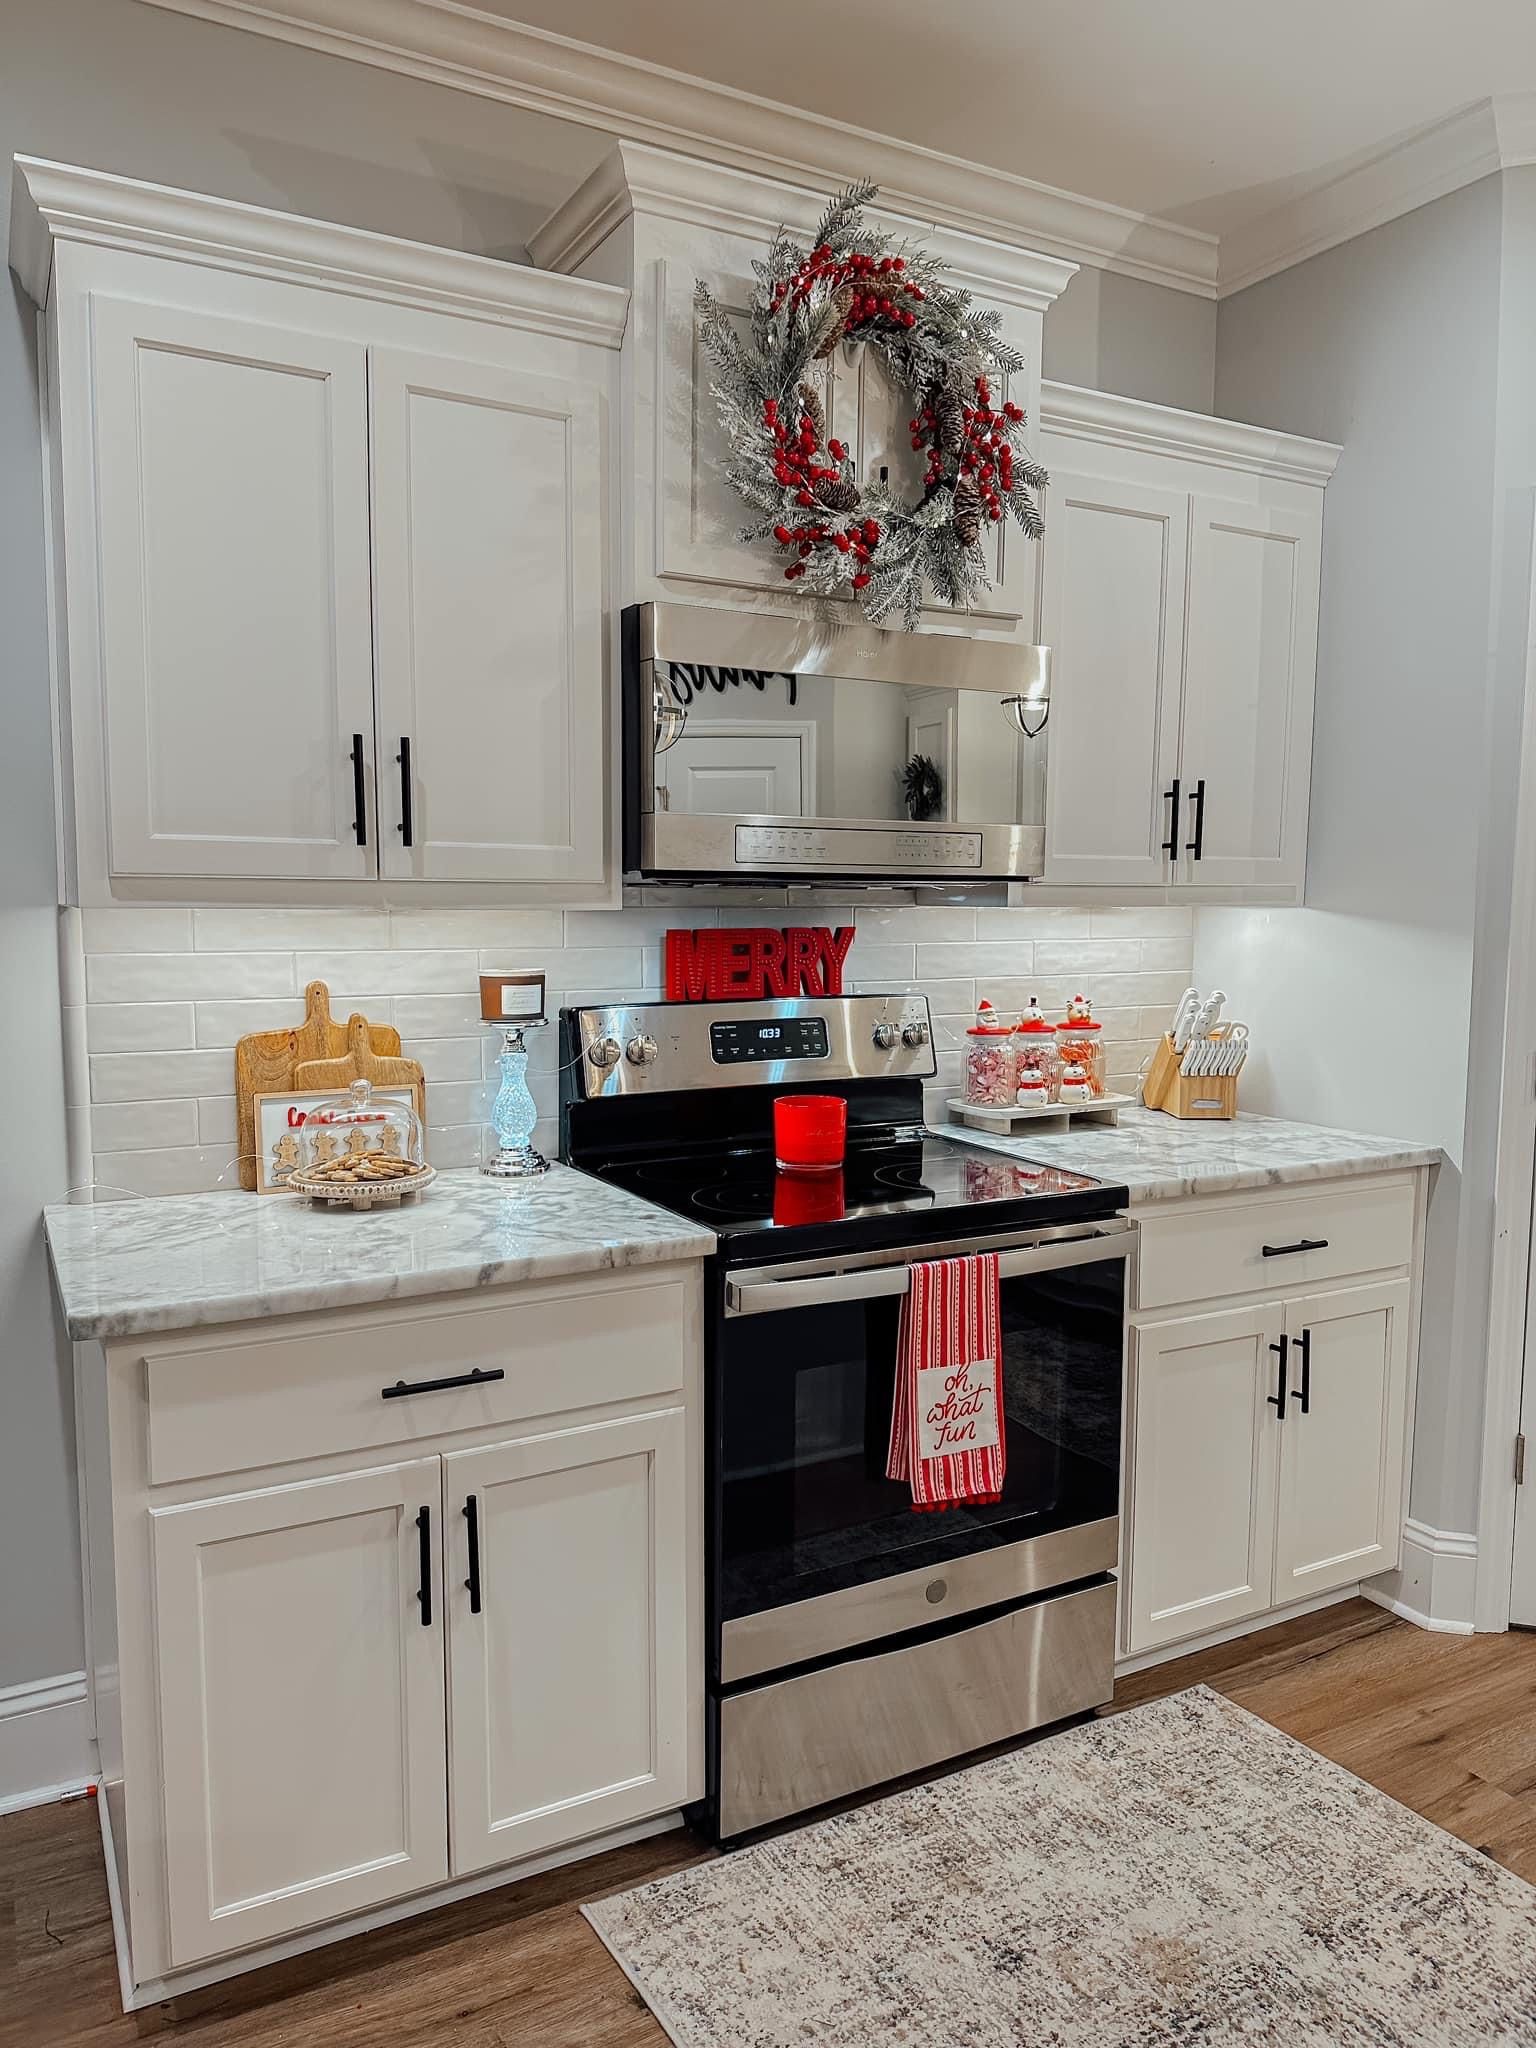
Letters are the easiest big-impact piece for a stove wall.
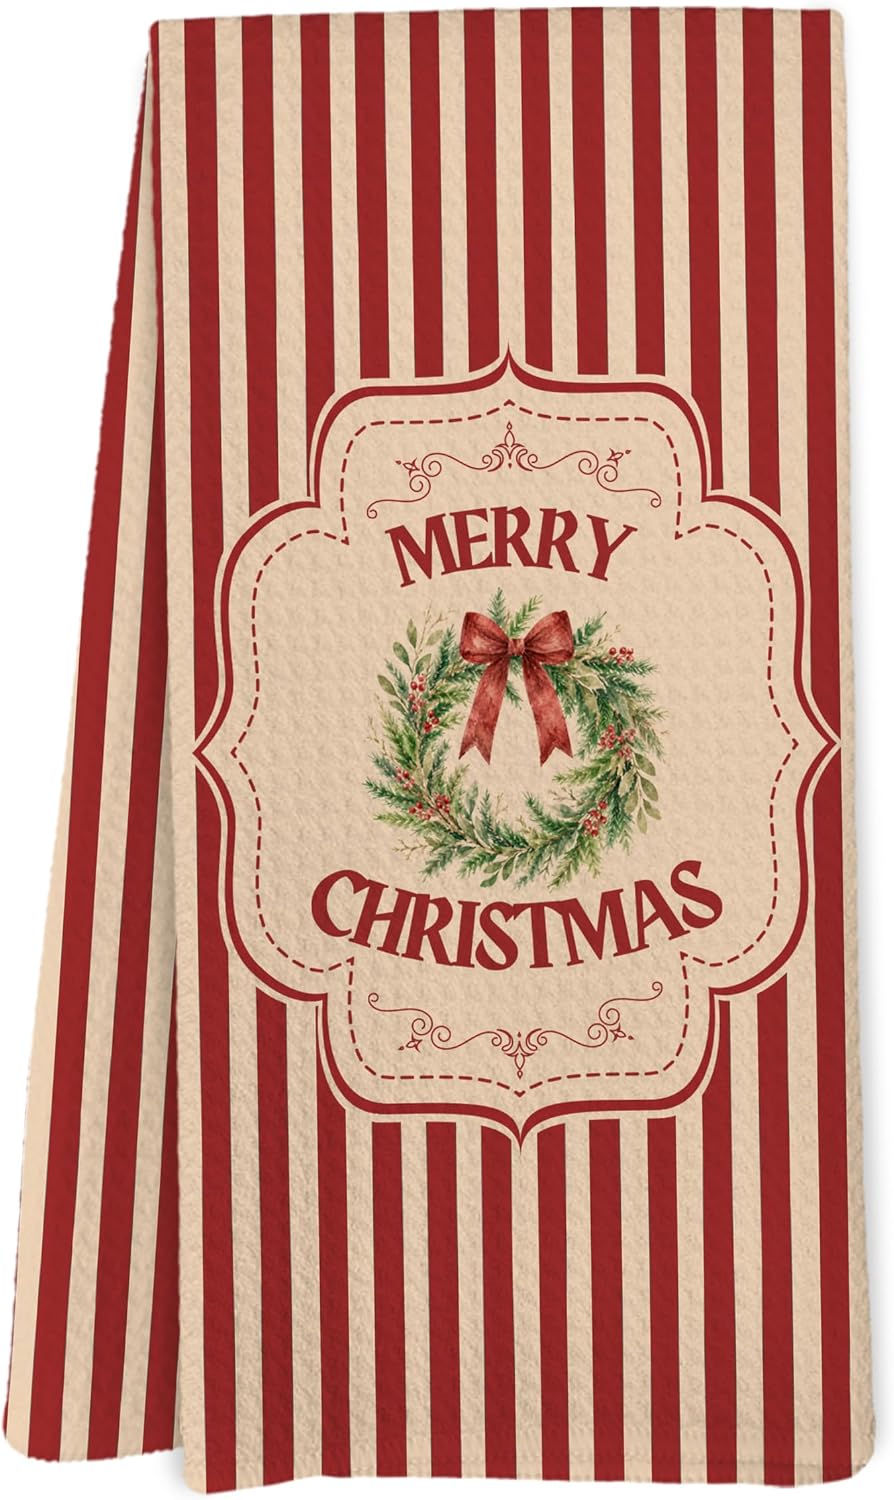
Red MERRY letters stand above this stove, with a wreath on the microwave and a red towel tied to the oven door.
- Keep paper and fabric away from the burners.
- A red towel on the oven handle is a classic.

22. Style One Shelf Like a Pro
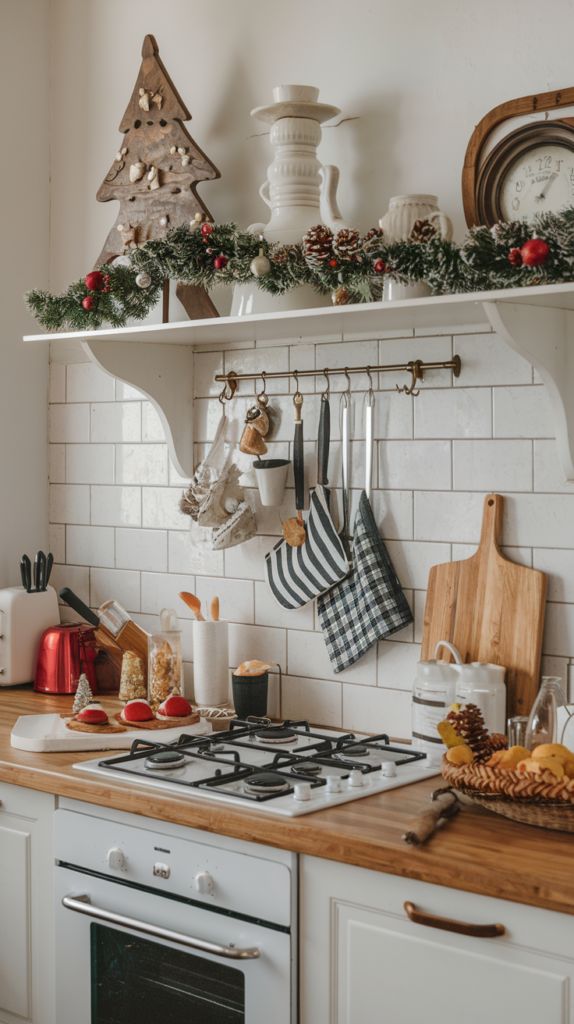
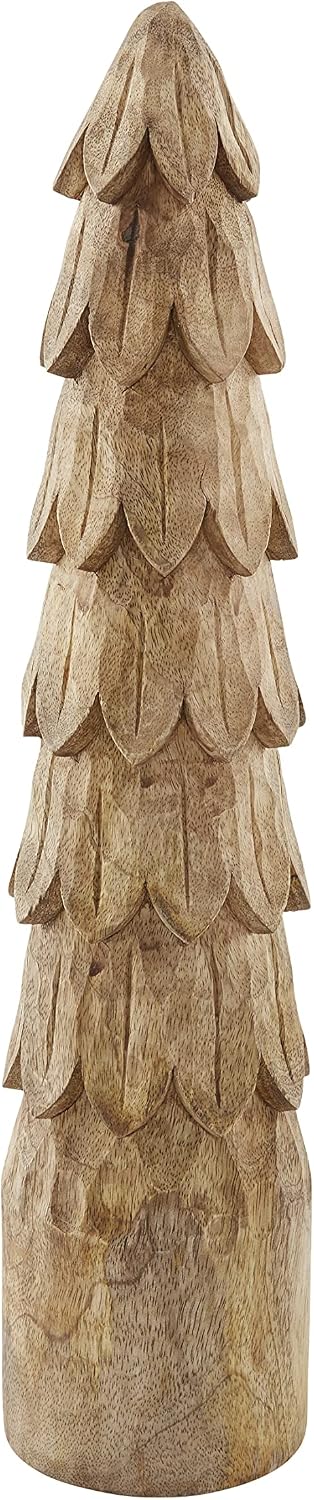
One styled shelf beats five half-done ones. A carved wooden tree, a vintage clock and white pitchers sit on this shelf, with garland along the edge and utensils hanging below.
- Think in a triangle: tall on one side, medium on the other and low in the middle.
- Keep your useful rail of tools. The kitchen needs to work.
23. Dress Up Your Mixer
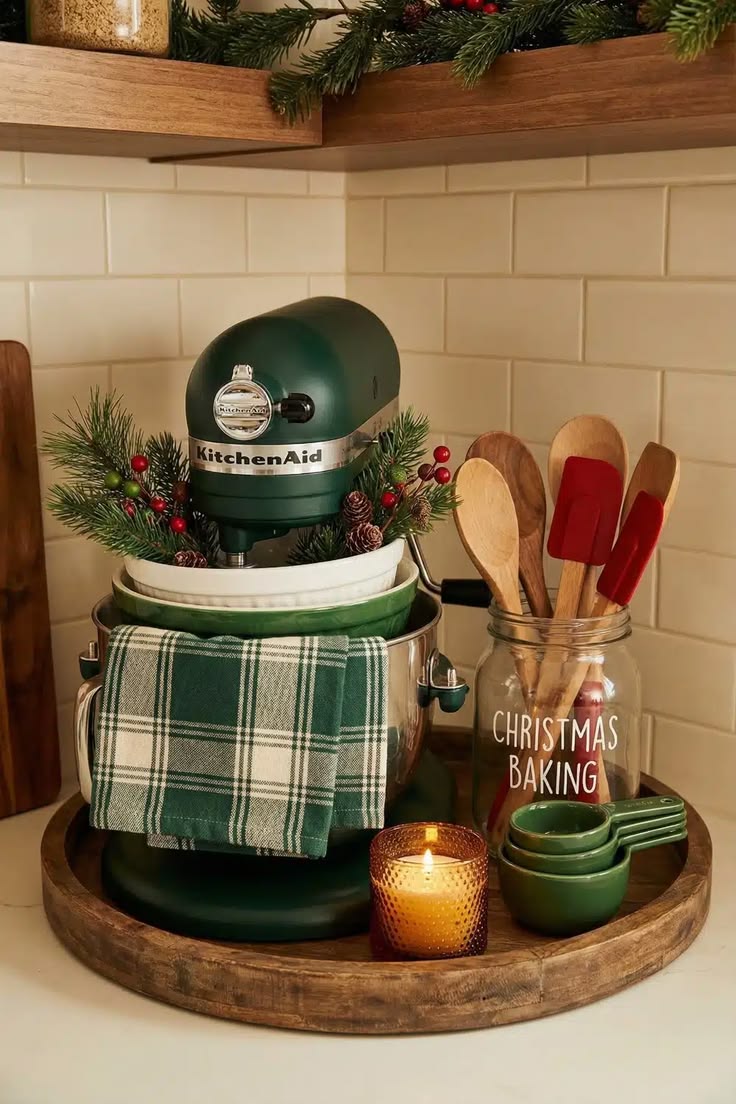
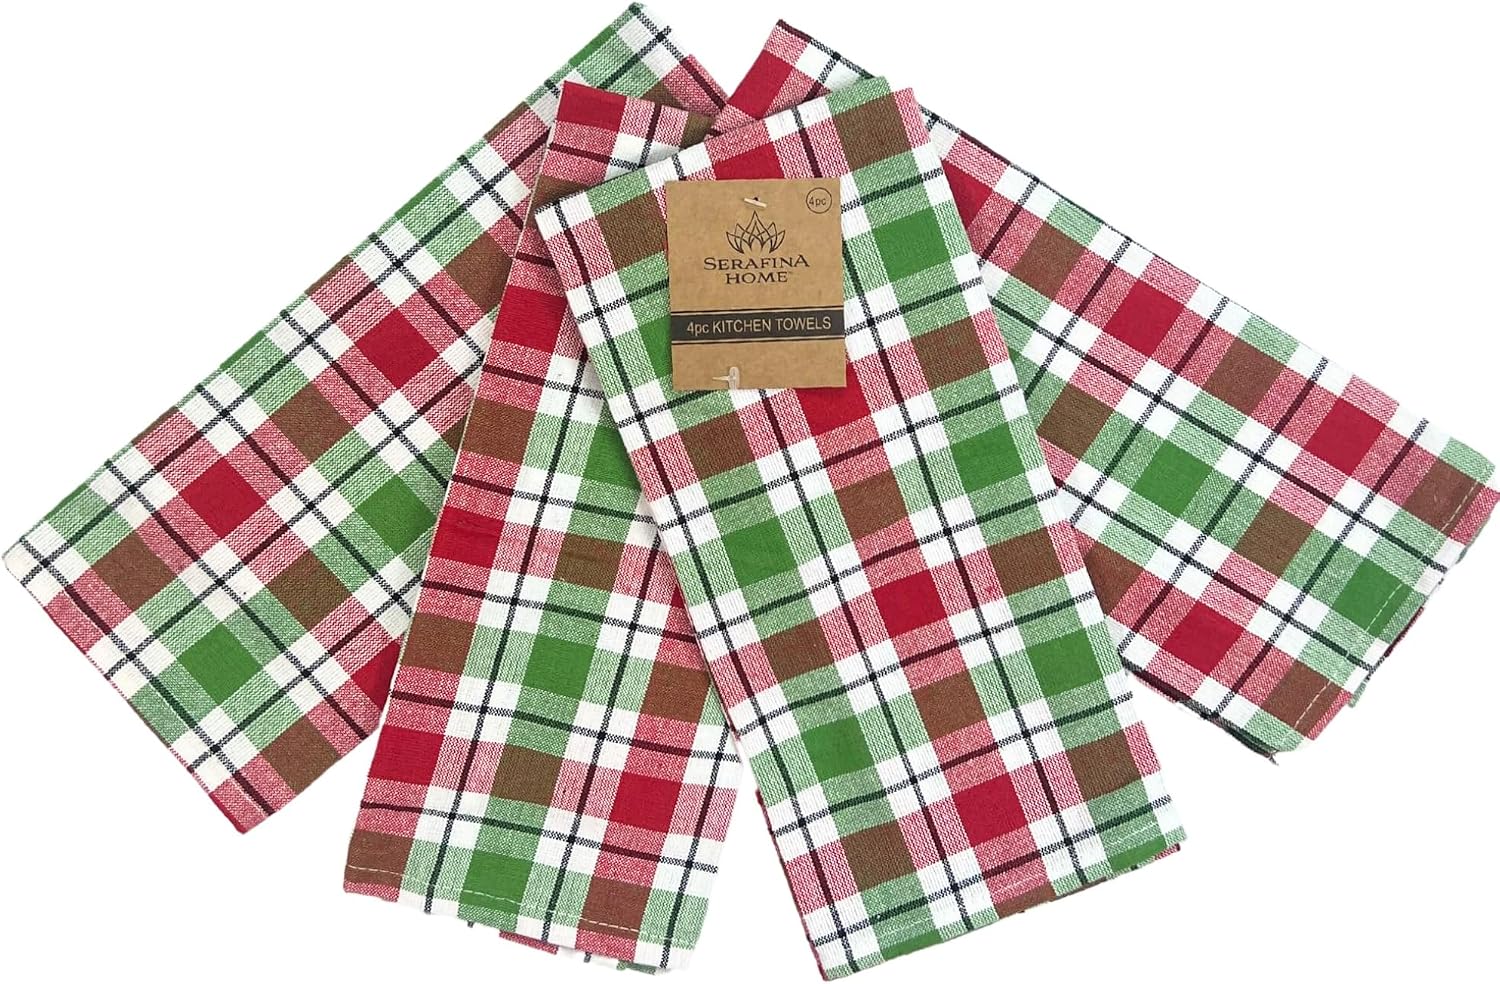
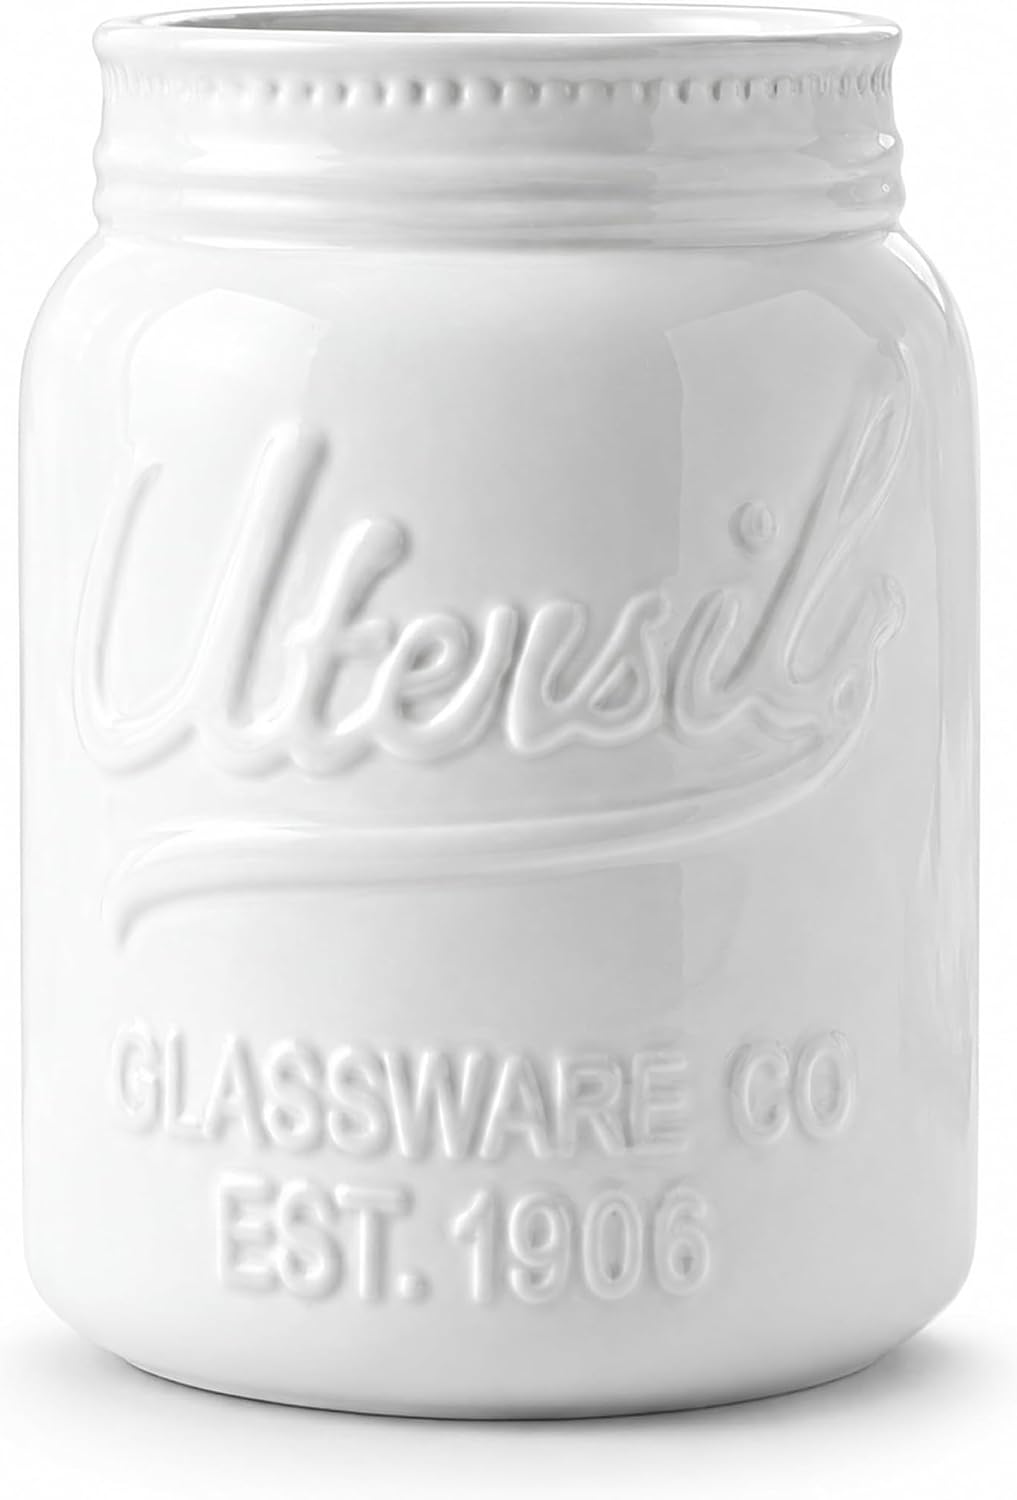
The best decor is something you use every day. A green stand mixer sits on a wooden tray with a plaid towel, greenery, a jar labeled Christmas Baking and a candle in amber glass.
Put it all on a tray so you can slide it aside when you need to bake. Keep greenery away from the bowl area and wipe the tray after use.
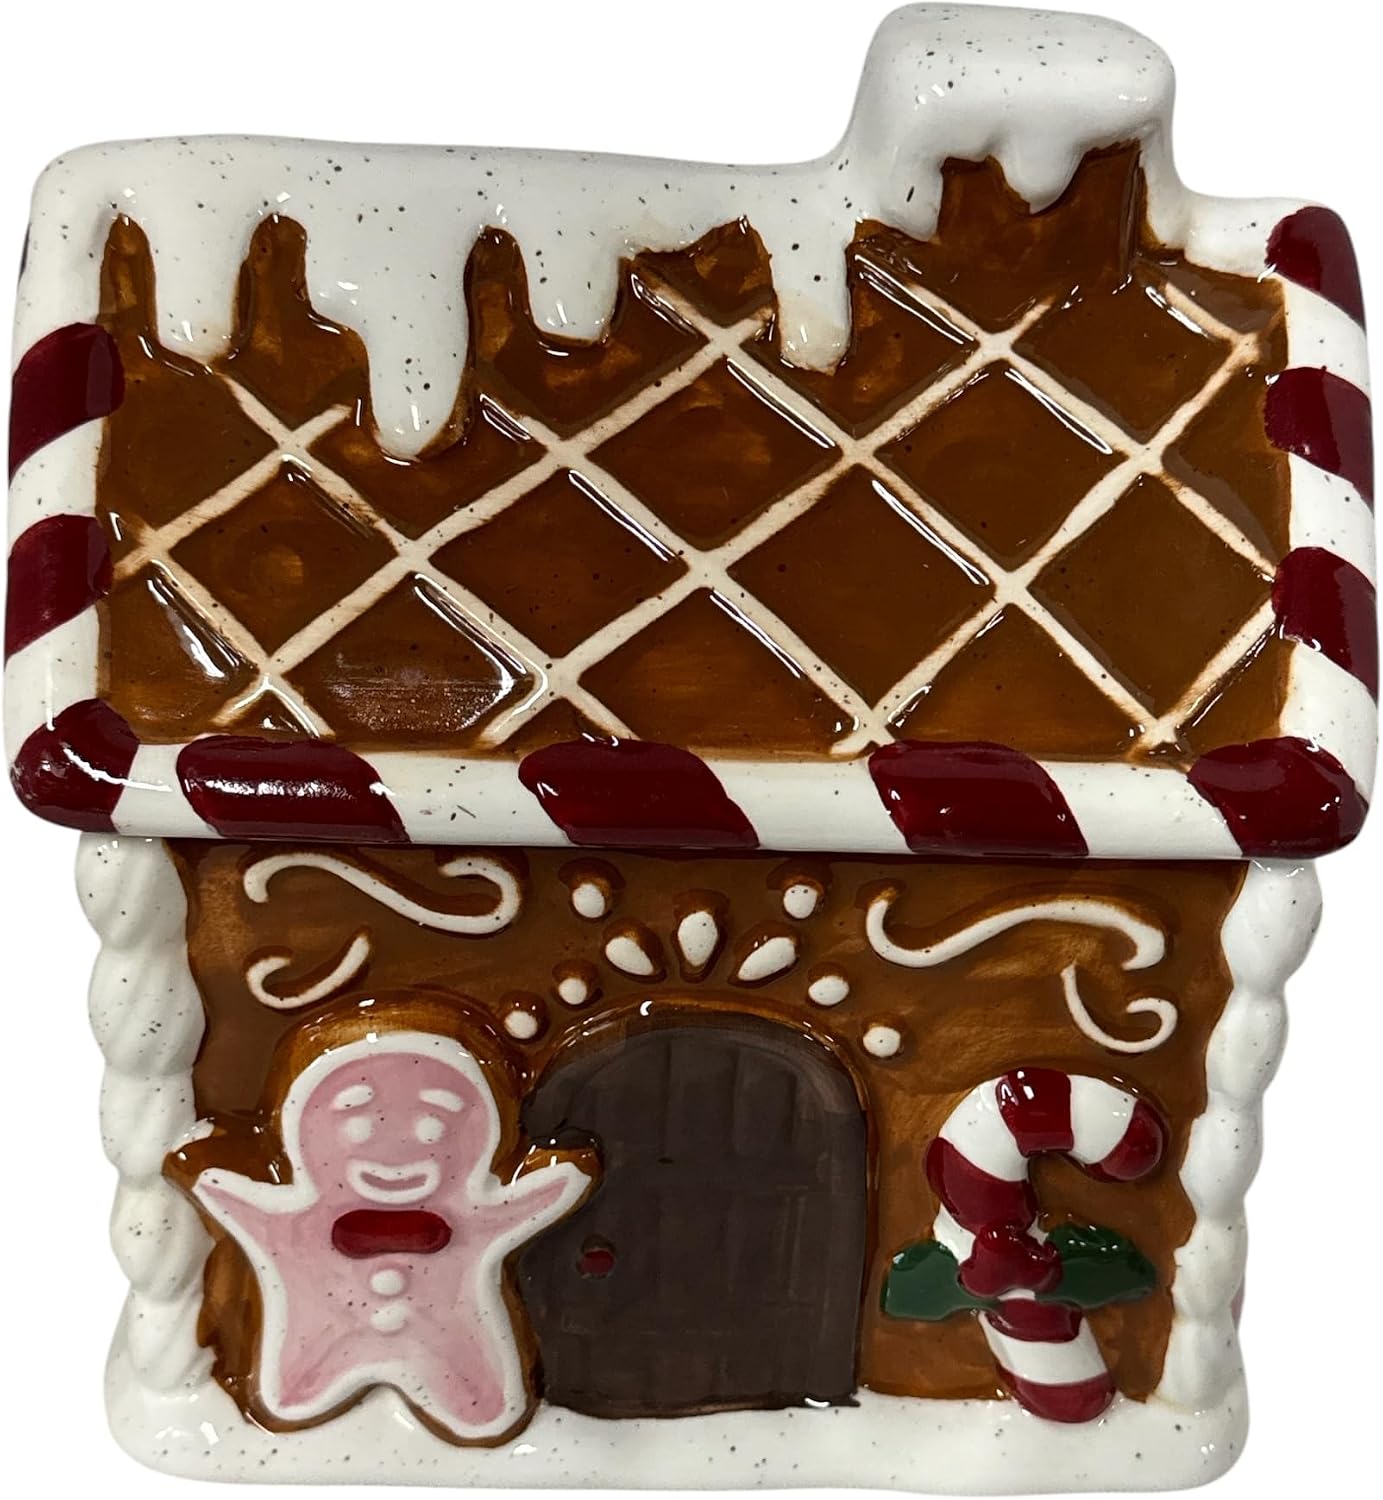
24. Prop a Cookie Jar on a Cutting Board
A cutting board makes a good riser.
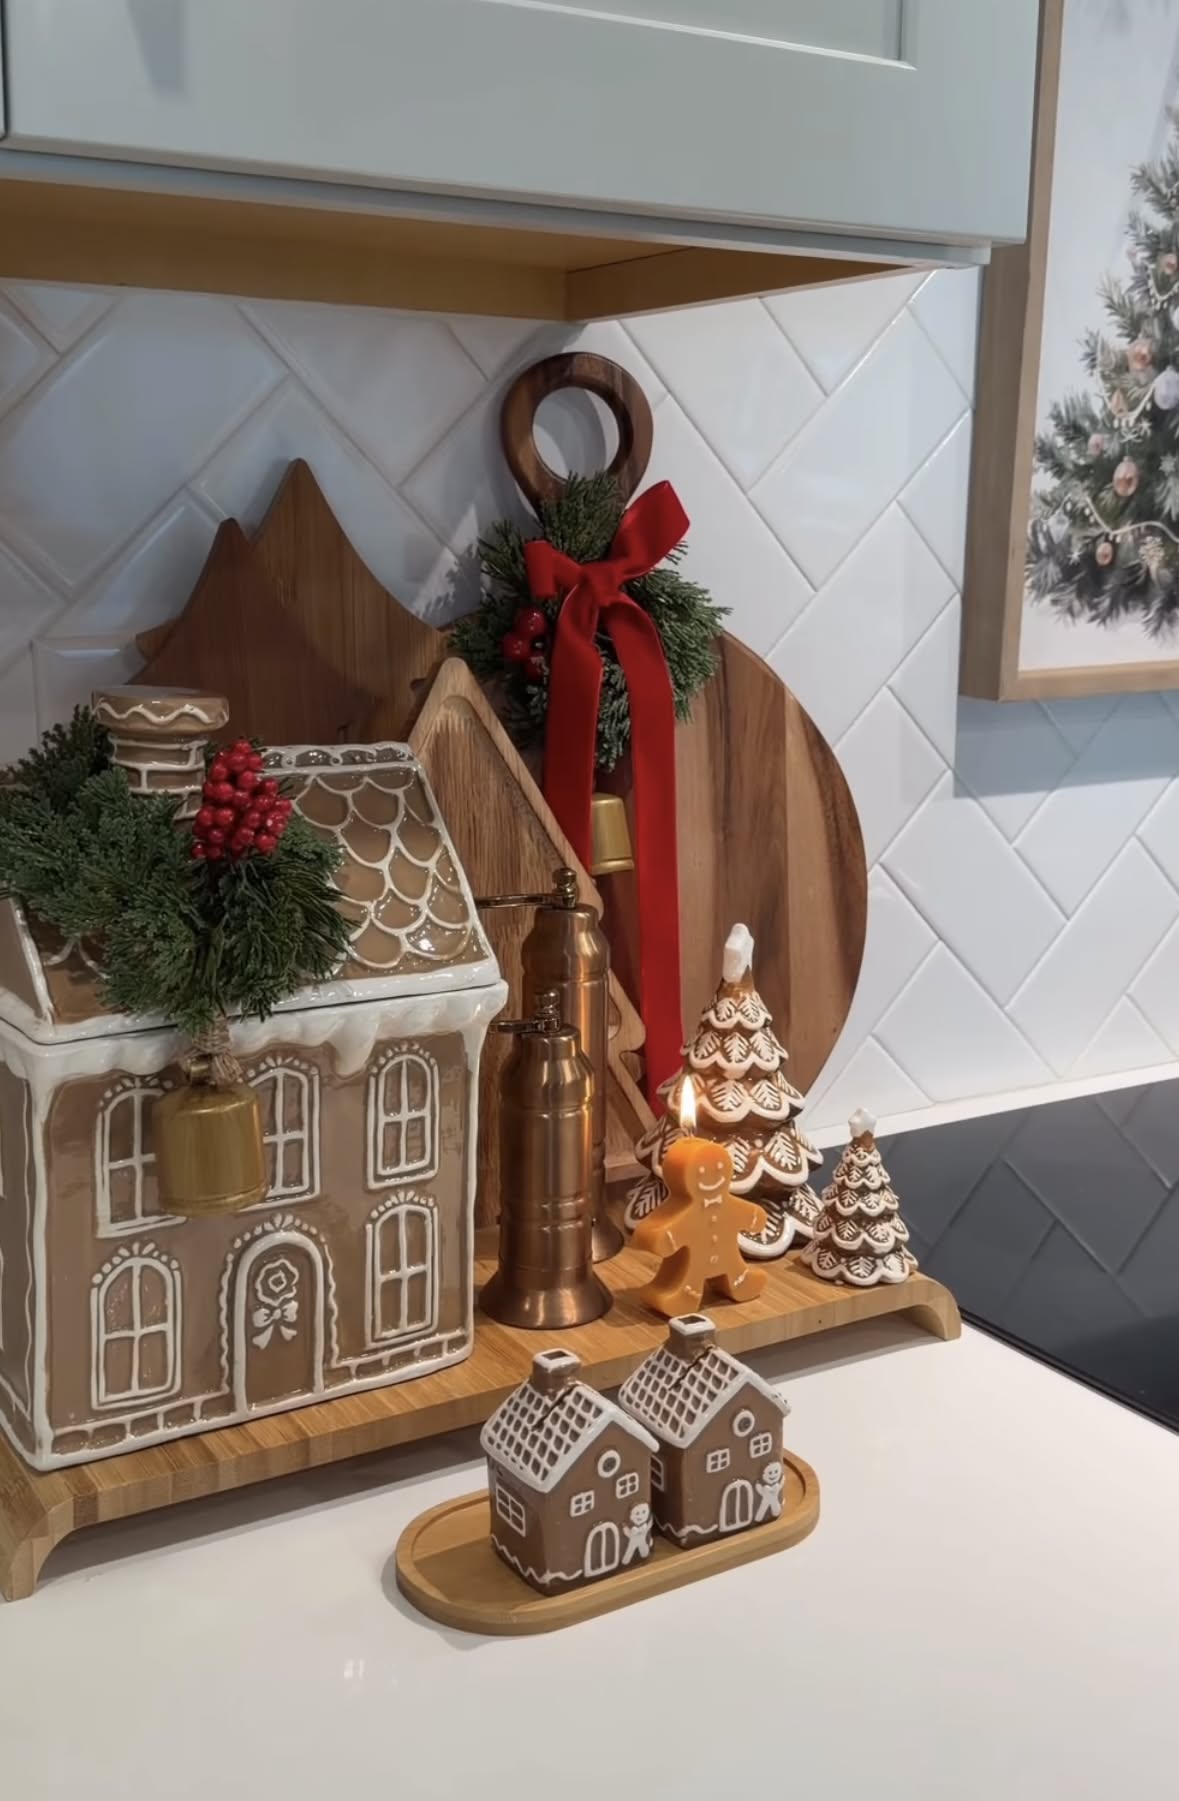
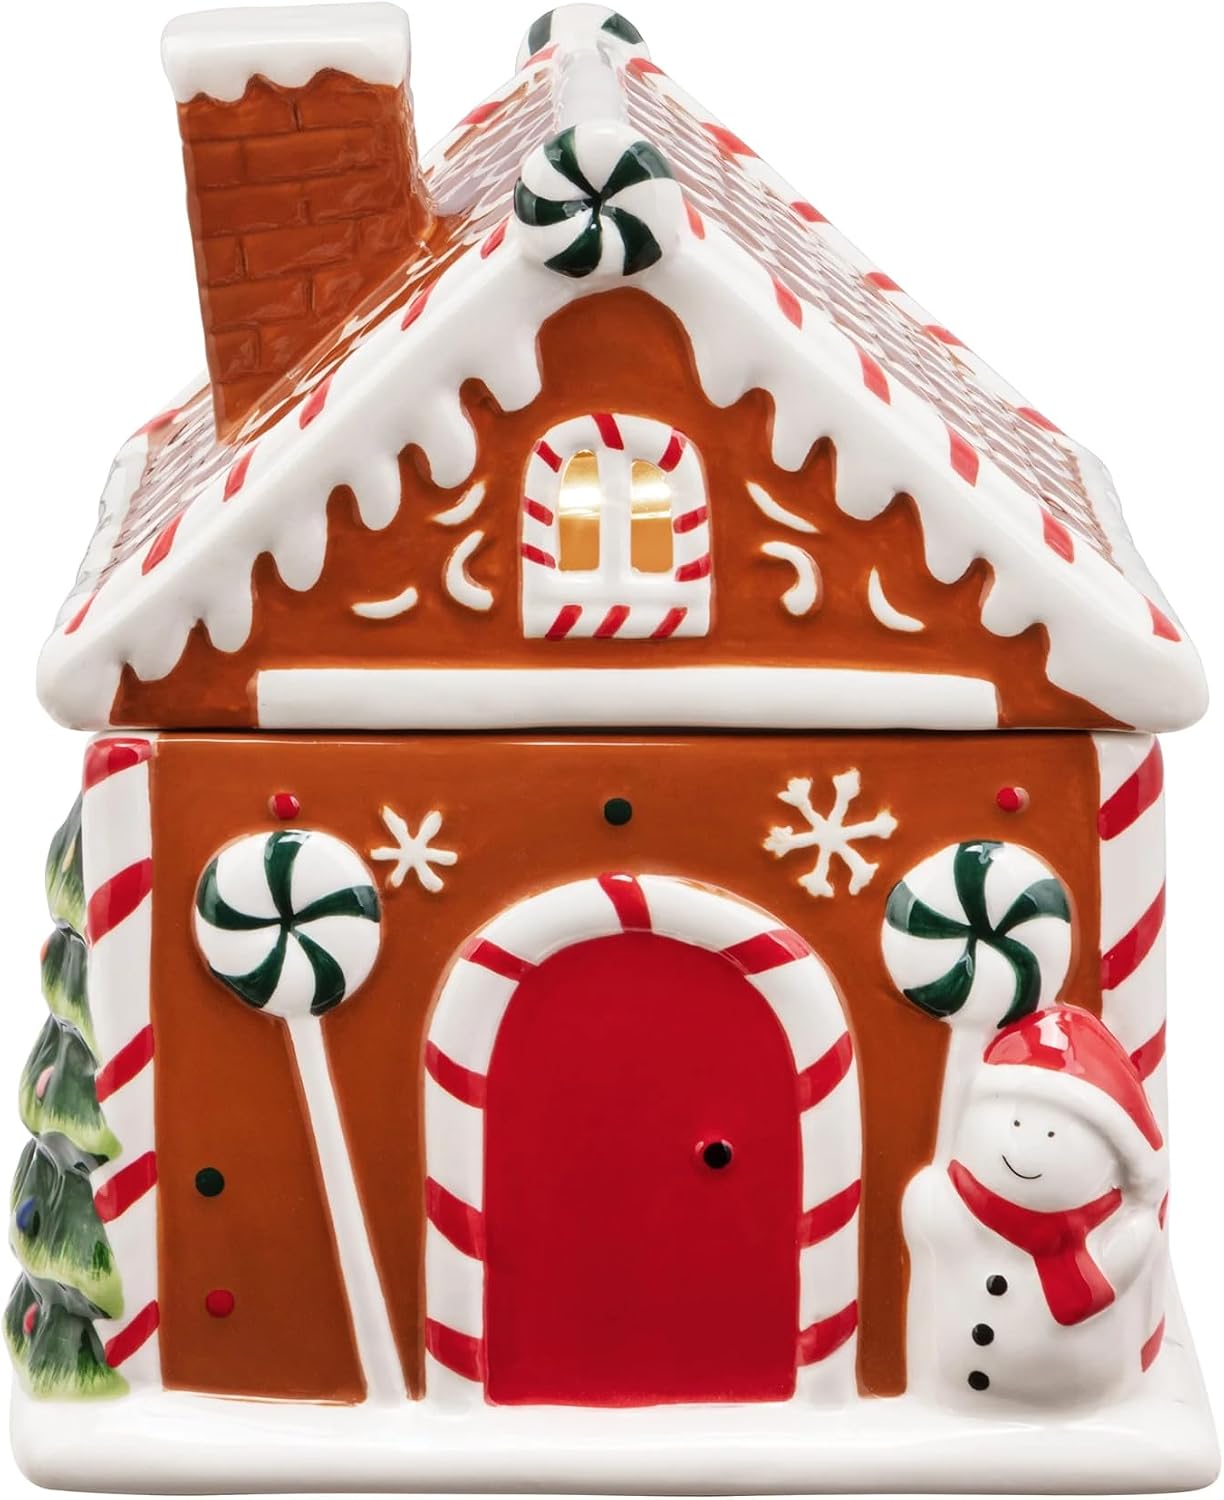
A gingerbread house cookie jar sits on a wood board here, next to a red ribbon and a candle, with a few tiny houses beside it.
Use the jar for real cookies and the display pays you back.
Pick a board with a handle so you can pull it off the counter quickly.
25. Corral the Counter in a Long Tray
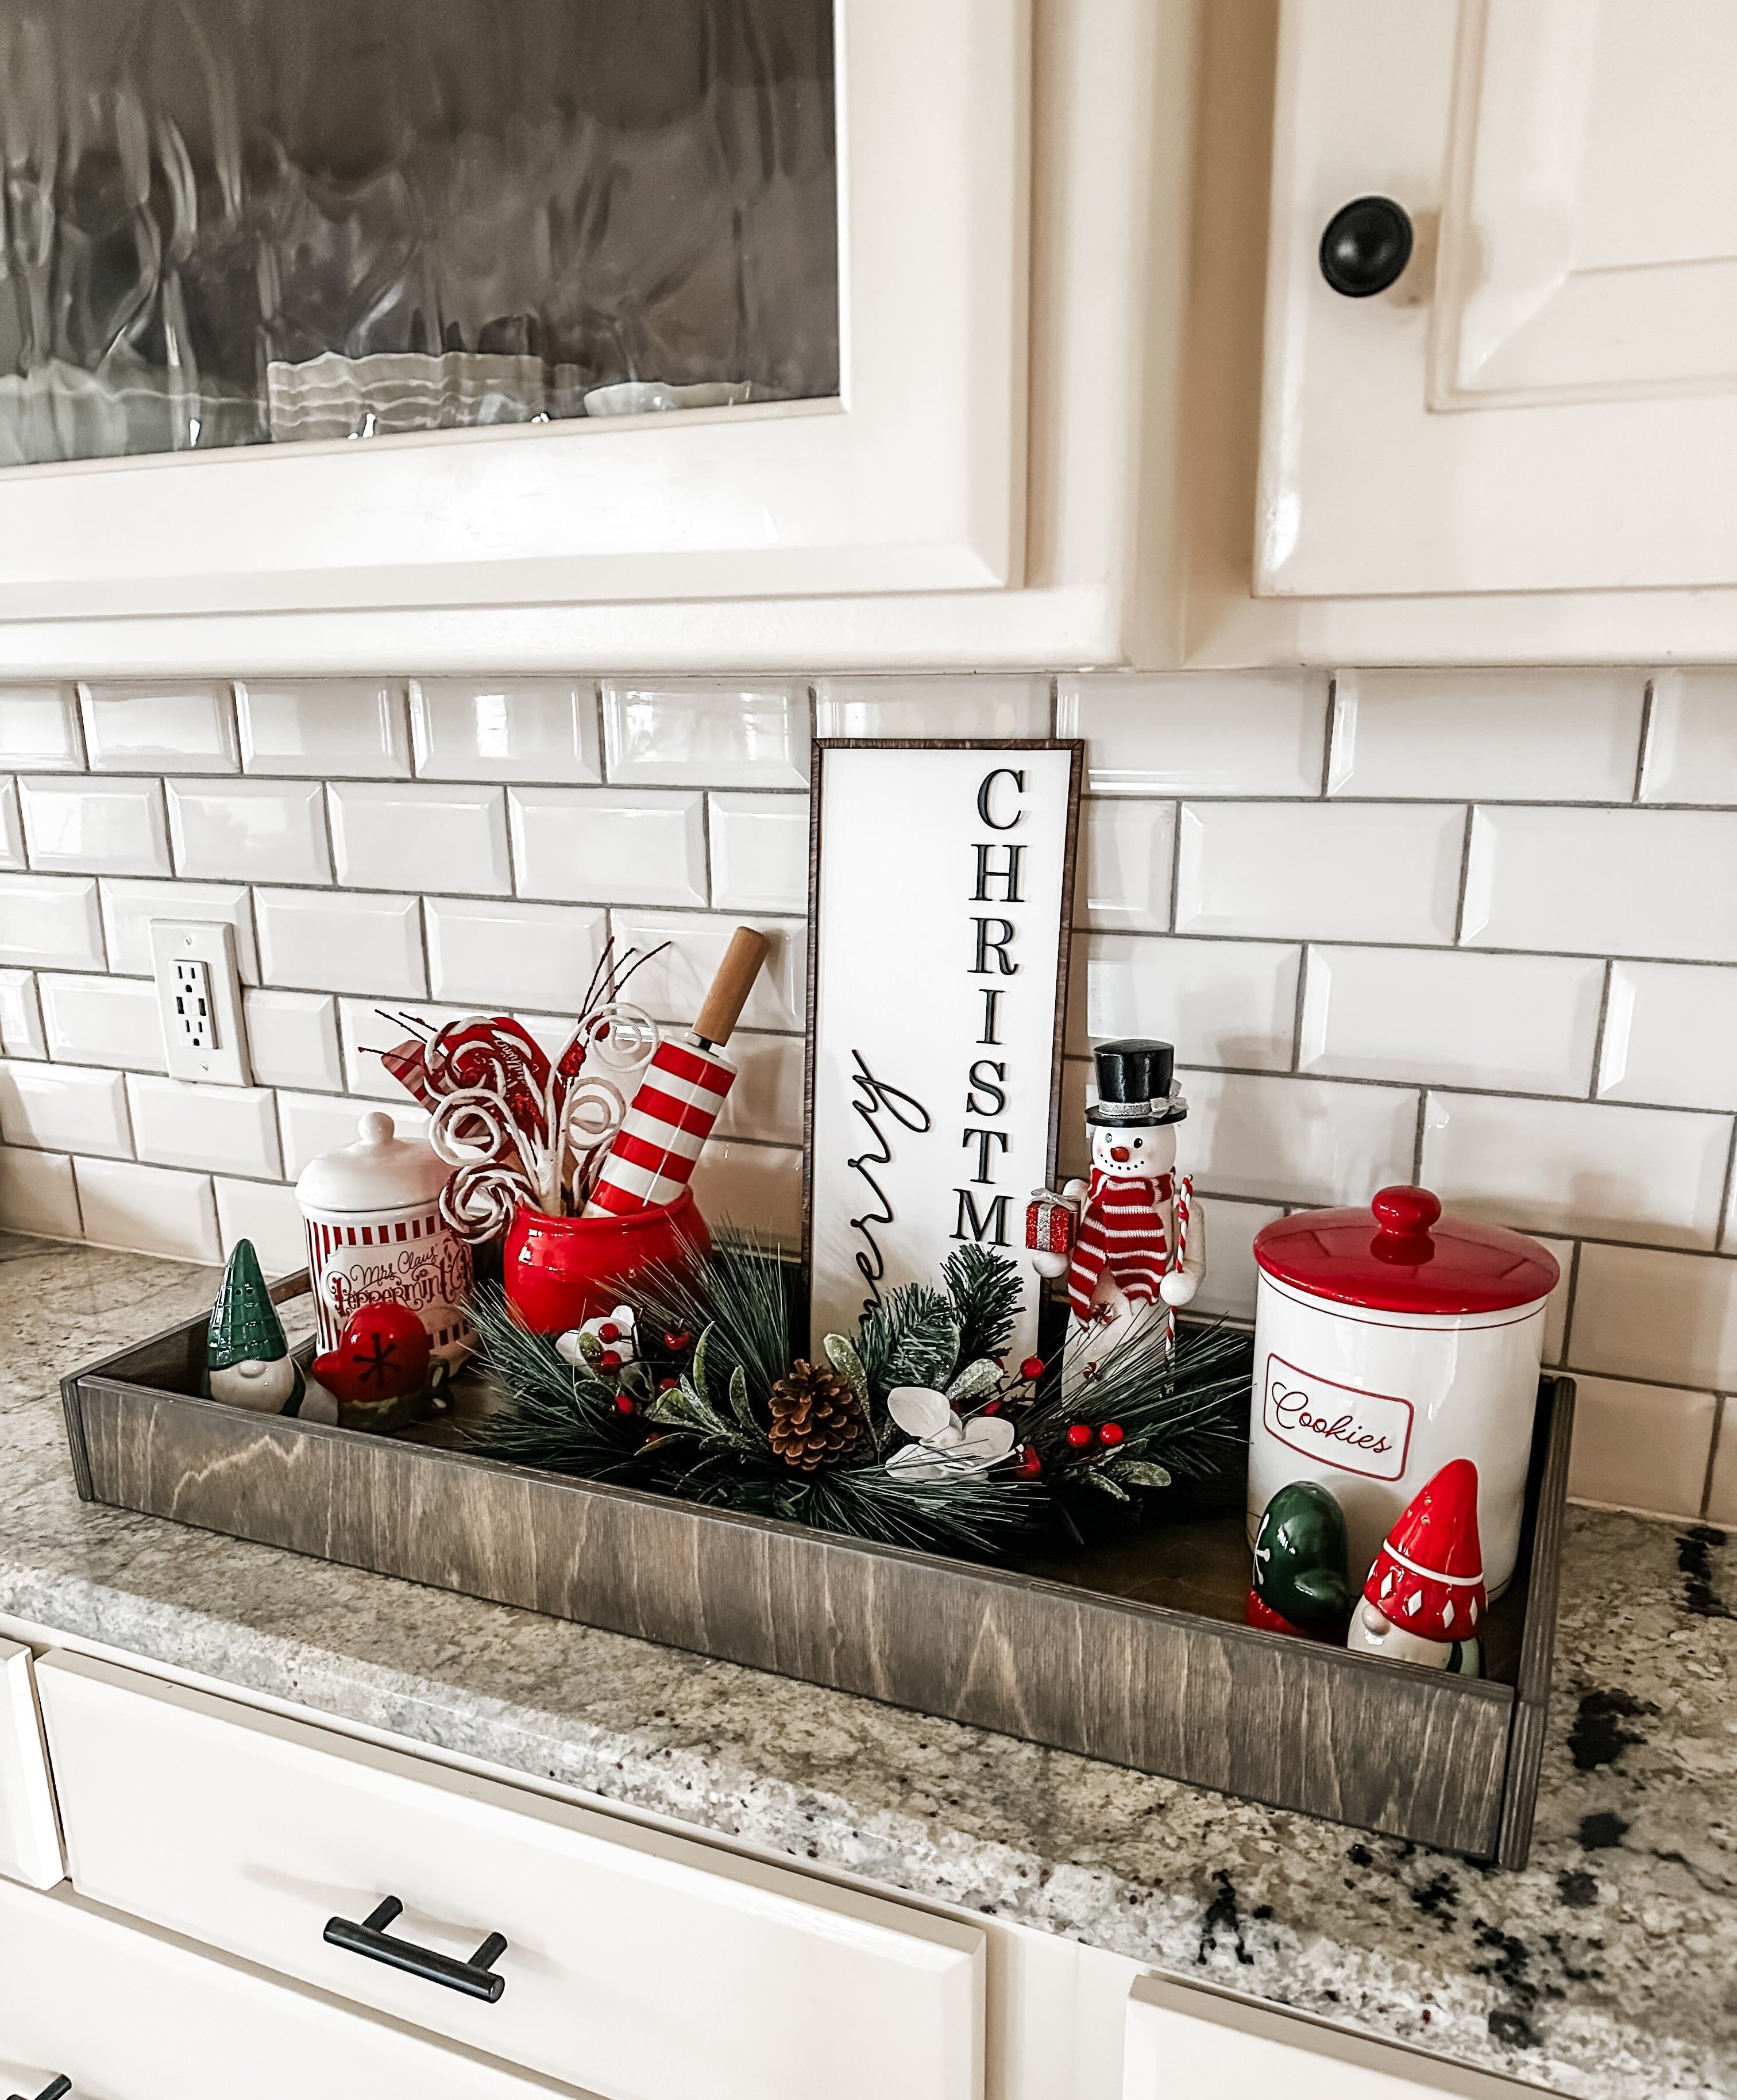
A long tray keeps small things together. A wooden tray holds a tall Merry Christmas sign, a snowman jar, a cookie canister, a red mug with a rolling pin and small trees on this counter.
You can lift it, wipe under it and put it back.
Group small things in a tray and they look like one big idea.
26. Use a Tree-Shaped Cookie Jar as Decor
A good jar does decoration and storage.
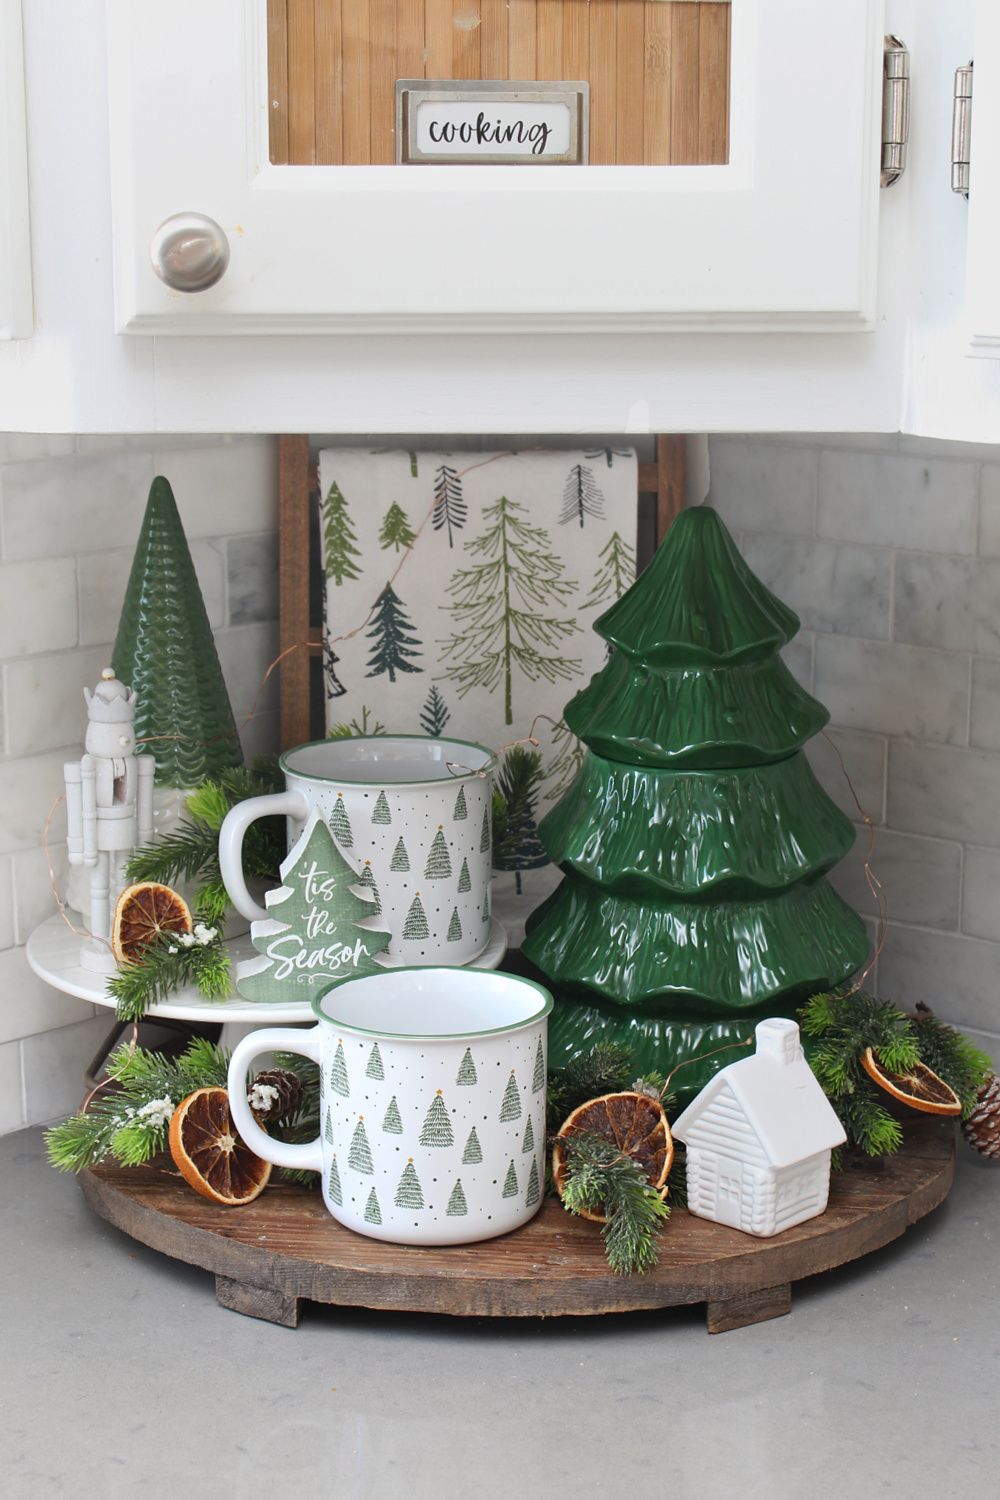
A green ceramic tree canister sits with tree-print mugs, a white house and dried orange slices on a wood tray here, with a tree-print towel behind.
- Fill the jar with real cookies.
- Hang the towel so the print matches the mugs.
27. Corral Santa Mugs on a Tiered Rack
Mugs are the star of a cocoa corner.
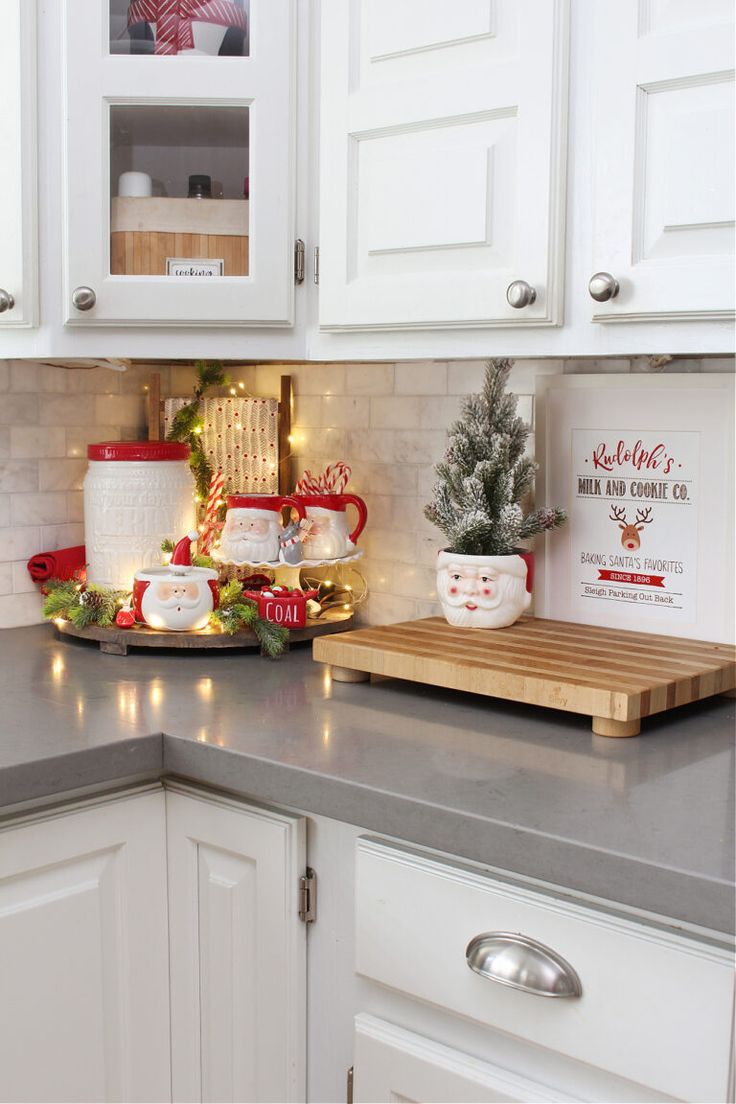
A tiered rack here holds Santa face mugs, candy canes and a dish of coal, with a Santa planter and a Rudolph milk and cookie sign on a wood board nearby.
Hang or stack mugs by their handles so guests can grab one. Put the board under the display to protect the counter.
28. Choose One Red Accent and Repeat It
A single accent color makes a kitchen look planned.
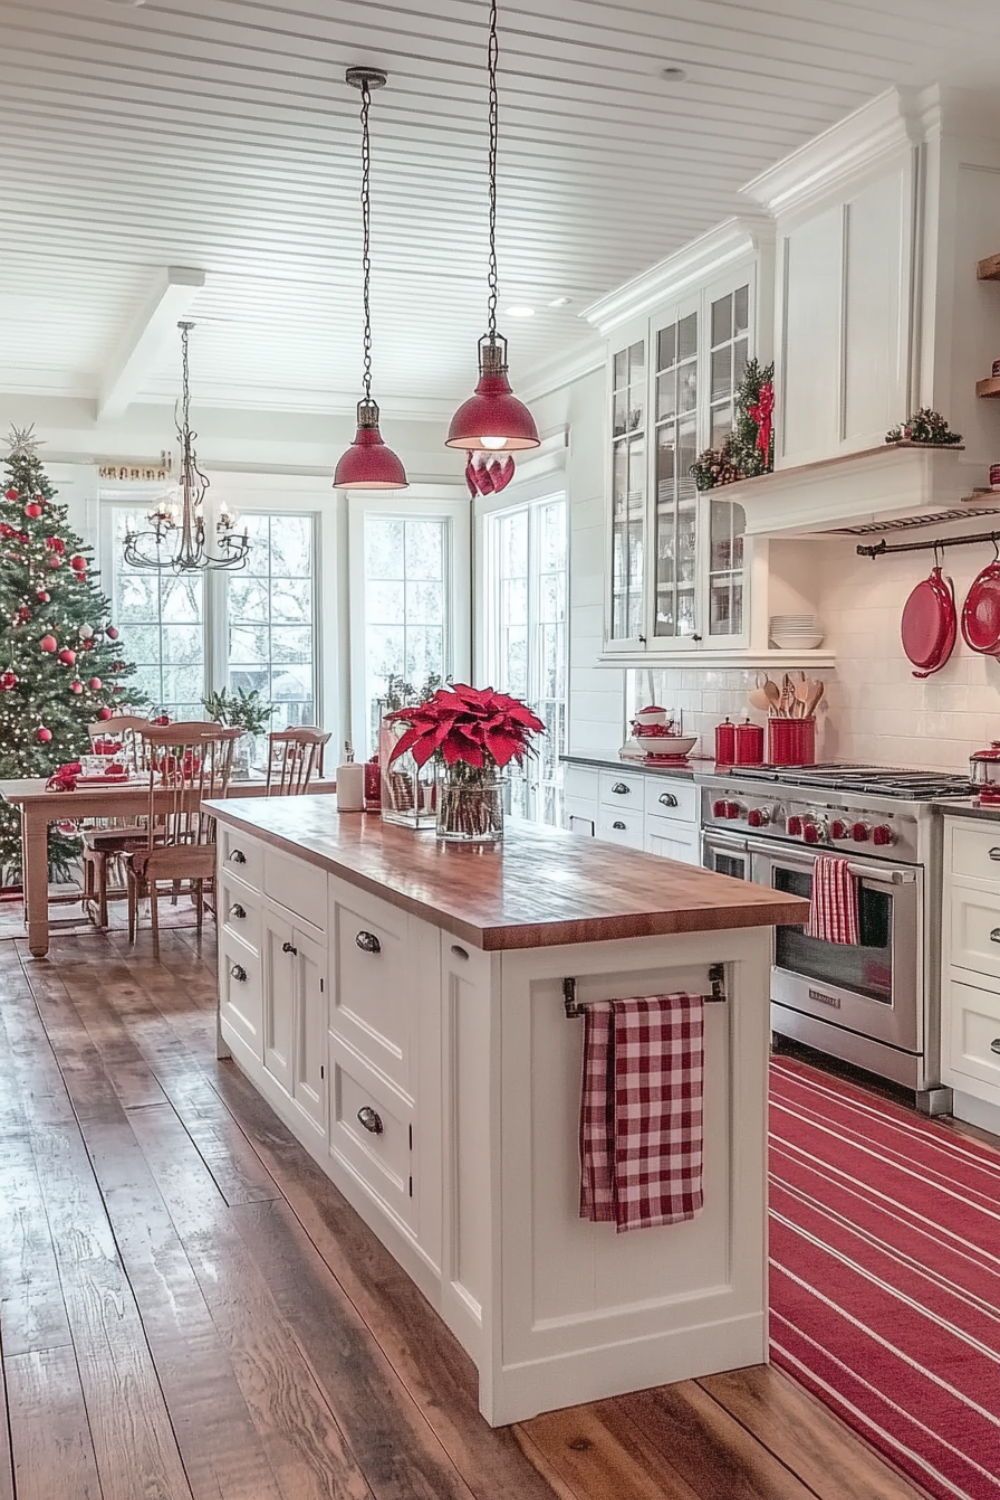
This farmhouse kitchen repeats red in the pendant lights, a poinsettia on the island, a gingham towel on the rail and a striped runner on the floor.
Quick tip: Choose one color and repeat it three or more times at different heights.
Small touches like a towel are the cheapest way to do it.
29. Keep a Cocoa Bar Small
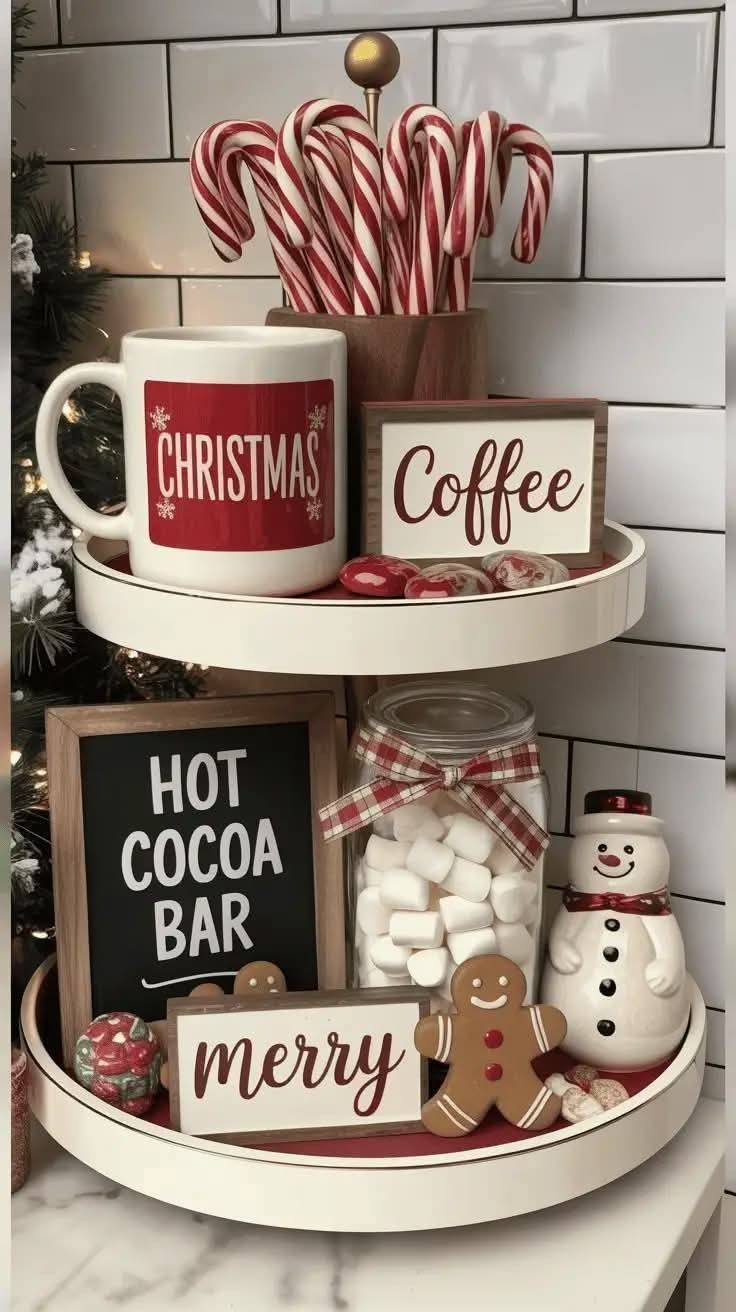
A two-tier stand is plenty for a small counter. A Christmas mug of candy canes, a Coffee sign, a Hot Cocoa Bar chalkboard, a jar of marshmallows, a snowman and a gingerbread cookie all sit on this white tray.
Stack upward when you don't have much counter.
Fill the jar with real marshmallows and refill it as it empties.
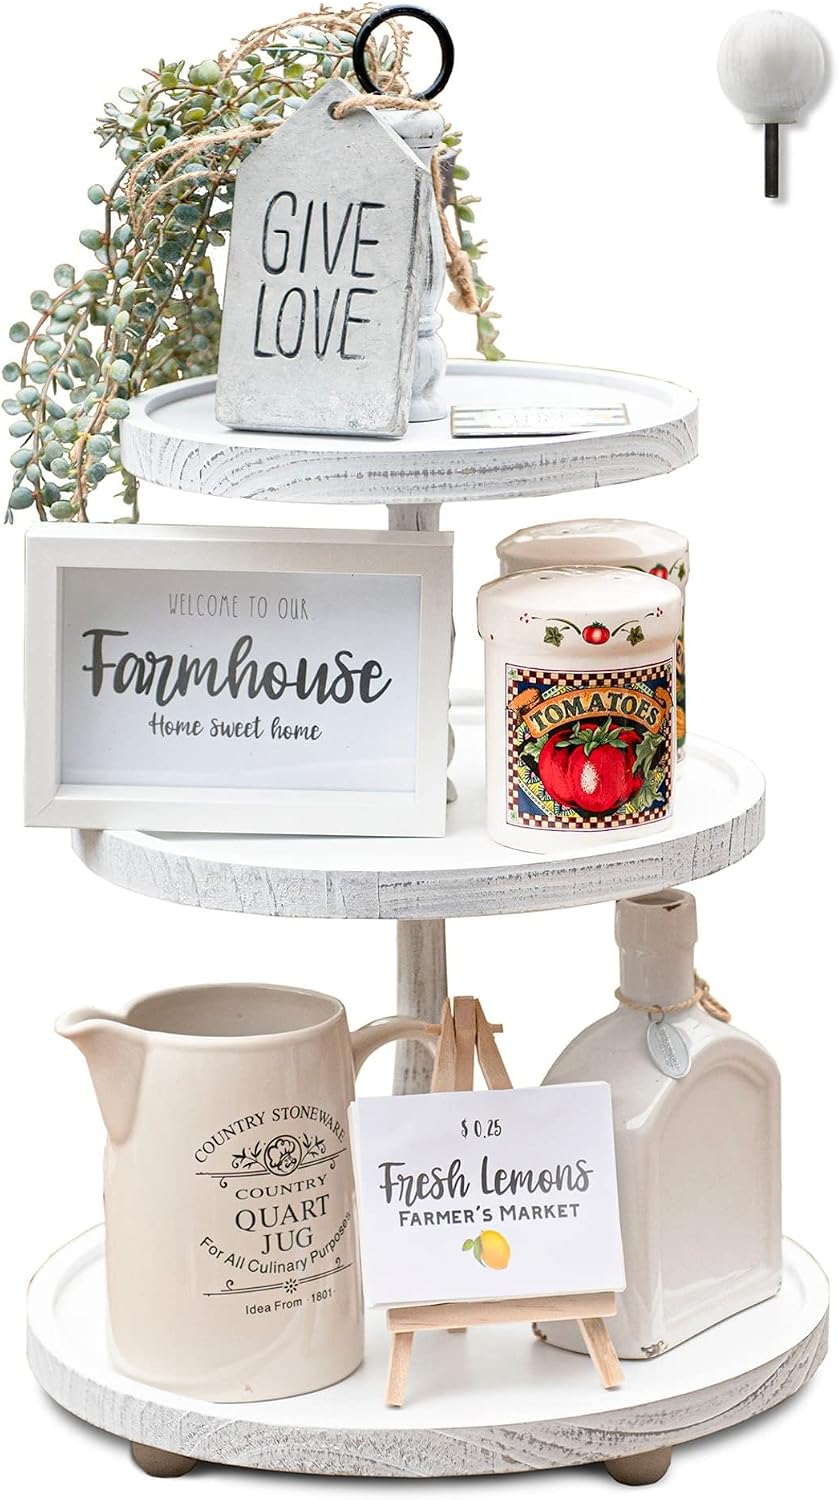
30. Turn a Shelf Into a Cocoa Corner
A shelf can be your coffee bar.
Two rustic shelves hold spices, cinnamon sticks and canisters above a Coffee and Cocoa Corner sign, with an espresso machine, mugs and candy canes below and greenery with lights on top. Decant everything into labeled jars so it looks tidy.
Install shelves where you can reach the jars without a stool.
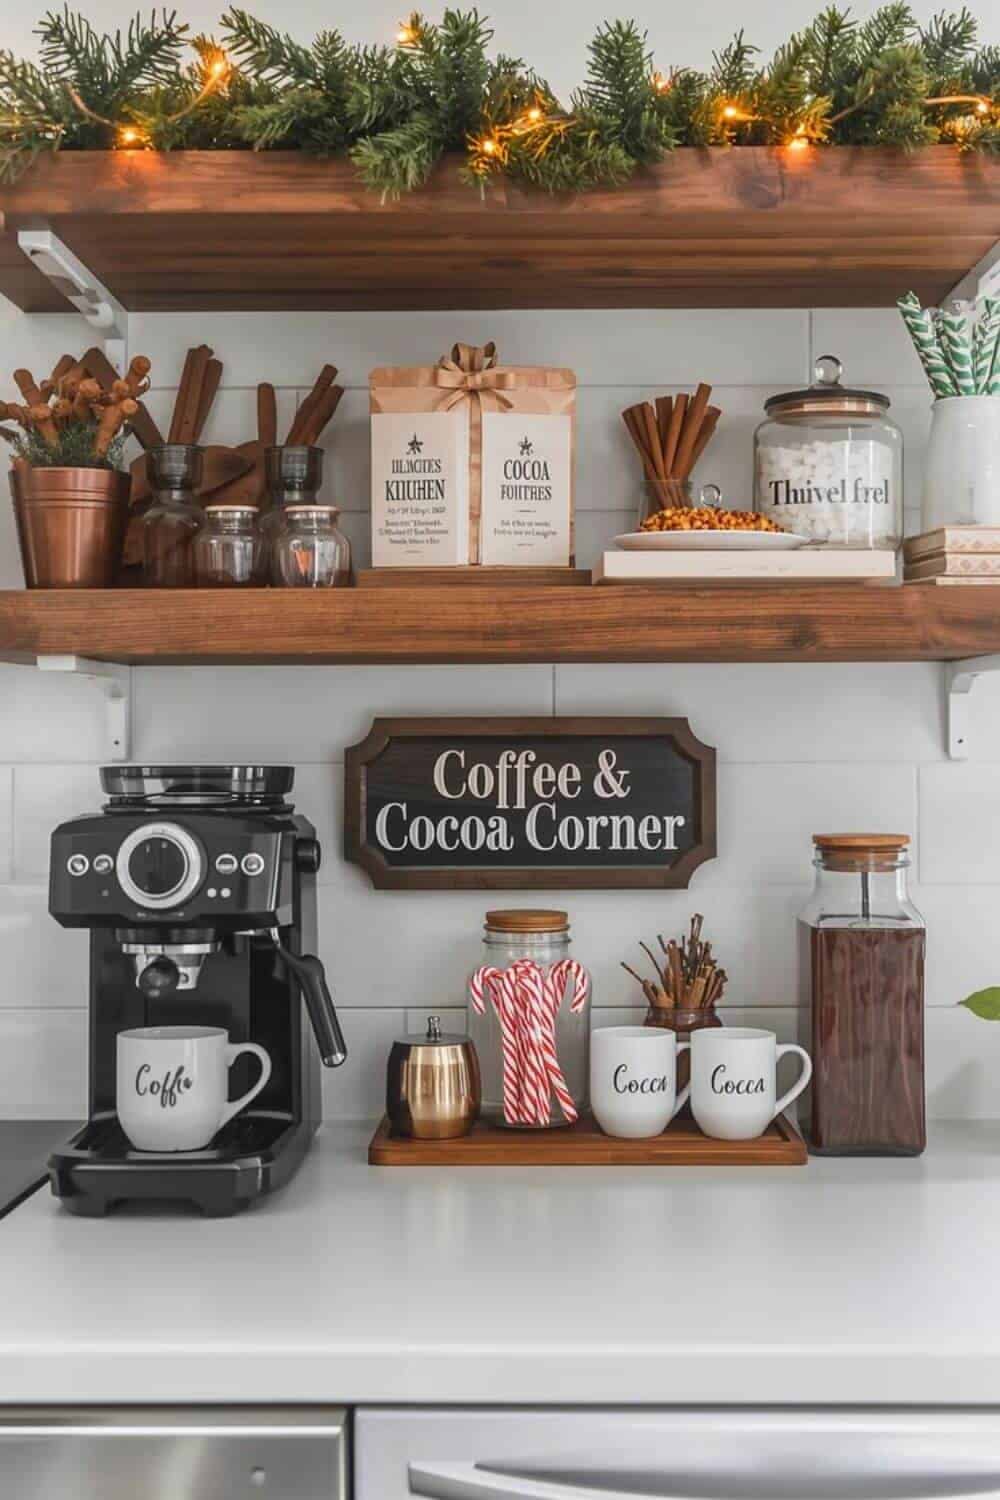
31. Show Off a Wall of Mugs
Mugs deserve to be on display.
A corner of dark shelves holds Christmas mugs in red, green and white, lit softly, with a But First Coffee sign and a coffee maker below.
- Space shelves twelve to fourteen inches apart so mugs fit.
- Add warm LED strip lights under the shelf for a glow.
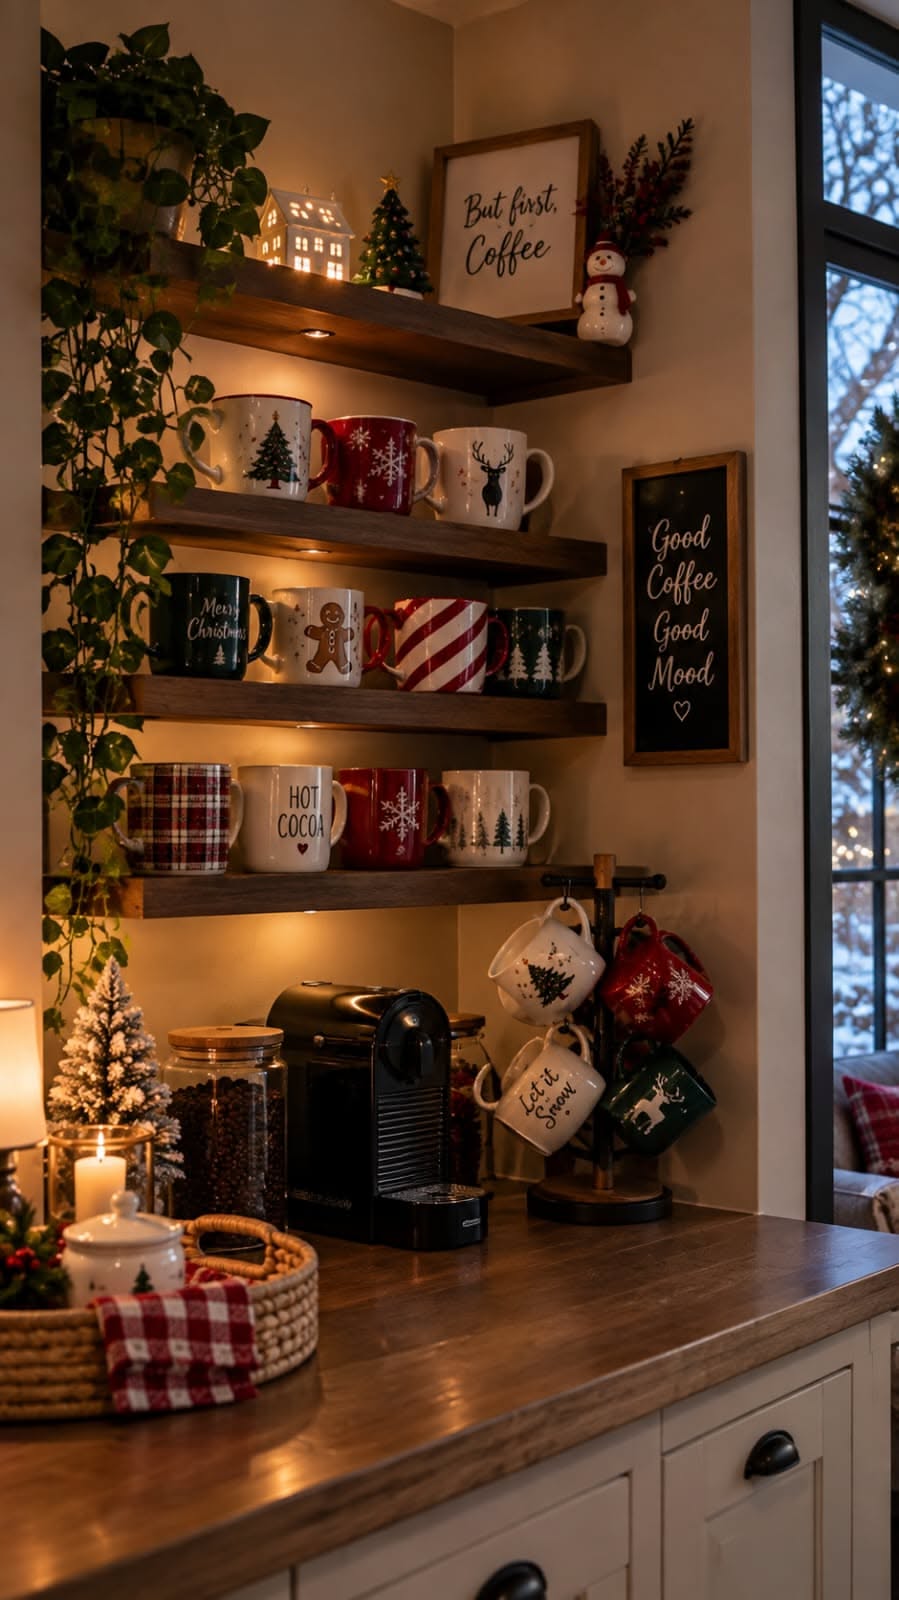

32. Wrap the Range Hood in Gingerbread
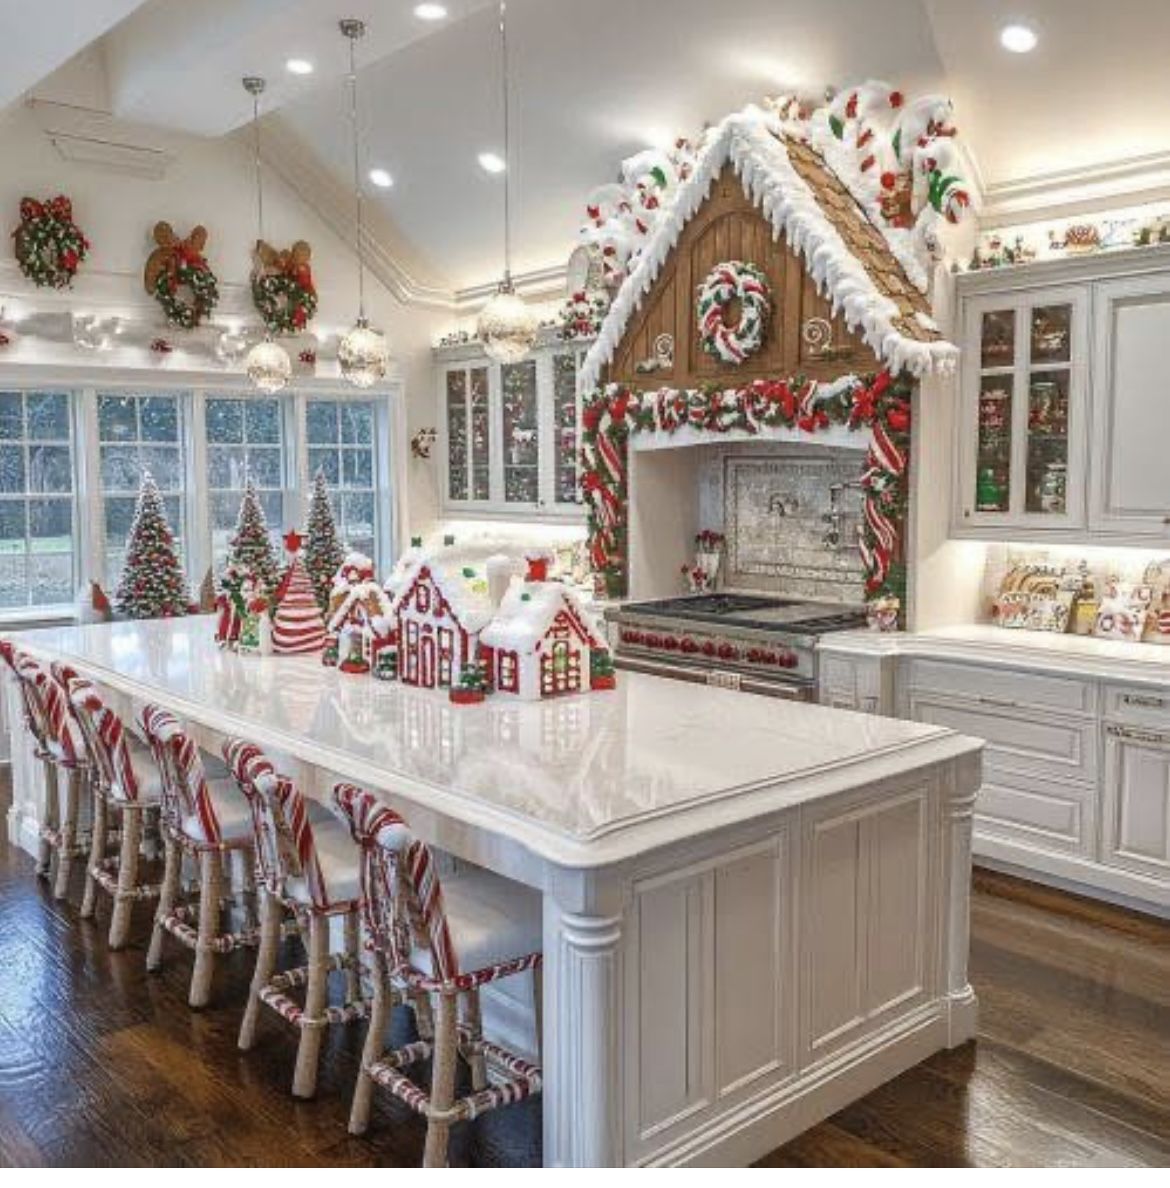
Some kitchens go all out, and this is one. A giant gingerbread house frames the range hood, with candy-striped stools and a village of gingerbread houses on the island.
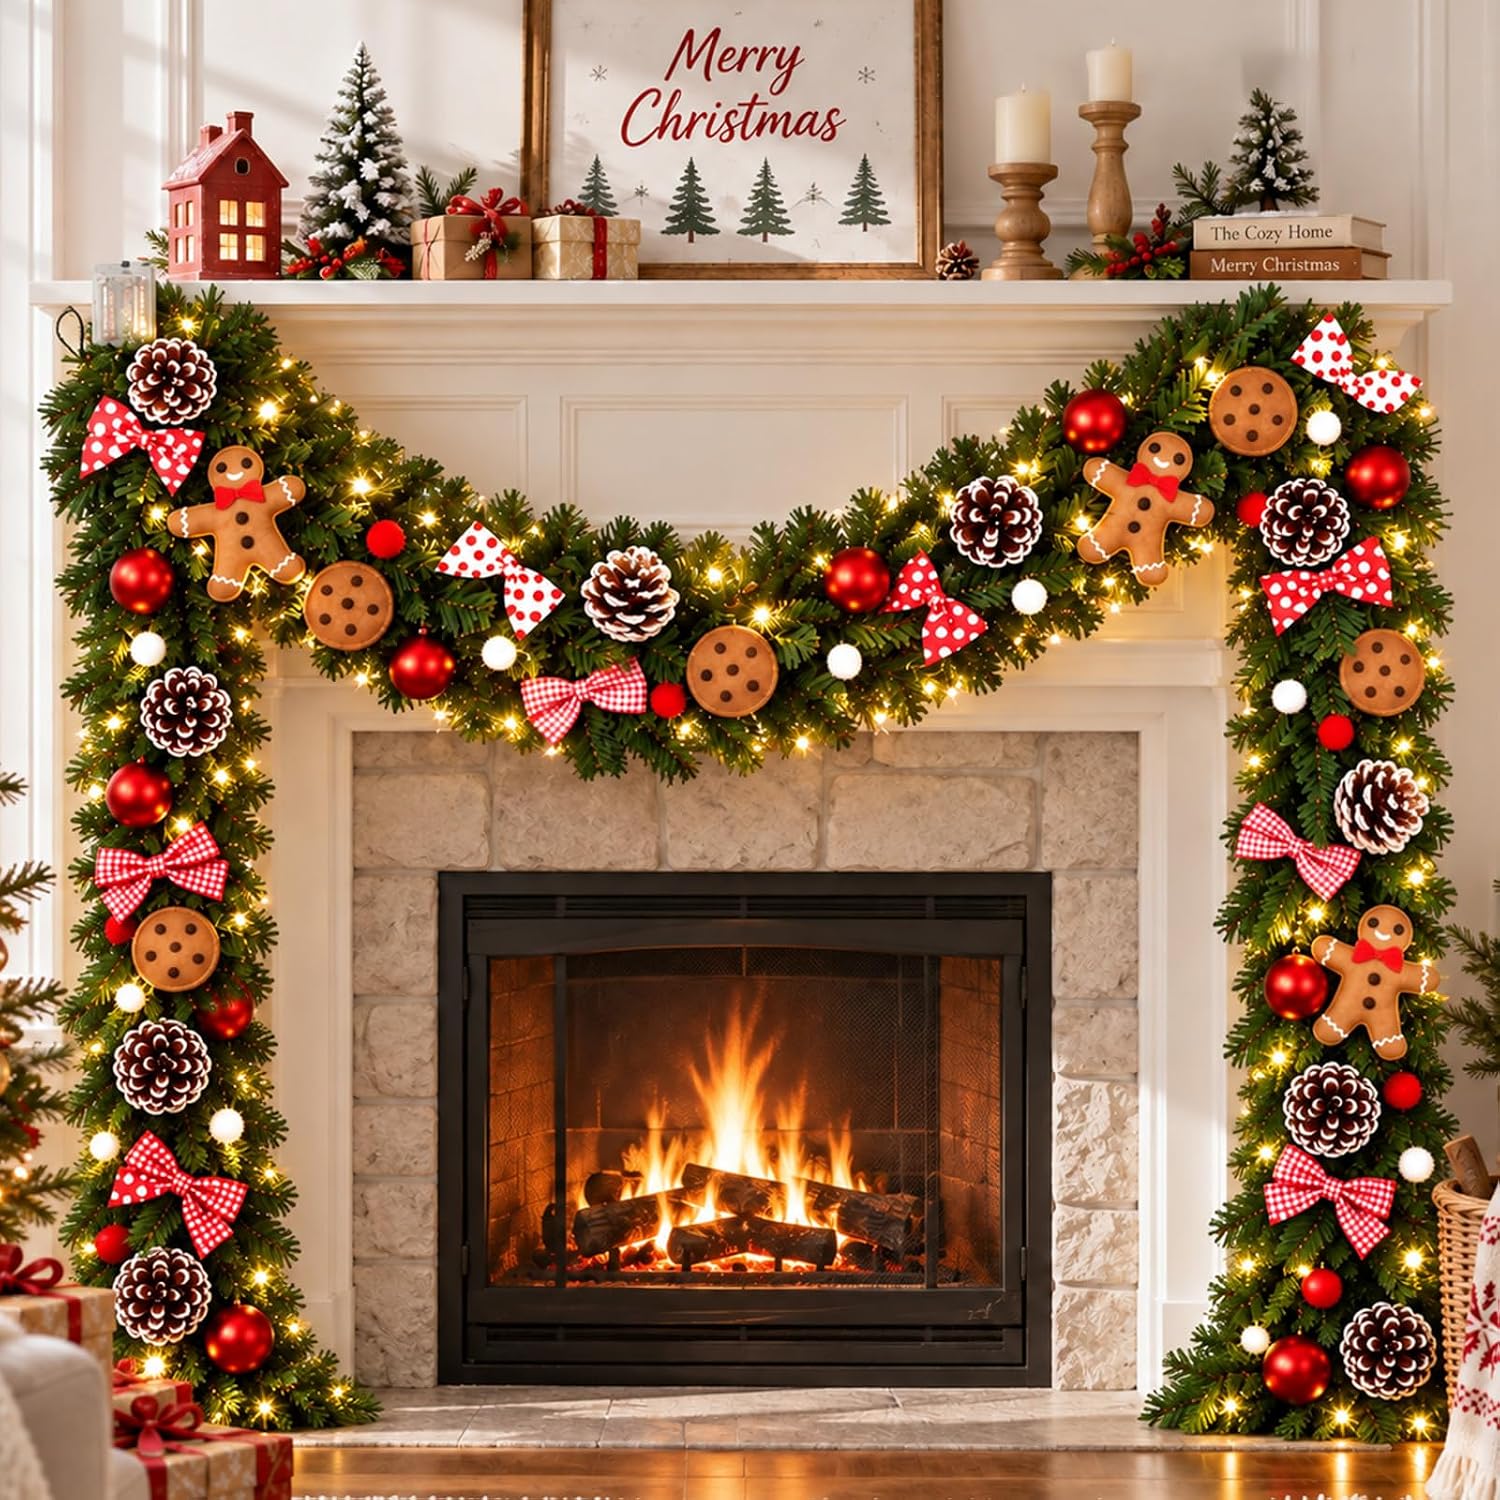
- You don't need to build it. A wreath and garland trim around the hood give you the idea.
- Never cover the hood vent, and keep decor clear of the opening.
33. Trim the Island With Gingerbread
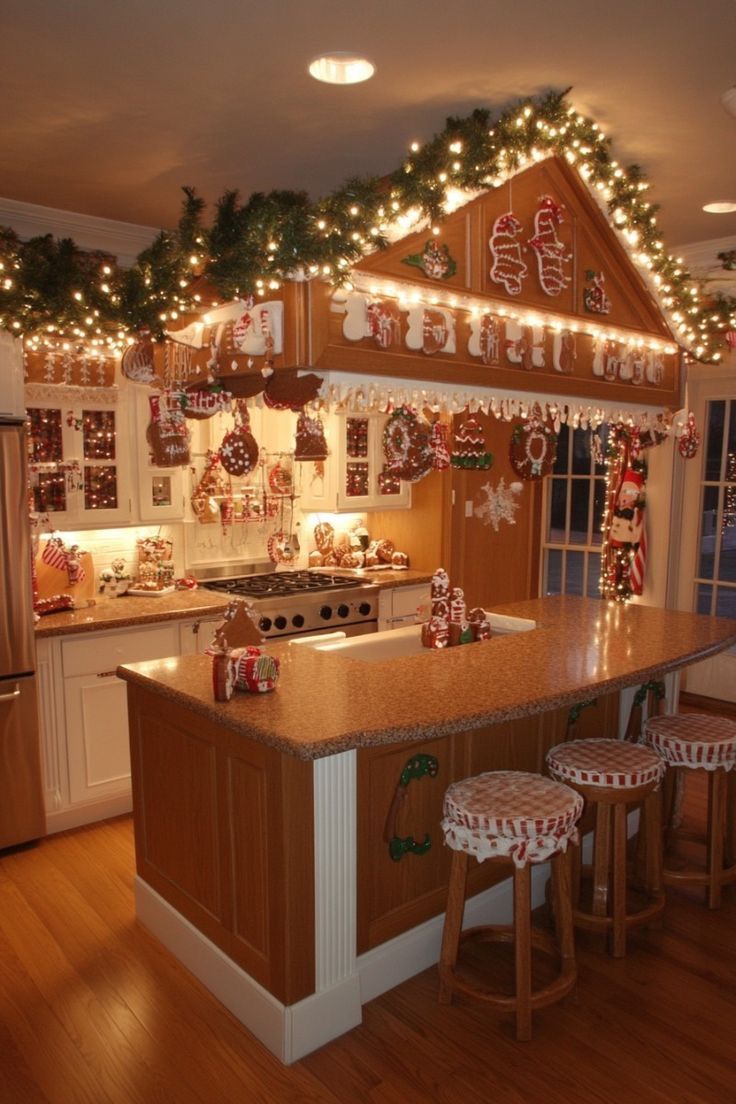
Start small if you want this look. A gingerbread-style roof and cutouts are strung with lights over this island, with garland on top and candy-striped stool covers.
You can cut shapes from foam board and paint them with acrylic. Use removable tape and check that it doesn't peel paint.
34. Treat a Hutch Like a Bakery Window
A hutch is the perfect place for a collection.
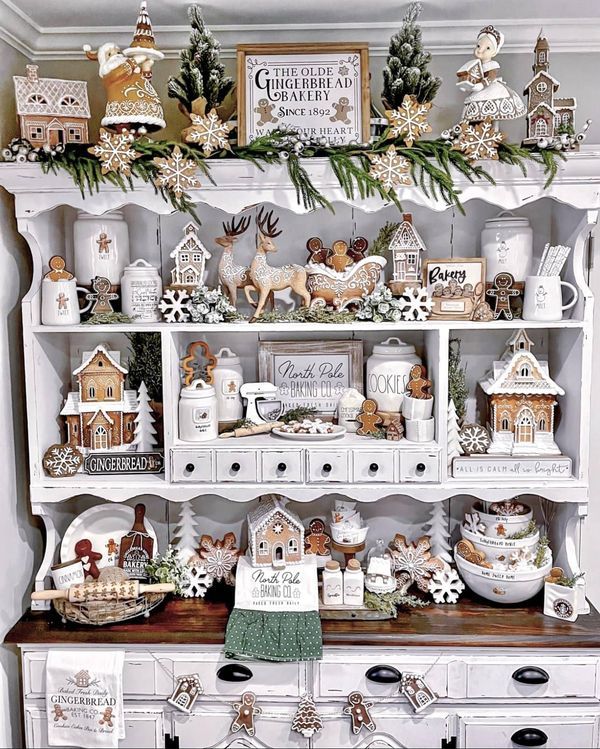
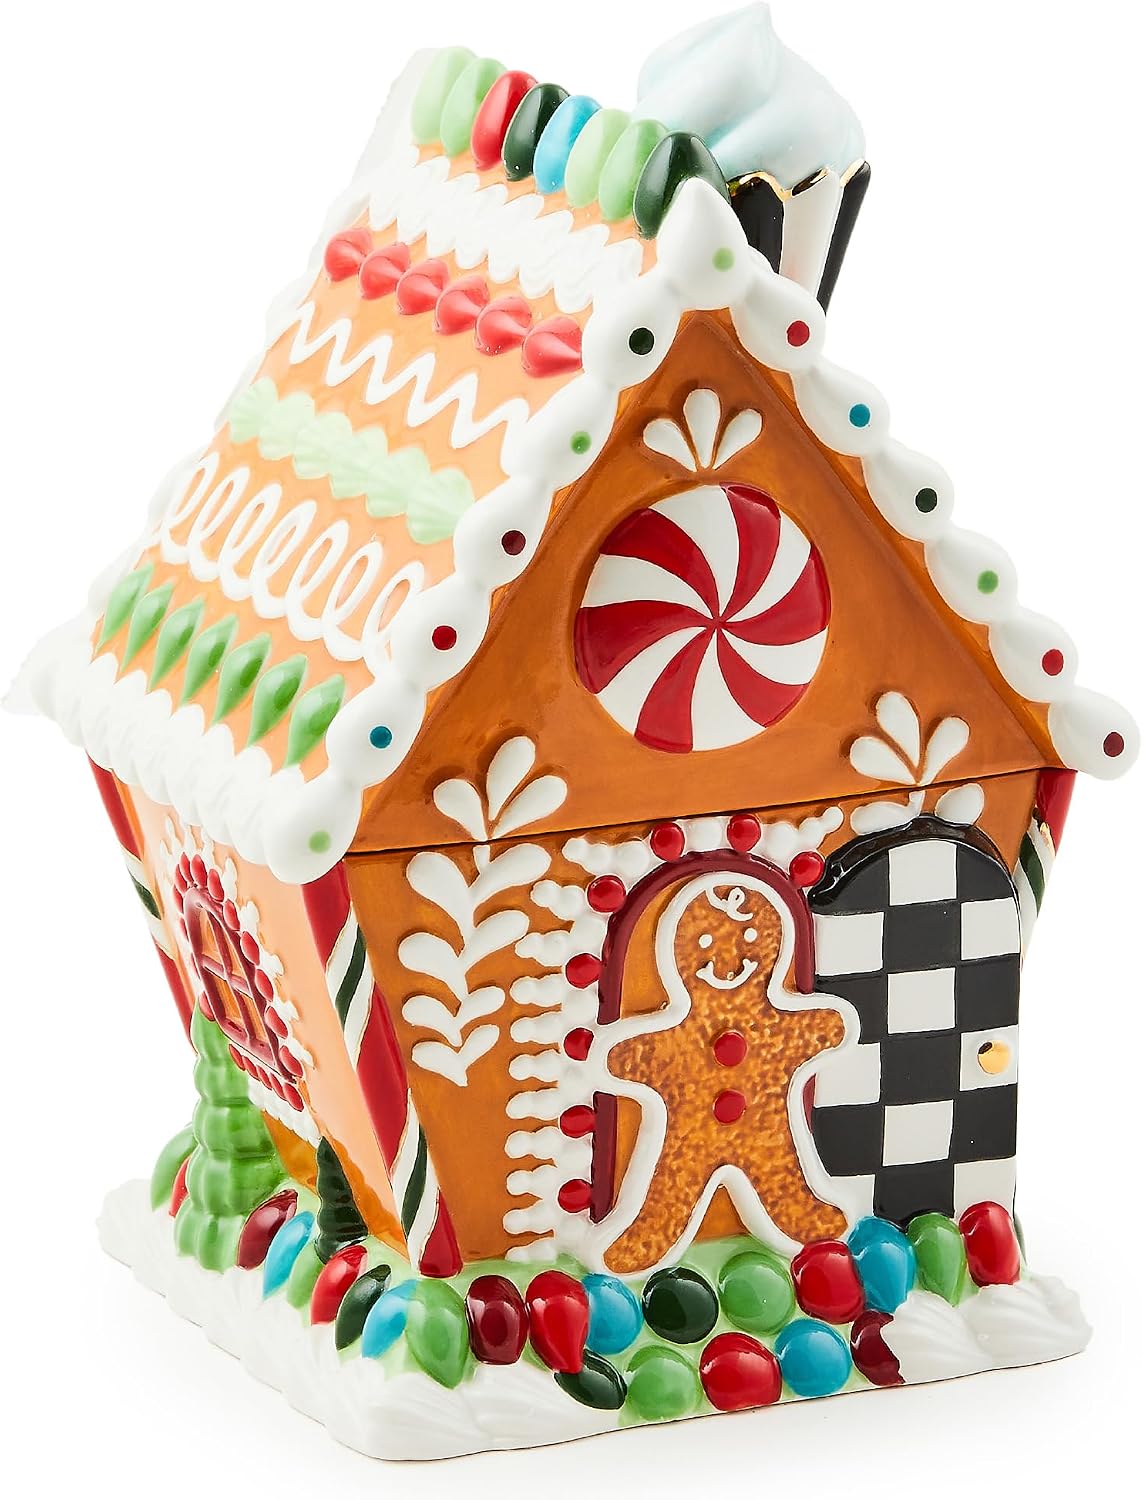
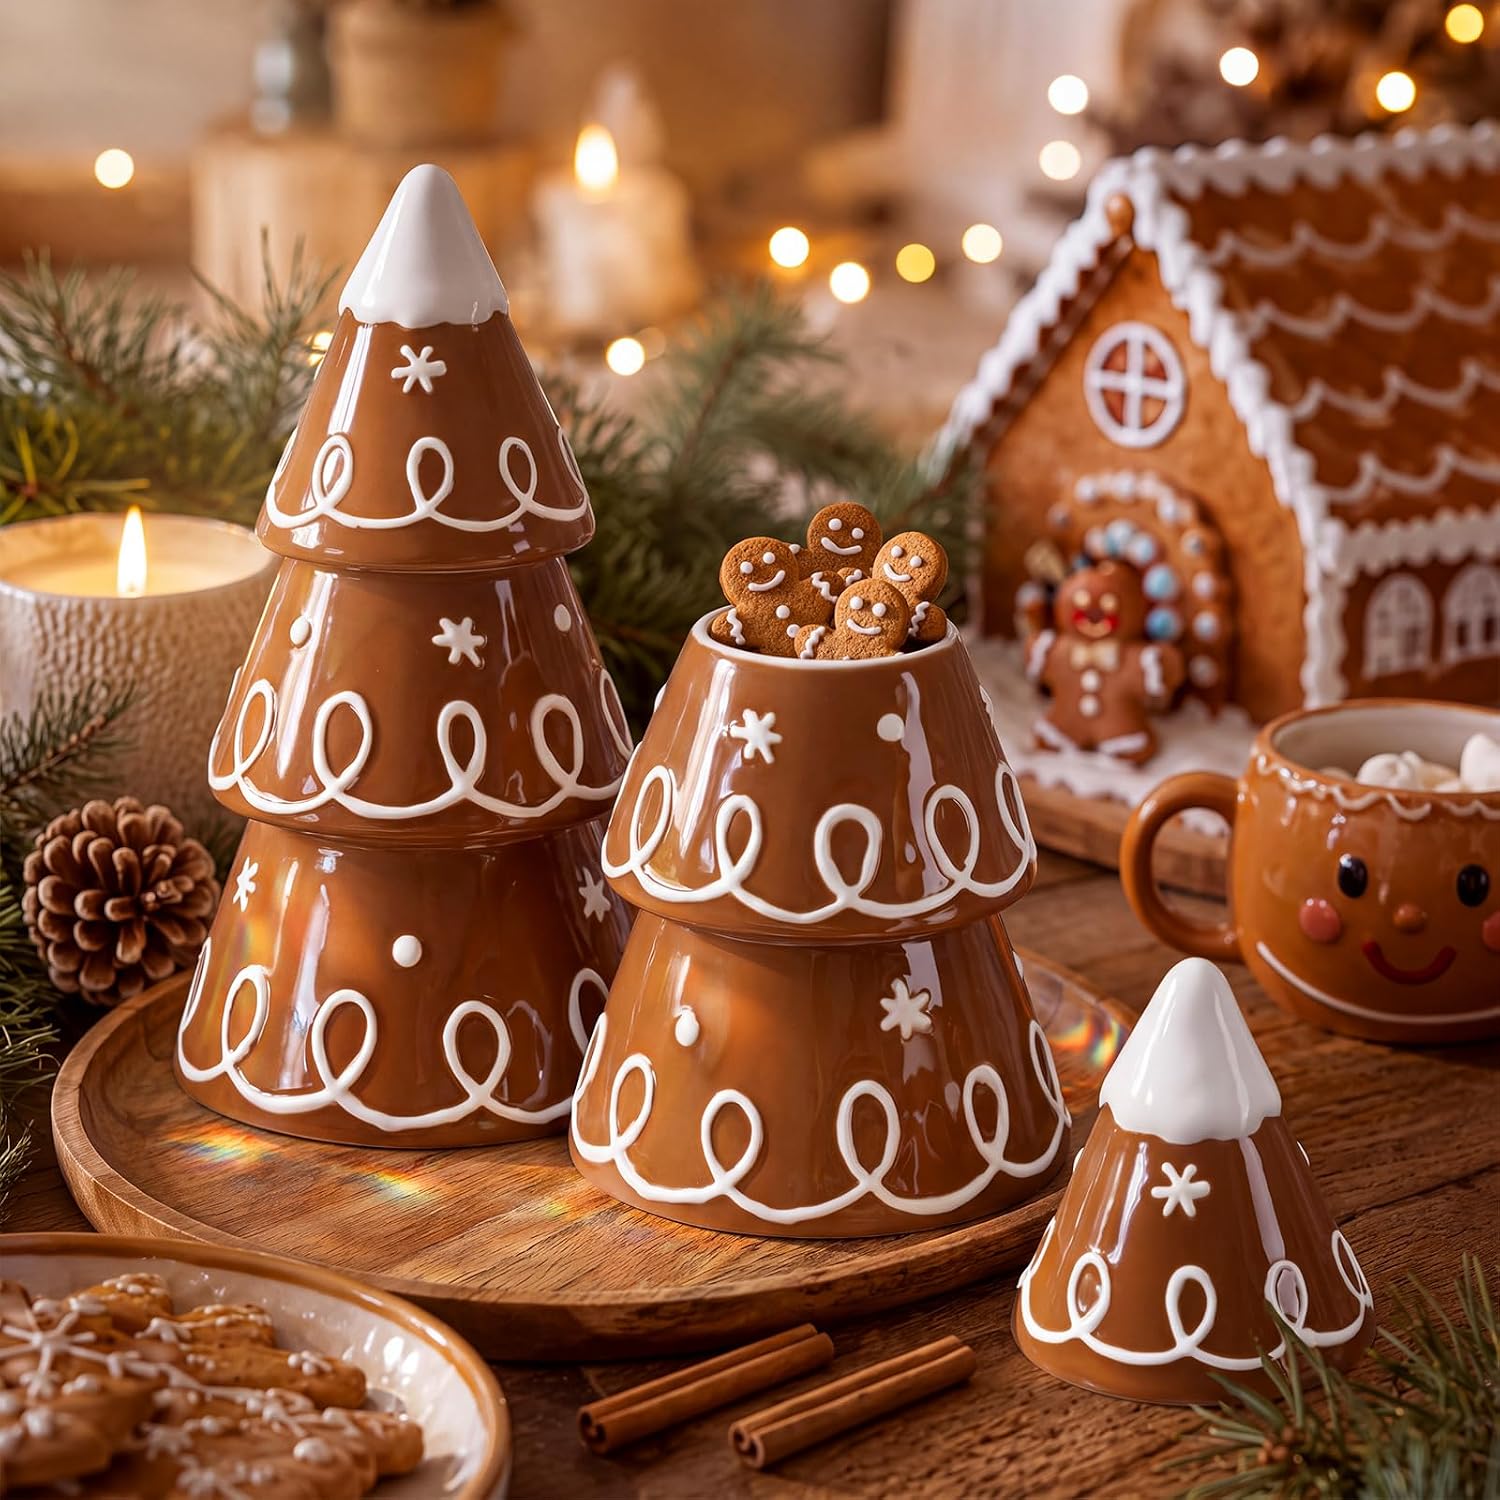
A white hutch is filled with gingerbread cookie jars, houses, deer, signs and snowflakes here, like a bakery window.
Group by height and put the big pieces at the bottom.
Edit. If every shelf is full, remove a third.
35. Line Up a Gingerbread Family
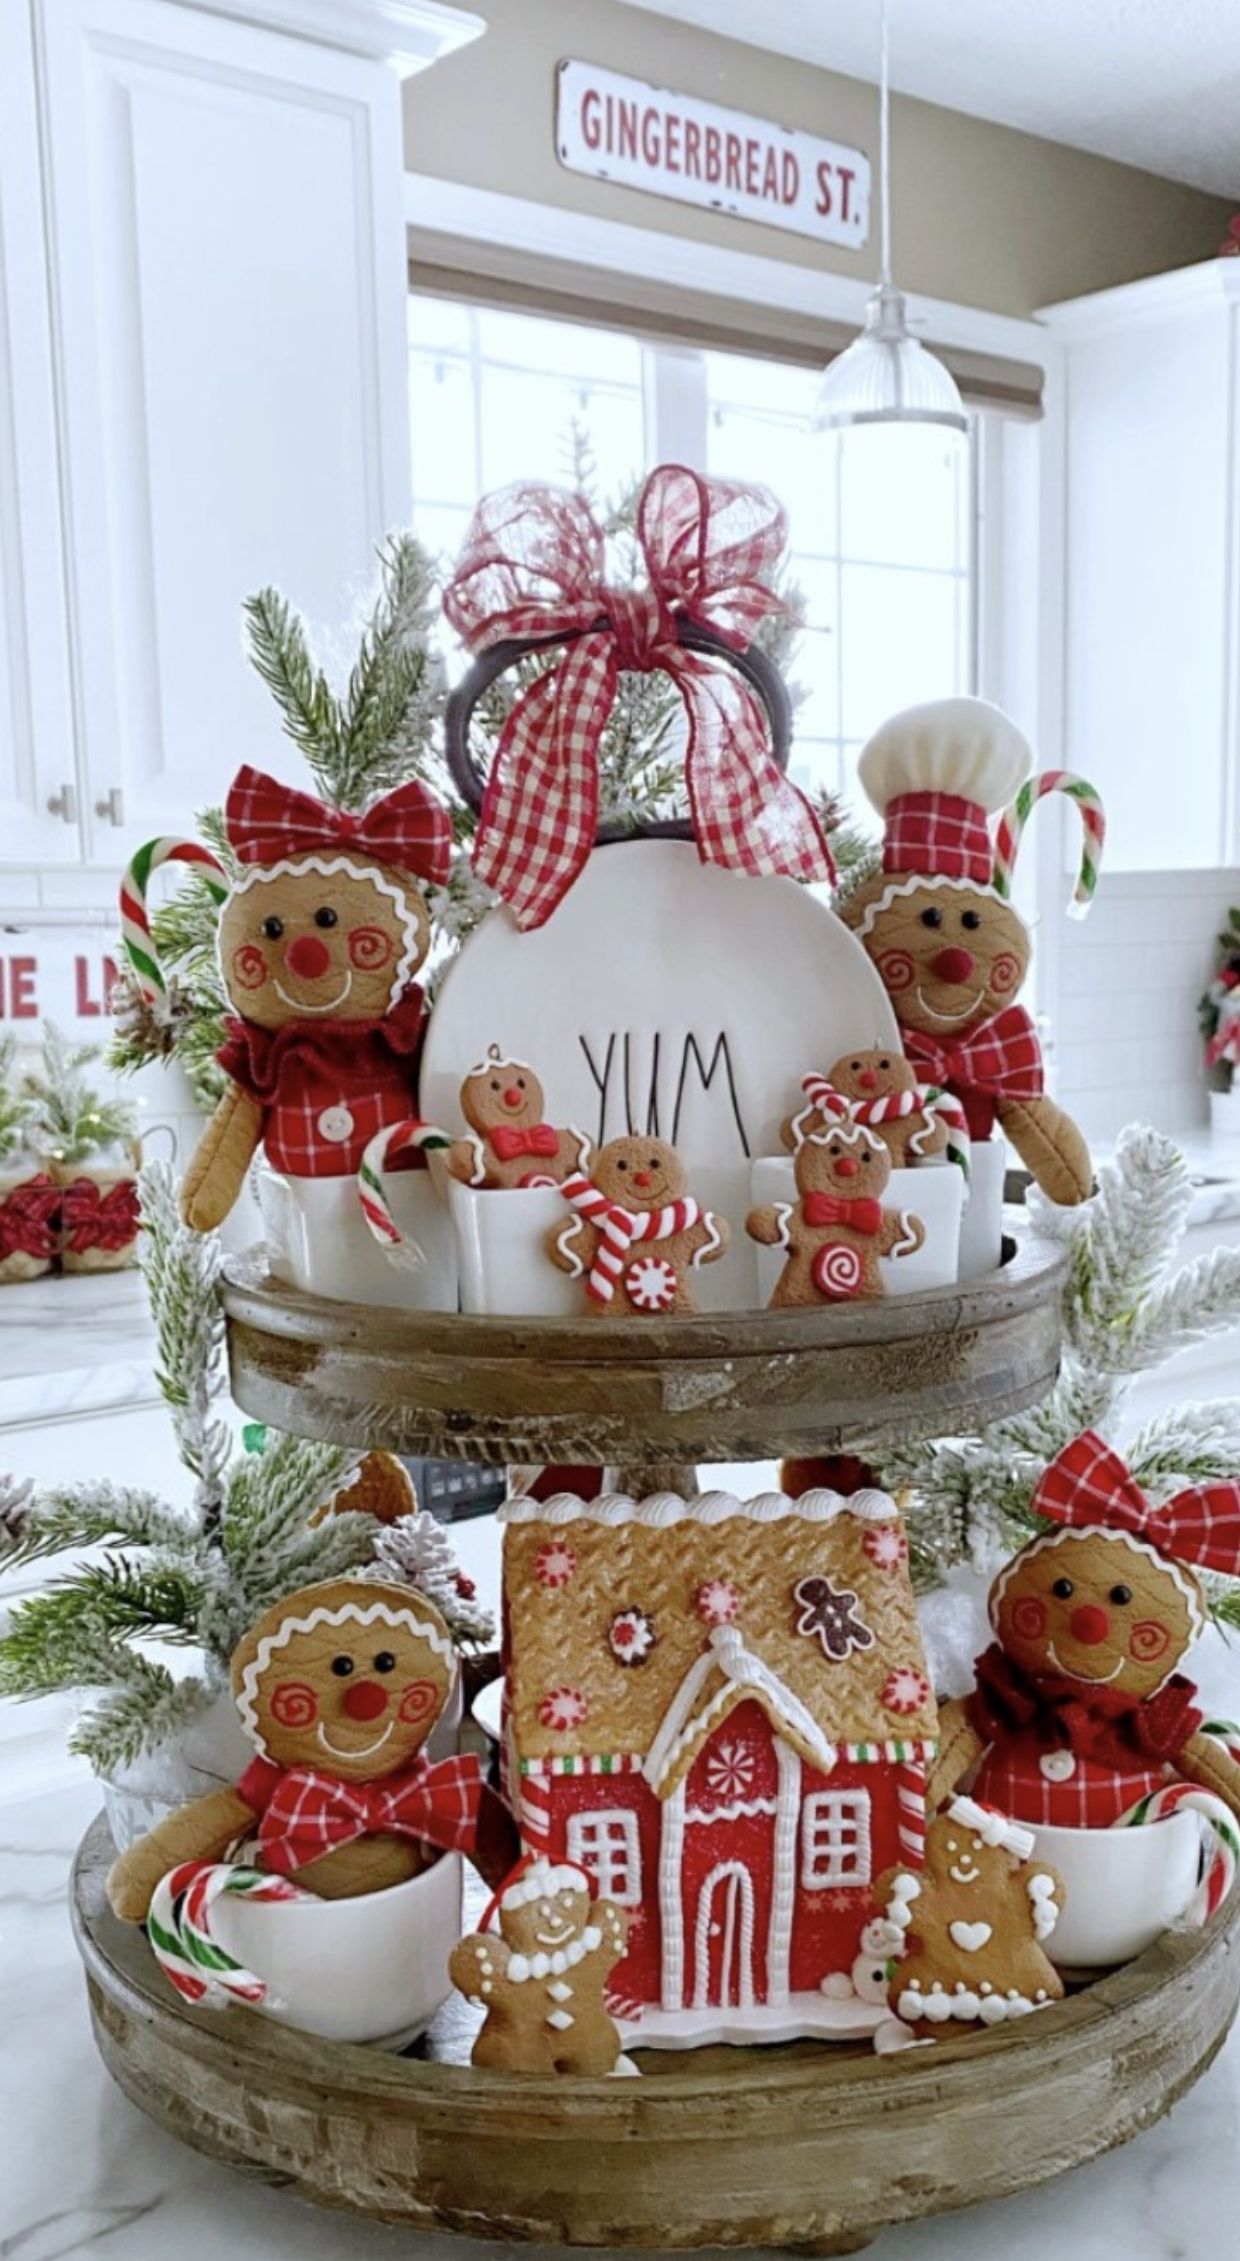
Plush figures are friendly to kids. A tiered tray holds plush gingerbread figures in red bows around a gingerbread house, with a Yum sign and candy canes.
Tie a big bow on top to finish.
Soft figures are safe for little hands.
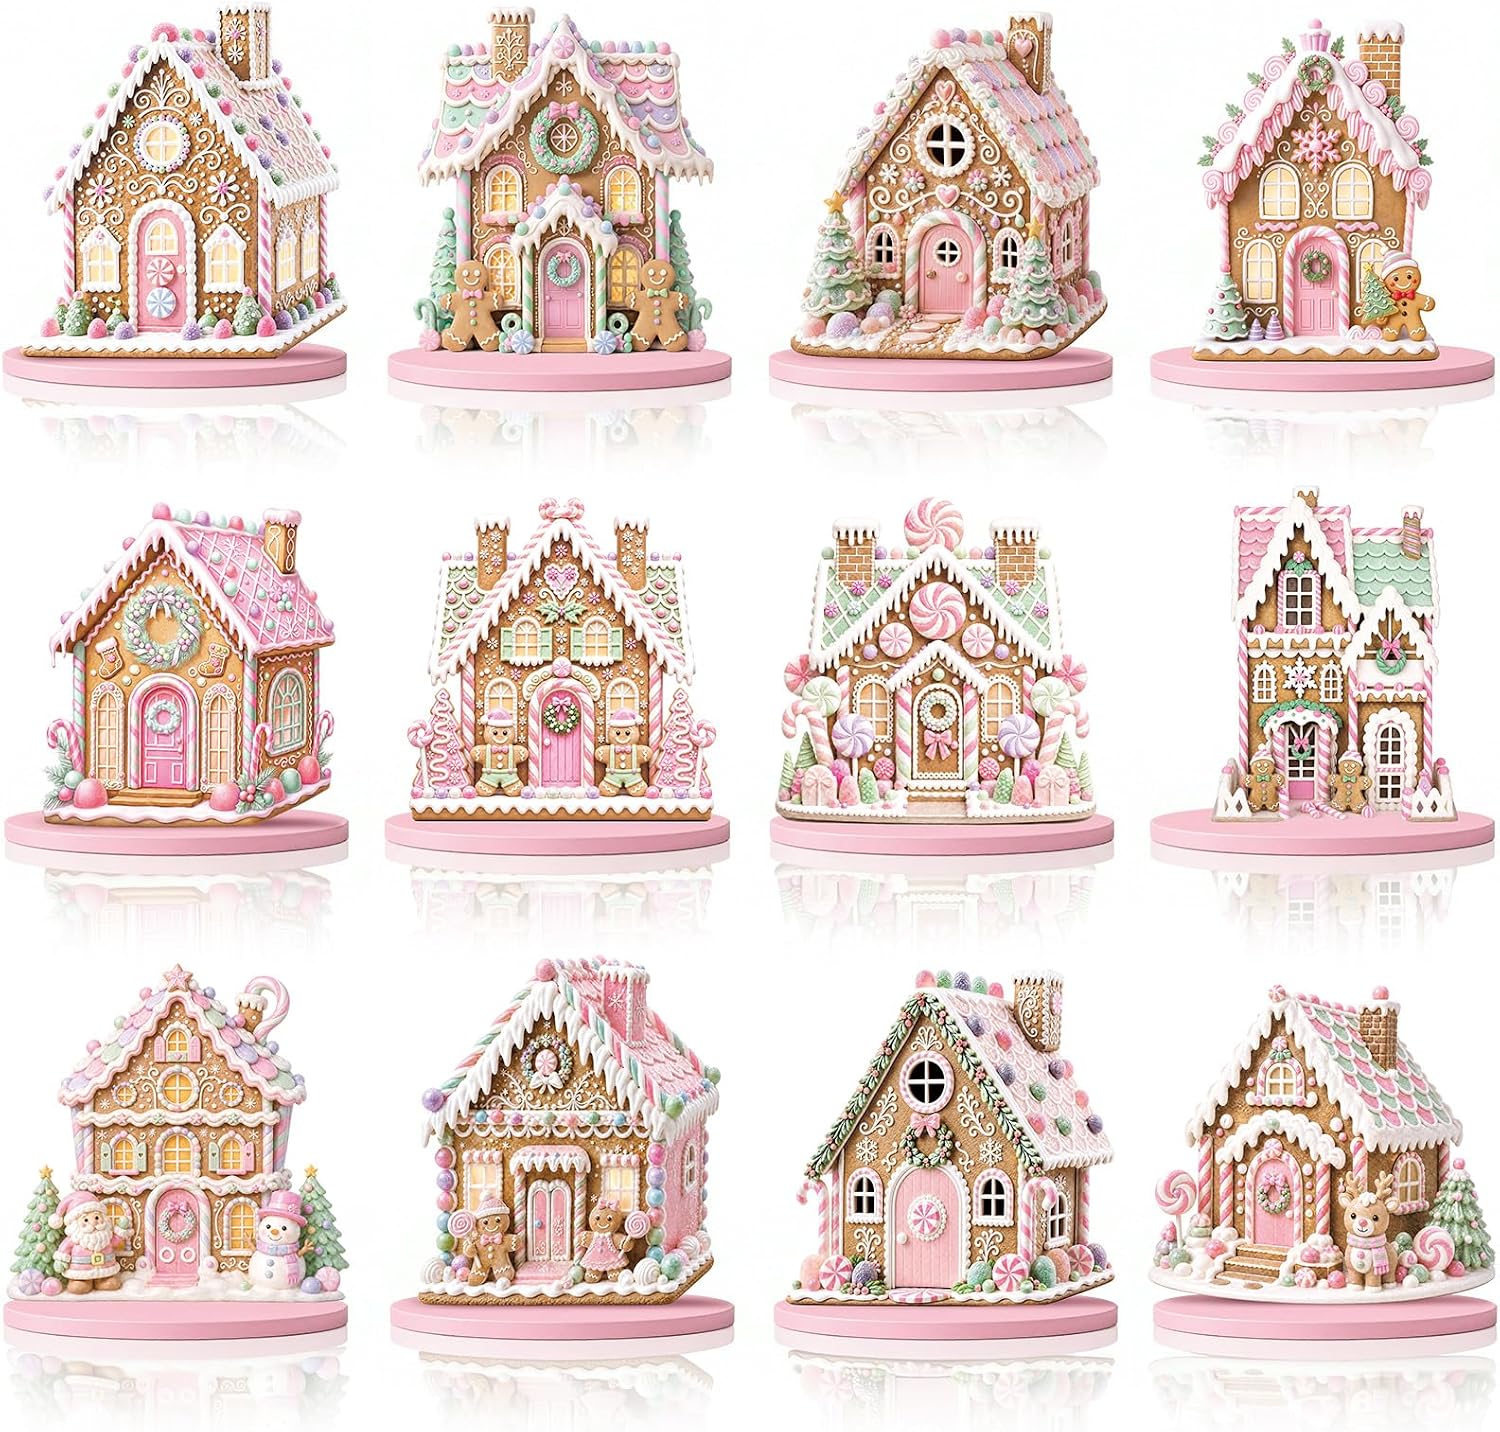
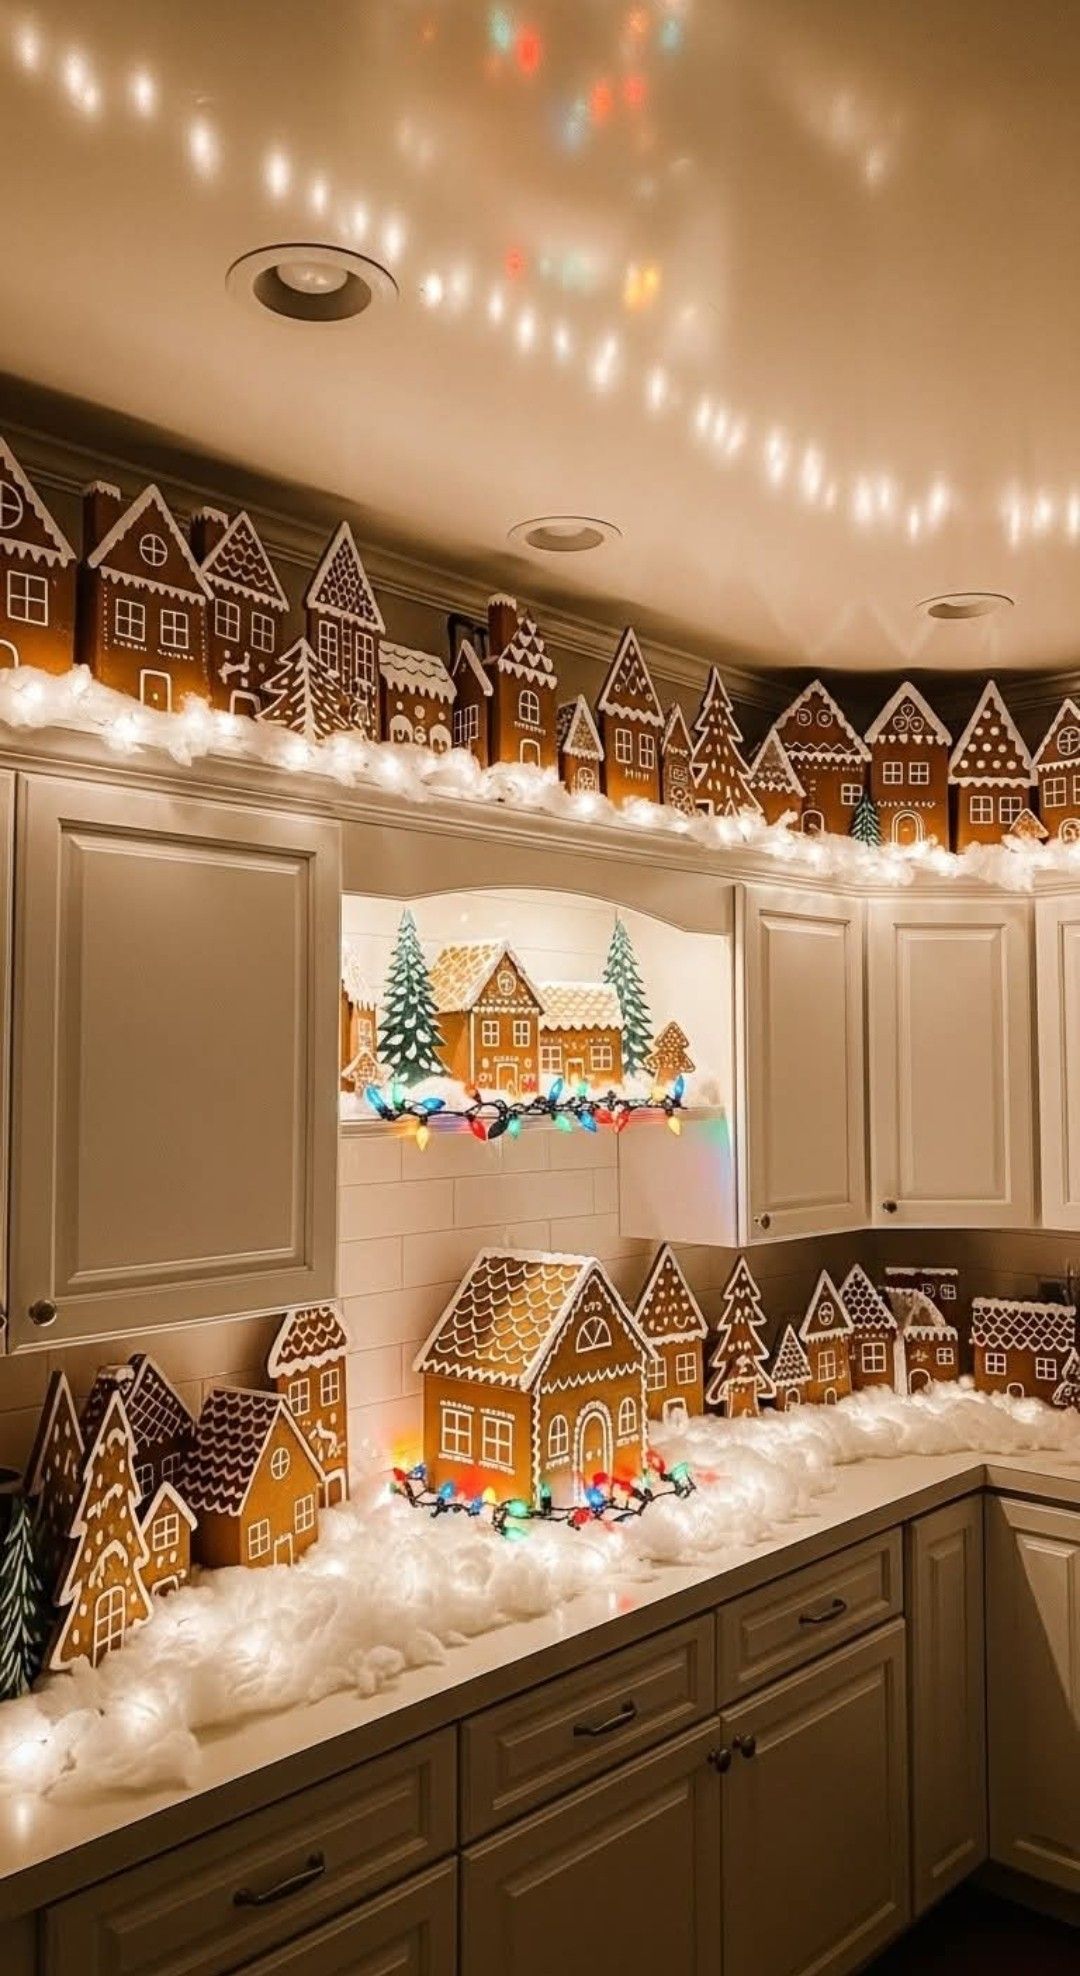
36. Line the Cabinet Tops With a Village
A village looks great at ceiling height.
A row of gingerbread houses marches along the top of these cabinets on cotton snow, with fairy lights above.
- Use paper, foam or lightweight houses, and cover the cabinet tops with batting.
- Check your ceiling clearance first.
Common Kitchen Mistakes (and Fixes)
Crowding the counters. If you can't chop an onion, remove something.
Hanging things near the stove. Heat and grease ruin decor, and paper can catch fire.
Using food that spoils. Faux peppermints and cookies last all season. Real ones are for the day of the party.
Forgetting to look up. The most dramatic spot in most kitchens is the space above the cabinets.
Start with one idea, one color and the top of the cabinets. You can always add the rest next year.